Easy Fun Kids Cupcakes Recipe: Sweet, Colorful, and Fun for the Whole Family
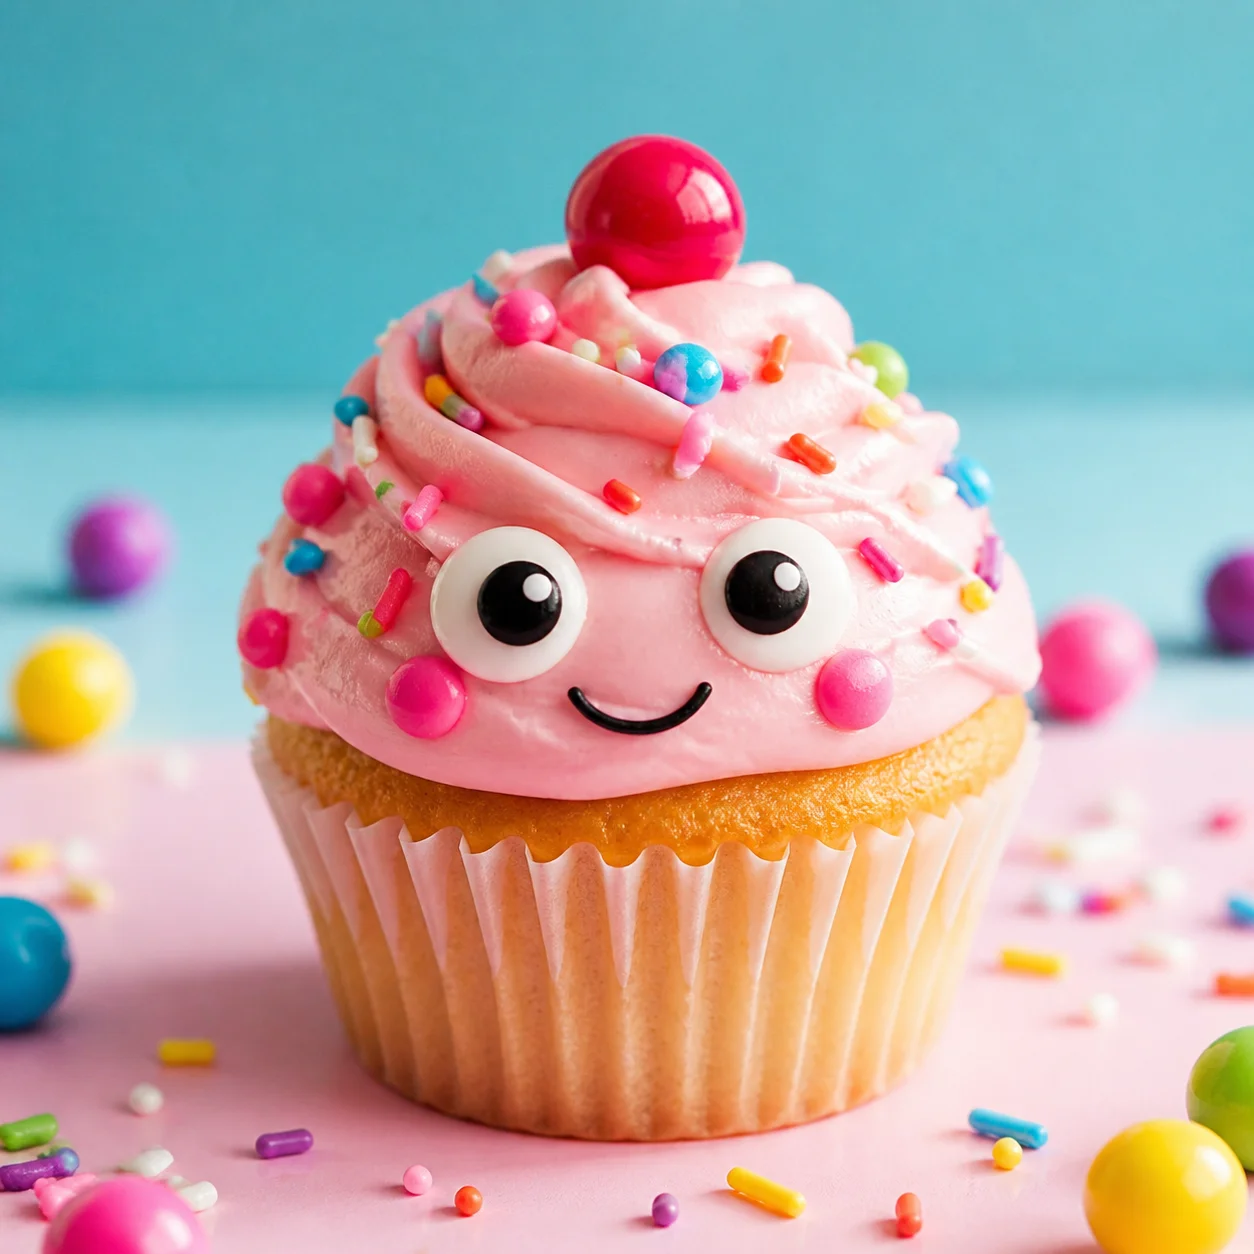
Cupcakes are always a hit, especially when they’re as fun and playful as these easy, colorful cupcakes! Whether you’re baking for a birthday party, a special treat, or just because, these cupcakes are sure to bring smiles to kids of all ages. With fluffy vanilla cake, vibrant frosting, and fun decorations like sprinkles and candy eyes, they’re as delightful to look at as they are to eat. Plus, they’re easy to make with just a few simple ingredients!
Why Make Cupcakes at Home?

Making cupcakes at home has several perks. They’re:
- Fresher and more flavorful: You control the ingredients and can bake them fresh, right when you need them.
- Customizable: You can adjust the flavors, colors, and toppings to suit your preferences, or to match a theme for a special occasion.
- Fun for kids: Let the kids get involved in decorating these cupcakes. They’ll love the process of frosting and adding toppings, and it’s a great activity to keep them entertained!
Ingredients for Easy Fun Kids Cupcakes
This simple recipe requires just a few staple ingredients that you probably already have in your kitchen. Here’s what you’ll need:
For the cupcakes:
- 1 cup all-purpose flour
- 1 teaspoon baking powder
- 1/2 cup sugar
- 1/4 teaspoon salt
- 1/2 cup unsalted butter, softened
- 2 large eggs
- 1 teaspoon vanilla extract
- 1/2 cup milk
For the frosting:
- 1 cup unsalted butter, softened
- 3 cups powdered sugar
- 2 tablespoons milk
- 1 teaspoon vanilla extract
- Food coloring (optional)
For the decorations:
- Sprinkles
- Candy eyes
- Colored sugar crystals
- Chocolate chips or small candies
Step-by-Step Easy Fun Kids Cupcakes Recipe
Step 1: Preheat the Oven and Prepare the Cupcake Pan
Start by preheating your oven to 350°F (175°C). Line a 12-cup muffin tin with cupcake liners. This will help keep the cupcakes from sticking and make cleanup easier.
Step 2: Mix the Dry Ingredients
In a medium bowl, combine the flour, baking powder, sugar, and salt. Mix well and set aside.
Step 3: Cream the Butter and Add Eggs
In a large bowl, cream together the softened butter and sugar using an electric mixer. Beat on medium speed for 2-3 minutes until the mixture is light and fluffy. Then, add the eggs one at a time, beating well after each addition. Stir in the vanilla extract.
Step 4: Add the Dry Ingredients and Milk
Gradually add the dry ingredients to the butter mixture, alternating with the milk. Start and end with the dry ingredients. Mix just until combined, making sure not to overmix.
Step 5: Fill the Cupcake Liners
Spoon the batter into the cupcake liners, filling each about 2/3 full. This will give them room to rise without overflowing.
Step 6: Bake the Cupcakes
Bake for 18-20 minutes, or until a toothpick inserted into the center of a cupcake comes out clean. Let the cupcakes cool in the pan for 5 minutes, then transfer them to a wire rack to cool completely.
Step 7: Make the Frosting
While the cupcakes are cooling, make the frosting. In a large bowl, beat the softened butter until smooth and creamy. Gradually add powdered sugar, one cup at a time, alternating with the milk. Add vanilla extract and beat until fluffy. If you want to color the frosting, divide it into bowls and add a few drops of food coloring to each one. Mix until the color is evenly distributed.
Step 8: Frost and Decorate
Once the cupcakes are completely cool, it’s time to decorate! Use a butter knife or a piping bag to spread or pipe the frosting on top of each cupcake. Then, get creative with your decorations! Add sprinkles, candy eyes, colored sugar crystals, or any other fun toppings you like. Let your kids get involved in decorating—they’ll love it!
Pro Tips for Perfect Kids Cupcakes
- Let the cupcakes cool completely: If you try to frost them while they’re still warm, the frosting will melt and slide off.
- Use a piping bag for neat frosting: If you want a clean, professional look, use a piping bag with a decorative tip to pipe the frosting onto each cupcake.
- Decorate with variety: Let the kids choose their favorite sprinkles, candies, and frosting colors for a fun, personalized touch.
- Make mini cupcakes: If you’re serving a crowd, mini cupcakes are a fun way to let everyone have a taste without the mess.
How to Store Homemade Cupcakes
Once decorated, homemade cupcakes can be stored in an airtight container at room temperature for up to 3 days. If you’re not planning to eat them right away, you can freeze the cupcakes without frosting. When you’re ready to serve, just thaw them and frost them. Unfrosted cupcakes can be stored in the freezer for up to 3 months.
Ways to Serve Kids Cupcakes
These fun cupcakes are perfect for a variety of occasions. Here are a few ideas:
- Birthday Parties: Decorate them with different colors and toppings to match the theme of the party.
- Bake Sales: Individually wrapped cupcakes make for easy and cute bake sale treats.
- Family Gatherings: They’re great for family events and casual get-togethers.
- As a Snack: These cupcakes are perfect for an after-school snack or to share with friends.
Frequently Asked Questions
Can I use a different type of flour?
Yes! You can substitute the all-purpose flour with gluten-free flour to make these cupcakes gluten-free. Just ensure that you use a 1:1 gluten-free flour blend.
Can I make the frosting ahead of time?
Yes, you can make the frosting up to 2 days in advance. Just store it in an airtight container in the refrigerator and let it come to room temperature before using it.
Can I use different flavors of frosting?
Absolutely! You can mix things up by using chocolate frosting, cream cheese frosting, or any other flavor your kids love.
Final Thoughts
This easy fun kids cupcakes recipe is perfect for baking with your little ones. It’s a simple, customizable recipe that everyone can enjoy. With fluffy cupcakes, vibrant frosting, and fun decorations, these cupcakes are sure to brighten up any occasion. So grab your ingredients, invite the kids into the kitchen, and start baking! Your next family treat is just a few steps away.