Best Brownie in a Mug Recipe (Microwave Easy)
Why Make Brownies in a Mug?
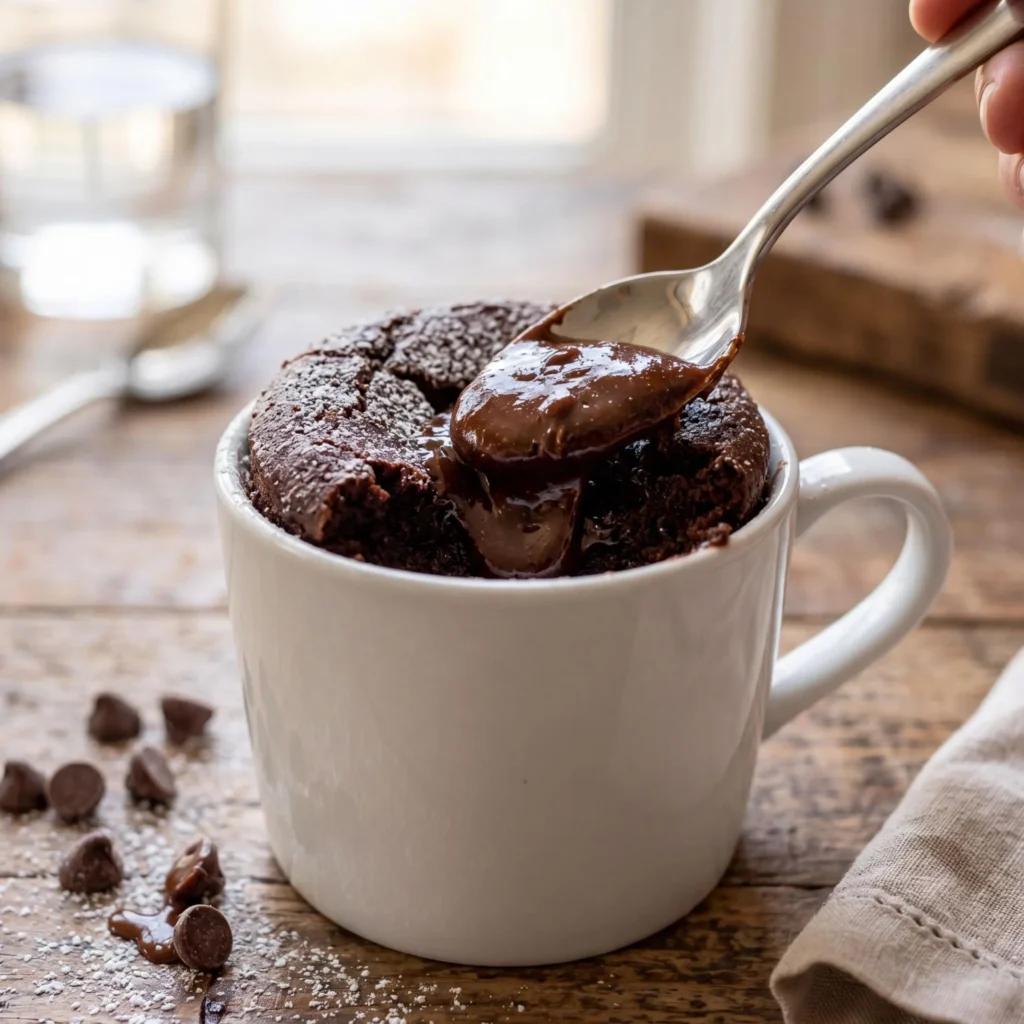
There’s nothing quite like indulging in a warm, gooey brownie straight from the microwave. If you’re craving a quick treat that’s easy to prepare, this microwave brownie in a mug recipe is your solution. In just a few minutes, you can enjoy a delicious brownie that’s rich, fudgy, and customizable to your tastes. This single-serving dessert is perfect when you want to satisfy a chocolate craving without having to bake a whole batch. Plus, it’s made in the microwave, so no need for preheating the oven.
The beauty of this brownie in a mug is its simplicity. You don’t need any fancy kitchen gadgets or equipment. Just a mug, a spoon, and your microwave—plus a few pantry ingredients—and you’re all set. Whether you’re having it after dinner as a dessert or just need a quick snack, this microwave brownie is sure to hit the spot.
Ingredients for Brownie in a Mug
This recipe requires just a few basic ingredients that you probably already have in your kitchen. Here’s what you’ll need:
- 3 tablespoons all-purpose flour
- 3 tablespoons granulated sugar
- 2 tablespoons unsweetened cocoa powder
- 1/8 teaspoon baking powder
- A pinch of salt
- 3 tablespoons milk
- 2 tablespoons vegetable oil (or melted butter)
- 1/4 teaspoon vanilla extract
- Optional: chocolate chips or chunks, a scoop of ice cream, whipped cream, or nuts for topping
These ingredients come together to create a moist and delicious brownie in just minutes. You can add chocolate chips for extra gooeyness or top it off with whipped cream or ice cream to take it to the next level.
Step-by-Step Brownie in a Mug Recipe
Follow these simple steps for a microwave brownie in a mug that will satisfy your chocolate cravings in no time.
Step 1: Mix the Dry Ingredients
Start by combining the flour, sugar, cocoa powder, baking powder, and a pinch of salt in a microwave-safe mug. Use a small whisk or spoon to stir the ingredients until they’re evenly mixed. This will ensure that your brownie has a smooth texture without any lumps.
Step 2: Add the Wet Ingredients
Next, add the milk, vegetable oil (or melted butter), and vanilla extract to the dry ingredients. Stir everything together until it forms a smooth, lump-free batter. If you’d like to make your brownie extra rich, feel free to add a spoonful of melted chocolate or some chocolate chips into the mix.
Step 3: Add Chocolate Chips (Optional)
For an extra indulgent treat, mix in some chocolate chips or chunks. This will make your brownie even more fudgy and gooey. It’s totally optional but recommended for those who love a chocolate overload.
Step 4: Microwave
Place the mug in the microwave and cook it on high for about 1 minute and 20 seconds. Microwaves vary, so start checking at 1 minute to ensure you don’t overcook it. You’ll know it’s done when the top looks set, but the center is still slightly moist and gooey. If it’s not quite done, continue microwaving in 10-second intervals.
Step 5: Let it Cool and Serve
Once your brownie is cooked, let it sit for a minute or two to cool slightly. This will allow it to firm up a bit and make it easier to enjoy. You can eat it straight from the mug or transfer it to a plate. Top it with a scoop of vanilla ice cream, whipped cream, or a drizzle of caramel sauce for an extra treat.
Pro Tips for the Best Brownie in a Mug
- Don’t overcook: Microwaves cook differently, so it’s important to keep an eye on your brownie as it cooks. Overcooking it will result in a dry, tough brownie. Start checking at 1 minute and 10 seconds and only cook for a little longer if needed.
- Use a larger mug: Make sure the mug is big enough to hold the batter comfortably. A 12-ounce mug is ideal. Using a smaller mug can cause the brownie to overflow as it cooks.
- Customize it: You can customize your brownie by adding your favorite mix-ins like peanut butter, marshmallows, or crushed candy. The possibilities are endless!
How to Store Leftover Brownie in a Mug
It’s unlikely you’ll have any leftovers, but if you do, store your brownie in the refrigerator for up to 2 days. When you’re ready to eat it, reheat the brownie in the microwave for about 15-20 seconds. You can add a splash of milk to keep it moist if necessary.
Ways to Enjoy Brownie in a Mug
Here are a few ideas for how to enjoy your brownie in a mug:
- With Ice Cream: The warm brownie and cold ice cream make a perfect pairing. Vanilla, chocolate, or any flavor you like will taste amazing with it.
- Topped with Whipped Cream: A dollop of whipped cream adds a light, creamy contrast to the rich, fudgy brownie.
- Drizzled with Chocolate Sauce: For an extra chocolatey treat, drizzle some warm chocolate sauce over your brownie.
- With a Cup of Coffee: Enjoy your brownie with a warm cup of coffee or hot chocolate. The combination of chocolate and caffeine is the ultimate comfort food experience.
Frequently Asked Questions
Can I make this brownie recipe gluten-free?
Yes! You can easily make this recipe gluten-free by substituting the all-purpose flour with a gluten-free flour blend. The rest of the ingredients should remain the same.
Can I add other mix-ins to the batter?
Absolutely! Feel free to add in your favorite mix-ins, like nuts (walnuts, pecans), chocolate chunks, or a spoonful of peanut butter. You can get as creative as you like.
Can I make multiple servings?
This recipe is designed for a single serving, but you can double or triple the ingredients and divide them into separate mugs for more people. You may need to adjust the cooking time slightly for larger batches.
Final Thoughts
This easy microwave brownie in a mug recipe is a life-saver for those late-night chocolate cravings or when you need a quick dessert. In just a few minutes, you can enjoy a decadent, fudgy brownie with minimal effort. Whether you prefer it on its own or with a scoop of ice cream, it’s sure to satisfy your sweet tooth. Grab your ingredients, your mug, and your microwave, and treat yourself to the best brownie in a mug you’ve ever tasted.