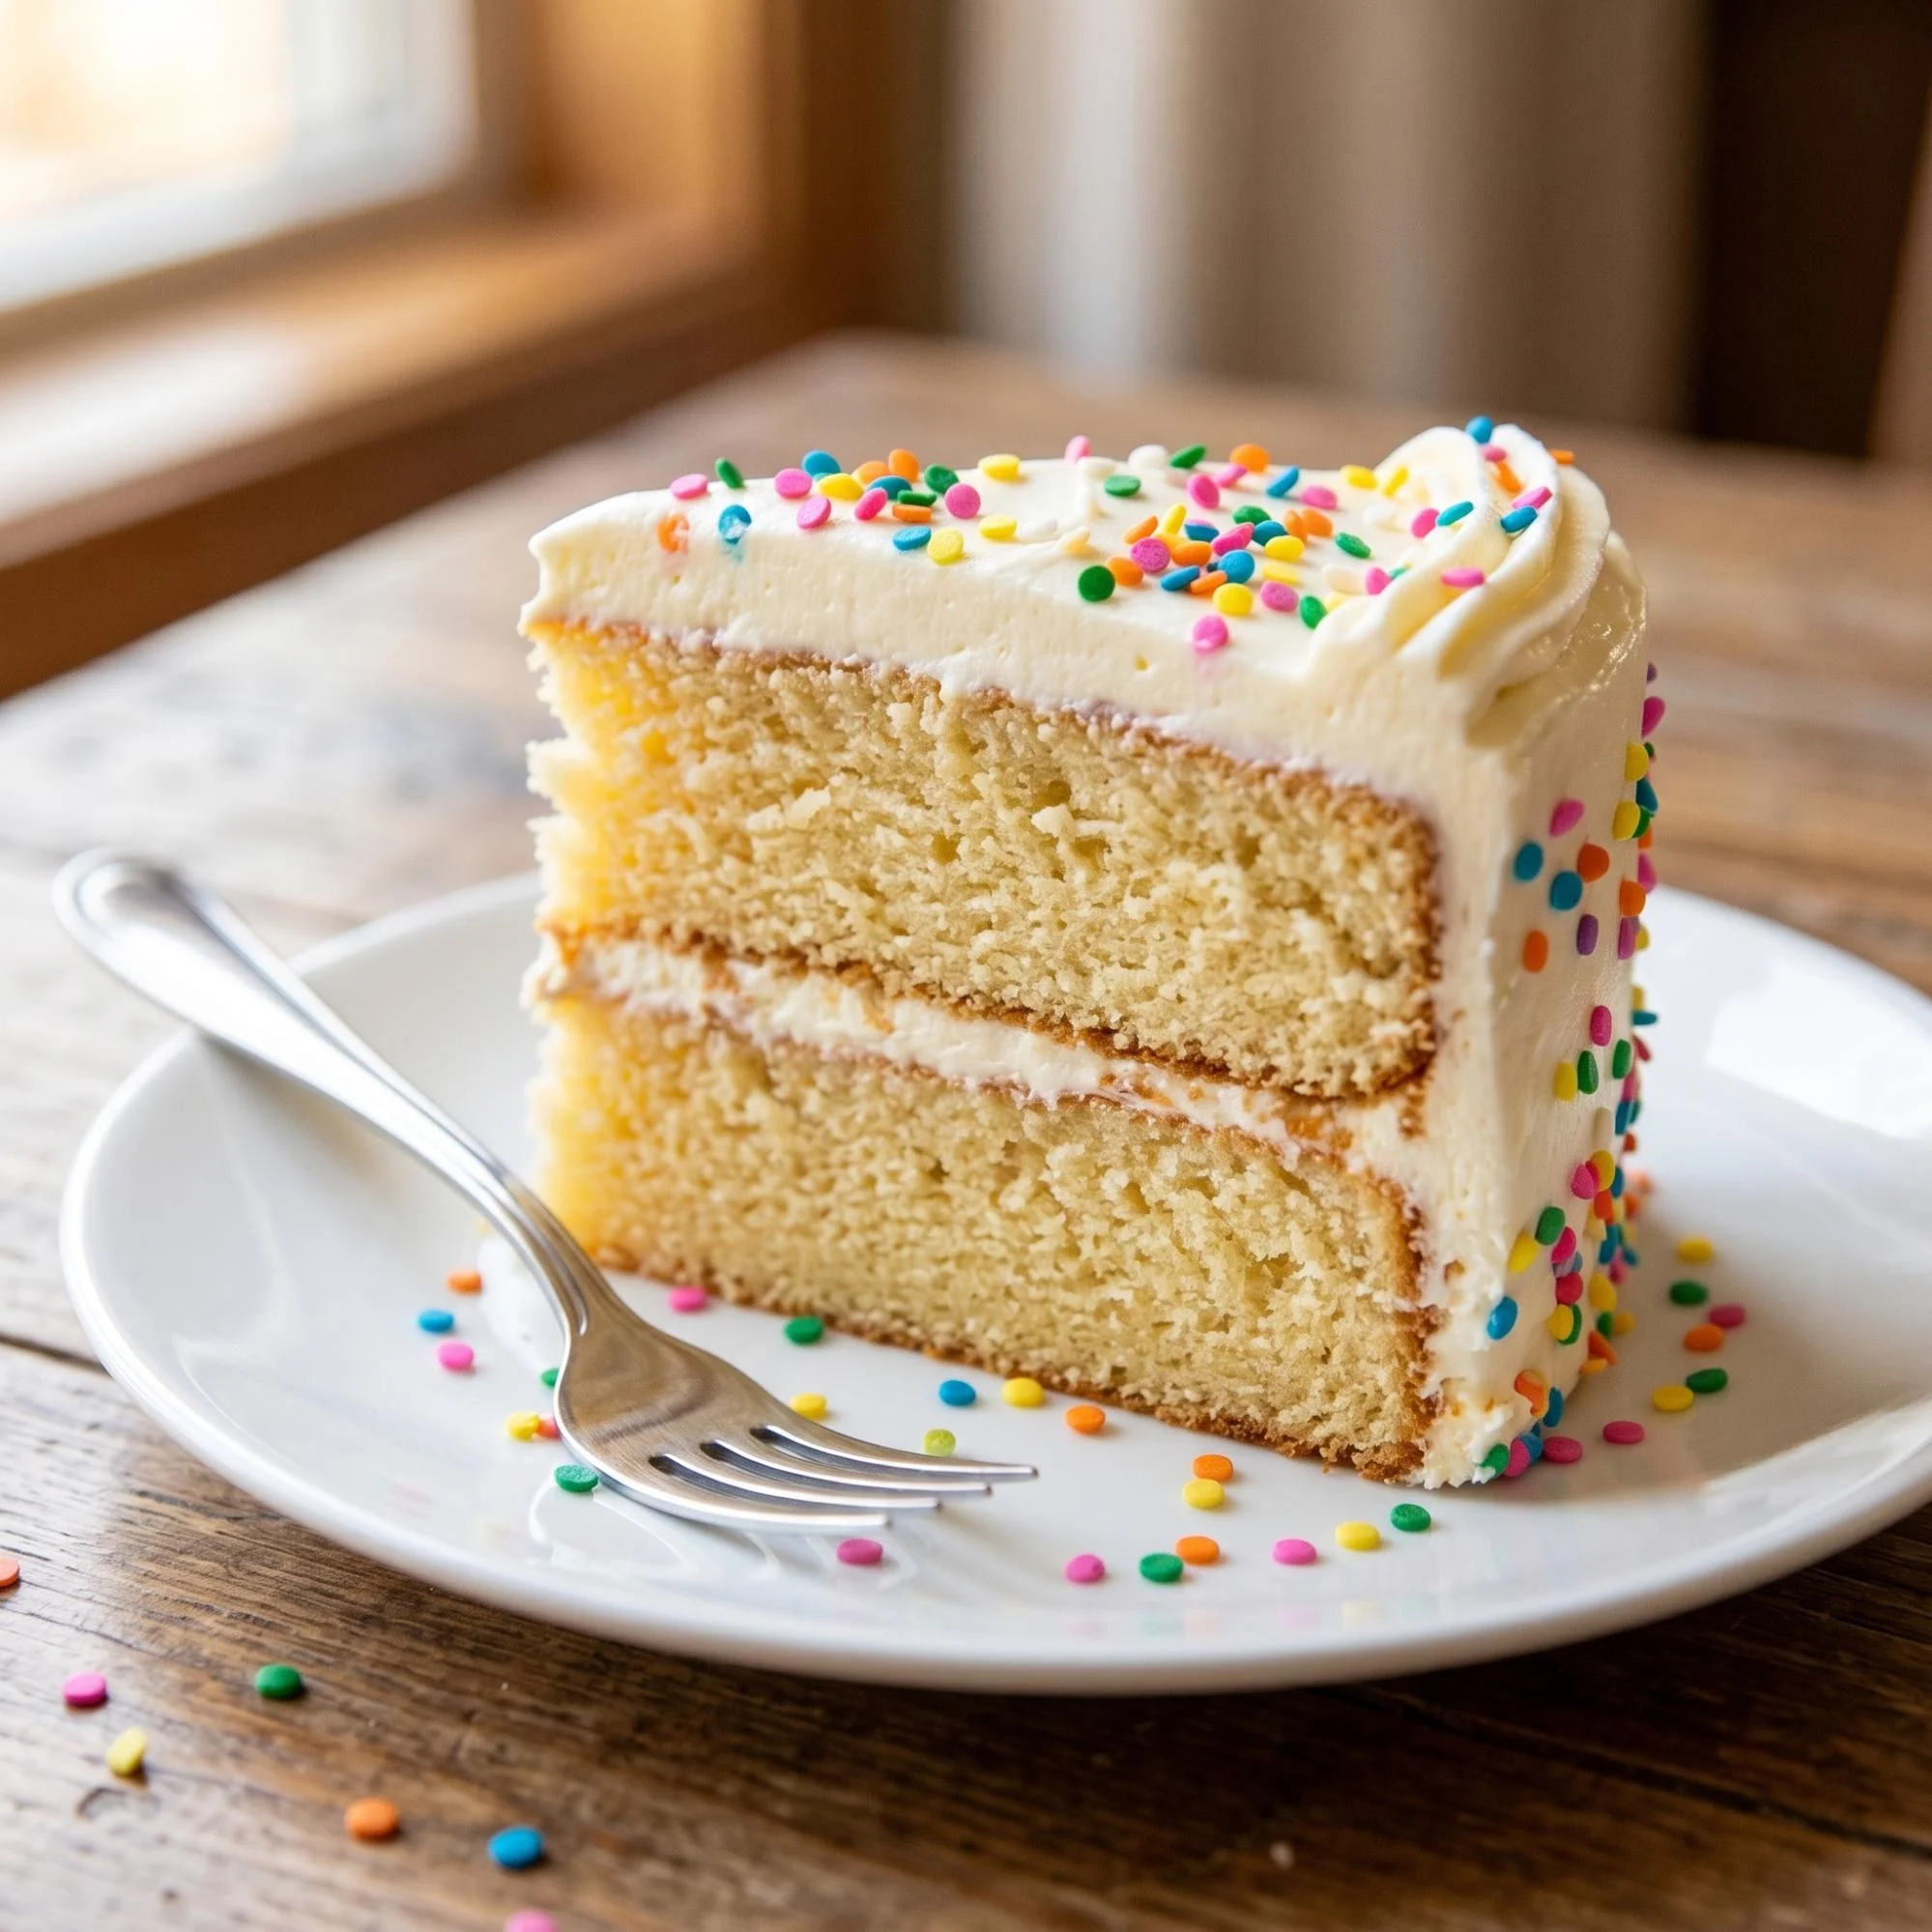
Easy Gluten-Free White Cake Recipe
If you’re looking for a delicious and easy gluten-free cake that’s as light and fluffy as the traditional versions, you’ve come to the right place. This gluten-free white cake is the perfect base for any celebration or a simple treat to enjoy with family. Whether you’re celebrating a birthday, anniversary, or just craving something sweet, this cake will satisfy all your dessert desires without the gluten.
Why Make Gluten-Free Cake?
While gluten-free baking has its challenges, this white cake recipe is simple and yields fantastic results. It’s the perfect option for those with gluten sensitivities or anyone looking to try a gluten-free version of a classic dessert. Not only does it taste great, but it also offers:

- Fluffy texture: Thanks to a special combination of gluten-free flours and baking techniques, this cake is light and airy, just like traditional white cakes.
- Moist and flavorful: With the right ingredients, this cake remains moist without being too heavy or dense.
- Versatile: This simple cake recipe serves as an excellent base for any frosting or filling, whether you prefer a fruity jam, whipped cream, or a rich buttercream frosting.
Let’s dive into how to make this scrumptious cake!
Ingredients for Easy Gluten-Free White Cake
One of the best things about this gluten-free white cake recipe is how simple the ingredients are. Here’s what you’ll need:
- For the Cake:
- 2 1/2 cups gluten-free all-purpose flour (make sure it includes xanthan gum)
- 1 tablespoon baking powder (gluten-free)
- 1/2 teaspoon salt
- 1 cup unsalted butter, softened
- 1 1/2 cups granulated sugar
- 5 large eggs, at room temperature
- 1 tablespoon vanilla extract
- 1 cup buttermilk (you can substitute with dairy-free milk for a dairy-free option)
- 1/2 cup sour cream (optional for extra moisture, use dairy-free sour cream for a dairy-free option)
- For the Frosting (optional but recommended):
- 1 cup unsalted butter, softened
- 3-4 cups powdered sugar
- 1-2 teaspoons vanilla extract
- 1-2 tablespoons milk or cream (use dairy-free milk for a dairy-free option)
Step-by-Step Guide for Gluten-Free White Cake
Step 1: Preheat the Oven and Prepare the Pans
Start by preheating your oven to 350°F (175°C). Grease and line two 9-inch round cake pans with parchment paper. This will ensure the cake doesn’t stick to the pan and makes it easier to remove once baked.
Step 2: Combine Dry Ingredients
In a medium-sized bowl, whisk together the gluten-free all-purpose flour, baking powder, and salt. Set it aside for now.
Step 3: Cream the Butter and Sugar
In a large mixing bowl, use an electric mixer to cream together the butter and sugar until light and fluffy. This usually takes about 3 minutes of beating on medium speed.
Step 4: Add the Eggs
Add the eggs, one at a time, beating well after each addition. Make sure each egg is fully incorporated before adding the next one. This step ensures that the cake batter is smooth and well-mixed.
Step 5: Mix in the Vanilla Extract
Add the vanilla extract to the butter and sugar mixture, mixing until fully combined.
Step 6: Alternate Adding Dry Ingredients and Buttermilk
Next, begin alternating adding the dry ingredients and the buttermilk to the bowl, starting and ending with the dry ingredients. Begin by adding a third of the dry ingredients, mixing until just combined, followed by half of the buttermilk, and continue until everything is incorporated. This method helps the batter stay smooth and prevents over-mixing.
Step 7: Add Sour Cream (Optional)
For an extra moist cake, add sour cream (optional) and mix until fully incorporated. If you’re using a dairy-free version, opt for dairy-free sour cream or a little extra milk.
Step 8: Pour Batter into Cake Pans
Divide the batter evenly between the two prepared cake pans, smoothing the tops with a spatula.
Step 9: Bake
Bake the cake in the preheated oven for about 25-30 minutes, or until a toothpick inserted into the center of the cake comes out clean. Be careful not to over-bake, as this can make the cake dry.
Step 10: Cool the Cake
Allow the cakes to cool in the pans for about 10 minutes before transferring them to a wire rack to cool completely. This step is crucial for frosting the cake later, as warm cakes can cause the frosting to melt.
Frosting the Cake
Once the cakes are completely cooled, it’s time to frost! Here’s how to make a simple, delicious buttercream frosting to go with your gluten-free white cake.
Step 1: Make the Frosting
In a large mixing bowl, beat the softened butter with an electric mixer until creamy. Gradually add in the powdered sugar, one cup at a time, beating well after each addition. Add the vanilla extract and milk until the frosting reaches your desired consistency. For a thicker frosting, add more powdered sugar; for a thinner frosting, add a little more milk.
Step 2: Frost the Cake
Once the frosting is ready, spread a thin layer on top of the first cake layer to act as a crumb coat. This helps seal in any crumbs and makes it easier to apply the final layer of frosting. After the crumb coat sets for about 15 minutes, frost the entire cake with the remaining buttercream frosting, smoothing it with a spatula.
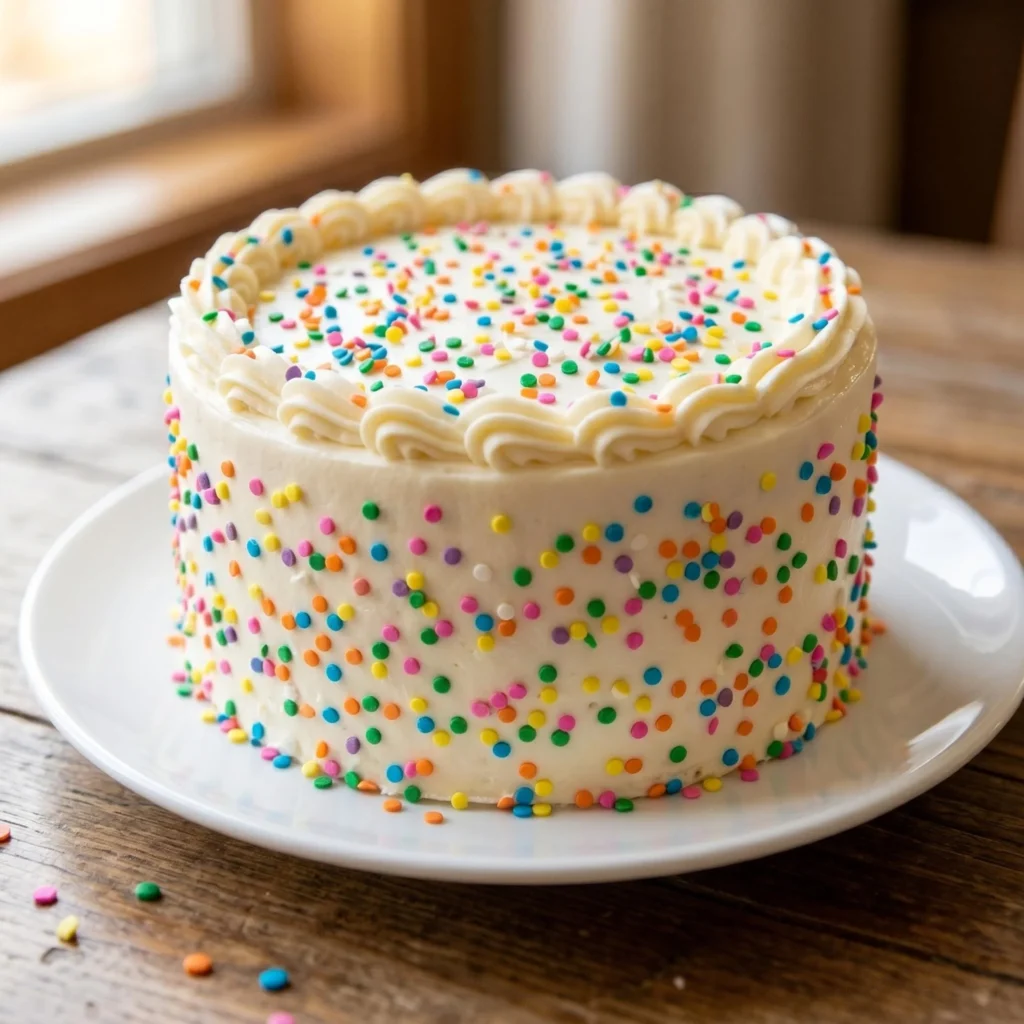
Step 3: Add Fun Sprinkles (Optional)
For a fun touch, sprinkle colorful sprinkles or edible glitter on top of the cake. This is especially great for birthdays or special celebrations.
Pro Tips for Perfect Gluten-Free White Cake
- Use a good-quality gluten-free flour: Not all gluten-free flours are created equal. Be sure to use a blend that contains xanthan gum to give your cake structure and lift.
- Don’t overmix: Overmixing the batter can make the cake dense. Mix only until the ingredients are combined.
- Let the cake cool completely: This is essential for the frosting to stay intact and not melt.
- Try dairy-free options: You can easily make this cake dairy-free by using dairy-free milk and sour cream. The cake will still turn out moist and delicious.
- Double the recipe: If you need a larger cake, feel free to double the recipe and bake it in 9×13-inch pans for a bigger treat.
How to Store Gluten-Free White Cake
If you have leftover cake, store it in an airtight container at room temperature for up to 3 days. If you want to keep it longer, refrigerate it for up to a week. You can also freeze the cake for up to 3 months, just wrap each slice individually in plastic wrap and then place them in a freezer-safe container or bag.
Frequently Asked Questions
Can I make this cake without eggs?
Yes! You can substitute the eggs with egg replacers like flaxseed meal or applesauce. For each egg, use 1 tablespoon of ground flaxseeds mixed with 3 tablespoons of water, or 1/4 cup of applesauce.
Can I use a different flavoring instead of vanilla?
Absolutely! You can experiment with different flavorings such as almond extract, lemon zest, or orange zest to create a more personalized flavor.
Why is my gluten-free cake dense?
A dense cake can result from overmixing the batter or using too much gluten-free flour. Be sure to measure your flour properly (using the spoon and leveling method) and mix the batter only until combined.
Final Thoughts
This easy gluten-free white cake recipe proves that making a light, fluffy, and moist cake without gluten doesn’t have to be difficult. With just a few simple ingredients and some easy steps, you’ll have a delicious dessert that everyone will love, whether they’re gluten-free or not. This cake is perfect for birthdays, holidays, or any special occasion. Try it out and let us know how it turns out!