Caramelized Brussels Sprouts Skewers with Walnut Honey Glaze
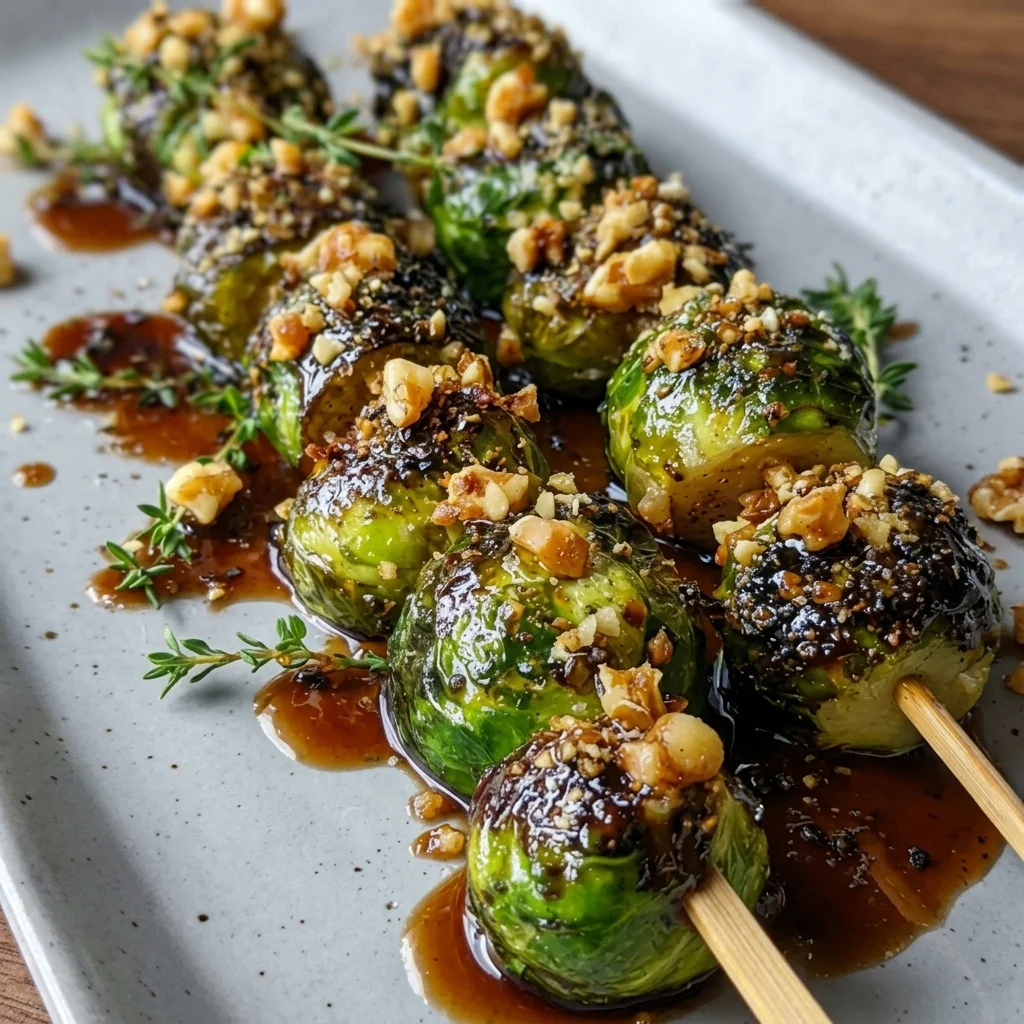
Let’s be honest: Brussels sprouts have a bit of a mixed reputation. But what if I told you that serving them on a skewer, roasting them to crispy perfection, and drenching them in a sticky, sweet, and savory glaze would turn even the biggest skeptics into raving fans?
Inspired by easy, approachable recipes that look gourmet (just like our favorite beginner-friendly dinners), these Caramelized Brussels Sprouts Skewers with Walnut Honey are here to elevate your side dish game. Whether you are hosting a holiday dinner, looking for a fun appetizer, or just want a veggie side that actually tastes like a treat, this recipe is incredibly simple and undeniably delicious.
Why You Will Love This Recipe
- Fun to Eat: Everything tastes better on a stick! Skewering the sprouts not only makes for a gorgeous presentation but also makes them perfectly bite-sized and easy to flip.
- The Perfect Flavor Balance: The bitter, earthy notes of the Brussels sprouts are completely transformed by the deep caramelization, the sweetness of the honey, and the nutty crunch of the walnuts.
- Beginner-Friendly: It looks like a dish from a fancy tapas restaurant, but it takes minimal prep and basic pantry ingredients to pull together.
Ingredients You Will Need
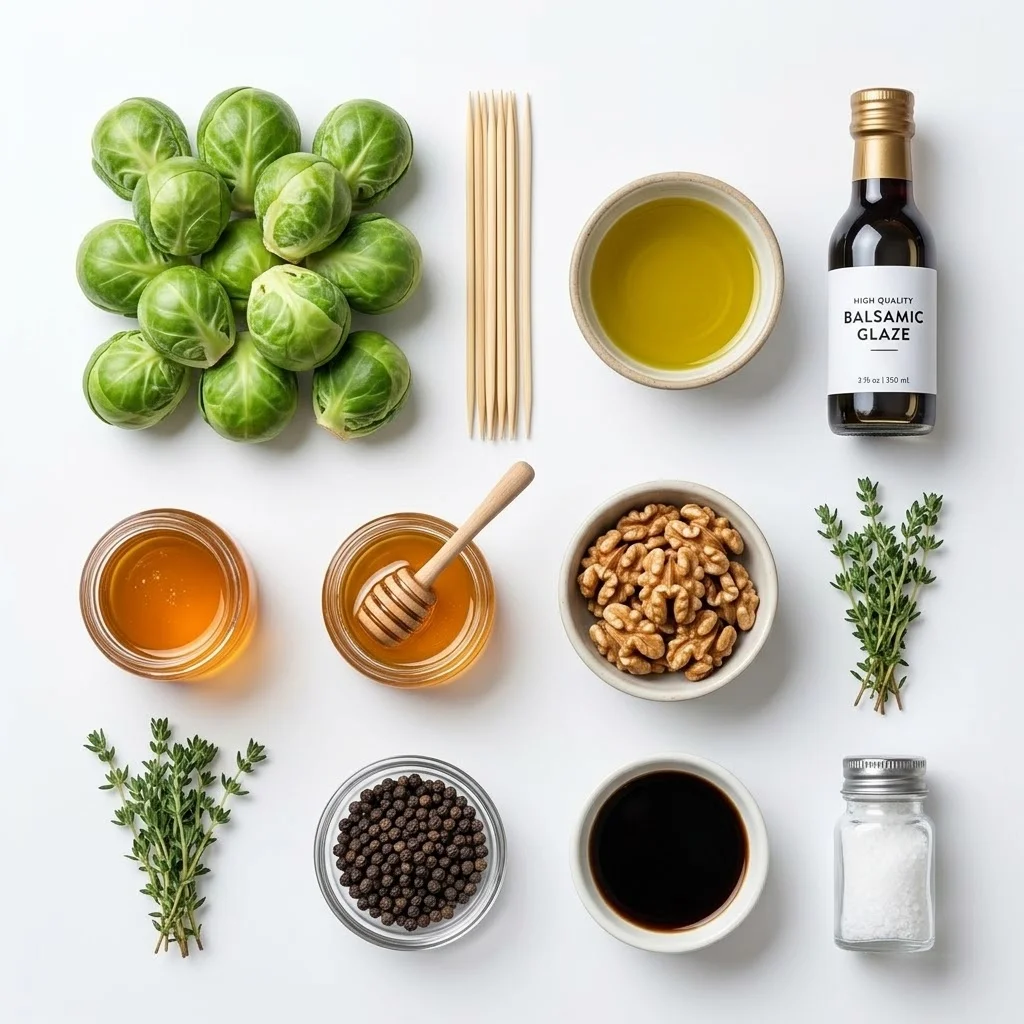
You don’t need a complicated grocery list to make this show-stopping side. Here is what to grab:
- Brussels Sprouts: Look for medium-sized sprouts that are relatively uniform in size so they cook evenly on the skewers.
- Wooden Skewers: You will need standard wooden or bamboo skewers (make sure to soak them in water for 20 minutes beforehand so they don’t burn!).
- Olive Oil: For tossing and roasting to get those perfectly crispy, charred edges.
- Honey & Balsamic Glaze: The base of our sticky, sweet, and tangy sauce.
- Crushed Walnuts: These add a necessary buttery crunch to finish the dish.
- Fresh Thyme: A sprinkle of fresh thyme at the end adds a beautiful pop of color and an earthy aroma.
- Salt & Black Pepper: Essential for balancing the sweetness of the glaze.
Step-by-Step Instructions
1. Prep the Sprouts and Skewers Start by soaking your wooden skewers in warm water. Wash the Brussels sprouts, trim the tough bottom stems, and remove any yellowing outer leaves. If your sprouts are large, cut them in half; if they are small to medium, you can leave them whole.
2. Thread and Season Carefully thread 4 to 5 Brussels sprouts onto each skewer. Place the skewers on a parchment-lined baking sheet. Drizzle them generously with olive oil, and season with salt and freshly cracked black pepper. Massage the oil slightly to ensure they are well-coated.
3. Roast to Perfection Bake in a preheated oven at 400°F (200°C) for about 20-25 minutes. You want to flip them halfway through. You are looking for tender centers and dark, crispy, caramelized outer leaves.
4. Make the Walnut Honey Glaze While the sprouts are roasting, add your honey and a splash of balsamic vinegar to a small bowl and whisk together. Lightly toast your crushed walnuts in a dry skillet for 2-3 minutes until fragrant.
5. Glaze and Garnish As soon as the skewers come out of the oven, transfer them to a serving platter. Generously drizzle the honey-balsamic mixture over the hot sprouts. Sprinkle the toasted walnuts on top so they stick to the glaze, and finish with a scattering of fresh thyme leaves.
Pro-Tips for the Best Sprouts
- Give Them Space: Don’t pack the Brussels sprouts too tightly on the skewer. Leaving a tiny bit of space between each one allows the hot air to circulate, ensuring they roast and caramelize rather than steam.
- Get the Pan Hot: If you prefer pan-searing over baking, you can cook these skewers in a large cast-iron skillet over medium-high heat. Press them down gently with a spatula to get a beautiful, hard sear on the edges!
- Serve Immediately: These are best served warm right out of the oven while the glaze is sticky and the edges are still crispy.
Enjoy this beautiful, sweet, and savory side dish! It is proof that eating your greens doesn’t have to be boring.