Easy No Bake Oreo Cheesecake Cups Recipe: Creamy, Crunchy, and Better Than the Bakery
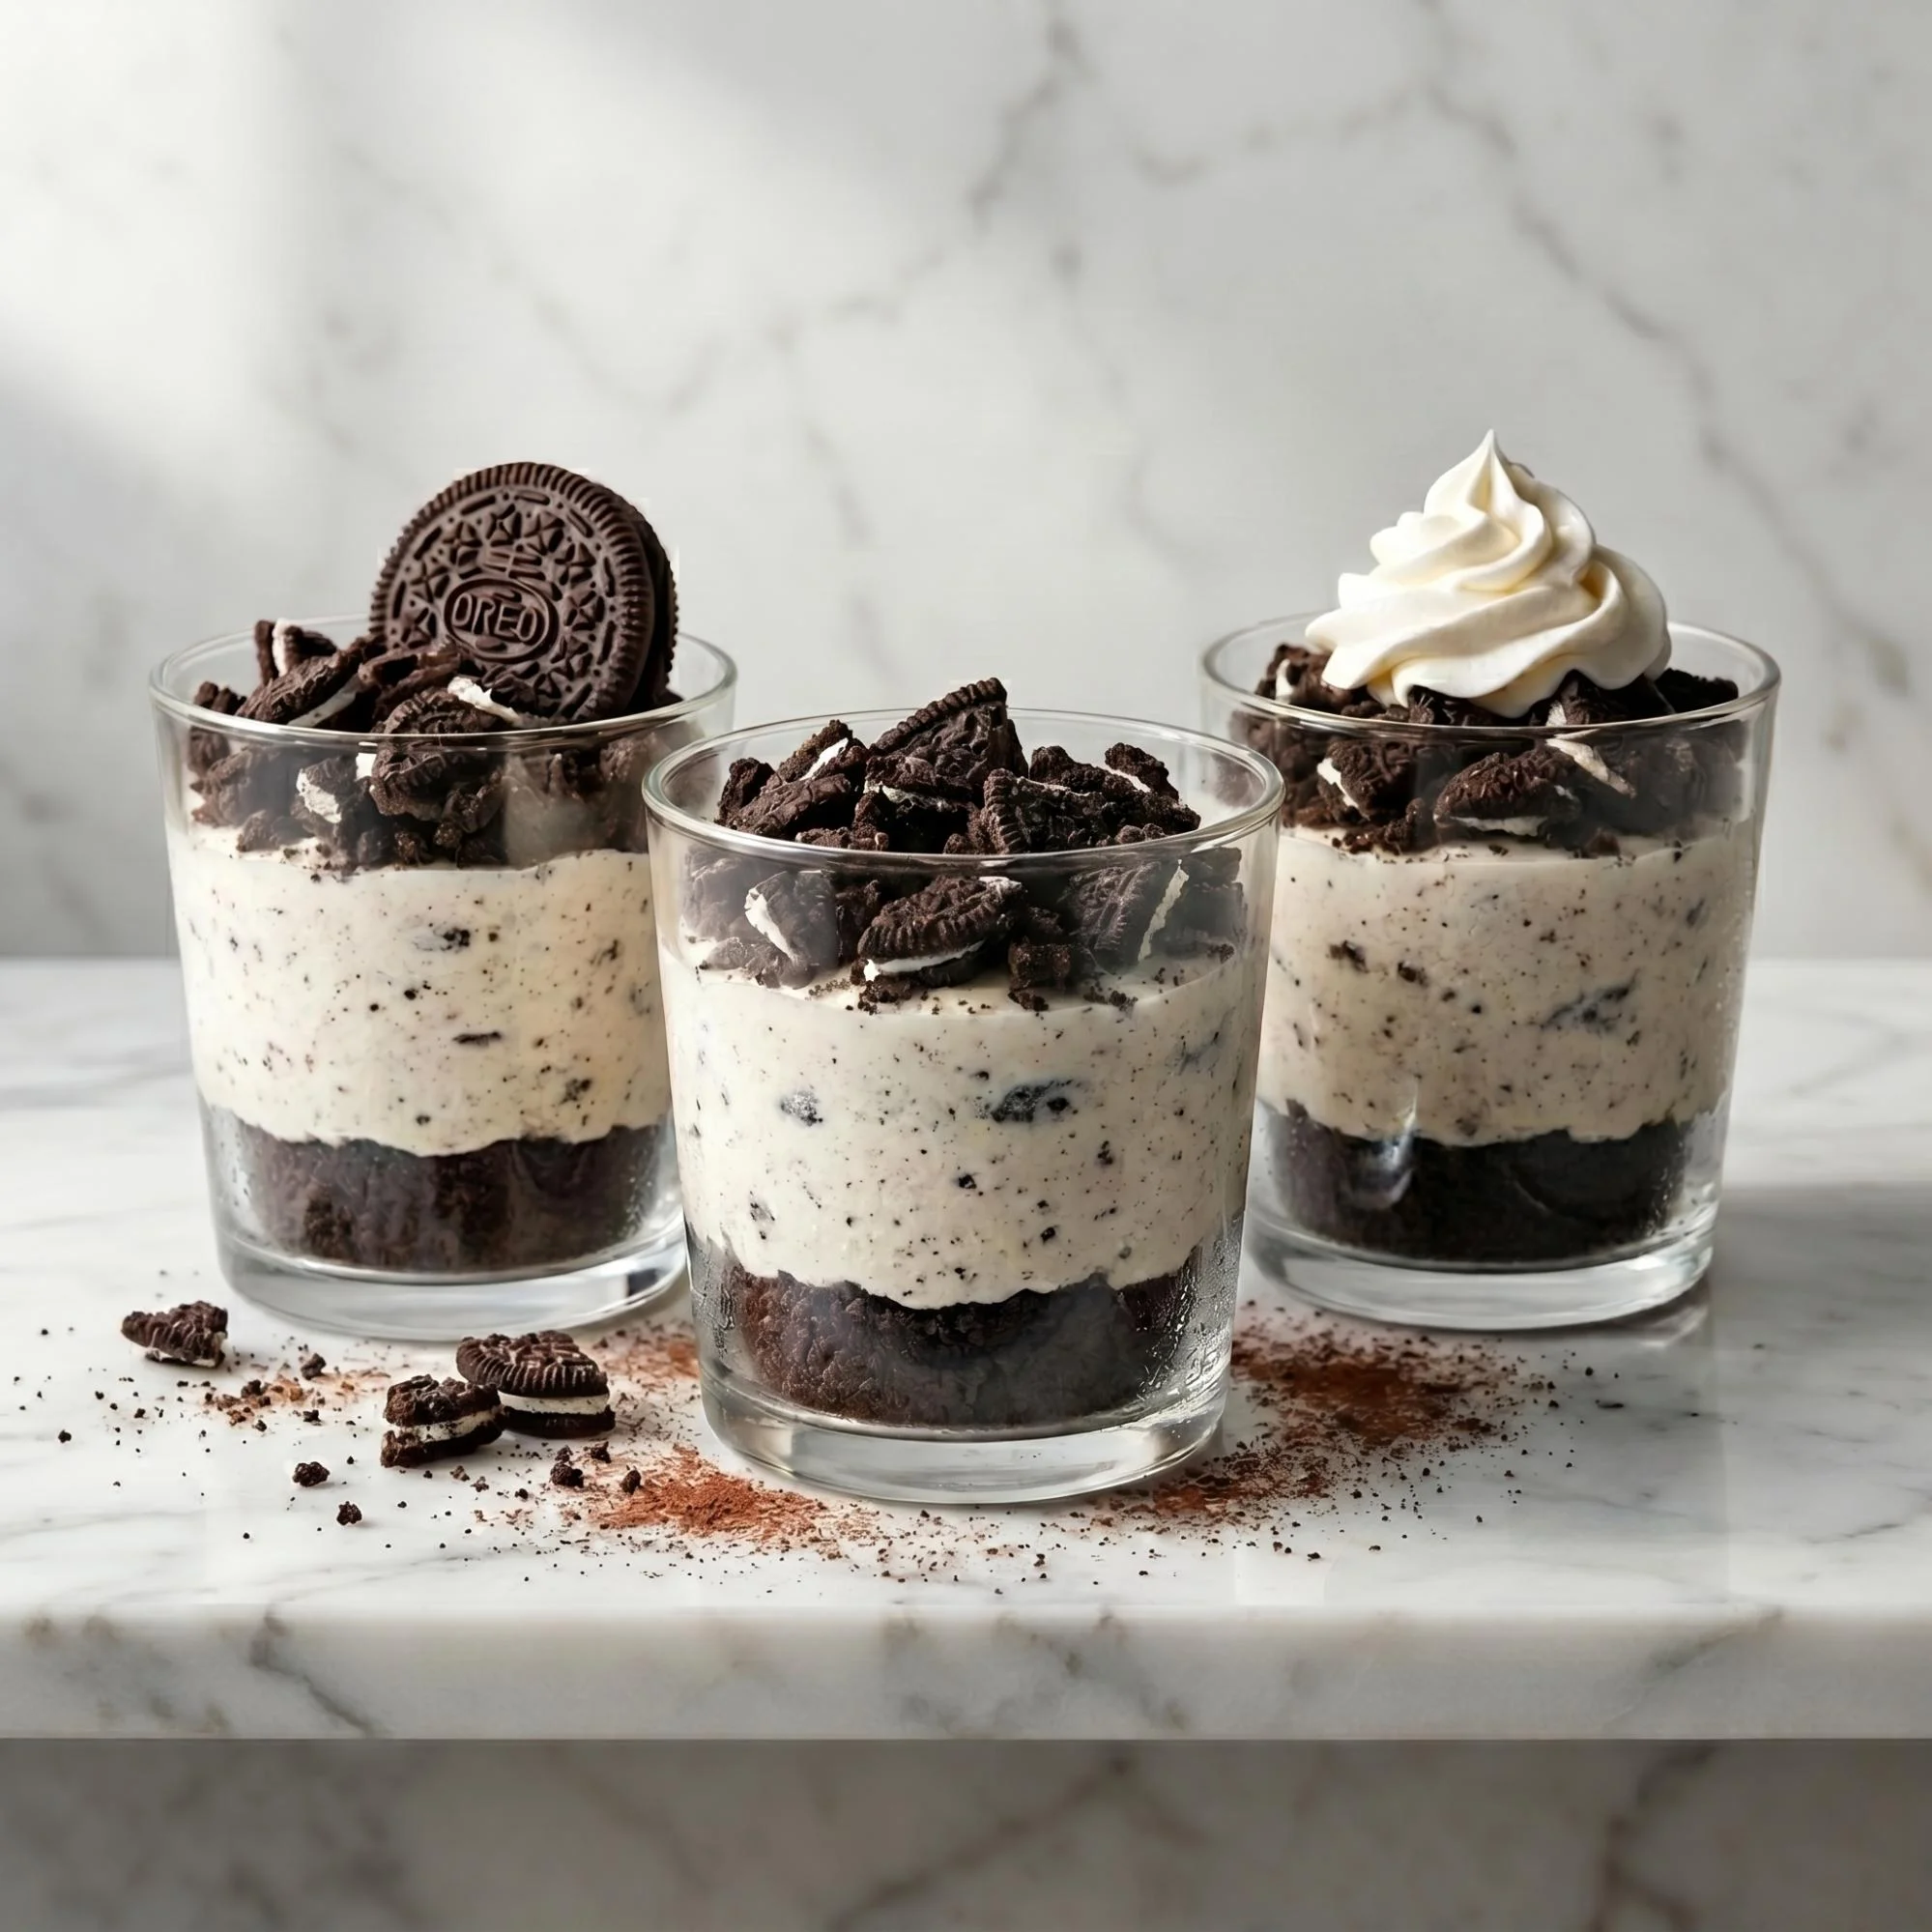
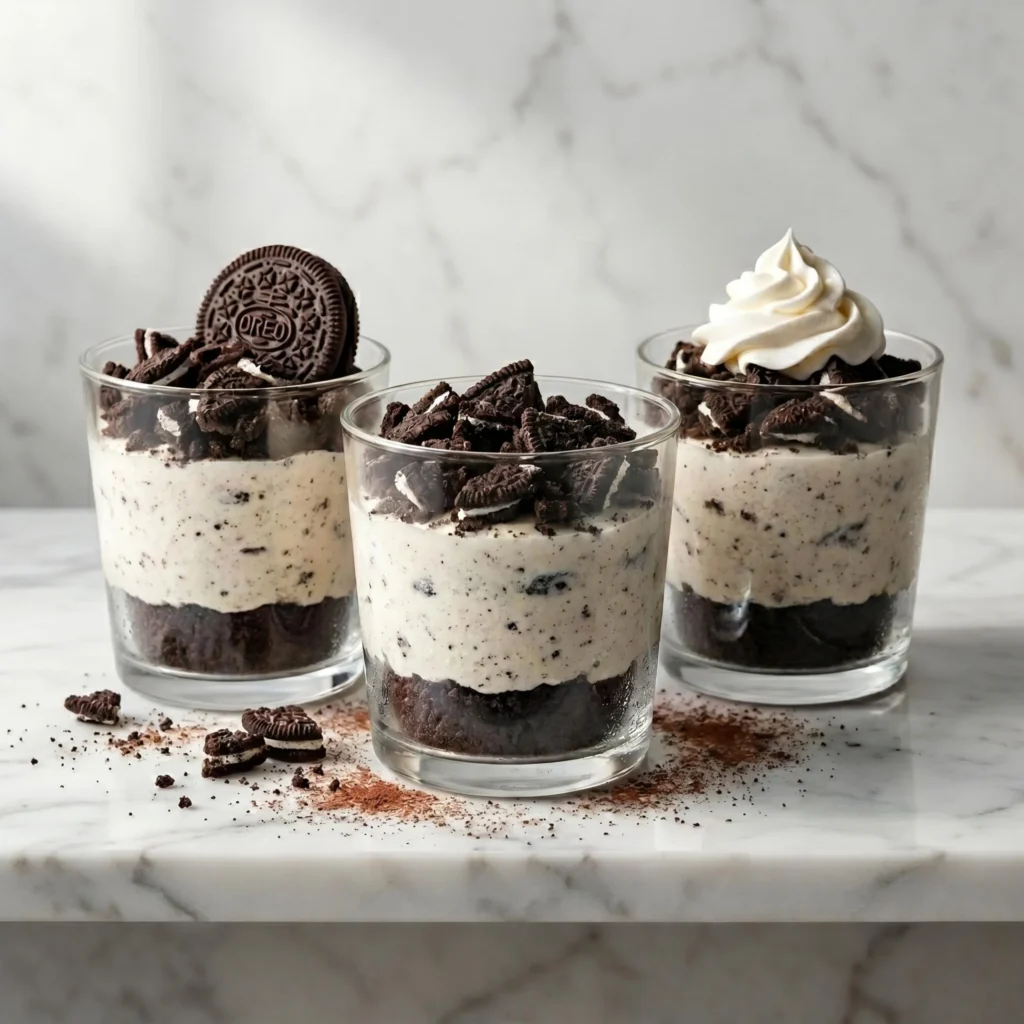
There is something incredibly joyful about digging a spoon into a beautifully layered dessert glass to reveal the perfect ratio of creamy vanilla filling and crunchy chocolate cookies. Whether you’ve seen aesthetic dessert jars taking over your social media feeds or enjoyed a gourmet parfait at a high-end restaurant, this no bake Oreo cheesecake cups recipe. featuring a buttery cookie crust, a velvety cookies-and-cream filling, and a generous topping of crushed cookies. is the ultimate effortless dessert. Once you try this incredibly simple, highly photogenic dessert at home, you may never turn on your oven for a traditional cheesecake again.
Whether you are prepping for a summer barbecue, hosting a weekend dinner party, or simply styling a vibrant, mouthwatering treat for your culinary feed, these cups deliver flawlessly. The dark, rich crumbles of chocolate cookies contrasting against a fluffy, speckled white cheesecake filling look absolutely breathtaking. The best part? You only need standard baking staples, a package of your favorite sandwich cookies, and a little bit of chill time. Let’s walk through everything step-by-step so you can master these viral, fun-filled dessert cups perfectly on your first try.
Why Make No Bake Oreo Cheesecake Cups at Home?
If you’ve only ever bought heavy, dense cheesecake slices from the bakery, you’re in for a wonderful surprise. A homemade no-bake cheesecake cup is:
- Completely oven-free: No water baths, no cracking, and no heating up your kitchen on a warm day.
- Perfectly portioned: Individual glasses or jars mean no messy slicing or fighting over the biggest piece.
- Budget-friendly: A few pantry staples and a package of cookies cost a fraction of a custom bakery order.
- Highly customizable: Swap the classic chocolate Oreos for mint, golden, or peanut butter varieties to match a specific theme.
- Visually stunning: The distinct layers of dark cookie crust, speckled filling, and a swirl of whipped cream create a camera-ready, highly textured aesthetic.
And honestly, the flavor difference is undeniable. A freshly whipped cream cheese filling boasts a light, mousse-like texture that pre-made, gelatin-heavy commercial versions simply cannot match.
Ingredients for the No Bake Cheesecake Cups
One of the reasons this recipe works so well is its sheer simplicity. You likely already have most of these dessert essentials in your kitchen. You’ll need:
For the Cookie Crust & Topping:
- 24 classic Oreo cookies (Standard, not Double Stuf, so the crust isn’t too greasy!)
- 3 tablespoons unsalted butter, melted
For the Cheesecake Filling:
- 1 block (8 oz) full-fat cream cheese, softened to room temperature
- ⅓ cup powdered sugar
- 1 teaspoon pure vanilla extract
- 1 cup heavy whipping cream, very cold
- 5 to 6 additional Oreo cookies, roughly chopped (for folding into the filling)
For Garnish (Optional but recommended):
- Extra whipped cream
- Whole or halved Oreo cookies
- A dusting of cocoa powder or chocolate cookie crumbs
Step-by-Step No Bake Oreo Cheesecake Cups Recipe
Follow these simple steps for a perfectly fluffy, deeply chocolaty dessert every time.
Step 1: Crush the Cookies Place the 24 Oreos (entire cookies, filling included!) into a food processor and pulse until they become fine crumbs. Alternatively, place them in a zip-top bag and crush them with a rolling pin. Transfer about ¼ cup of these crumbs to a small bowl and set aside for your topping.
Step 2: Make the Crust Pour the melted butter into the remaining crushed cookies and stir until the mixture resembles wet sand. Divide this buttery crumb mixture evenly among 4 to 6 small glasses or jars (depending on the size of your cups). Gently press the crumbs down to form an even bottom layer. Set aside.
Step 3: Whip the Heavy Cream In a medium bowl, use a hand mixer to beat the cold heavy whipping cream on medium-high speed until stiff peaks form (about 3 to 4 minutes). Set the whipped cream aside in the refrigerator.
Step 4: Beat the Cream Cheese In a separate large bowl, beat the room-temperature cream cheese, powdered sugar, and vanilla extract until completely smooth, creamy, and free of any lumps.
Step 5: Fold and Combine Remove your whipped cream from the fridge. Using a silicone spatula, very gently fold the whipped cream into the cream cheese mixture. Take your time. you want to keep the mixture as light and airy as possible. Once combined, gently fold in the 5 to 6 roughly chopped Oreos.
Step 6: Assemble the Cups Spoon or pipe the fluffy cheesecake filling directly over the crust in your glasses, filling them almost to the top. (Pro tip: A piping bag makes this completely mess-free and keeps the sides of your glass perfectly clean!)
Step 7: Chill and Decorate Top the cups generously with the reserved crushed cookies. Place the glasses in the refrigerator to chill and set for at least 2 to 3 hours. Right before serving, pipe a swirl of fresh whipped cream on top and garnish with a whole Oreo cookie.
Pro Tips for Perfect Cheesecake Cups
Small details make a big difference when making no-bake desserts from scratch.
- Room temperature cream cheese is non-negotiable: If your cream cheese is cold, it will not blend smoothly with the sugar, resulting in an unappetizing, lumpy filling.
- Keep the heavy cream cold: While the cream cheese needs to be warm, your heavy whipping cream needs to be straight-from-the-fridge cold to whip up to its maximum volume.
- Don’t remove the cookie filling: When crushing the Oreos for the crust, leave the cream centers intact! The cream acts as a binder, meaning you need less melted butter to hold the crust together.
How to Store Homemade Cheesecake Cups
Freshly made no-bake cheesecake cups can be covered tightly with plastic wrap and stored in the refrigerator for up to 3 days. The cookie crust will soften slightly the longer it sits, but the flavor will remain incredible.
You can also freeze them! If you want a treat that eats almost like an ice cream sundae, assemble the cups (without the fresh whipped cream garnish) and freeze them for up to 1 month. Let them sit at room temperature for about 15 minutes before digging in.
Ways to Customize Your Cheesecake Cups
Now comes the fun part. This versatile vanilla and cream cheese base is perfect for experimenting.
- Holiday themes: Swap the classic Oreos for seasonal flavors like peppermint during the holidays, or use orange-creme Oreos for Halloween.
- Peanut butter paradise: Add 3 tablespoons of creamy peanut butter to the cream cheese mixture in Step 4, and swap the Oreos for peanut butter sandwich cookies.
- Fudge drizzle: Add a hidden layer of hot fudge or chocolate ganache directly on top of the cookie crust before adding the cheesecake filling.
Frequently Asked Questions
Can I use Cool Whip instead of heavy whipping cream? Yes! If you are short on time, you can substitute 8 ounces (about 3 cups) of thawed whipped topping (like Cool Whip) in place of the freshly whipped heavy cream. Simply fold it directly into the cream cheese mixture.
Why is my cheesecake filling runny? Runny filling usually happens if the heavy cream wasn’t whipped to stiff peaks, or if the mixture was stirred too aggressively rather than gently folded. Always use a spatula and a light hand when combining your dairy!
Can I make this as a whole pie instead of cups? Absolutely. Press the crust mixture into the bottom and slightly up the sides of a 9-inch pie dish or springform pan. Add the filling, smooth the top, and chill for at least 6 hours (or overnight) until firm enough to slice.
Final Thoughts
This easy no bake Oreo cheesecake cups recipe proves that making a show-stopping, trendy dessert from scratch doesn’t have to be complicated or require turning on the oven. With just a few staple ingredients, a gentle folding technique, and the classic crunch of chocolate sandwich cookies, you can create a joyful, incredibly delicious treat that completely transforms any gathering.
Once you dig your spoon into that first glass, revealing a perfectly fluffy mousse studded with cookies over a buttery chocolate crust, you’ll understand why this recipe is so beloved. So grab your mixing bowls, crush some cookies, and enjoy the simple joy of making beautiful, bakery-worthy dessert cups right at home!