Classic Nilla Wafer Banana Pudding Recipe
This classic Nilla wafer banana pudding recipe is the perfect comforting dessert for a family gathering, potluck, or weekend treat. It combines the rich, creamy sweetness of vanilla pudding with fresh, ripe bananas and the nostalgic bite of Nilla wafers that soften into delicious cake-like layers. Made with just a few simple ingredients, it is a delicious, crowd-pleasing, and easy-to-make alternative to complicated baked goods. If you are looking for a stunning, layered dessert that takes minimal effort, let’s get right into it!
Why You Will Love This Recipe
If you’ve been stuck in a dessert rut of standard chocolate chip cookies or boxed brownies, you are going to fall in love with this method. This banana pudding is:
- Texturally perfect: Chilling the dessert allows the crisp vanilla wafers to absorb the pudding, transforming them into a soft, cake-like texture that melts in your mouth.
- Highly customizable: You can easily elevate it with a drizzle of salted caramel, a sprinkle of cinnamon, or toasted pecans on top.
- Made with basic staples: You only need a box of vanilla wafers, fresh bananas, instant pudding, milk, and whipped cream.
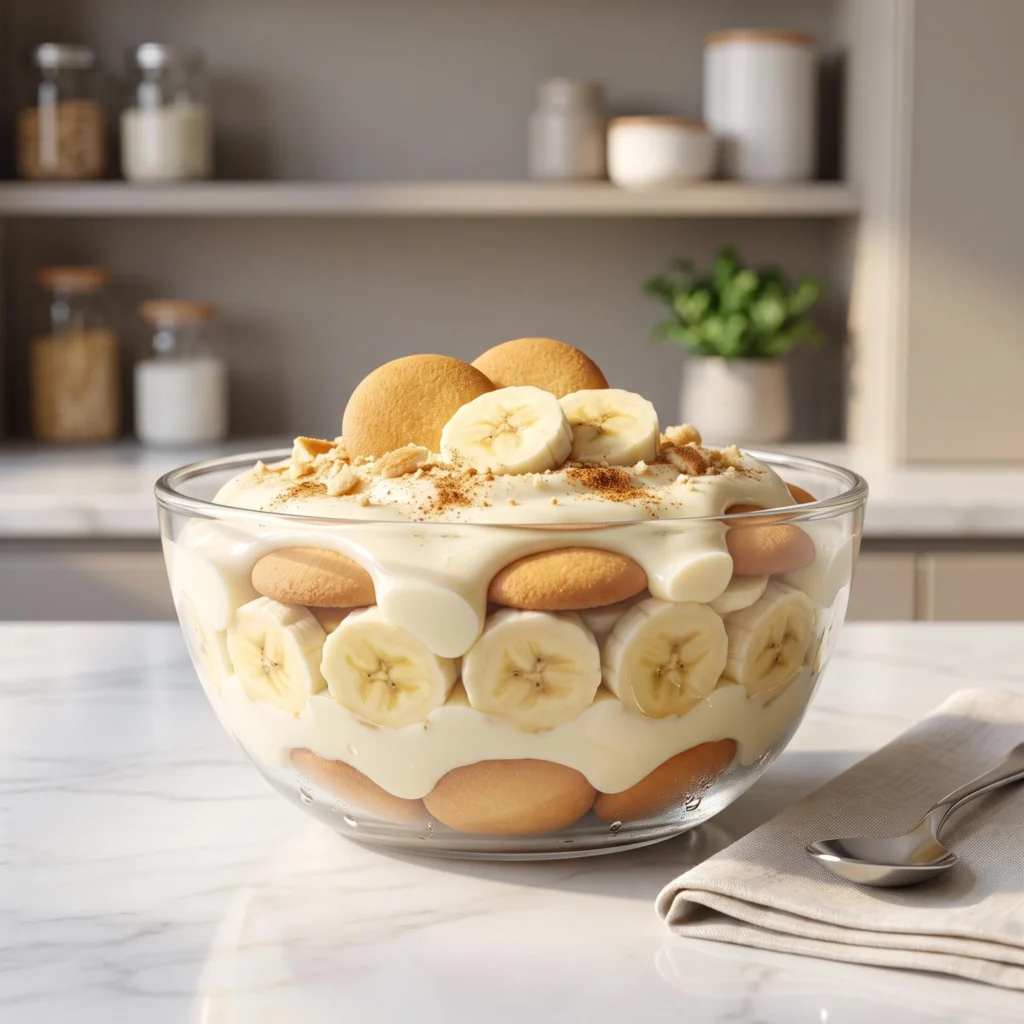
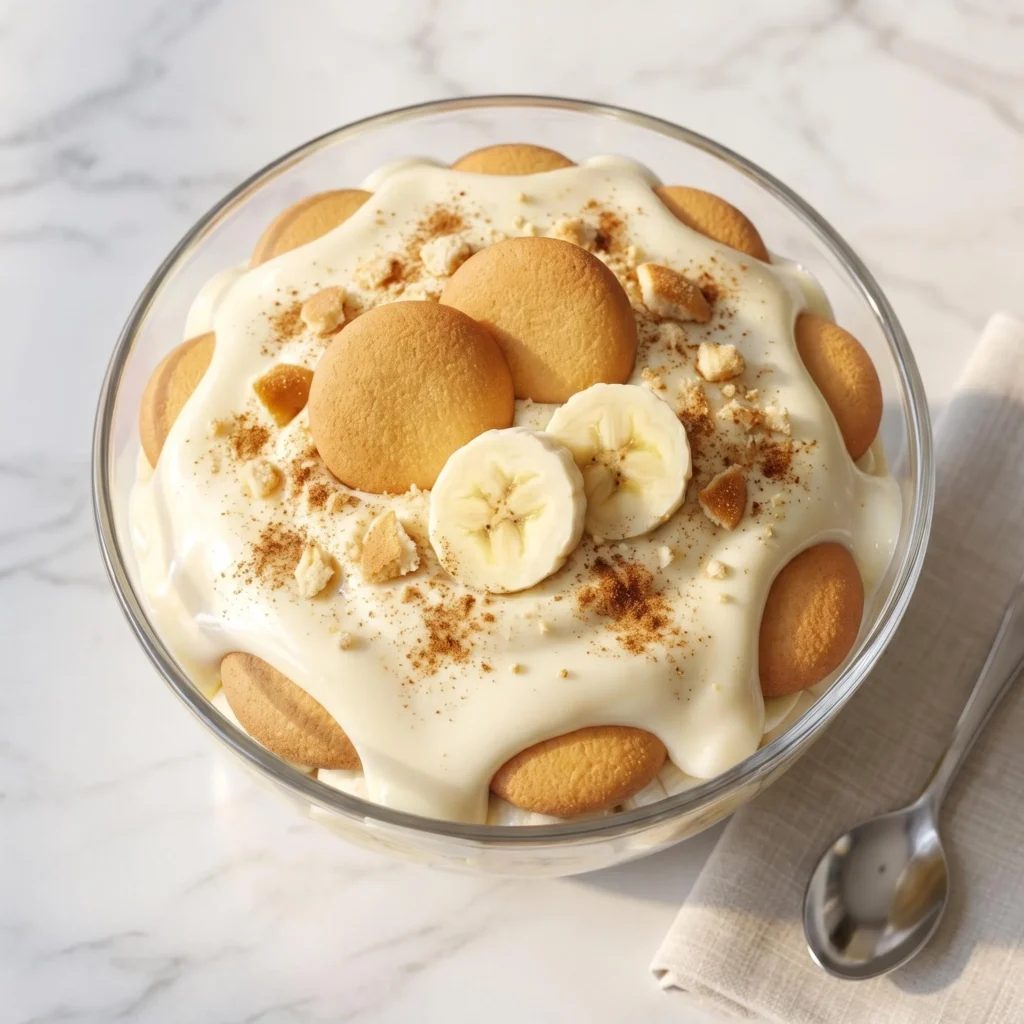
- Visually gorgeous: Serving it in a clear glass trifle bowl or serving dish beautifully displays the distinct, mouth-watering layers of fruit, cookies, and cream.
Ingredients You Will Need
The beauty of this recipe lies in its sheer simplicity. To get that perfect creamy and sweet layered dessert, you will need:
- 1 box (11 oz) Nilla Wafers (plus a few extra crushed for the topping)
- 4 to 5 medium ripe bananas, sliced into rounds
- 1 package (5.1 oz) instant vanilla or French vanilla pudding mix
- 2 cups cold milk
- 1 can (14 oz) sweetened condensed milk
- 1 tub (8 oz) whipped topping, thawed (or 2 cups freshly whipped heavy cream)
Step-by-Step Instructions for Nilla Wafer Banana Pudding
Follow these easy steps. I’ve broken them down into quick, bite-sized pieces so you can achieve maximum dessert perfection without any stress!
- Step 1: Mix the Pudding Base. In a large mixing bowl, whisk together the instant vanilla pudding mix and the cold milk until well combined and slightly thickened (about 2 minutes). Whisk in the sweetened condensed milk until smooth.
- Step 2: Fold in the Cream. Gently fold the thawed whipped topping (or whipped heavy cream) into the pudding mixture using a rubber spatula. Fold until no white streaks remain.
- Step 3: Start the Layers. Spread a thin layer of the pudding mixture at the bottom of a large glass bowl or trifle dish. Cover the pudding with an even layer of Nilla wafers, followed by an even layer of sliced bananas.
- Step 4: Build the Bowl. Repeat the layering process: pudding, wafers, bananas. Continue until you reach the top of the bowl, ensuring your final, top layer is a generous spread of the creamy pudding mixture.
- Step 5: Garnish, Chill, and Serve. Garnish the top with whole Nilla wafers, a few fresh banana slices, and a dusting of crushed wafers. Cover the bowl tightly with plastic wrap and refrigerate for at least 4 hours (or overnight) to let the cookies soften.
Pro Tips for the Ultimate Dessert
Small adjustments can take your banana pudding from good to absolute perfection.
- Pick the right bananas: Look for bananas that are yellow and ripe, but free of large brown spots. If they are too ripe, they will become mushy; if they are too green, they will lack that sweet banana flavor.
- Do not skip the chill time: The magic of this dessert happens in the fridge. Letting it rest for at least 4 hours is absolutely crucial for the wafers to soften into that signature cakey texture.
- Prevent brown bananas: To keep your top garnish bananas from turning brown, dip them lightly in a bit of lemon juice or wait to add the final banana slice garnish until right before serving. Keep the bananas inside the layers completely covered by pudding to protect them from the air.
What to Serve with Nilla Wafer Banana Pudding
This versatile, cooling dessert is a staple at gatherings and pairs beautifully with almost anything.
- For summer BBQs: Serve it as the grand finale after a meal of smoked brisket, pulled pork sandwiches, or grilled burgers.
- With a beverage: It pairs beautifully with a hot cup of black coffee or a tall glass of iced sweet tea to balance out the richness of the pudding.
- Miniature style: Instead of one large bowl, build the layers into individual mason jars or small glass cups for a beautiful, grab-and-go party presentation.
How to Store Nilla Wafer Banana Pudding
Have leftovers? It is incredibly easy to save for later, though it rarely lasts long!
- In the Fridge: Store the pudding tightly covered with plastic wrap in the refrigerator for up to 3 days. The wafers will continue to soften each day.
- How to Refresh: If you are serving it on day two or three, sprinkle a fresh handful of crushed Nilla wafers on top right before serving to add a little bit of crunch back into the dish.
- In the Freezer: Freezing this dessert is not recommended. The bananas will turn black and mushy, and the pudding will separate and become watery once thawed.
Frequently Asked Questions
- Can I make this a day ahead of time? Yes! In fact, making it 12 to 24 hours in advance yields the best results because it gives the wafers plenty of time to soften and the flavors time to meld together perfectly.
- Can I use a homemade pudding instead of a boxed mix? Absolutely. If you have a favorite homemade vanilla custard or pudding recipe, you can easily substitute it. Just ensure it is completely cooled before you begin layering.
- Do I have to use sweetened condensed milk? The sweetened condensed milk adds a signature richness and density to the pudding. However, if you prefer a lighter, less sweet dessert, you can omit it and simply fold your whipped cream directly into the prepared boxed pudding.
Final Thoughts
This Nilla wafer banana pudding recipe is proof that making a show-stopping, nostalgic dessert doesn’t require turning on your oven. With some quick mixing, simple layering, and a little patience while it chills, you get the ultimate sweet, creamy spoonful every single time. Whip up a bowl for your next gathering, and I promise it’ll become a permanent favorite on your dessert table!