Walking Taco Casserole Recipe: Cheesy, Crunchy, and Crowd-Pleasing
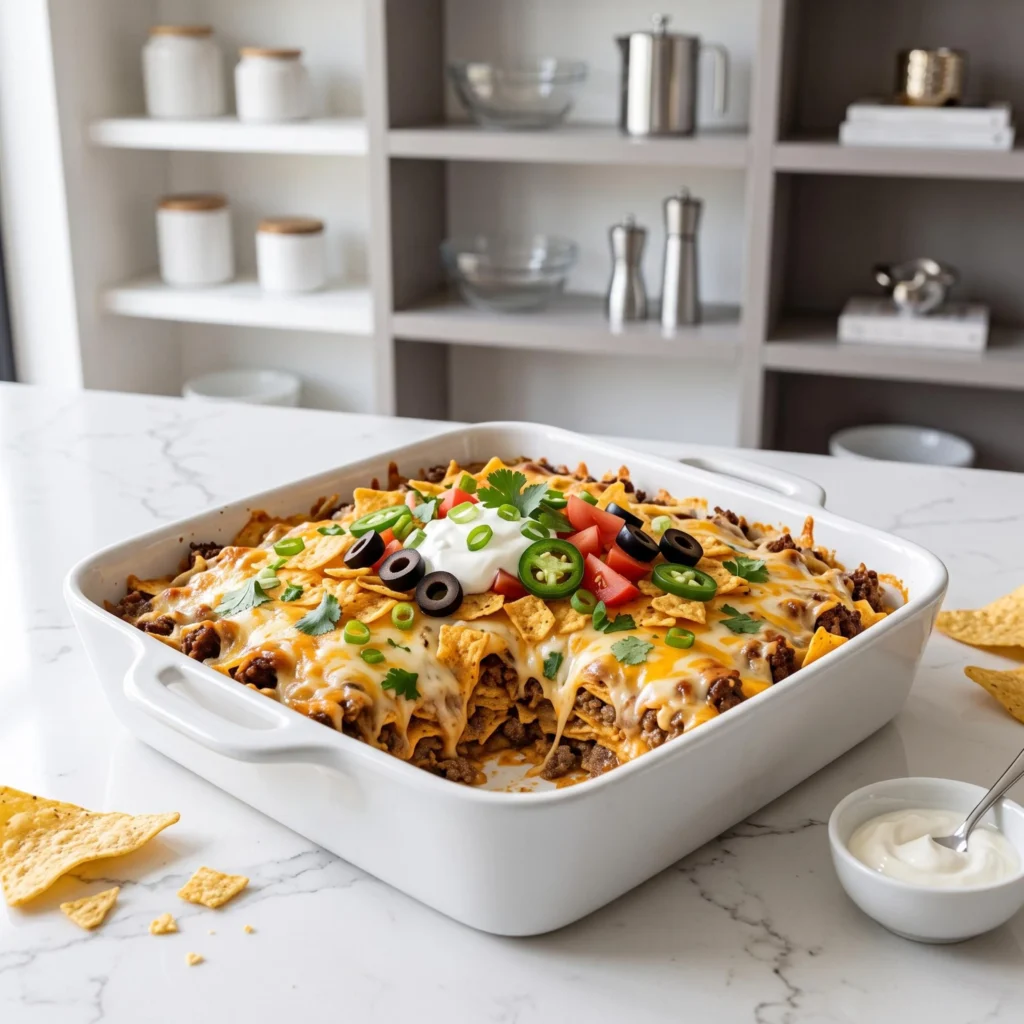
This walking taco casserole recipe is the perfect comforting dinner for busy weeknights or game-day gatherings. It takes all the incredible flavors of a classic fairground walking taco—savory seasoned beef, gooey melted cheese, and a satisfying corn chip crunch—and transforms them into an easy-to-slice, family-style bake. Made with just a few simple pantry staples, it is a delicious, crowd-pleasing, and effortless alternative to assembling individual tacos. If you are looking for a quick, hearty meal that takes minimal prep but perfectly reflects the high standards of your Kitchen Mastery Secrets, let’s get right into it.
Why You Will Love This Recipe
If you’ve been stuck in a rut of serving standard taco Tuesdays with messy, hard-to-fill shells, you are going to fall in love with this method. This walking taco casserole is:
- Texturally perfect: Baking the seasoned meat over a bed of sturdy corn chips softens the bottom layer slightly for a tamale-like bite, while the top layer remains incredibly crunchy beneath the melted cheese.
- Highly customizable: You can easily swap the ground beef for turkey, mix in a can of black beans, or change up the flavor profile by using spicy nacho cheese chips instead of classic corn chips.
- Made with basic staples: You only need a bag of your favorite corn chips, ground meat, a packet of taco seasoning, shredded cheese, and your go-to fresh toppings.
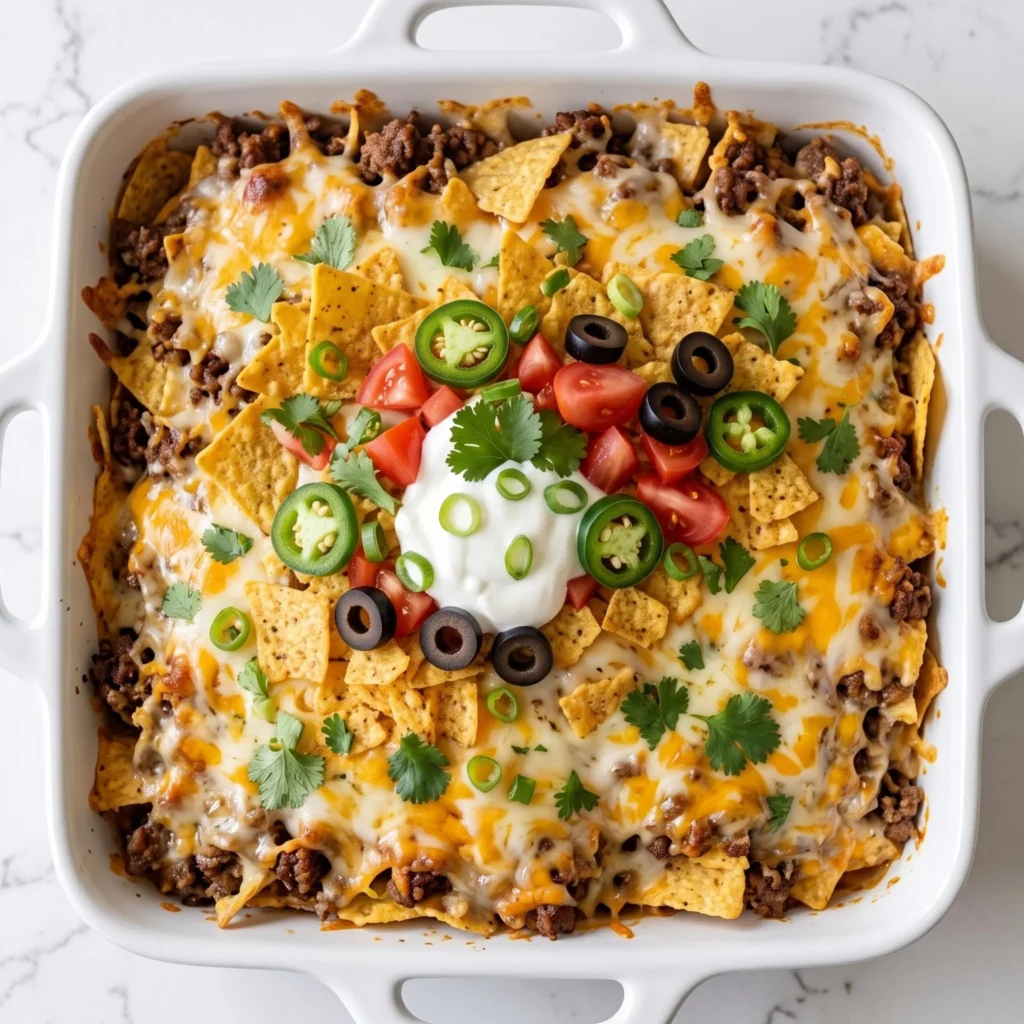
- Visually gorgeous: The bubbling golden cheese topped with vibrant red tomatoes, black olives, and bright green jalapeños creates a picture-perfect aesthetic that is guaranteed to shine on your Kitchen Mastery Secrets Pinterest boards.
Ingredients You Will Need
The beauty of this recipe lies in its sheer simplicity and comforting flavor profile. To get that perfect savory crunch, you will need:
- 1 large bag (about 9 oz) of corn chips (like Fritos) or tortilla chips (like Doritos)
- 1 pound lean ground beef
- 1 small yellow onion, finely diced
- 1 packet (or 2 tablespoons) of your favorite taco seasoning
- 1 can (4 oz) diced green chiles, undrained
- 2 cups shredded Mexican blend or cheddar cheese
- For the toppings: Sour cream, diced tomatoes, sliced black olives, pickled jalapeños, and fresh cilantro
Step-by-Step Instructions for Walking Taco Casserole
Follow these easy steps. I’ve broken them down into quick, bite-sized pieces so you can achieve maximum flavor without any stress.
- Step 1: Prep the Oven Preheat your oven to 375°F (190°C). Lightly grease a 9×13-inch baking dish with non-stick cooking spray to prevent the cheesy edges from sticking.
- Step 2: Brown the Meat Heat a large skillet over medium-high heat. Add the ground beef and diced onion. Cook until the meat is fully browned and the onions are soft, breaking the meat apart as it cooks. Drain any excess fat.
- Step 3: Season the Base Stir the taco seasoning, diced green chiles, and a splash of water (about 1/4 cup) into the skillet. Reduce the heat and let it simmer for 3 to 5 minutes until the liquid reduces and coats the meat in a thick sauce.
- Step 4: Layer the Casserole Spread the corn chips evenly across the bottom of your prepared baking dish (reserve a small handful to crush over the very top if you like extra crunch). Spoon the hot meat mixture evenly over the chips. Sprinkle the shredded cheese generously over the meat.
- Step 5: Bake and Garnish Bake uncovered for 15 to 20 minutes, or until the cheese is completely melted and bubbling at the edges. Remove from the oven, let it rest for 5 minutes, and then load it up with your favorite cold toppings like sour cream, tomatoes, and olives.
Pro Tips for the Ultimate Casserole
Small adjustments can take your casserole from good to absolute perfection.
- Don’t crush the base chips: Leave the chips on the bottom layer whole. Crushing them up too fine will cause them to absorb the meat juices too quickly and turn into mush.
- Grate your own cheese: For the best, most luxurious cheese pull, buy a block of cheddar or Monterey Jack and grate it yourself. Pre-shredded bags have anti-caking powders that prevent them from melting smoothly.
- Serve toppings on the side: If you are feeding picky eaters or a large crowd, serve the baked casserole plain and set up a “topping bar” with bowls of sour cream, jalapeños, and salsa so everyone can customize their own slice.
What to Serve with Walking Taco Casserole
This versatile, hearty dish is a meal all on its own, but pairs beautifully with fresh, zesty sides.
- As a main: Serve it alongside a crisp romaine lettuce salad dressed with a tangy cilantro-lime vinaigrette to cut through the richness of the cheese and beef.
- As party food: Pair this warm, savory bake with a tall, ice-cold pitcher of tropical fruit agua fresca or classic margaritas.
- Loaded style: Serve it with a side of warm, creamy queso dip and homemade chunky guacamole for the ultimate Mexican-inspired feast.
How to Store Walking Taco Casserole
Have leftovers? It is easy to save for later, though chip-based casseroles are always best enjoyed fresh.
- In the Fridge: Store leftover slices in an airtight container in the refrigerator for up to 3 days. Keep the fresh, cold toppings stored separately.
- How to Re-heat: Please skip microwaving it if you want to retain any crunch! Instead, place portions on a baking sheet in a 350°F (175°C) oven or an air fryer for 5-8 minutes to crisp the chips back up and remelt the cheese.
- In the Freezer: Freezing the fully assembled casserole is not recommended, as the chips will become unpleasantly soggy when thawed. You can, however, freeze the cooked taco meat mixture for up to 3 months.
Frequently Asked Questions
Can I use ground turkey or chicken? Absolutely. Ground turkey or ground chicken are excellent, leaner substitutes for the beef. Since they have less fat, you may want to add a tiny drizzle of olive oil to the pan when sautéing the onions.
Which chips work best: Fritos or Doritos? It comes down to personal preference! Fritos hold up to the moisture of the meat slightly better and give a classic “fairground” flavor, while Nacho Cheese Doritos provide an extra layer of cheesy, savory seasoning.
Can I prep this ahead of time? You can cook the taco meat mixture a day or two in advance and store it in the fridge. When you are ready for dinner, simply warm the meat up slightly, assemble the layers in your baking dish, and pop it in the oven.
Final Thoughts
This walking taco casserole recipe is proof that making a show-stopping, family-friendly dinner doesn’t have to require hours in the kitchen. With a quick skillet meat sauce, a simple layered assembly, and a hot oven, you get the ultimate crunchy, cheesy bite every single time. Try it today, and I promise it’ll become a permanent favorite in your weekly dinner rotation.