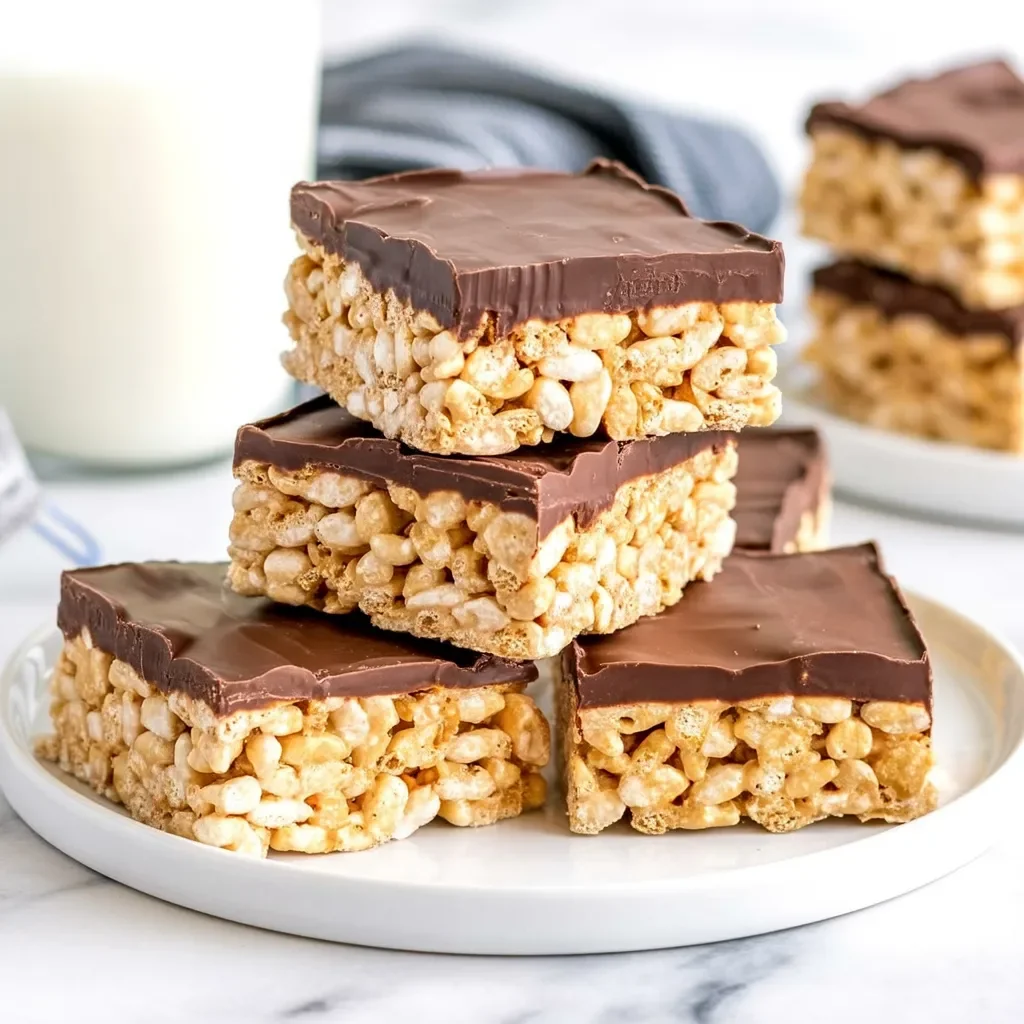
Chocolate Covered Peanut Butter Rice Krispie Treats: A Delicious Twist on a Classic Treat
Rice Krispie treats are a timeless favorite, loved by all ages for their simplicity, crunch, and sweetness. However, what if you could elevate this classic snack by adding a layer of rich chocolate and a creamy peanut butter base? Enter the Chocolate Covered Peanut Butter Rice Krispie Treats. These indulgent bites are an irresistible combination of sweet, salty, and crunchy. Whether you’re hosting a family gathering, looking for a quick snack, or craving something sweet, these treats are sure to hit the spot.
In this article, we’ll show you how to make this mouthwatering snack from scratch, and we’ll explore why these treats have become a new favorite for many. Let’s dive right in and discover how to make the best Chocolate Covered Peanut Butter Rice Krispie Treats that everyone will love.
Ingredients You’ll Need
Before you embark on making these delicious treats, it’s essential to gather all the necessary ingredients. This recipe uses simple pantry staples that you may already have in your kitchen, making it easy to whip up on a whim. Here’s what you’ll need:
For the Rice Krispie Base:
- 3 cups Rice Krispies cereal – This provides the crunchy texture that forms the foundation of the treat.
- 1 cup creamy peanut butter – This gives the treats a smooth, rich flavor and adds a little bit of savory to balance the sweetness of the chocolate.
- 1/2 cup unsalted butter – A must for binding the ingredients together, while also providing that melt-in-your-mouth texture.
- 1 cup powdered sugar – This adds sweetness and helps to give the treats a slightly firmer texture.
- 1 teaspoon vanilla extract – A touch of vanilla rounds out the flavors and enhances the taste of the peanut butter and chocolate.
For the Chocolate Coating:
- 1 1/2 cups chocolate chips (milk, dark, or semi-sweet) – The chocolate coating is what really elevates this treat. You can choose any type of chocolate you like, though semi-sweet or dark chocolate offers a richer, more balanced flavor that complements the peanut butter well.
Step-by-Step Instructions
Now that you have everything you need, let’s get started. The process is simple and doesn’t require any baking, making it a perfect recipe for beginners and busy home cooks alike. Here’s a detailed breakdown of how to make Chocolate Covered Peanut Butter Rice Krispie Treats:
Step 1: Prepare the Peanut Butter Mixture
In a large saucepan, melt the butter over medium heat. Once the butter has melted completely, add the peanut butter to the saucepan. Stir constantly until the peanut butter and butter are fully combined and smooth. This process should only take about 2 to 3 minutes. Once melted and smooth, add the powdered sugar and vanilla extract. Stir everything until it’s well incorporated into a smooth, creamy mixture. The sweetness of the powdered sugar will combine beautifully with the richness of the peanut butter.
Step 2: Add Rice Krispies
Once your peanut butter mixture is smooth and well-combined, remove the saucepan from the heat. Now it’s time to fold in the Rice Krispies cereal. Slowly add the cereal, stirring gently to make sure every piece of Rice Krispie is coated with the peanut butter mixture. Be careful not to crush the cereal too much as you stir—this will help keep the crunch intact for that perfect texture in the final treat.
Step 3: Press the Mixture into the Pan
Now that your Rice Krispie mixture is ready, transfer it to a greased 9×9-inch baking pan (or a slightly larger pan for thinner treats). Using a spatula or your hands, press the mixture evenly into the pan. Make sure it’s firmly packed so that your treats will hold together when you cut them. This step is important because it helps the treats set and ensures they have a cohesive structure. Allow the mixture to cool at room temperature for about 30 minutes.
Step 4: Prepare the Chocolate Coating
While your Rice Krispie mixture is cooling, it’s time to prepare the chocolate coating. In a microwave-safe bowl, place the chocolate chips. Microwave in 30-second intervals, stirring in between, until the chocolate is fully melted and smooth. You can also melt the chocolate using a double boiler if you prefer not to use the microwave. Once melted, pour the smooth chocolate over the cooled Rice Krispie mixture. Use a spatula to spread the chocolate evenly over the top, making sure it covers every inch of the treats.
Step 5: Let the Chocolate Set
After covering the treats with chocolate, let them set at room temperature for about 30 minutes. If you’re in a hurry, you can place the pan in the fridge for faster setting. As the chocolate cools and hardens, it will form a shiny, glossy finish that will add that perfect touch to the treats. Once the chocolate is fully set, you can cut the treats into squares or rectangles.
Step 6: Slice and Enjoy
Once the chocolate is set, it’s time to slice the treats into squares or rectangles. Use a sharp knife to cut them neatly. These treats are perfect for sharing with family and friends, or you can enjoy them yourself as a sweet snack. They also make great gifts or party favors—just place them in a cute box or tin for a thoughtful, homemade gift.
Why These Chocolate Covered Peanut Butter Rice Krispie Treats Are So Special
There are many reasons why these treats are becoming such a fan favorite. Here’s why they’re so irresistible:
A Perfect Combination of Sweet and Salty
The combination of creamy peanut butter and rich chocolate provides a perfect balance of sweet and salty flavors. Peanut butter gives these treats a savory depth, which is complemented by the smooth, slightly bitter chocolate. The contrast between the salty peanut butter and the sweet chocolate is one of the main reasons these treats are so addictive.
No-Bake and Easy to Make
These treats require no baking, making them perfect for people who want to enjoy homemade goodies without the time commitment. All it takes is a few simple steps: melt, mix, press, coat, and let set. They come together quickly, and the best part is that you don’t need any special baking skills. If you’re looking for a simple, no-fuss recipe, this is it.
Customizable for Every Taste
You can customize these treats to fit your taste. Use dark chocolate if you like a richer flavor, or opt for milk chocolate if you prefer something sweeter. You can also experiment with adding a sprinkle of sea salt on top of the chocolate for a salted caramel twist, or even drizzle caramel or white chocolate over the top for a layered effect. The possibilities are endless!
Great for Every Occasion
These chocolate-covered peanut butter Rice Krispie treats are versatile. Whether you’re preparing them for a birthday party, a family gathering, or a simple afternoon snack, they’re sure to impress. They also make a fantastic addition to any holiday spread—especially around Christmas or Thanksgiving when people are looking for easy, delicious treats.
Storage and Shelf Life
Once you’ve made these irresistible treats, you’ll want to store them properly to keep them fresh. Here’s how you can store your Chocolate Covered Peanut Butter Rice Krispie Treats:
- Room Temperature: Store them in an airtight container at room temperature for up to 5 days. The treats will stay fresh and crunchy with the perfect balance of chocolate and peanut butter.
- Refrigerator: If you want them to last longer, you can store them in the fridge for up to 2 weeks. The cold will help the chocolate stay firm and the treats will still taste amazing.
- Freezing: These treats freeze well too! Wrap them tightly in plastic wrap or foil and place them in a freezer-safe bag. They’ll last up to 3 months in the freezer. When you’re ready to enjoy them, simply thaw them at room temperature for an hour or so.
Final Thoughts
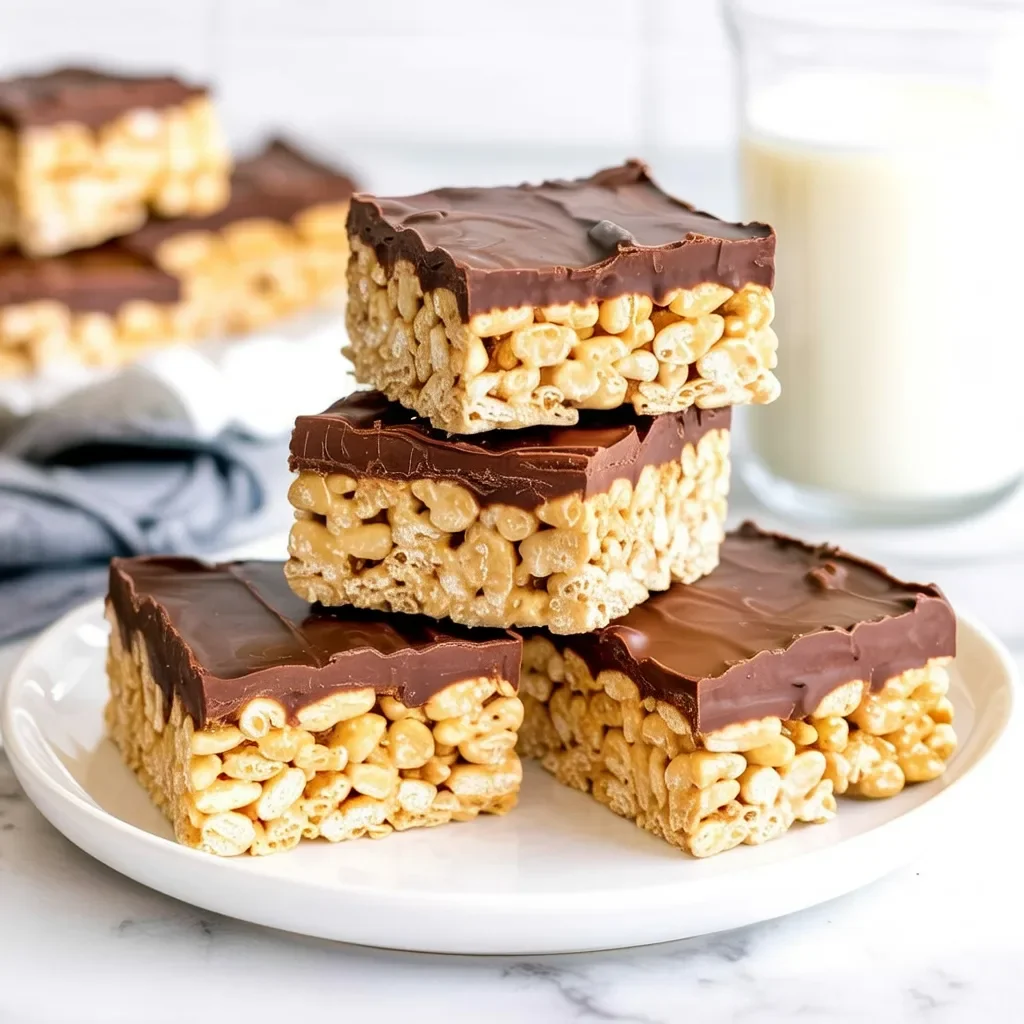
These Chocolate Covered Peanut Butter Rice Krispie Treats are the ultimate dessert for anyone who loves the combination of chocolate and peanut butter. They’re easy to make, versatile, and sure to impress anyone who tries them. With their rich, creamy peanut butter base, crunchy Rice Krispies, and glossy chocolate topping, these treats are truly a showstopper.
Whether you’re making them for a special occasion or simply craving a sweet snack, you can’t go wrong with this indulgent treat. So go ahead, grab your ingredients, and make these mouthwatering treats today! You won’t regret it.