Coconut Milk Chia Pudding Recipe for Beginners
Creamy, Nourishing, and Perfect for Any Time of Day
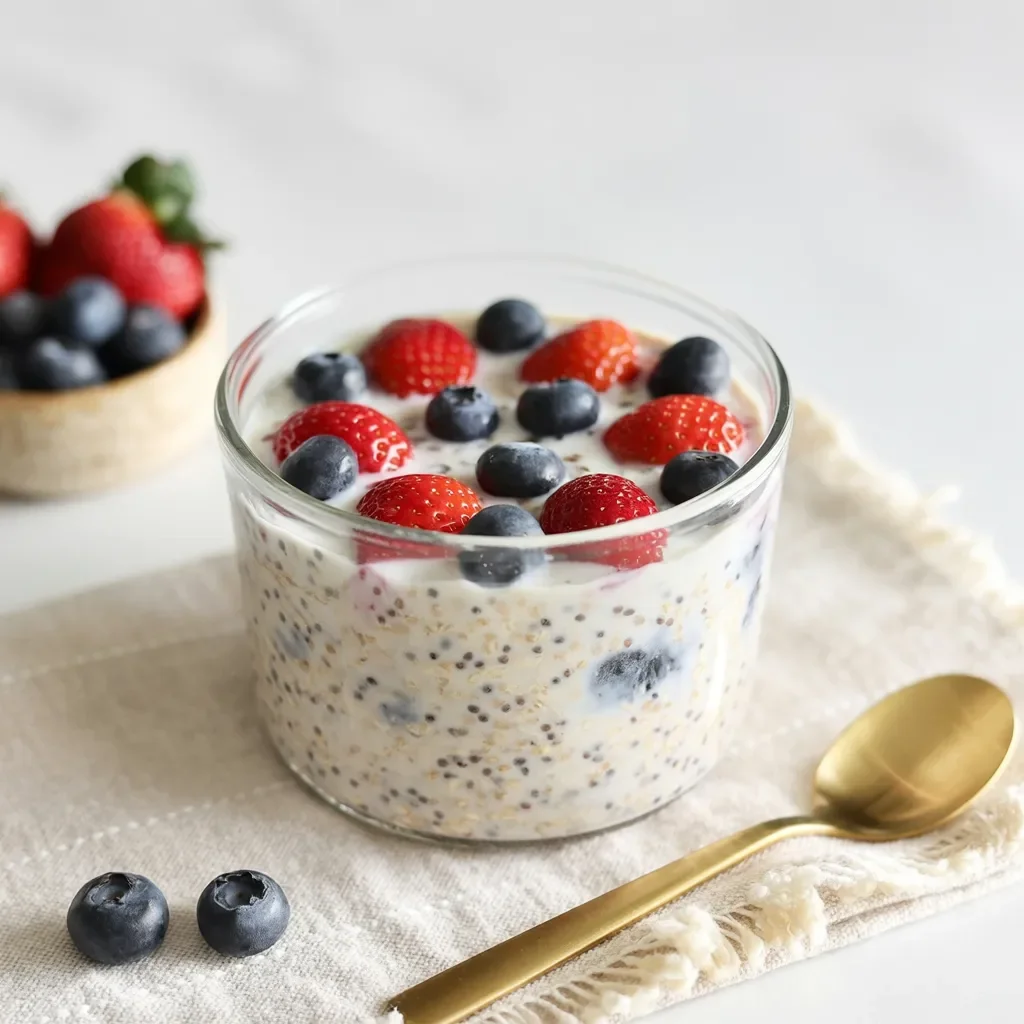
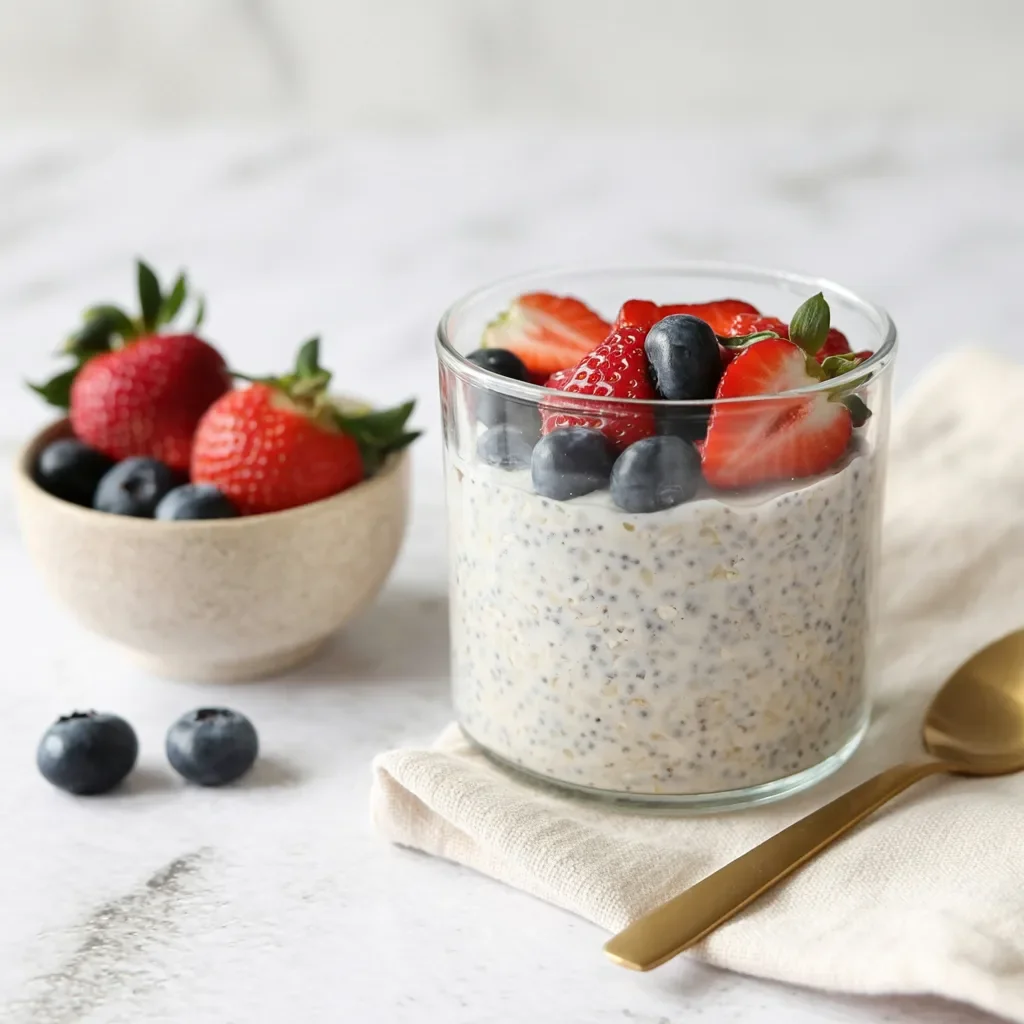
There’s something incredibly comforting about a creamy, chilled pudding that feels indulgent but is actually packed with nutrients. Coconut milk chia pudding is smooth, lightly sweet, and filled with tiny chia seeds that create a rich, satisfying texture. Once you try this easy coconut milk chia pudding recipe at home, you may never go back to store bought desserts again.
Whether you’re looking for a healthy breakfast, a quick snack, or a light dessert, this recipe fits perfectly into your routine. The best part? You only need a few simple ingredients and just a few minutes of prep. Let’s walk through everything step by step so you can master this creamy chia pudding on your first try.
Why Make Coconut Milk Chia Pudding at Home?
If you’ve only had packaged puddings, this homemade version will surprise you.
Coconut milk chia pudding is:
Creamy and naturally sweet
Dairy free and plant based
Rich in fiber and omega 3
Quick to prepare with no cooking required
Easy to customize with your favorite toppings
The texture is smooth with a slight crunch, making every bite both refreshing and satisfying.
Ingredients for Coconut Milk Chia Pudding
One of the reasons this recipe works so well is its simplicity. You likely already have everything in your kitchen.
You’ll need:
1 cup coconut milk
3 tablespoons chia seeds
1 to 2 tablespoons honey or maple syrup
1/2 teaspoon vanilla extract
Fresh fruits like strawberries and blueberries
Optional toppings like nuts or coconut flakes
That’s it. No complicated ingredients, no special equipment.
Step by Step Coconut Milk Chia Pudding Recipe
Follow these simple steps for a perfectly creamy pudding every time.
Step 1: Mix the Ingredients
In a bowl or jar, combine coconut milk, chia seeds, honey, and vanilla extract. Stir well to make sure the chia seeds are evenly distributed.
Step 2: Let It Rest
Let the mixture sit for about 5 minutes, then stir again to prevent clumping. This step helps create a smooth texture.
Step 3: Chill the Pudding
Cover and refrigerate for at least 2 to 4 hours, or overnight for best results. The chia seeds will absorb the liquid and thicken into a pudding consistency.
Step 4: Add Toppings
Once set, give it a good stir. Top with fresh berries, nuts, or any toppings you like.
Step 5: Serve and Enjoy
Serve chilled and enjoy a creamy, refreshing, and healthy treat.
Pro Tips for Perfect Chia Pudding
Small details make a big difference.
Stir twice in the beginning to avoid clumps
Use full fat coconut milk for extra creaminess
Adjust sweetness to your taste
Let it chill longer for a thicker texture
Add fruits just before serving for freshness
If your pudding feels too thick, simply add a splash of milk and mix.
How to Store Chia Pudding
This recipe is great for meal prep.
Store in an airtight container in the refrigerator for up to 4 days. It stays fresh and ready to eat whenever you need a quick snack or breakfast.
Ways to Enjoy Coconut Milk Chia Pudding
This pudding is incredibly versatile and easy to customize.
Top with fresh fruits like berries or mango
Add granola for crunch
Mix in cocoa powder for a chocolate version
Layer with yogurt for a parfait
Drizzle nut butter for extra richness
Once you start experimenting, you’ll find endless variations you love.
Frequently Asked Questions
Why didn’t my chia pudding thicken?
You may need more chia seeds or more chilling time. Stirring properly also helps.
Can I use other milk instead of coconut milk?
Yes, almond milk, oat milk, or regular milk all work well.
Is this recipe vegan?
Yes, if you use maple syrup instead of honey.
Can I make it ahead of time?
Absolutely. It’s perfect for preparing a few days in advance.
Final Thoughts
This coconut milk chia pudding recipe proves that healthy eating can be simple and delicious. With just a few ingredients and no cooking required, you can create a creamy, satisfying dish that works for breakfast, snacks, or dessert.
Once you taste the smooth texture combined with fresh fruit toppings, you’ll understand why this recipe has become a favorite for so many. So grab your ingredients, mix it up, and enjoy a refreshing homemade treat that’s as nourishing as it is delicious.