Easy White Chocolate Dessert: Indulgence Made Simple
There’s something so delightful about a smooth, creamy white chocolate dessert that melts in your mouth. Whether you’re preparing a treat for a special occasion or simply indulging in a little self-care, white chocolate offers a luxurious flavor that’s irresistible. With just a handful of ingredients and a few minutes, you can create a decadent dessert that everyone will love. Here’s an easy white chocolate dessert recipe that will quickly become a favorite in your household.
Why Make an Easy White Chocolate Dessert?

White chocolate is a versatile ingredient that pairs well with various fruits, nuts, and even other chocolates. Here’s why you should consider making a white chocolate dessert at home:
- Rich and smooth texture that melts in your mouth
- Great for those who love sweet, creamy treats
- Quick and simple to prepare with minimal ingredients
- Easily customizable to suit your taste preferences
The best part? You don’t need any fancy equipment to make this treat—just basic kitchen tools you likely already have on hand.
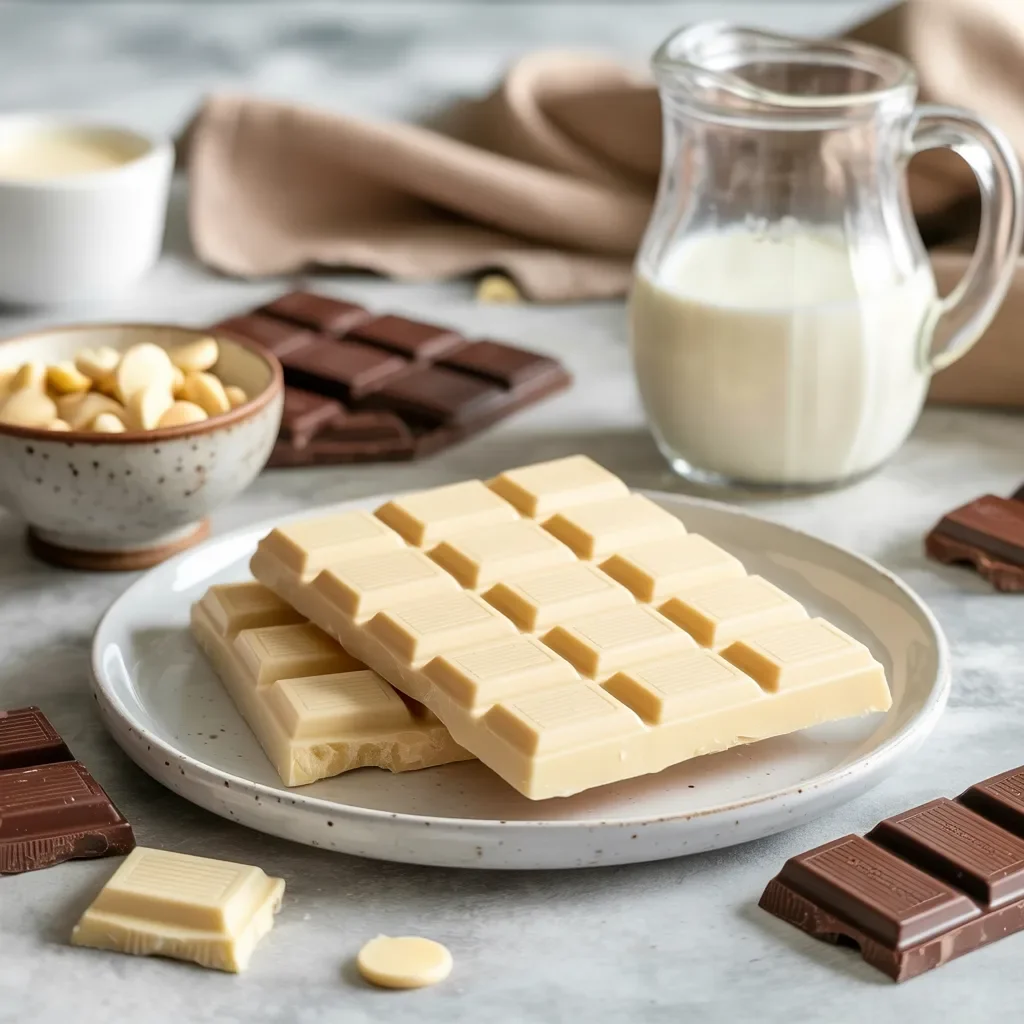
Ingredients for Easy White Chocolate Dessert
This white chocolate dessert recipe is simple yet luxurious. You likely already have everything you need in your pantry. You’ll need:
- 8 oz white chocolate, chopped
- 1/2 cup heavy cream
- 1 tsp vanilla extract
- Optional toppings: fresh berries, crushed nuts, or a drizzle of caramel sauce
That’s it! No complicated ingredients, just simple, real items that create an indulgent dessert.
Step-by-Step Guide to Making Easy White Chocolate Dessert
Follow these simple steps to create your delicious white chocolate dessert:
Step 1: Melt the White Chocolate
In a microwave-safe bowl, heat the white chocolate and heavy cream in 20-second intervals. Stir in between to ensure the chocolate melts evenly. Once smooth and melted, add vanilla extract.
Step 2: Mix and Stir
Stir the mixture until it’s perfectly creamy. If you’d like a thicker consistency, let it sit for a few minutes. For a thinner texture, add a little more cream.
Step 3: Serve and Add Toppings
Pour the creamy white chocolate mixture into serving glasses or bowls. Let it cool slightly before topping with fresh berries, crushed nuts, or caramel sauce. Serve it warm or chilled based on your preference.
Pro Tips for the Best White Chocolate Dessert
- Use high-quality white chocolate for the best flavor.
- Add a pinch of salt to balance the sweetness.
- Experiment with different toppings such as roasted almonds or coconut flakes.
Storing Your White Chocolate Dessert
If you have leftovers (though unlikely!), store your dessert in an airtight container in the refrigerator for up to 3 days. You can also make it a day in advance for even richer flavors.
Ways to Customize Your White Chocolate Dessert
The great thing about this dessert is that you can mix it up. Try these variations:
- Add a dash of cinnamon or nutmeg for a seasonal touch.
- Stir in melted dark chocolate for a white-and-dark chocolate combo.
- Add a layer of graham cracker crumbs for a fun, crunchy texture.
Frequently Asked Questions
Can I use milk or dark chocolate instead of white?
Yes, this recipe works with other chocolates. Keep in mind that the flavor will change, and you may need to adjust the amount of sugar based on the chocolate’s sweetness.
How do I make it vegan?
Swap the white chocolate with dairy-free chocolate, and use coconut cream instead of heavy cream.
Can I freeze this dessert?
Yes, you can freeze the dessert. Just make sure to cover it well. It should keep for up to a month in the freezer.
Final Thoughts
This easy white chocolate dessert proves that indulgence doesn’t need to be complicated. With minimal ingredients and just a few simple steps, you can create a luxurious treat that’s rich, creamy, and utterly delicious. Once you taste it, you’ll understand why white chocolate desserts are always a hit. So go ahead, treat yourself, and enjoy the sweet, smooth joy of homemade white chocolate goodness. And when you try it, don’t forget to share how you personalized it with your own favorite toppings!