Best Homemade Cottage Cheese Recipe
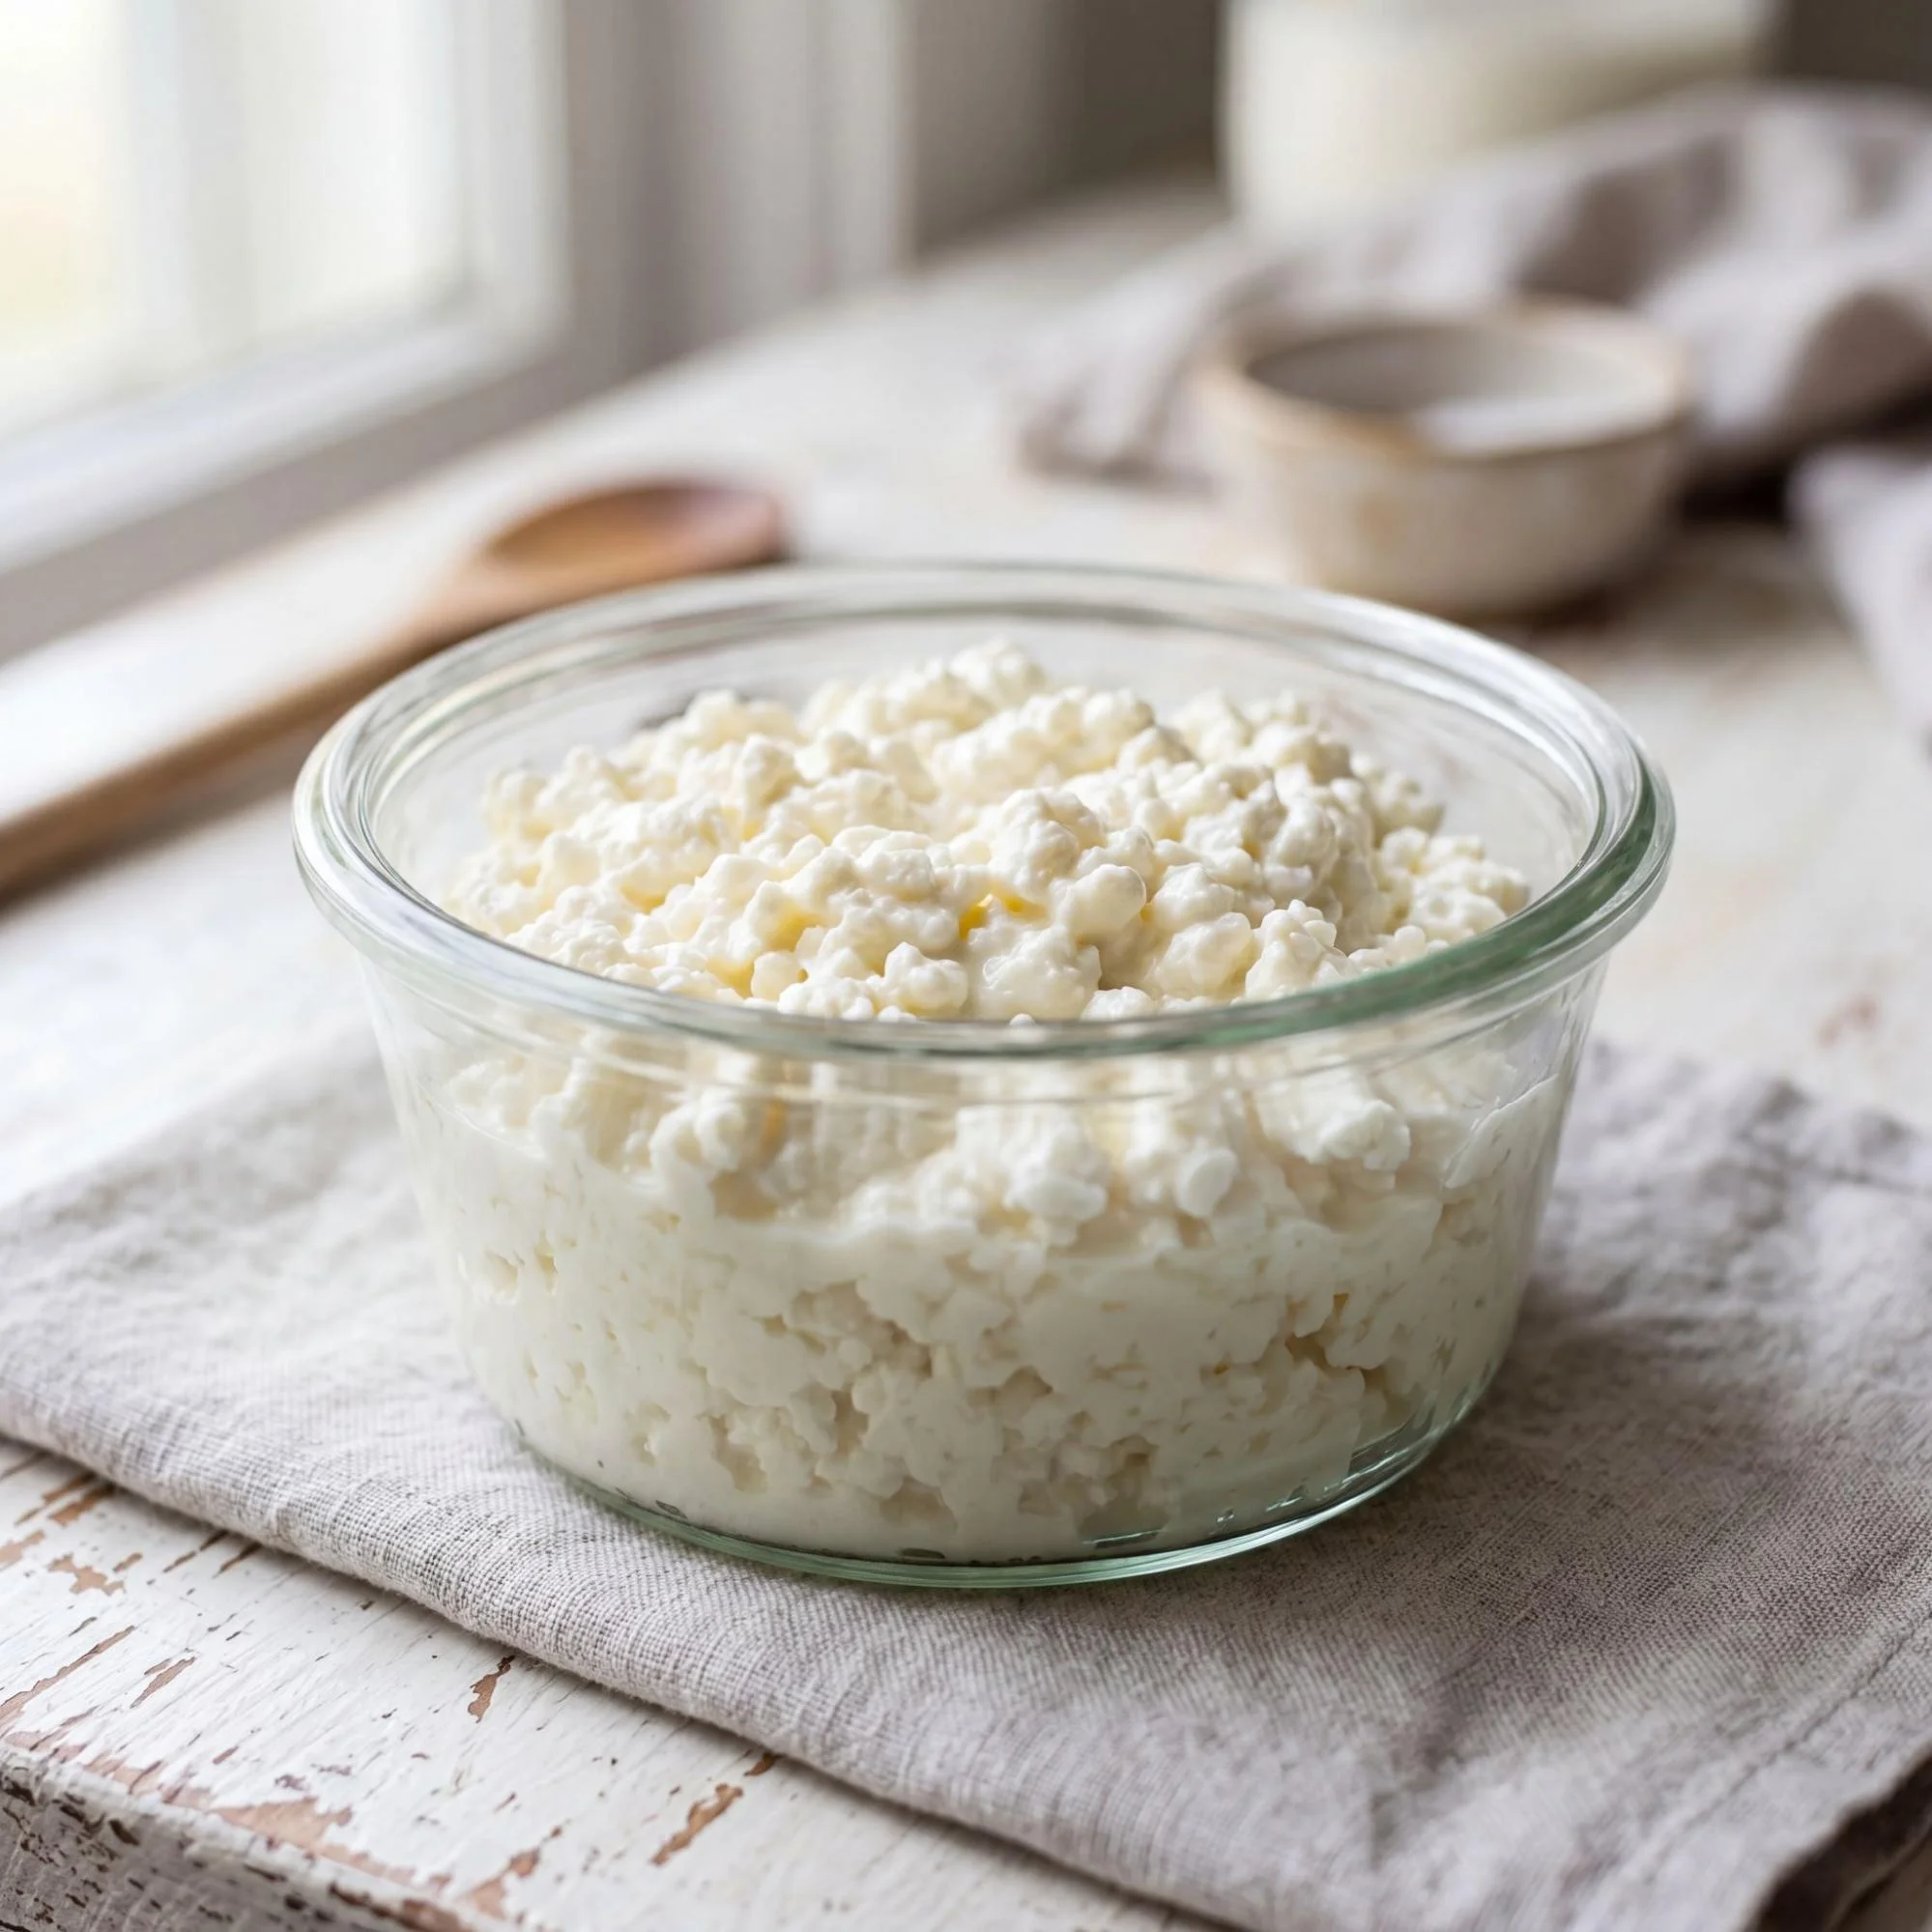
Cottage cheese is one of those simple, wholesome foods that can be made at home with just a few basic ingredients. It’s fresh, creamy, and works in a variety of dishes from salads to desserts. Making cottage cheese at home is not only a rewarding experience, but it also results in a product that’s far fresher and creamier than what you’ll find at the store. With this easy homemade cottage cheese recipe, you’ll learn how to make it from scratch, so you can enjoy all its goodness whenever you like.
Why Make Cottage Cheese at Home?

There are several reasons why making cottage cheese at home is a great idea:
- Better Taste: Homemade cottage cheese is fresher and more flavorful than store-bought versions, with a creaminess you can’t match.
- Simple Ingredients: You can make it with just milk, vinegar or lemon juice, and salt. No artificial additives or preservatives.
- Control the Texture: Homemade cottage cheese allows you to customize the texture, whether you like it creamy or more lumpy.
- Budget-Friendly: Making your own cottage cheese can be much more affordable than buying pre-packaged versions.
Ingredients for Homemade Cottage Cheese
The beauty of this recipe is its simplicity. You likely already have most of these ingredients in your kitchen:
- 1 gallon of whole milk (preferably full-fat for creamier texture)
- 1/4 cup white vinegar (or lemon juice for a milder flavor)
- 1 teaspoon salt (to taste)
- 1/2 cup heavy cream (optional, for extra richness)
These ingredients will yield fresh, homemade cottage cheese that’s perfect for snacking, adding to recipes, or even eating as a side dish.
Step-by-Step Homemade Cottage Cheese Recipe
Making cottage cheese at home is a simple process. Follow these easy steps to create your own batch:
Step 1: Heat the Milk
Pour the whole milk into a large pot and heat it over medium heat. Stir occasionally to prevent the milk from scorching at the bottom. Heat the milk until it reaches 120°F (49°C). This is the temperature at which the curds will form.
Step 2: Add the Acid
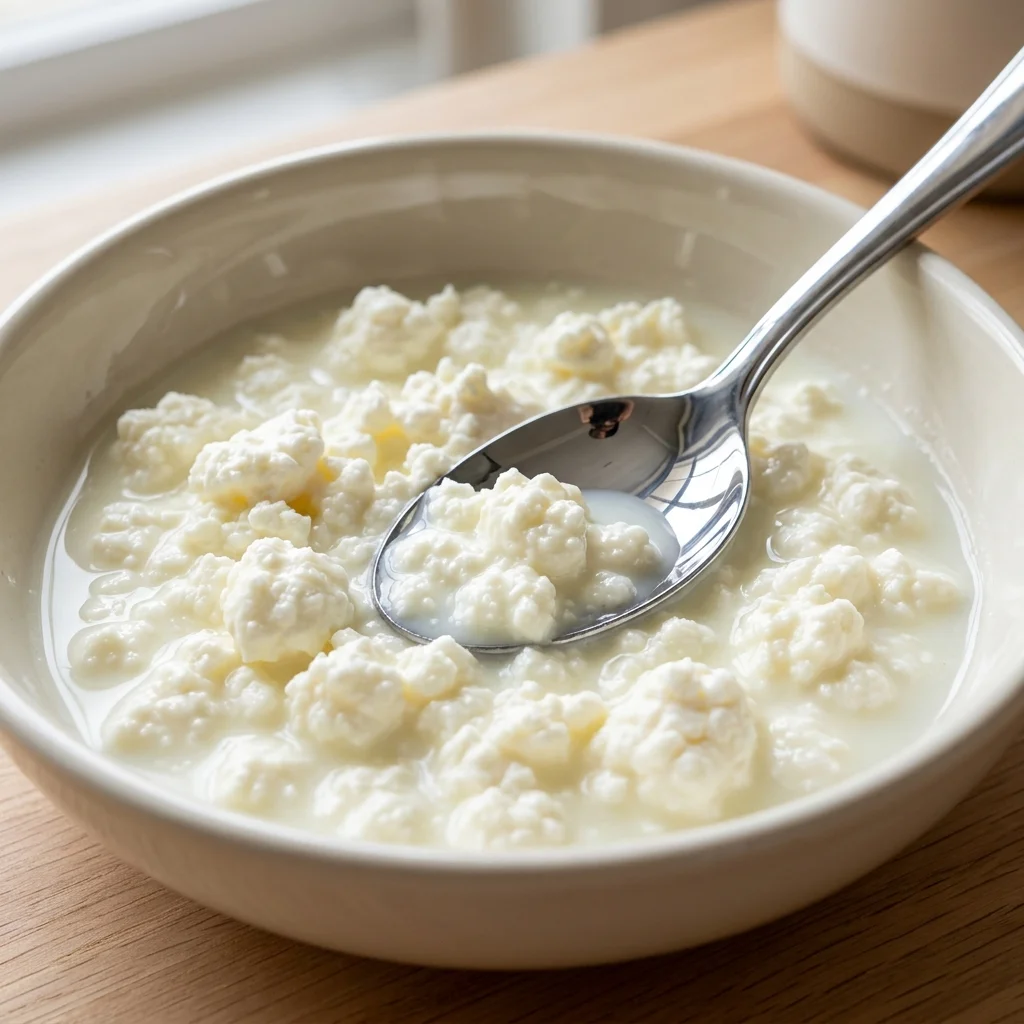
Once the milk has reached the desired temperature, add the vinegar or lemon juice. Stir gently for about 1 minute. You should start to see the curds separating from the whey immediately.
Step 3: Let It Rest
Turn off the heat and cover the pot. Let the milk sit undisturbed for about 30 to 60 minutes. During this time, the curds will continue to form and become firmer.
Step 4: Cut the Curds
After the resting period, use a long knife or a slotted spoon to cut the curds into small cubes. Cutting the curds will help them release more whey and firm up further.
Step 5: Heat the Curds
Place the pot back on the stove and heat the curds to around 130°F (54°C). Stir gently to prevent them from sticking together. Allow the curds to cook for another 30 minutes, stirring occasionally.
Step 6: Drain the Curds
Once the curds are firm and have separated from the whey, it’s time to drain them. Place a fine-mesh sieve or cheesecloth over a bowl and pour the curds and whey into the sieve. Allow the curds to drain for a few minutes until most of the whey has been removed.
Step 7: Rinse the Curds
Rinse the curds with cold water to cool them down and remove any residual whey. This step helps to stop the cooking process and gives the cottage cheese a fresher taste.
Step 8: Add Salt and Cream (Optional)
Once the curds are rinsed and drained, transfer them to a bowl. Add salt to taste. If you prefer a creamier texture, stir in a little bit of heavy cream. This is optional, but it adds richness to the finished cottage cheese.
Step 9: Enjoy!
Your homemade cottage cheese is ready! You can store it in an airtight container in the fridge for up to a week. It’s perfect for eating on its own, mixing with fruits, adding to salads, or incorporating into your favorite dishes.
Pro Tips for Perfect Cottage Cheese
- Use whole milk: For the creamiest texture, always use whole milk. Skim milk can result in drier cottage cheese.
- Be patient: Allow the curds to form slowly. Rushing the process can result in uneven curd formation.
- Control the texture: If you prefer firmer curds, allow the curds to sit a little longer before cutting. For a creamier texture, stir the curds more gently.
- Use fresh vinegar or lemon juice: Ensure your vinegar or lemon juice is fresh for the best flavor. If the milk doesn’t curdle well, you may need to add a little more acid.
How to Store Homemade Cottage Cheese
Once your cottage cheese is ready, store it in an airtight container in the fridge. Homemade cottage cheese will last up to a week when properly stored. If you’ve added cream, it may stay fresh for a bit less time, so be sure to enjoy it within a few days.
Ways to Use Homemade Cottage Cheese
Homemade cottage cheese is incredibly versatile and can be used in a variety of dishes. Here are some ideas:
- As a snack: Enjoy it on its own with a sprinkle of salt or a drizzle of honey.
- In salads: Add it to a fresh salad for extra creaminess.
- In desserts: Use it as a filling for cakes, pastries, or as a topping for fruit.
- On toast: Spread it on toast or crackers with some herbs and spices.
- As a topping: Use it as a topping for baked potatoes or soups.
Frequently Asked Questions
Can I make cottage cheese without vinegar?
Yes, you can substitute lemon juice for vinegar if you prefer a milder flavor. Both work well as acids to help curdle the milk.
Can I use skim milk to make cottage cheese?
Skim milk can be used, but the cottage cheese will be less creamy. For best results, use whole milk or even a combination of whole milk and cream.
Can I make cottage cheese with non-dairy milk?
Making cottage cheese from non-dairy milks is tricky because the process relies on the proteins in cow’s milk to form curds. However, it’s possible to make a dairy-free version using nut milk, but the texture may be different.
Final Thoughts
Making cottage cheese at home is simple, rewarding, and incredibly fresh. With just a few ingredients and some patience, you can create a delicious, creamy cheese that’s perfect for snacking, adding to your meals, or even experimenting with different flavor combinations. Once you’ve made your own, you’ll never want to go back to store-bought again!