Homemade Strawberry Pop-Tarts Recipe: Flaky, Sweet, and Better Than Store-Bought
There is something incredibly joyful about recreating a childhood favorite from scratch. Whether you grew up ripping open those silver foil wrappers on your way to school or you’ve spotted elevated versions in trendy local bakeries, the classic toaster pastry is the ultimate nostalgic treat. Once you try this incredibly flaky, buttery homemade strawberry pop-tarts recipe at home, you may never settle for the boxed version again.
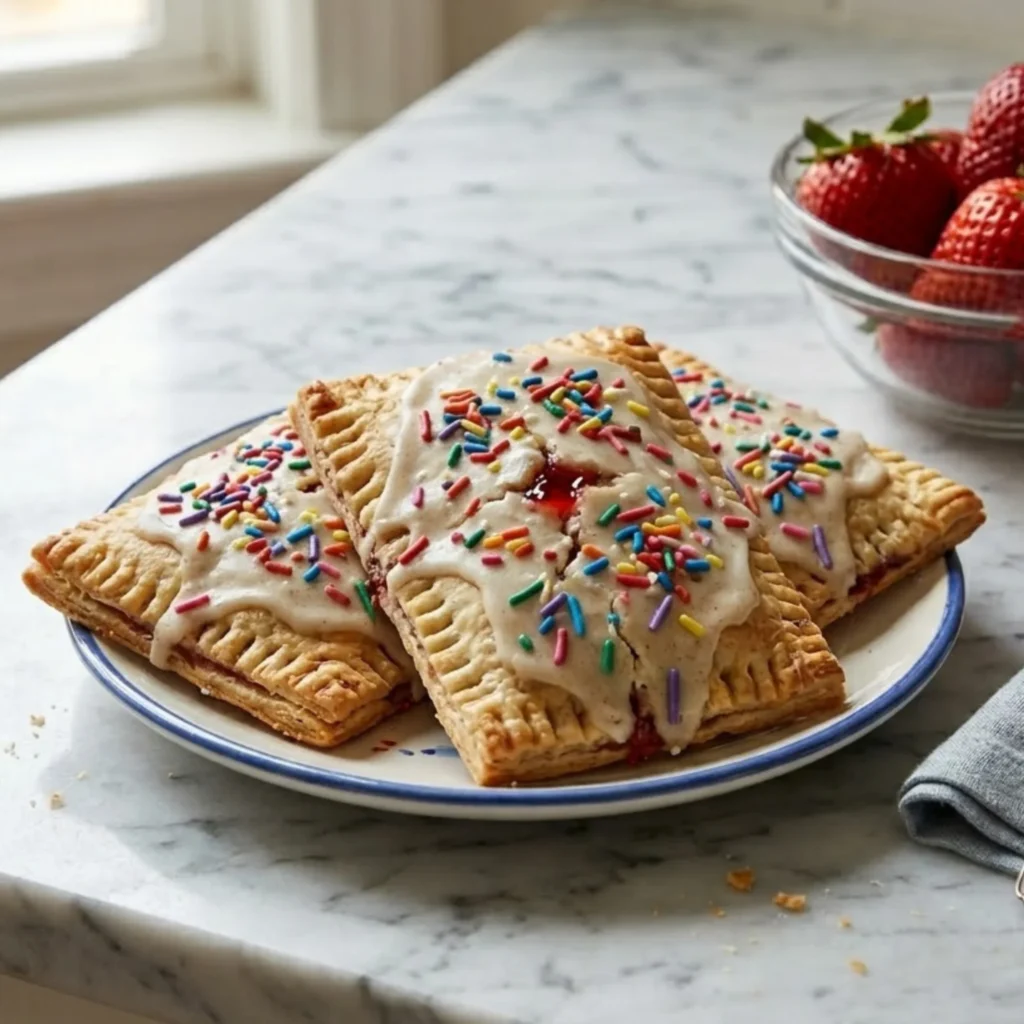
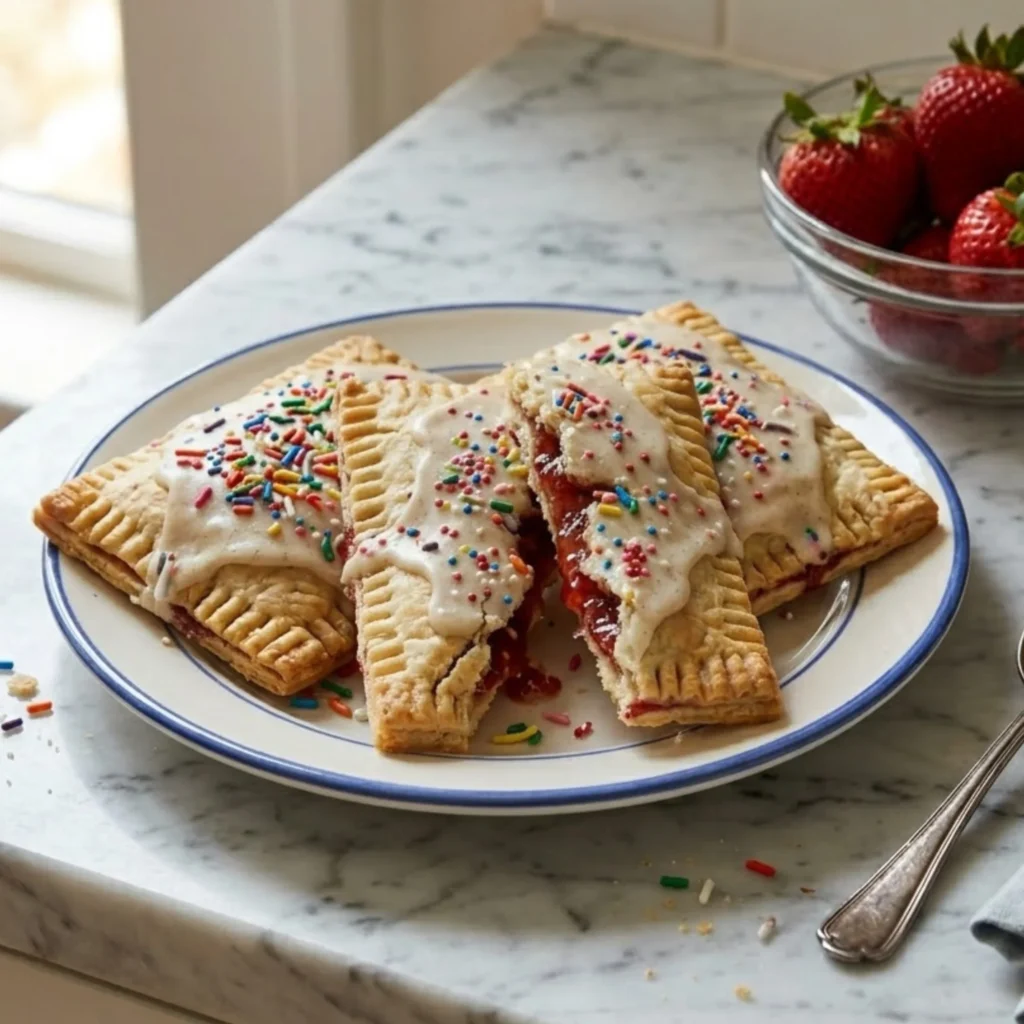
Whether you are baking for a weekend family breakfast, a fun brunch gathering, or simply styling a vibrant, photogenic pastry for your culinary feed, these pop-tarts deliver flawlessly. The bright, colorful sprinkles contrasting against a smooth vanilla glaze and a golden, flaky pie crust look absolutely breathtaking. The best part? You only need standard baking staples, a jar of your favorite strawberry jam, and a little bit of patience. Let’s walk through everything step-by-step so you can master these fun, fruit-filled pastries perfectly on your first try.
Why Make Homemade Strawberry Pop-Tarts at Home?
If you’ve only ever bought toaster pastries from the grocery store, you’re in for a wonderful surprise. A batch of homemade strawberry pop-tarts is:
- Incredibly flaky and tender: Made with a real butter pie crust, the pastry shatters beautifully when you bite into it.
- Free from artificial preservatives: You know exactly what is going into your dough and filling, skipping the high-fructose corn syrup entirely.
- Budget-friendly: A few pantry staples and a jar of preserves cost a fraction of gourmet bakery pop-tarts.
- Highly customizable: Swap the strawberry filling for blueberry, raspberry, or even brown sugar cinnamon to match your cravings.
- Visually stunning: The pop of rainbow sprinkles on top of the bright white glaze creates a camera-ready, highly aesthetic breakfast.
And honestly, the flavor difference is undeniable. A freshly baked pastry boasts a rich, buttery aroma and a vibrant fruit filling that boxed versions simply cannot match.
Ingredients for Homemade Strawberry Pop-Tarts
One of the reasons this recipe works so well is its simplicity. You likely already have most of these baking essentials in your kitchen. You’ll need:
For the Pastry Crust:
- 2 ½ cups all-purpose flour
- 1 tablespoon granulated sugar
- 1 teaspoon salt
- 1 cup (2 sticks) unsalted butter, cold and cubed
- 6 to 8 tablespoons ice water
For the Strawberry Filling & Assembly:
- ¾ cup high-quality strawberry jam or preserves
- 1 tablespoon cornstarch (to keep the filling from leaking)
- 1 large egg + 1 tablespoon milk (for the egg wash)
For the Vanilla Glaze:
- 1 ½ cups powdered sugar
- 2 to 3 tablespoons heavy cream or milk
- ½ teaspoon vanilla extract
- Colorful rainbow sprinkles for decorating
(Pro Tip: Short on time? You can absolutely substitute two rolls of store-bought refrigerated pie crust!)
Step-by-Step Homemade Strawberry Pop-Tarts Recipe
Follow these simple steps for perfectly flaky, colorful toaster pastries every time.
Step 1: Make the dough in a large bowl, whisk together the flour, sugar, and salt. Cut in the cold, cubed butter using a pastry blender or your fingers until the mixture resembles coarse crumbs. Drizzle in the ice water one tablespoon at a time, mixing gently until the dough just begins to come together. Divide the dough in half, form into two discs, wrap in plastic wrap, and chill in the fridge for at least 1 hour.
Step 2: Roll and Cut the Pastry Preheat your oven to 375°F (190°C) and line a large baking sheet with parchment paper. On a lightly floured surface, roll out one disc of dough into a large rectangle, about 1/8-inch thick. Using a pizza cutter or a sharp knife, trim the edges to make a neat 9×12-inch rectangle, then cut that into 9 smaller 3×4-inch rectangles. Repeat with the second disc of dough.
Step 3: Add the Filling In a small bowl, mix the strawberry jam with the cornstarch. Place 9 dough rectangles onto your prepared baking sheet. Spoon about 1 ½ tablespoons of the jam mixture into the center of each rectangle, leaving a ½-inch border around the edges.
Step 4: Seal and Crimp Brush the edges of the bottom rectangles lightly with your egg wash. Place a second rectangle of dough on top of each. Use your fingers to press the edges firmly together to seal in the jam, then use a fork to crimp the edges all the way around.
Step 5: Vent, Wash, and Bake Use a toothpick or a fork to poke a few small holes in the top of each pop-tart (this lets steam escape so they don’t explode!). Brush the tops generously with the remaining egg wash. Bake for 18 to 22 minutes, or until the pastries are a beautiful golden brown. Transfer to a wire rack to cool completely.
Step 6: Frost and Decorate While the pop-tarts cool, whisk together your powdered sugar, cream, and vanilla until you have a smooth, thick glaze. Once the pastries are entirely cool to the touch, spoon the glaze over the tops, spreading it out slightly. Immediately top with a handful of rainbow sprinkles before the icing sets.
Pro Tips for Perfect Pop-Tarts
Small details make a big difference when baking pastry from scratch.
- Keep your butter cold: Cold butter creates steam pockets in the oven, which is the secret to a flaky, shatteringly crisp crust. If your dough gets too warm while rolling, pop it back in the fridge for 10 minutes.
- Don’t skip the cornstarch: Jam turns back into a hot liquid in the oven. Stirring a little cornstarch into your filling keeps it thick and prevents it from seeping out the sides.
- Let them cool completely before frosting: If you glaze a warm pastry, the icing will simply melt and run right off the sides.
- Do not overfill: It’s tempting to add a mountain of jam, but too much filling will break the seal and burn on the baking sheet.
How to Store Homemade Pop-Tarts
Freshly baked homemade strawberry pop-tarts can be stored in an airtight container at room temperature for up to 3 days.
You can also freeze them! It is best to freeze them unfrosted. Wrap the baked, completely cooled pop-tarts tightly in plastic wrap and store them in a freezer bag for up to 3 months. Thaw at room temperature, then pop them in the toaster oven to warm them up before adding the fresh glaze and sprinkles.
Ways to Customize Your Pop-Tarts
Now comes the fun part. This versatile pie crust base is perfect for experimenting.
- Brown Sugar Cinnamon: Skip the jam and mix ½ cup brown sugar, 2 teaspoons cinnamon, and 1 tablespoon of flour for the filling.
- Chocolate Hazelnut: Fill the centers with a spoonful of Nutella and top with a chocolate glaze.
- Mixed Berry: Combine raspberry, blackberry, and strawberry preserves for a tangy, mixed fruit twist.
Frequently Asked Questions
Why did my filling leak out the sides? This usually happens if the edges weren’t sealed tightly enough, or if the pastry was overfilled. Make sure to press firmly with your fingers before crimping with a fork, and always leave a clean ½-inch border around the jam.
Can I put these in a standard toaster? If they are glazed, no! The homemade icing will melt, drip into your toaster, and cause a fire hazard. To reheat a frosted pop-tart, place it in the microwave for 10 seconds or in a toaster oven on a piece of foil.
Can I use store-bought pie crust? Absolutely! If you want to skip making the dough from scratch, simply unroll two refrigerated pie crusts, cut them into rectangles, and proceed from Step 3.
Final Thoughts
This easy homemade strawberry pop-tarts recipe proves that baking a show-stopping, nostalgic dessert from scratch doesn’t have to be complicated. With just a few simple ingredients, a solid crimping technique, and a vibrant splash of colorful sprinkles, you can create a joyful, incredibly delicious treat that completely elevates your morning routine.
Once you bite into that flaky crust, revealing a warm center of real strawberry jam, you’ll understand why this recipe is so beloved. So preheat your oven, grab your favorite sprinkles, and enjoy the simple joy of baking beautiful pop-tarts from scratch!