How to Make a Sourdough Starter from Scratch
Making a sourdough starter from scratch may sound difficult at first, but it is actually one of the simplest and most rewarding kitchen projects you can try. All you need is flour, water, a clean jar, and a little patience. Over a few days, these simple ingredients naturally ferment and turn into a bubbly, active starter that can be used to make homemade sourdough bread, pancakes, waffles, pizza dough, crackers, and more.
A sourdough starter is a natural mixture of wild yeast and good bacteria. Instead of using store bought yeast, this starter helps your bread rise naturally while giving it that classic sourdough flavour. The taste is slightly tangy, the texture becomes beautifully airy, and the crust turns golden and crisp when baked.
The best part is that once your starter is ready, you can keep it alive for years with simple feedings. Many home bakers treat their sourdough starter like a little kitchen friend because it grows, bubbles, and becomes stronger with time.
Why Make a Sourdough Starter at Home?
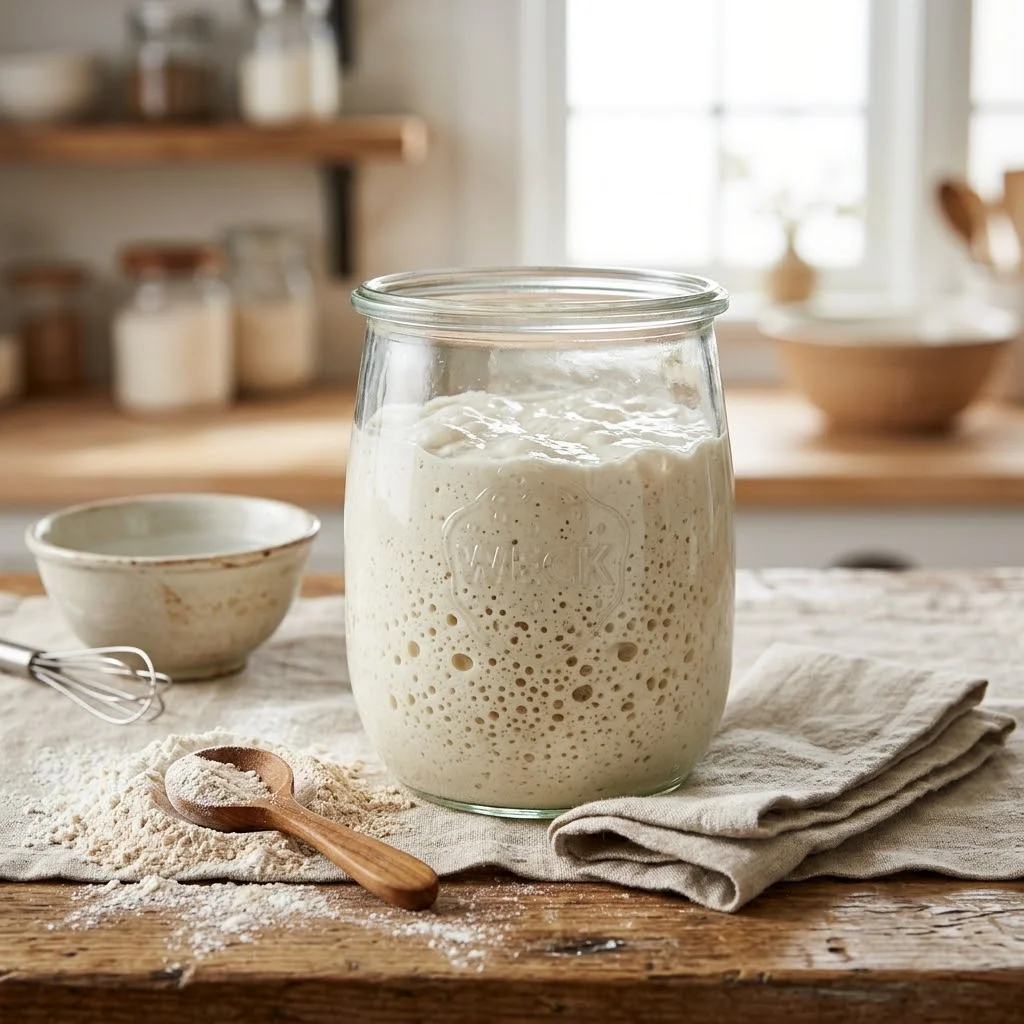
Homemade sourdough starter gives you full control over your bread making. You do not need commercial yeast, special equipment, or expensive ingredients. With just flour and water, you can create a natural starter that becomes the base for many delicious recipes.
You’ll love making your own sourdough starter because it is simple, budget friendly, and useful for so many baked goods. It also gives bread a deeper flavour than regular yeast bread. The longer the starter matures, the better the taste becomes.
Another great thing about sourdough starter is that it teaches you how fermentation works in a very simple way. Each day, you will notice bubbles, rise, smell changes, and texture changes. These are all signs that your starter is becoming alive and active.
Ingredients for Sourdough Starter
You only need two basic ingredients to make a sourdough starter from scratch.
You’ll need:
1/2 cup whole wheat flour or all purpose flour
1/2 cup room temperature water
For daily feeding, you’ll need:
1/2 cup flour
1/2 cup water
Whole wheat flour is a great choice for starting because it usually ferments faster. You can also use all purpose flour, bread flour, or a mix of both. If you want a stronger start, begin with whole wheat flour for the first few days, then switch to all purpose flour later.
Use filtered water if possible. If your tap water has a strong chlorine smell, let it sit uncovered for a few hours before using.
Equipment You Need
You do not need anything fancy to make sourdough starter.
You’ll need:
A clean glass jar
A spoon or spatula
A kitchen scale or measuring cups
A loose lid, cloth, or paper towel
A rubber band, optional
A glass jar is best because you can easily see the bubbles and growth. Do not seal the jar tightly because the starter needs air and space as it ferments. A loose lid or cloth works well.
Step by Step Sourdough Starter Recipe
Day 1: Mix Flour and Water
In a clean jar, add 1/2 cup flour and 1/2 cup water. Stir well until no dry flour remains. The mixture should look thick, smooth, and similar to pancake batter.
Scrape down the sides of the jar so you can clearly see the starter. Cover the jar loosely and place it in a warm spot in your kitchen.
A good temperature is around 70°F to 75°F. If your kitchen is cool, the starter may take a little longer to become active.
Let it rest for 24 hours.
Day 2: Check and Feed
After 24 hours, check your starter. You may see a few bubbles, or you may not see much change yet. Both are normal.
Remove about half of the starter from the jar. This removed portion is called discard. At this early stage, it is usually best to throw it away because the starter is not ready to use yet.
Add 1/2 cup flour and 1/2 cup water to the remaining starter. Stir well, cover loosely, and let it rest for another 24 hours.
Day 3: Look for Bubbles
By day 3, your starter may begin to show more signs of activity. You might see bubbles on the surface or sides of the jar. It may also smell slightly sour, fruity, or earthy.
Again, remove half of the starter. Add 1/2 cup flour and 1/2 cup water. Stir until smooth and cover loosely.
If your starter rises a little after feeding, that is a good sign. If it looks quiet, do not worry. Some starters take longer, especially in cooler kitchens.
Day 4: Continue Feeding
On day 4, the starter should begin to smell more pleasant and slightly tangy. You may notice it becoming lighter, bubblier, and more active after each feeding.
Repeat the same process. Discard half, then feed with 1/2 cup flour and 1/2 cup water.
At this point, try to feed it at the same time each day. A regular feeding schedule helps the starter become stronger.
Day 5: Watch for Rising
By day 5, many starters begin to rise after feeding. You may see the starter double in size, then slowly fall back down. This rise and fall means the starter is eating the flour and becoming active.
Feed it again the same way. Discard half, add fresh flour and water, stir, and cover.
If your starter is not doubling yet, keep feeding it daily. It may need a few more days.
Day 6 to Day 7: Starter Should Become Active
By day 6 or 7, your sourdough starter should look bubbly, smell pleasantly tangy, and rise after feeding. When it doubles in size within 4 to 8 hours after feeding, it is usually ready to use.
A ready starter should have many bubbles, a light texture, and a mild sour smell. It should not smell rotten, mouldy, or unpleasant.
Once your starter is active, you can use it to bake sourdough bread or store it in the refrigerator for later use.
How to Know Your Sourdough Starter Is Ready
Your starter is ready when it shows strong signs of activity.
It should double in size after feeding. It should have bubbles throughout the mixture, not just on top. It should smell fresh, tangy, and slightly yeasty. The texture should look airy and stretchy when stirred.
You can also try the float test. Drop a small spoonful of starter into a glass of water. If it floats, it is usually ready to bake with. If it sinks, feed it again and wait a little longer.
The float test is helpful, but the best sign is consistent rising after feeding.
Pro Tips for a Strong Sourdough Starter
Use the same flour regularly so your starter can adjust and grow stronger.
Keep the starter in a warm place, but not too hot. Too much heat can weaken or damage it.
Do not use a tightly sealed lid. Fermentation creates gas, so the starter needs room to breathe.
Feed your starter regularly. Skipping feedings in the first week can slow down the process.
Use clean utensils each time to avoid unwanted bacteria.
If a little liquid appears on top, stir it in or pour it off before feeding. This liquid is called hooch and usually means the starter is hungry.
Be patient. Some starters are ready in 5 days, while others take 10 days or more.
What Should Sourdough Starter Smell Like?
A healthy sourdough starter should smell fresh, tangy, slightly fruity, or mildly yeasty. The smell can change during the first few days, and that is normal.
In the beginning, it may smell strong or unusual because different bacteria are developing. After regular feedings, the smell should become cleaner and more pleasant.
If your starter smells like rotten food, has mould, or shows pink, orange, or fuzzy growth, it is best to throw it away and start again.
How to Store Sourdough Starter
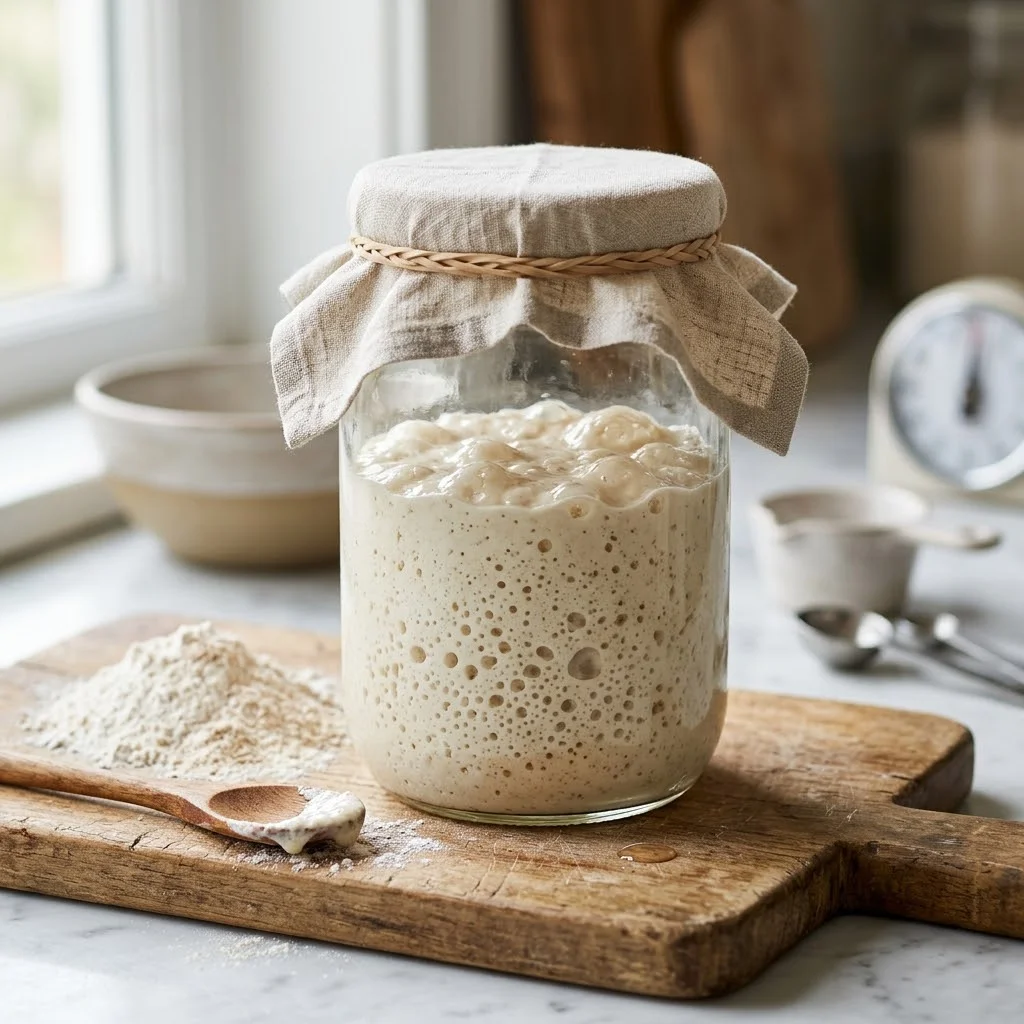
Once your starter is active, you can keep it at room temperature or store it in the refrigerator.
If you bake often, keep it on the counter and feed it once a day.
If you bake only once a week or less, keep it in the refrigerator. Feed it once a week to keep it healthy.
Before baking, remove the starter from the fridge, feed it, and let it become bubbly and active at room temperature. This usually takes several hours.
What to Do with Sourdough Discard
Once your starter is healthy and active, you do not have to throw away the discard. Sourdough discard can be used in many simple recipes.
You can use it for:
Pancakes
Waffles
Crackers
Pizza dough
Flatbread
Muffins
Banana bread
Biscuits
Discard adds a mild sourdough flavour and helps reduce waste. Just make sure your starter is healthy before using the discard in recipes.
Common Sourdough Starter Problems
If your starter is not bubbling, your kitchen may be too cold. Move it to a warmer spot and continue feeding.
If your starter smells too strong, it may be hungry. Feed it more regularly.
If your starter is too thick, add a little more water during feeding.
If it is too runny, add a little more flour.
If it rises and then falls, that is normal. It means the starter was active and has used up its food.
Do not give up too early. Sourdough starters can be slow at first, but with regular feeding, they usually become stronger.
Frequently Asked Questions
How long does it take to make a sourdough starter from scratch?
Most sourdough starters take about 5 to 7 days to become active, but some may take up to 10 days. Temperature, flour type, and feeding schedule can affect how quickly it develops.
Can I use all purpose flour?
Yes, you can use all purpose flour. Whole wheat flour may work faster in the beginning, but all purpose flour can still make a healthy starter.
Do I need to discard starter every day?
Yes, during the first few days, discarding helps control the amount of starter and keeps the feeding balanced. Without discarding, you would need too much flour and water.
Can I make sourdough starter without a kitchen scale?
Yes, you can use measuring cups. A scale is more accurate, but measuring cups work well for beginners.
Why is there liquid on top of my starter?
That liquid is called hooch. It usually means your starter is hungry. Pour it off or stir it in, then feed your starter.
When can I bake with my starter?
You can bake when your starter doubles in size within a few hours after feeding and looks bubbly and active.
Final Thoughts
Making a sourdough starter from scratch is simple, natural, and very rewarding. With only flour, water, and a little patience, you can create a living starter that helps you bake flavourful homemade sourdough bread.
The first few days may feel slow, but every bubble is a sign that your starter is growing. Once it becomes active, you can use it for bread, pancakes, waffles, pizza dough, crackers, and many other recipes.