Quick and Easy Olive Tapenade Recipe for Beginners: Bold, Briny, and Better Than Store-Bought
There’s something incredibly satisfying about bringing the bold, rustic flavors of the Mediterranean right into your own kitchen. A perfectly balanced olive tapenade is rich, briny, beautifully textured, and packed with an intense savory punch. Once you try this easy olive tapenade recipe at home, you may never go back to those overpriced, pureed jars from the grocery store again.
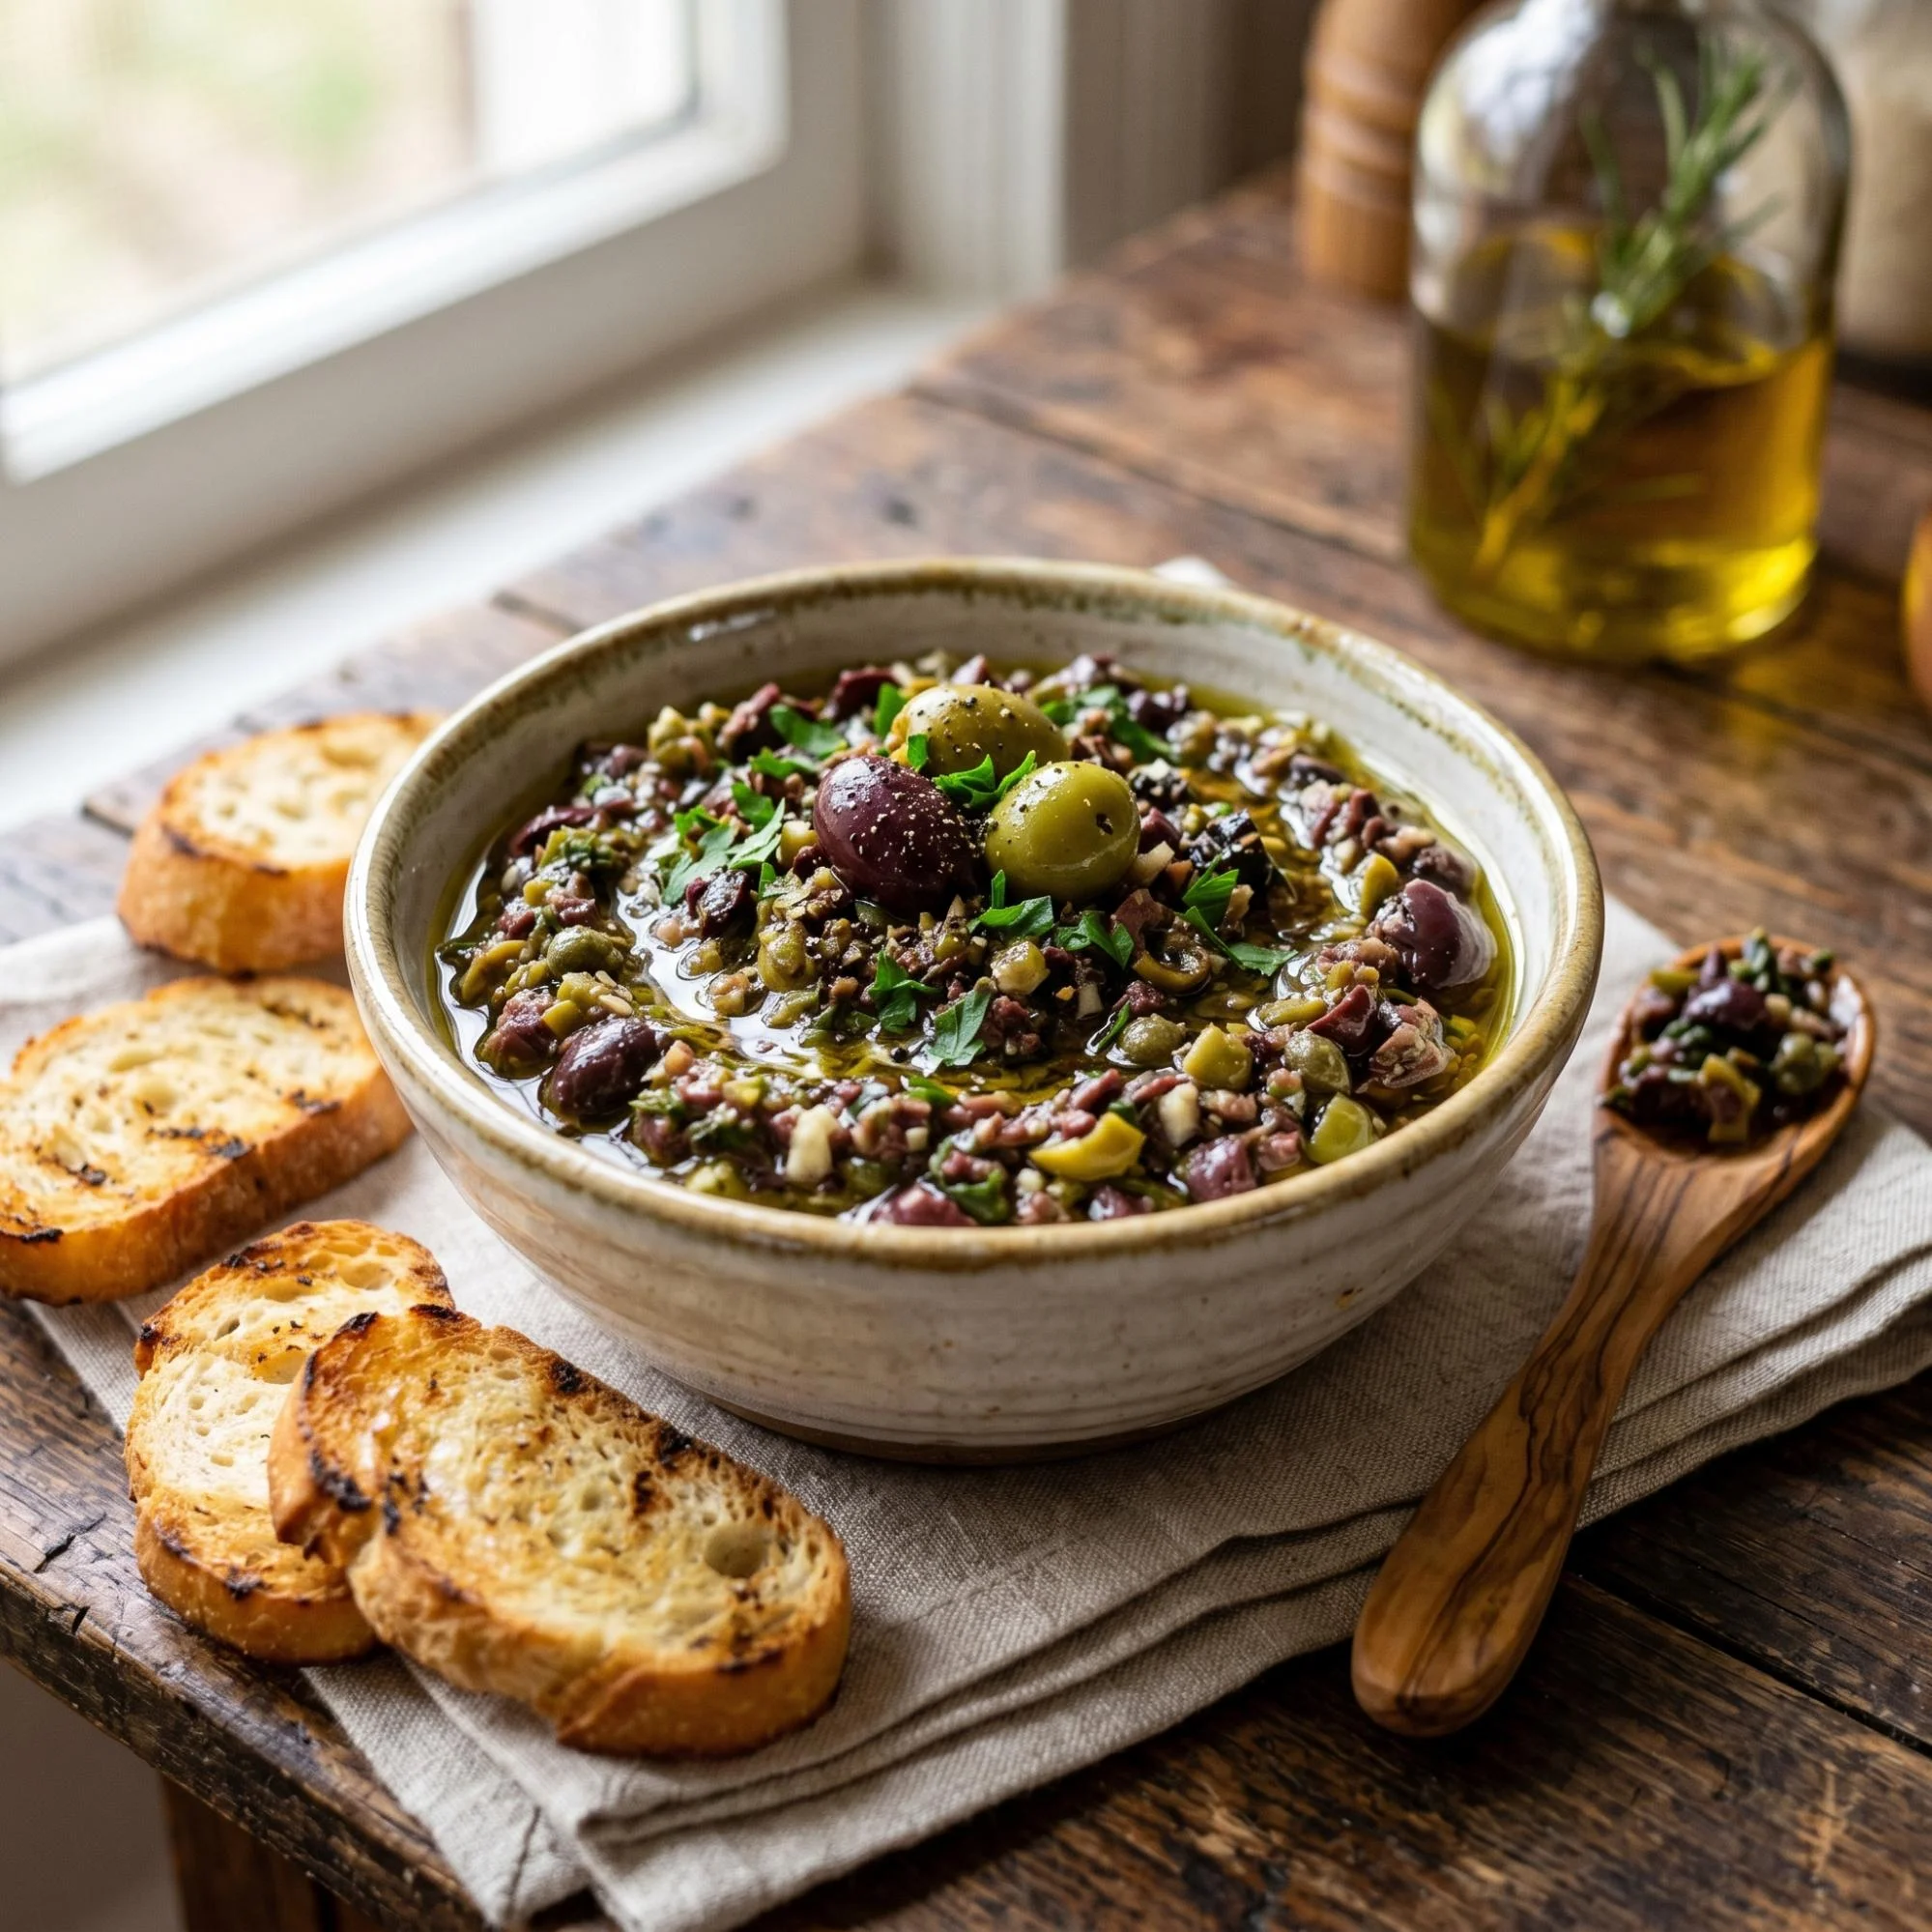
Whether you’re serving it as an elegant appetizer on toasted crostini, spreading it onto a deli sandwich, or styling a spectacular charcuterie board for a digital food blog, homemade tapenade elevates the entire experience. The glistening olive oil, the vibrant specks of fresh parsley, and the chunky, rustic cut make this dish incredibly photogenic,just look at the stunning textures captured in the Ultra-realistic_8K_image_of_olive_202606032105.jpeg file. The best part? You only need a handful of high-quality ingredients and about 10 minutes of prep time. Let’s walk through everything step by step so you can master this savory spread perfectly on your first try.
Why Make Olive Tapenade at Home?

If you’ve only ever bought tapenade off a supermarket shelf, you’re in for a massive upgrade. Homemade olive tapenade is:
- Vibrantly Fresh: Free from artificial preservatives and stabilizers.
- Perfectly Textured: You control the consistency, keeping it wonderfully chunky rather than a mushy paste.
- Budget-Friendly: Making a large batch at home costs a fraction of premium deli prices.
- Customizable: Easily adjust the garlic, lemon, or herbs to suit your exact palate.
- Visually Stunning: A dream to photograph, naturally catching the light with its rich oils and varied colors.
And honestly, the flavor difference is undeniable. Fresh tapenade has a bright, zesty bite and a rich, fruity olive profile that mass-produced versions simply cannot replicate.
Ingredients for Easy Olive Tapenade
One of the reasons this recipe works so well is its simplicity. The quality of your ingredients will shine through, so try to grab the best you can find. You’ll need:
- 1 cup pitted Kalamata olives: The rich, dark, and fruity base.
- 1 cup pitted green olives: Castelvetrano or Manzanilla olives add a buttery, firm contrast.
- 2 tablespoons capers: Drained and rinsed, for that signature briny pop.
- 2 cloves fresh garlic: Minced for a sharp, savory kick.
- 2 tablespoons of fresh lemon juice: To brighten the heavy oils.
- 1/4 cup extra-virgin olive oil: Use a high-quality, cold-pressed oil for the best flavor.
- 1/4 cup fresh parsley: Finely chopped, bringing a fresh, herbaceous note.
- Freshly cracked black pepper: To taste.
That’s it. No complicated cooking techniques, no special equipment beyond a food processor or a good chef’s knife.
Step by Step Easy Olive Tapenade Recipe
Follow these simple steps for a bold, perfectly balanced tapenade every time.
Step 1: Prep the Ingredients Ensure all your olives are fully pitted. Even if you buy them “pitted,” give them a quick squeeze to make sure no stray pits made it through,nobody wants to crack a tooth! Drain the capers and roughly chop your garlic and fresh parsley.
Step 2: Pulse the Base In the bowl of a food processor, combine the Kalamata olives, green olives, capers, and minced garlic. Pulse the machine 4 to 5 times. You are looking for a chunky, coarse texture, not a smooth puree.
Step 3: Add the Brightness Open the food processor and add the fresh lemon juice, chopped parsley, and a generous pinch of freshly cracked black pepper. (You likely won’t need added salt, as the olives and capers provide plenty of natural sodium).
Step 4: Drizzle the Oil Place the lid back on. While pulsing the machine another 2 to 3 times, slowly drizzle the extra-virgin olive oil through the top chute. Stop as soon as the mixture comes together but still retains its distinct, rustic pieces.
Step 5: Rest and Marinate This step is the secret to a high-end flavor. Transfer the tapenade to a serving bowl, cover it tightly, and let it rest at room temperature for at least 30 minutes before serving. This allows the garlic, lemon, and olive oils to meld together beautifully.
Pro Tips for Perfect Olive Tapenade
Small details make a huge difference in culinary execution, especially when crafting visually appealing appetizers.
- Hand-chop for the best texture: Don’t have a food processor? No problem. Hand-chopping the ingredients with a sharp chef’s knife actually yields an incredibly authentic, photogenic texture that looks amazing scooped onto rustic bread.
- Use high-quality oil: Since this is a raw recipe, the flavor of your olive oil will be front and center. Use the good stuff.
- Don’t over-process: A few quick pulses are all you need. A tapenade that is too smooth looks muddy and lacks the satisfying mouthfeel of the classic Mediterranean dish.
- Toast your bread: If serving as an appetizer, rub slices of baguette with a halved garlic clove, brush with olive oil, and toast until golden before topping.
How to Store Homemade Tapenade
Because of the natural preserving qualities of olive oil and salt, homemade tapenade stores exceptionally well. Keep it in an airtight glass jar in the refrigerator for up to 2 weeks.
Pro-tip: To keep it tasting fresh, pour a very thin layer of olive oil over the top of the tapenade before sealing the jar. This acts as an airtight seal, locking in the vibrant colors and preventing the garlic from oxidizing. Let it sit at room temperature for 15 minutes before serving to let the chilled oil soften.
Ways to Use Olive Tapenade
Now comes the fun part. This savory olive spread is incredibly versatile. Use it for:
- Classic Bruschetta: Heaped onto toasted crostini for a quick, elegant appetizer.
- Sandwich Upgrade: Spread it on focaccia or ciabatta for an incredible turkey or Italian cold-cut sandwich.
- Pasta Toss: Stir a few tablespoons into warm pasta with fresh tomatoes and parmesan cheese.
- Chicken or Fish: Use it as a savory crust for baked chicken breasts or roasted white fish.
- Stuffed Vegetables: Mix it into cream cheese to stuff into baby bell peppers or celery sticks.
Once you start keeping a jar of this in your fridge, you’ll find yourself sneaking a spoonful into almost every savory meal.
Frequently Asked Questions
Is tapenade supposed to have anchovies? Traditional French tapenade often includes anchovy fillets for an extra layer of umami. If you love them, add 2 or 3 small anchovy fillets during Step 2. This recipe omits them to keep it vegan and universally crowd-pleasing, but the capers still provide that signature briny depth.
Why is my tapenade too salty? Olives and capers are naturally packed in salty brines. Always rinse your capers thoroughly before using them, and hold off on adding any extra kosher or sea salt until the very end.
Can I make this ahead of time? Yes! Tapenade actually tastes better on the second day after the flavors have had time to marry in the refrigerator. It is the ultimate make-ahead appetizer for parties and photo shoots.
Final Thoughts
This easy olive tapenade recipe proves that gourmet flavor doesn’t require hours in the kitchen. With just a few high-quality ingredients and simple steps, you can create a bold, visually stunning spread that transforms an ordinary snack into a Mediterranean experience. Once you taste it fresh, vibrant, and perfectly chunky, you’ll understand why this rustic dish is a timeless classic. So grab your favorite olives, fire up the food processor, and enjoy the simple joy of making tapenade from scratch. And when you try this recipe, don’t forget to snap a few pictures,your next favorite culinary creation deserves to be shown off.