Homemade Spring Rolls Recipe: Crispy, Savory, and Better Than Takeout
There is something incredibly satisfying about biting into a hot, perfectly golden spring roll and hearing that undeniable, shatteringly crisp crunch. Whether you’ve always relied on your favorite local takeout spot or bought them frozen from the grocery store, mastering a homemade spring rolls recipe is the ultimate culinary game-changer. Once you try these easy, flavor-packed spring rolls at home, you may never settle for a soggy, delivery-box appetizer again.
Whether you are prepping for an Asian-inspired dinner night, hosting a weekend gathering, or simply styling a beautiful appetizer spread with a side of sweet chili sauce, these rolls deliver flawlessly. The delicate, blistered, crunchy wrapper contrasting with a savory, umami-rich vegetable and meat filling is absolutely mouthwatering. The best part? You only need simple, accessible ingredients, a package of pre-made wrappers, and a little bit of rolling practice. Let’s walk through everything step-by-step so you can master this fun, delicious recipe perfectly on your first try.
Why Make Homemade Spring Rolls at Home?
If you’ve only ever ordered spring rolls from a restaurant, you’re in for a wonderful treat. A batch of homemade spring rolls is:
- Incredibly crisp and fresh: Straight from the pan or oven, they have a texture that takeout containers just can’t preserve.
- Highly customizable: You control exactly what goes into the filling, making it easy to accommodate vegetarian, vegan, or specific meat preferences.
- Budget-friendly: A mountain of shredded cabbage, carrots, and a pack of wrappers costs a fraction of a restaurant appetizer platter.
- Control over the cooking method: You can choose to shallow-fry them for ultimate decadence, or brush them with oil and bake them for a lighter, guilt-free crunch.
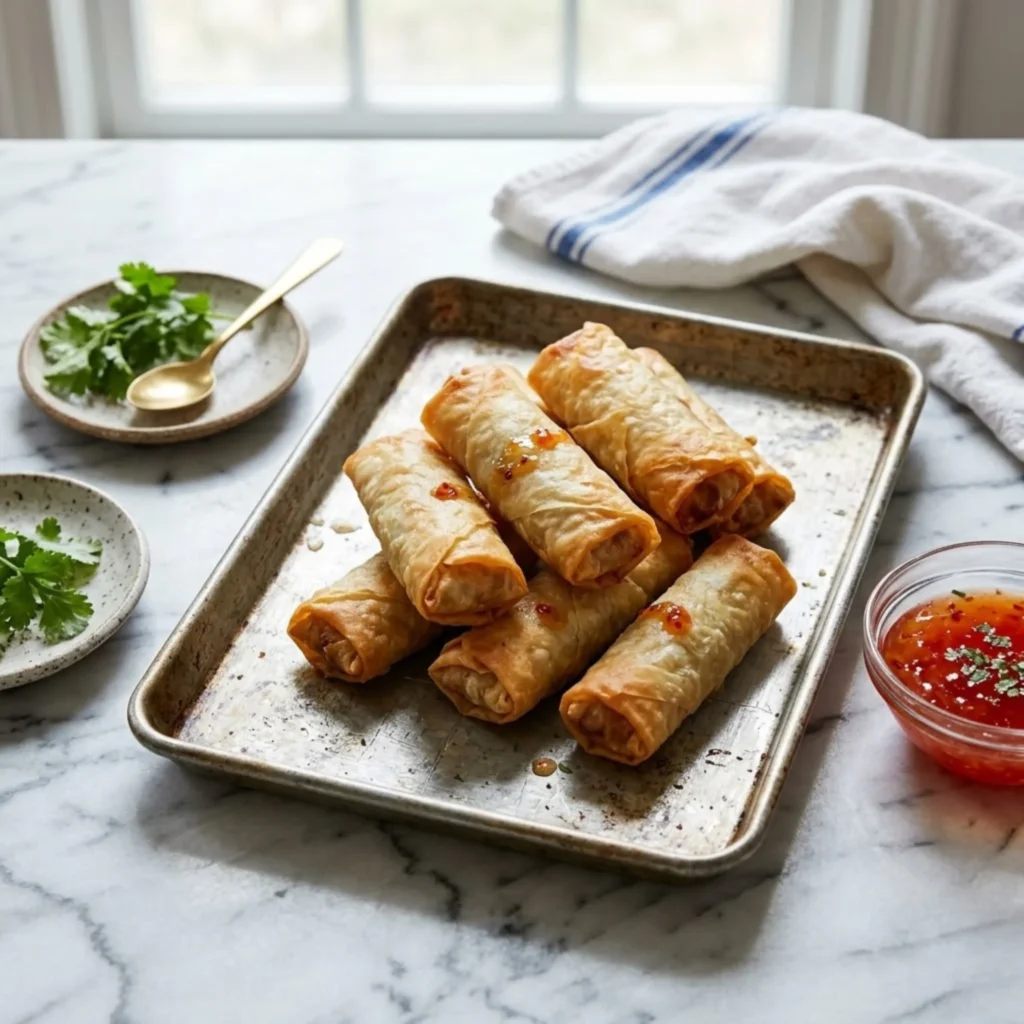
- Visually stunning: That gorgeous, golden-brown blistered exterior looks incredibly appetizing on a serving tray alongside fresh cilantro and dipping sauces.
And honestly, the flavor difference is undeniable. Freshly sautéed aromatics like garlic and ginger provide a bright, savory punch that frozen, mass-produced versions simply cannot match.
Ingredients for the Perfect Spring Rolls
One of the reasons this recipe works so well is its flexibility. You can easily find these essentials in most grocery stores. You’ll need:
For the Filling:
- 1 tablespoon cooking oil
- ½ pound ground pork, chicken, or crumbled firm tofu
- 3 cups green cabbage, finely shredded
- 1 cup carrots, julienned or coarsely grated
- 2 cloves garlic, minced
- 1 tablespoon fresh ginger, grated
- 1 cup dry glass noodles (cellophane noodles), soaked and chopped
- 2 tablespoons soy sauce
- 1 teaspoon toasted sesame oil
- ½ teaspoon black pepper
For Rolling and Cooking:
- 1 package (about 25 sheets) spring roll wrappers (thawed if frozen)
- 1 egg, lightly beaten (to seal the wrappers)
- Cooking oil (for shallow frying, or a light coating for baking)
- Sweet chili sauce for dipping
Step-by-Step Homemade Spring Rolls Recipe
Follow these simple steps for perfectly crispy, savory rolls every time.
Step 1: Prep the Noodles and Veggies Place the dry glass noodles in a bowl of hot water for about 10 minutes until softened. Drain them well and use scissors to cut them into 2-inch pieces. Finely shred your cabbage and carrots to ensure they cook evenly and don’t poke through the wrappers.
Step 2: Cook the Filling Heat 1 tablespoon of oil in a large skillet or wok over medium-high heat. Add the ground meat (or tofu) and cook until browned. Add the garlic and ginger, cooking for 1 minute until fragrant. Toss in the shredded cabbage and carrots, cooking just until the vegetables begin to wilt (about 3 minutes).
Step 3: Season and Cool (Crucial Step!) Stir in the chopped noodles, soy sauce, sesame oil, and black pepper. Toss everything together to combine, then immediately remove the pan from the heat. Transfer the filling to a large colander or baking sheet to cool completely. Do not skip this: The filling must be cool and relatively dry, or the steam will make your wrappers soggy!
Step 4: Roll the Spring Rolls Peel off one spring roll wrapper and place it on a clean surface in a diamond shape (one corner pointing at you). Keep the remaining wrappers covered with a damp towel so they don’t dry out. Place about 2 tablespoons of the cooled filling in the bottom third of the wrapper.
Step 5: Fold and Seal Roll the bottom corner tightly up and over the filling. Fold the left and right corners into the center, creating an envelope shape. Continue rolling tightly toward the top corner. Brush the final top corner with a little bit of the beaten egg, then press to seal the roll completely.
Step 6: Cook to Golden Perfection To Fry: Heat about an inch of oil in a skillet to 350°F. Fry the rolls in small batches for 3 to 4 minutes, turning occasionally, until perfectly golden and crispy. Drain on a wire rack. To Bake: Preheat your oven to 400°F. Place the rolls on a baking sheet, brush them generously with cooking oil, and bake for 15 to 20 minutes, flipping halfway through, until crispy.
Pro Tips for Perfect Spring Rolls
Small details make a big difference when rolling from scratch.
- Keep the wrappers covered: Spring roll wrappers dry out very quickly and will crack when you try to fold them. Always keep a damp paper towel over the unused stack.
- Drain excess moisture: A wet filling is the enemy of a crispy wrapper. If your cabbage releases a lot of water, drain the filling in a colander before rolling.
- Roll tightly, but don’t overstuff: Air pockets inside the roll can cause them to burst open while cooking. Keep the roll tight, and resist the urge to add more than 2 tablespoons of filling.
How to Store Homemade Spring Rolls
Freshly cooked spring rolls are best enjoyed immediately for maximum crunch. If you have leftovers, store them in an airtight container in the refrigerator for up to 3 days. To reheat, skip the microwave! Place them on a baking sheet in a 375°F oven for 5 to 10 minutes to crisp them back up.
You can also freeze spring rolls! It is actually best to freeze them uncooked. Place the assembled, raw spring rolls on a baking sheet lined with parchment paper and freeze until solid. Then, transfer them to a freezer-safe bag for up to 2 months. You can fry or bake them directly from frozen—just add a few extra minutes to the cooking time.
Ways to Customize Your Spring Rolls
Now comes the fun part. This versatile filling base is perfect for experimenting.
- Make it Vegan: Swap the meat for crumbled extra-firm tofu or minced shiitake mushrooms, and use a cornstarch-water slurry to seal the wrappers instead of an egg.
- Shrimp and Pork combo: Use a mix of finely chopped raw shrimp and ground pork for a classic, incredibly flavorful dim sum style filling.
- Add some heat: Mix a spoonful of chili crisp or sriracha directly into the filling mixture for a spicy kick in every bite.
Frequently Asked Questions
What is the difference between spring roll wrappers and egg roll wrappers? Spring roll wrappers are usually thinner, smoother, and made with wheat flour and water, resulting in a shatteringly crisp, flaky crust. Egg roll wrappers are thicker, contain egg, and develop a bubbly, slightly chewy texture when fried.
Why did my spring rolls explode in the oil? This usually happens because the roll was wrapped too loosely, leaving air pockets inside that expand when heated, or because the wrapper was overstuffed. Roll tightly and use less filling next time!
Can I make these in an air fryer? Absolutely! Brush the assembled rolls lightly with oil, place them in the air fryer basket in a single layer, and cook at 375°F for 10 to 12 minutes, flipping halfway through.
Final Thoughts
This ultimate homemade spring rolls recipe proves that making a show-stopping, restaurant-quality appetizer from scratch doesn’t have to be intimidating. With just a few staple ingredients, a dry filling, and a tight rolling technique, you can create a savory, incredibly crispy treat that elevates any meal.
Once you take that first bite, experiencing the flaky crunch giving way to a warm, savory vegetable filling, you’ll understand why this recipe is so rewarding. So grab a pack of wrappers, mix up your favorite filling, and enjoy the simple, delicious joy of homemade spring rolls dipped in plenty of sweet chili sauce!