Easy Cherry Cobbler Recipe: Warm, Sweet, and Better Than Bakery Bought
This easy cherry cobbler recipe is the perfect comforting warm dessert for any occasion. It combines the sweet, tart flavor of bubbling cherry filling with a soft, golden-brown biscuit topping, creating a rich and satisfying treat. Made with just a few simple pantry staples and fruit, it is a delicious, natural, and easy-to-make alternative to complicated pies or store-bought pastries. If you are looking for a quick, crowd-pleasing dessert that takes minimal effort, let’s get right into it!
Why You Will Love This Recipe
If you’ve been stuck in a rut of serving dry cakes or complicated tarts, you are going to fall in love with this method. This cherry cobbler is:
Texturally perfect: Baking it at a high temperature ensures the biscuit topping gets crispy and golden, while the fruit filling remains incredibly tender and juicy.
Highly customizable: You can easily swap the cherries for peaches, mixed berries, or fresh sliced apples.
Made with basic staples: You only need cherry pie filling, flour, sugar, milk, and butter.
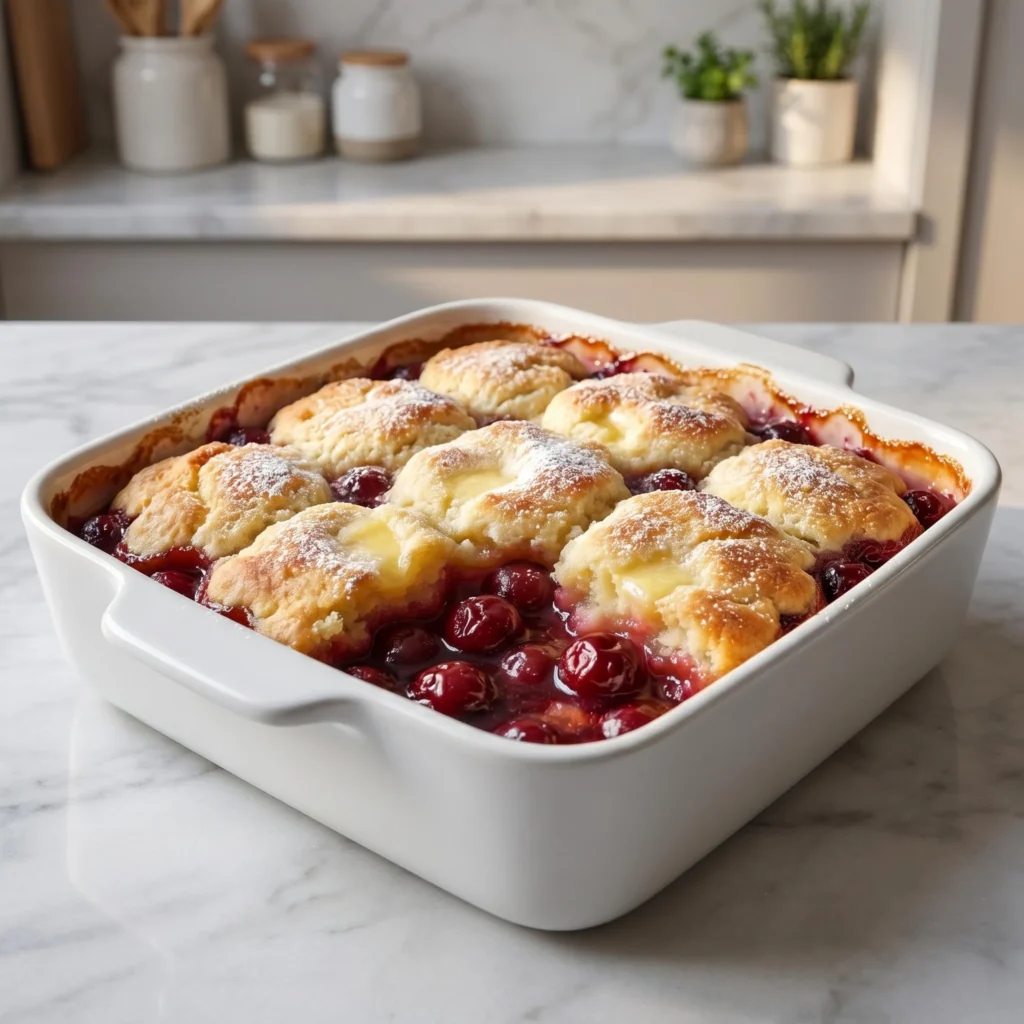
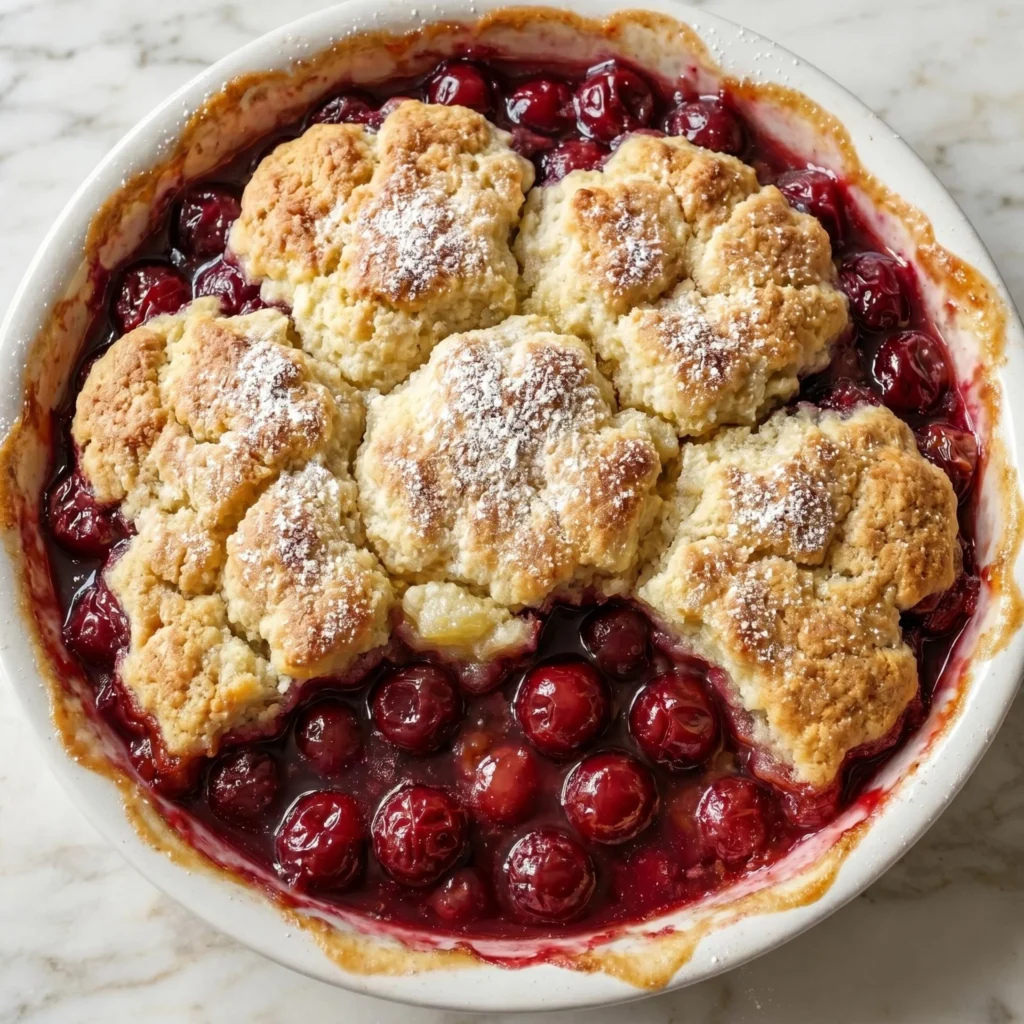
Visually gorgeous: The bright red, bubbling fruit peeking through the golden, powdered sugar-dusted crust looks like it came straight out of a rustic bakery.
Ingredients You Will Need
The beauty of this recipe lies in its sheer simplicity. To get that perfect sweet and tart bite, you will need:
- 2 cans (21 oz each) cherry pie filling
- 1 cup all-purpose flour
- 1 cup granulated sugar
- 1 teaspoon baking powder
- ½ cup whole milk
- ½ cup unsalted butter (melted)
- Powdered sugar for garnish
Step-by-Step Instructions for Easy Cherry Cobbler
Follow these easy steps. I’ve broken them down into quick, bite-sized pieces so you can achieve maximum flavor without any stress!
Step 1: Prep the Oven Preheat your oven to 375°F (190°C). Spray a 9×9 inch square baking dish with oil. Set the prepared dish aside.
Step 2: Add the Cherries Open the cans of cherry filling. Pour the fruit directly into the dish. Spread it out into an even layer.
Step 3: Mix the Batter Grab a medium mixing bowl. Whisk the flour, sugar, and baking powder. Pour in the milk and melted butter. Stir everything until just combined.
Step 4: Top the Cobbler Drop spoonfuls of batter over the cherries. Do not mix the batter into the fruit. It will spread naturally as it bakes.
Step 5: Bake to Perfection Place the dish into the hot oven. Bake it for 35 to 45 minutes. Stop when the crust is golden-brown and bubbly.
Step 6: Cool and Serve Remove the dish from the oven. Let it cool for 10 minutes to set. Dust with powdered sugar and serve warm!
Pro Tips for the Ultimate Dessert
Small adjustments can take your cobbler from good to absolute perfection.
Don’t overmix the batter: Stir the flour mixture just until the dry ingredients disappear to keep the topping light, fluffy, and tender.
Use the butter trick: Drizzling a tiny bit of extra melted butter over the top of the batter before baking gives it a perfectly crisp, bakery-style crust.
Let it rest: Let the hot cobbler sit for at least 10 minutes before serving. This allows the hot fruit juices to thicken up so it isn’t completely runny!
What to Serve with Cherry Cobbler
This versatile little dessert pairs beautifully with almost any sweet addition.
As a classic dessert: Serve it warm with a massive scoop of creamy vanilla bean ice cream melting right on top.
With whipped cream: Add a dollop of freshly whipped, lightly sweetened heavy cream and a sprinkle of cinnamon.
At a brunch: Serve small portions alongside a hot cup of dark roast coffee or black tea for a comforting morning treat.
How to Store Cherry Cobbler
Have leftovers? It is incredibly easy to save them for later!
In the Fridge: Store the completely cooled cobbler in an airtight container or cover the baking dish tightly with plastic wrap for up to 4 days.
How to Reheat: Please skip the microwave to avoid a rubbery crust! Instead, warm it in the oven at 350°F for 10 to 15 minutes to bring that perfect golden crunch right back.
In the Freezer: You can freeze the baked and cooled cobbler in a freezer-safe container for up to 3 months. Thaw it completely in the fridge before reheating in the oven.
Frequently Asked Questions
Can I use fresh or frozen cherries? Absolutely! Toss 4 cups of pitted fresh or frozen cherries with ½ cup of sugar and a tablespoon of cornstarch. Let it sit for 10 minutes before using it as the filling.
What is the best baking dish to use? A white ceramic or glass 9×9 inch square dish is the absolute best choice because it bakes evenly and looks beautiful for serving.
Can I prep this ahead of time? Yes! You can make the batter and store it in the fridge separate from the fruit for up to a day. When you are ready for dessert, just assemble in the dish and bake.
Final Thoughts
This easy cherry cobbler recipe is proof that making a show-stopping dessert doesn’t have to be complicated. With a quick batter, a simple fruit base, and a hot oven, you get the ultimate comforting, sweet bite every single time. Try it tonight, and I promise it’ll become a permanent favorite at your table!