Best Easy Homemade Pizza Dough Recipe
There’s something magical about making pizza from scratch. The aroma of fresh dough rising, the soft, chewy texture, and the chance to customize toppings exactly how you like them makes homemade pizza far superior to store-bought. With this easy homemade pizza dough recipe, you can enjoy bakery-quality pizza right in your kitchen. The best part? It requires just a few simple ingredients, some patience for rising, and a love for cooking. Let’s dive into the details so you can create perfect pizza dough every time.
Why Make Pizza Dough at Home?
Store-bought pizza bases are convenient, but homemade dough is an entirely different experience. Here’s why you should consider making your own:
- Soft and Chewy Texture: Homemade dough has a tender, elastic feel that melts in your mouth, while the edges crisp up beautifully in the oven.
- Fresh Ingredients: You control what goes into the dough—no preservatives or unnecessary additives.
- Budget-Friendly: Making dough at home is cheaper than buying pre-made bases, especially for larger batches.
- Customisable: You can adjust thickness, flavour, and even experiment with herbs or garlic in the dough.
- lling, kneading, and shaping the dough is therapeutic, and it makes pizza night feel special.
Once you try it, you’ll likely never want to go back to pre-made pizza bases. The flavor, texture, and satisfaction of homemade dough are unmatched.
Ingredients for Easy Pizza Dough
This recipe keeps things simple. You probably already have most of the ingredients in your kitchen:
- 3 ½ cups all-purpose flour (plus extra for kneading)
- 1 teaspoon salt
- 1 tablespoon sugar
- 1 packet (2 ¼ teaspoons) active dry yeast
- 1 ¼ cups warm water (around 110°F / 43°C)
- 2 tablespoons olive oil
Optional enhancements: herbs like oregano or rosemary, garlic powder, or a pinch of chili flakes for a subtle kick. No special equipment is required—just a mixing bowl, rolling surface, and your hands.
Step by Step Pizza Dough Recipe
Step 1: Activate the Yeast
In a small bowl, combine warm water, sugar, and yeast. Let it sit for 5-10 minutes until it becomes foamy. This ensures your yeast is active, which is critical for the dough to rise properly.
Step 2: Mix the Dry Ingredients
In a large mixing bowl, combine the flour and salt. Stir until the ingredients are evenly distributed. If you want a slightly herbed dough, now is the time to add any dried herbs or spices.
Step 3: Combine Wet and Dry Ingredients
Make a well in the center of the flour mixture and pour in the yeast mixture along with olive oil. Mix with a spoon or your hands until a rough dough forms. Ensure all flour is incorporated for an even texture.
Step 4: Knead the Dough
Transfer the dough onto a lightly floured surface. Knead for 5-10 minutes until smooth and elastic. The dough should spring back when pressed with your finger. If the dough is sticky, sprinkle a little extra flour; if too dry, add a teaspoon of water at a time.
Step 5: First Rise
Place the dough in a lightly oiled bowl, cover with a clean kitchen towel or plastic wrap, and let it rise in a warm area for 1-2 hours or until doubled in size. This step develops flavor and texture, creating a dough that’s soft and airy.
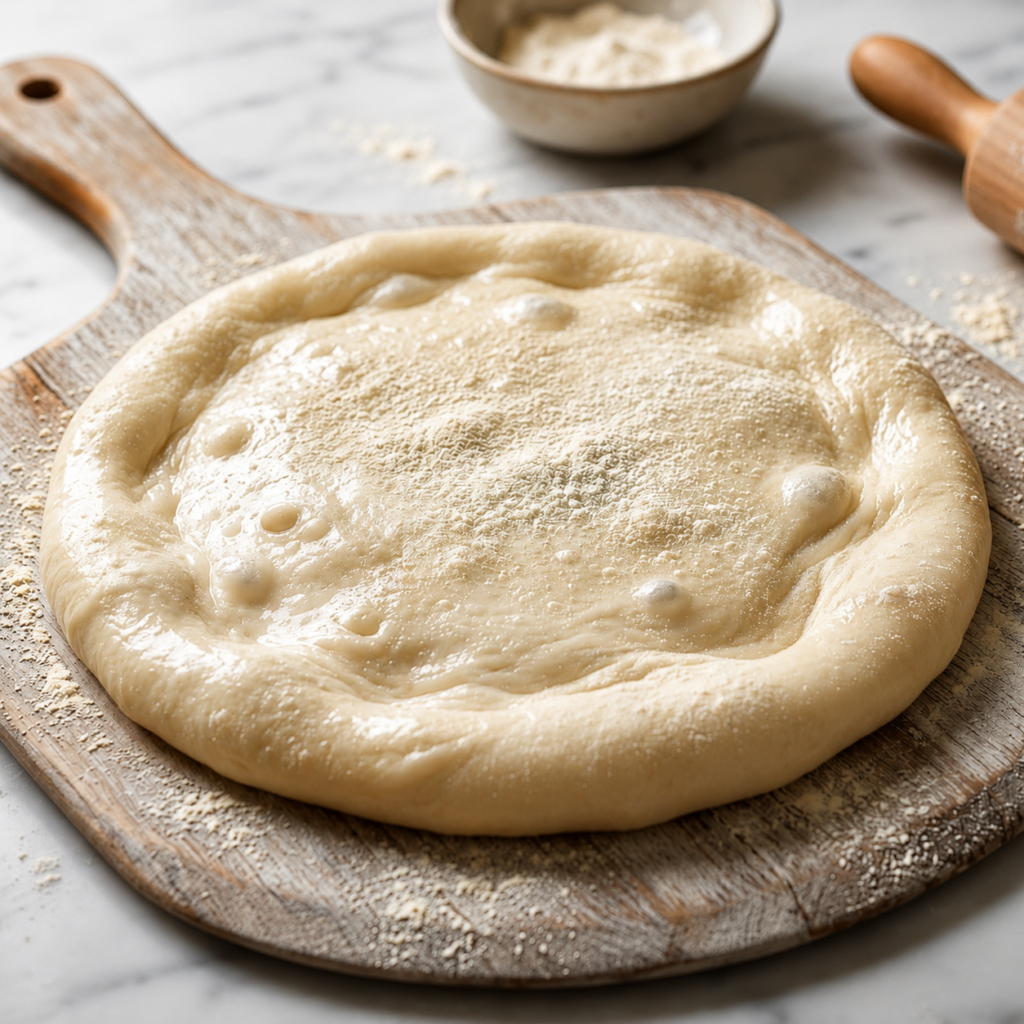
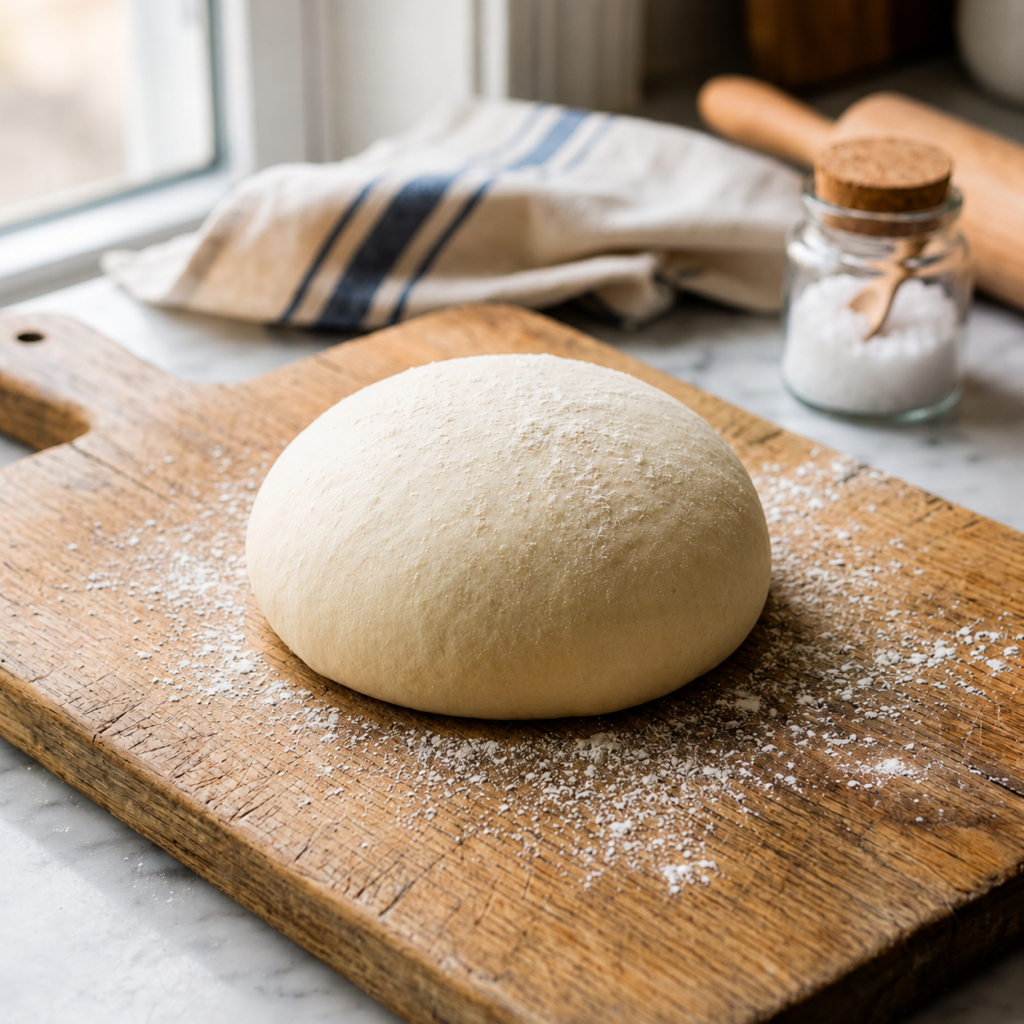
Step 6: Shape the Dough
Once risen, punch down the dough to release trapped air. Divide it into portions if making multiple pizzas. Roll each portion into a ball and let rest for 10 minutes to relax the gluten, making it easier to roll out.
Step 7: Roll and Shape
Roll each dough ball on a floured surface to your preferred thickness. Thin crust pizzas should be around ¼ inch thick, while thicker, chewy bases can be slightly larger. Don’t worry about perfect shapes—a rustic look adds charm.
Step 8: Pre-Bake or Top and Bake
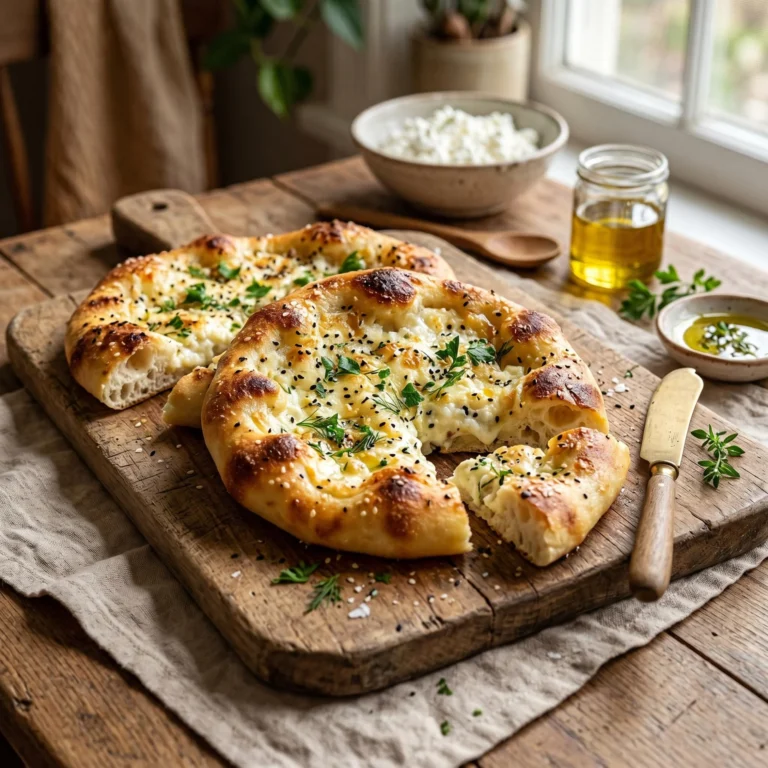
For a crispier crust, pre-bake the base at 450°F (230°C) for 5-7 minutes. Then add your toppings and bake for 12-15 more minutes until the crust is golden and the cheese bubbles beautifully.
Pro Tips for Perfect Pizza Dough
- Use warm water to activate yeast, not hot water, which can kill it.
- Let the dough rise fully—patience yields airy and tender dough.
- Knead properly to develop gluten, ensuring elasticity and chewiness.
- Cover unused dough to prevent it from drying out.
- Avoid overcooking to maintain softness in the middle while crisping the edges.
How to Store Pizza Dough
Fresh pizza dough can be stored in an airtight container in the fridge for up to 3 days. For longer storage, wrap tightly in plastic wrap and freeze for up to 3 months. When ready to use, thaw in the refrigerator overnight and let it come to room temperature before rolling.
Creative Ways to Use Homemade Pizza Dough
Homemade dough isn’t just for classic pizzas. You can use it to create:
- Margherita Pizza: Fresh basil, tomato, and mozzarella
- Pepperoni or Meat Lovers Pizza: Layered with your favorite meats
- Vegetarian Pizza: Packed with vegetables like bell peppers, onions, mushrooms, and olives
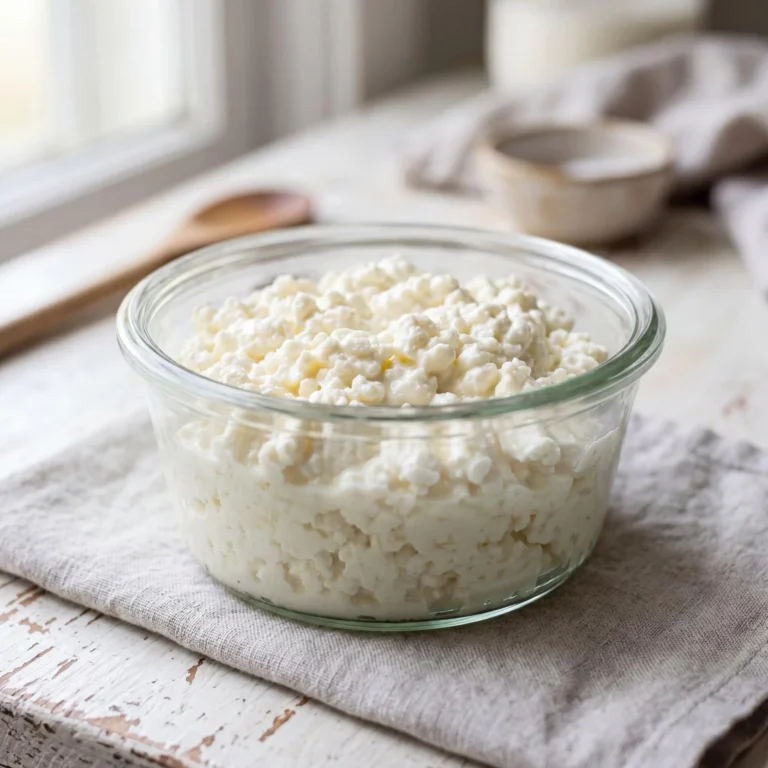
- White Pizza: Ricotta, garlic, spinach, and mozzarella
- Personal Mini Pizzas: Fun for parties or family nights
- Breadsticks or Garlic Knots: Perfect as a side or appetizer
The versatility of this dough makes it perfect for experimenting with flavours, shapes, and textures.
Frequently Asked Questions
Why is my dough sticky?
Slight stickiness is normal. If it’s very sticky, knead with a bit more flour.
Can I make dough without yeast?
Yes, using baking powder creates a quicker dough, though it will lack the same airy texture.
Can I use whole wheat flour?
Absolutely. You can substitute half or all of the flour with whole wheat, though you may need slightly more water.
Final Thoughts
This extended pizza dough recipe demonstrates that making pizza at home is simple, fun, and rewarding. With a few ingredients, careful kneading, and patience, you can achieve a soft, chewy, golden crust that’s a perfect base for your favourite toppings. Homemade pizza dough elevates any meal, impresses family and friends, and transforms ordinary pizza night into something extraordinary.
So gather your ingredients, warm up your oven, and experience the joy of homemade pizza dough. Once you taste it fresh from the oven, you’ll understand why homemade is always better.