Best Fudgy Brownies Recipe: Rich, Gooey, and Better Than Boxed
This ultimate best fudgy brownies recipe is the perfect decadent treat for a late-night craving, a bake sale, or a weekend dessert. It combines the deep, intense flavor of melted chocolate with a dense, melt-in-your-mouth center and that signature tissue-thin, crinkly top. Made with just a few simple pantry staples, it is a delicious, scratch-made, and easy-to-make alternative to dry, store-bought boxed mixes. If you are looking for a quick, crowd-pleasing chocolate dessert that takes minimal effort but delivers maximum reward, let’s get right into it!
Why You Will Love This Recipe
If you’ve been stuck in a rut of making cakey, dry brownies, you are going to fall in love with this method. This fudgy brownie recipe is:
- Texturally perfect: Whipping the eggs and sugar creates a gorgeous, glossy, crinkly top, while the high fat-to-flour ratio ensures the center stays incredibly dense and gooey.
- Highly customizable: You can easily load the batter up with toasted walnuts, a swirl of peanut butter, or extra chocolate chunks.
- Made with basic staples: You only need butter, sugar, eggs, good quality cocoa powder or baking chocolate, a little flour, and vanilla extract.
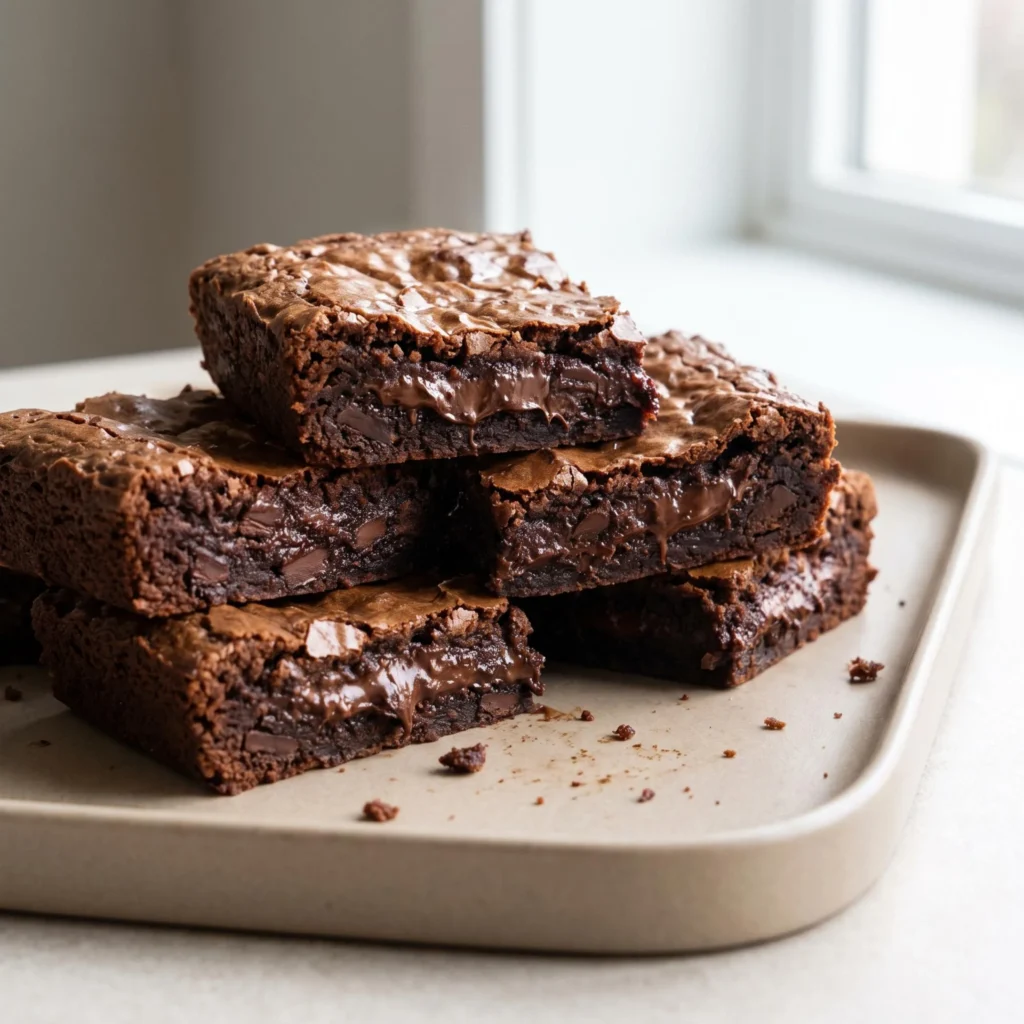
- Visually gorgeous: The contrast of the flaky, cracked top with the ultra-rich, dark chocolate center looks like it came straight out of an artisan bakery.
Ingredients You Will Need
The beauty of this recipe lies in its sheer simplicity and reliance on good technique. To get that perfect rich and gooey bite, you will need:
- ½ cup unsalted butter, melted and hot
- 1 tablespoon cooking oil (vegetable or canola for extra moisture)
- 1 ⅛ cups granulated sugar
- 2 large eggs, at room temperature
- 2 teaspoons pure vanilla extract
- ½ cup all-purpose flour
- ½ cup high-quality unsweetened cocoa powder
- ¼ teaspoon kosher salt
- ¾ cup semi-sweet chocolate chips (optional, for maximum gooeyness)
Step-by-Step Instructions for the Best Fudgy Brownies
Follow these easy steps. I’ve broken them down into quick, bite-sized pieces so you can achieve maximum dessert perfection without any stress!
- Step 1: Prep the Oven and Pan. Preheat your oven to 350°F (175°C). Lightly grease an 8×8-inch metal baking pan and line it with parchment paper, leaving an overhang so you can easily lift the brownies out later.
- Step 2: Whisk the Wet Ingredients. In a large bowl, whisk together the hot melted butter, oil, and granulated sugar until well combined. Add the room temperature eggs and vanilla extract. Whisk vigorously for at least 1 to 2 minutes until the mixture becomes pale and noticeably lighter in texture (this is the secret to the crinkly top!).
- Step 3: Fold in the Dry Ingredients. Sift the flour, cocoa powder, and salt directly into the wet ingredients. Use a rubber spatula to gently fold the mixture together just until the dry streaks disappear. Do not overmix!
- Step 4: Add the Mix-Ins. Gently fold in the chocolate chips or any nuts if you are using them. Pour the thick batter into your prepared baking pan, smoothing the top with your spatula.
- Step 5: Bake and Chill. Bake for 25 to 30 minutes. The center should look just set, and a toothpick inserted should come out with moist, fudgy crumbs (not wet batter, and definitely not clean). Let them cool completely in the pan before slicing!
Pro Tips for the Ultimate Brownies
Small adjustments can take your brownies from good to absolute perfection.
- Do not overbake: This is the golden rule of fudgy brownies. If you wait until a toothpick comes out completely clean, they will be overcooked and cakey. Pull them out when there are still sticky crumbs attached!
- Whip the eggs and sugar: Vigorously whisking the eggs and sugar dissolves the sugar crystals and creates a meringue-like foam, which bakes into that iconic, tissue-thin crinkle top.
- Let them rest: Slicing brownies while they are piping hot will result in a messy, falling-apart disaster. Let them cool completely, or even chill them in the fridge for an hour, for perfectly clean, dense slices.
What to Serve with Fudgy Brownies
This versatile, rich dessert pairs beautifully with simple, classic accompaniments.
- À la mode: Serve a warm, gooey brownie square topped with a generous scoop of vanilla bean ice cream and a drizzle of hot fudge sauce.
- With a beverage: The intense chocolate flavor pairs beautifully with a hot cup of dark roast coffee or a tall, ice-cold glass of whole milk.
- Loaded style: Right before serving, drizzle the brownies with salted caramel sauce and sprinkle with flaky sea salt for an elevated, sweet-and-salty flavor profile.
How to Store Fudgy Brownies
Have leftovers? It is incredibly easy to save for later, though they rarely last long!
- At Room Temperature: Store the completely cooled brownies in an airtight container on the counter for up to 4 days. They will actually become fudgier on day two!
- In the Fridge: If you prefer a highly dense, almost truffle-like texture, store them in the refrigerator for up to a week.
- In the Freezer: These freeze beautifully! Wrap individual squares tightly in plastic wrap, then place them in a zip-top freezer bag for up to 3 months. Thaw at room temperature or warm in the microwave for 15 seconds.
Frequently Asked Questions
- Why did my brownies turn out cakey? Cakey brownies are usually the result of adding too much flour, overmixing the batter once the flour is added (which develops gluten), or simply overbaking them.
- Can I use a glass baking dish? You can, but metal pans are highly recommended. Metal conducts heat faster and more evenly, giving you better chewy edges. Glass pans retain heat longer, which can easily lead to overbaked edges and an undercooked center.
- Can I double this recipe? Yes! You can double the ingredients and bake them in a 9×13-inch pan. You may need to add an extra 5 to 10 minutes to the total baking time.
Final Thoughts
This best fudgy brownies recipe is proof that baking a bakery-quality, decadent dessert doesn’t require complicated techniques or hours in the kitchen. With a vigorous whisk, a careful eye on the oven timer, and a little patience while they cool, you get the ultimate rich, gooey bite every single time. Whip up a batch this weekend, and I promise they will become a permanent favorite on your dessert table!