Easy Hawaiian Butter Mochi Recipe: Chewy, Buttery, and Irresistibly Sweet
This easy Hawaiian butter mochi recipe is the perfect comforting treat for any gathering or summer party. It combines the rich, buttery flavor of a classic blondie with the delightfully chewy, bouncy texture of traditional Japanese mochi, creating a deeply satisfying dessert.
Made with just a few simple pantry staples and a single bowl, it is a delicious, natural, and easy-to-make alternative to complicated layer cakes or fussy pastries. If you are looking for a quick, crowd-pleasing bake that takes minimal effort but perfectly reflects the high standards of your Kitchen Mastery Secrets, let’s get right into it.
Why You Will Love This Recipe
If you’ve been stuck in a rut of just serving standard brownies or chocolate chip cookies, you are going to fall in love with this method. This butter mochi is:
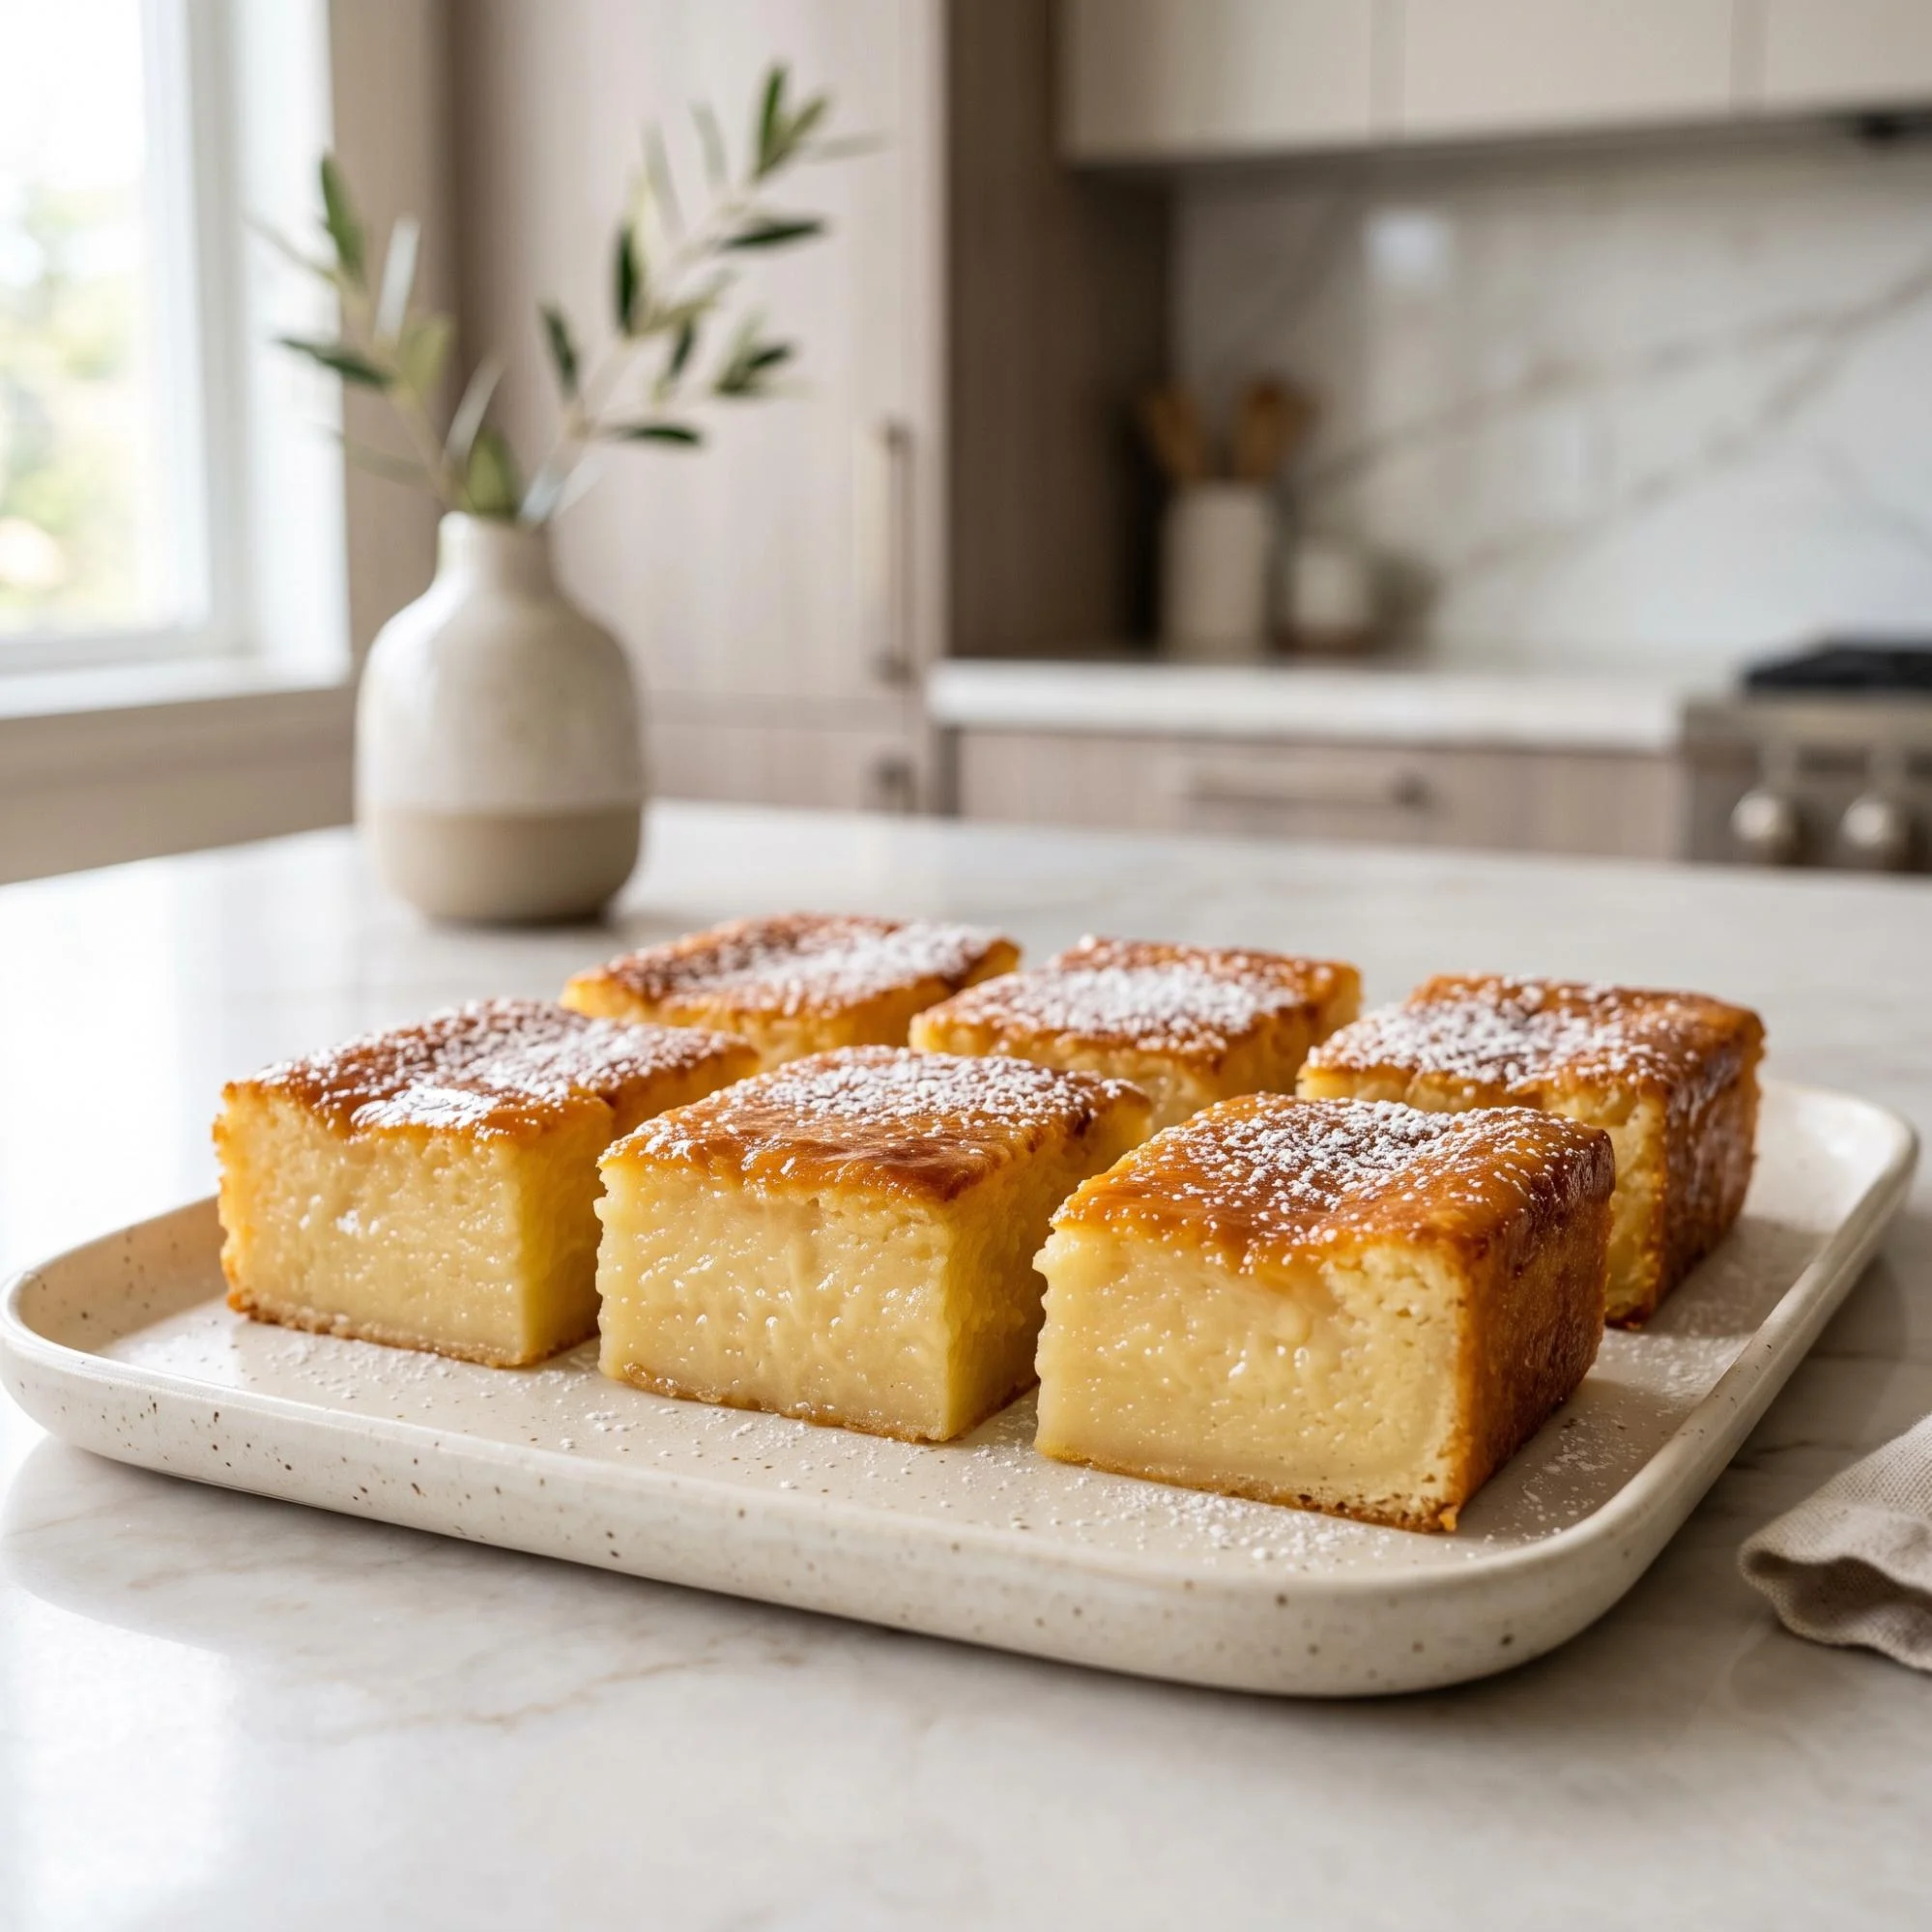
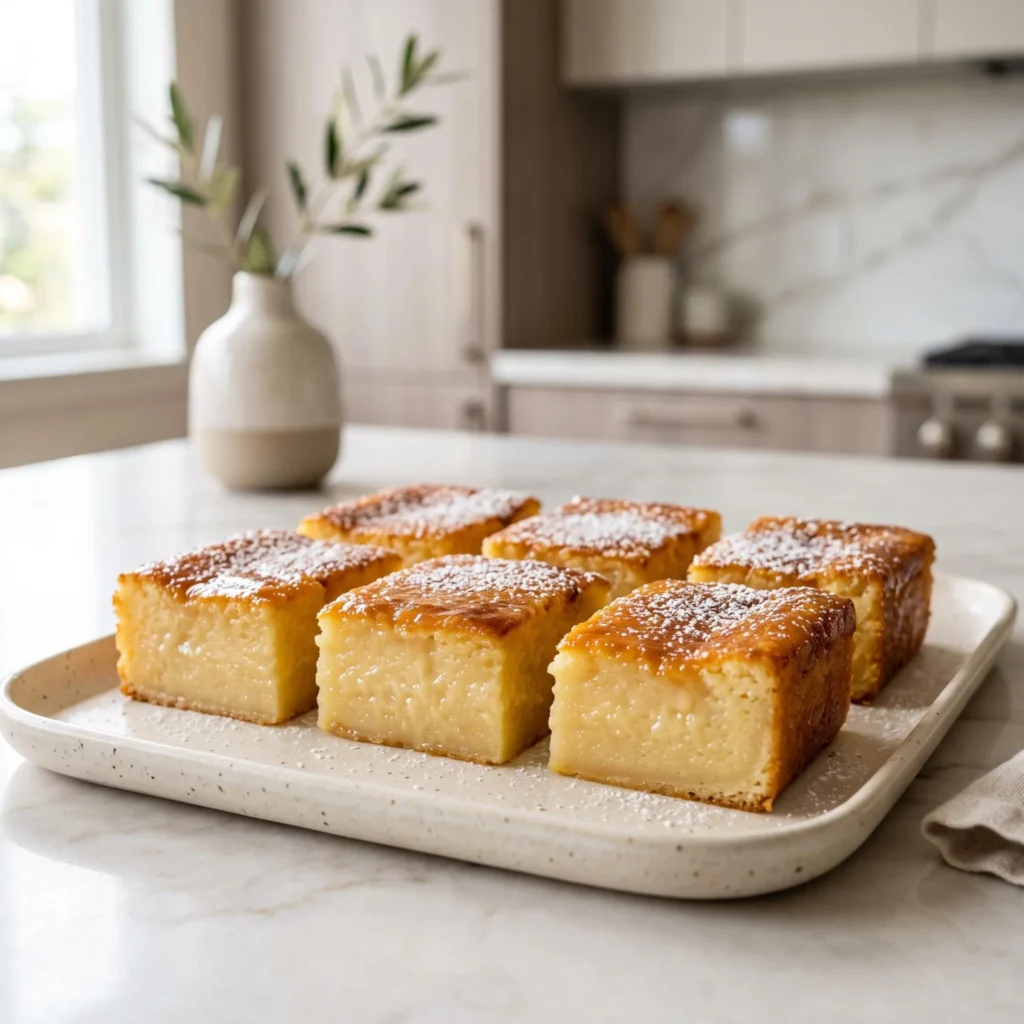
- Texturally perfect: Baking it at a high temperature gives it a beautiful, golden-brown, slightly crispy crust on the outside, while the sweet rice flour provides a soft, dense, and chewy center.
- Highly customizable: You can easily load the batter up with shredded coconut, a splash of macadamia nut extract, or top it with a light dusting of powdered sugar.
- Made with basic staples: You only need Mochiko (sweet rice flour), butter, coconut milk, evaporated milk, sugar, and eggs.
- Visually gorgeous: The clean, golden squares create a minimalist, picture-perfect aesthetic that is guaranteed to shine on your Pinterest boards.
Ingredients You Will Need
The beauty of this recipe lies in its sheer simplicity and unique pantry ingredients. To get that perfect sweet and chewy balance, you will need:
- 1 box (16 oz) Mochiko (sweet rice flour)
- 2 cups granulated sugar
- 2 teaspoons baking powder
- 1/2 cup (1 stick) unsalted butter, melted and slightly cooled
- 4 large eggs
- 1 can (13.5 oz) full-fat coconut milk
- 1 can (12 oz) evaporated milk
- 1 tablespoon vanilla extract
Step-by-Step Instructions for Hawaiian Butter Mochi
Follow these easy steps. I’ve broken them down into quick, bite-sized pieces so you can achieve maximum flavor without any stress in the kitchen.
- Step 1: Prep the Pan Preheat your oven to 350°F (175°C). Generously grease a 9×13-inch baking dish with butter or non-stick cooking spray to ensure the sticky mochi releases easily later.
- Step 2: Mix the Dry Ingredients In a large mixing bowl, whisk together the Mochiko sweet rice flour, granulated sugar, and baking powder until they are completely blended with no lumps.
- Step 3: Add the Wet Ingredients Create a well in the center of your dry ingredients. Pour in the melted butter, eggs, full-fat coconut milk, evaporated milk, and vanilla extract.
- Step 4: Whisk and Bake Whisk the entire mixture vigorously until a smooth, very liquid batter forms (it will look much thinner than traditional cake batter). Pour the batter into your prepared baking dish. Bake for 55 to 60 minutes, or until the top is deeply golden brown and a toothpick inserted in the center comes out clean.
- Step 5: Cool and Slice Remove the pan from the oven. This is the hardest part: you must let the mochi cool completely in the pan for at least 2 to 3 hours before slicing. Once cool, cut into neat squares using a plastic knife to prevent sticking.
Pro Tips for the Ultimate Dessert
Small adjustments can take your butter mochi from good to absolute perfection.
- Use the right flour: You absolutely must use Mochiko or another brand of “glutinous sweet rice flour.” Regular white rice flour or standard all-purpose wheat flour will not work and will ruin the texture.
- Use a plastic knife: When slicing the cooled mochi, a plastic disposable knife works miracles. The sticky rice flour clings to metal blades, but glides effortlessly past plastic for clean, bakery-worthy edges.
- Do not rush the cooling process: If you try to cut butter mochi while it is still warm, it will turn into a gummy, sticky mess. It needs time to set up and achieve that signature chewy bounce.
What to Serve with Hawaiian Butter Mochi
This versatile, rich dessert is fantastic on its own, but pairs beautifully with tropical flavors and hot drinks.
- As a dessert: Serve a square alongside a scoop of cold coconut ice cream or vibrant mango sorbet for a refreshing tropical contrast.
- As a snack: Pair a slice with a piping hot cup of green tea or rich Kona coffee for the ultimate afternoon pick-me-up.
- Loaded style: Before baking, sprinkle a half cup of toasted shredded coconut over the top of the wet batter to create a beautiful, crunchy, macaroon-like crust.
How to Store Hawaiian Butter Mochi
Have leftovers? It is incredibly easy to save for later, and the texture holds up wonderfully.
- At Room Temperature: Store the completely cooled mochi squares in an airtight container on the counter for up to 3 days. It is actually best kept at room temperature to maintain its softness.
- How to Re-heat: If you store it in the fridge, the mochi will become quite hard. To fix this, simply microwave a square for 10 to 15 seconds to bring that soft, chewy texture right back.
- In the Freezer: You can freeze the sliced mochi by wrapping each square individually in plastic wrap and placing them in a zip-top bag for up to 2 months. Thaw them on the counter for a few hours before eating.
Frequently Asked Questions
Can I halve the recipe? Absolutely. If you only want a small batch, halve all the ingredients and bake the batter in an 8×8-inch square pan for about 45 to 50 minutes.
Can I use low-fat milk? It is highly recommended to stick with full-fat coconut milk and evaporated milk. The fat content is crucial for giving the mochi its rich, buttery mouthfeel. Low-fat milks will make it rubbery.
Can I prep this ahead of time? Yes! Butter mochi is an excellent make-ahead dessert because the flavors deepen and the chewy texture actually improves on the second day. Bake it the night before your event for the best results.
Final Thoughts
This easy Hawaiian butter mochi recipe is proof that making a show-stopping, culturally rich dessert doesn’t require hours of difficult pastry work. With a simple one-bowl mix, a hot oven, and a little patience while it cools, you get the ultimate chewy, buttery bite every single time. Try it today, and I promise it’ll become a permanent favorite in your baking rotation.