Easy Homemade Cottage Cheese Recipe: Fresh, Creamy, and Better Than Store-Bought
There’s something incredibly satisfying about transforming a simple gallon of milk into beautiful, fresh cheese right in your own kitchen. Soft, creamy, mildly sweet, and packed with protein, homemade cottage cheese is a culinary revelation. Once you try this easy recipe at home, you may never go back to the watery, plastic-tub versions from the grocery store again.
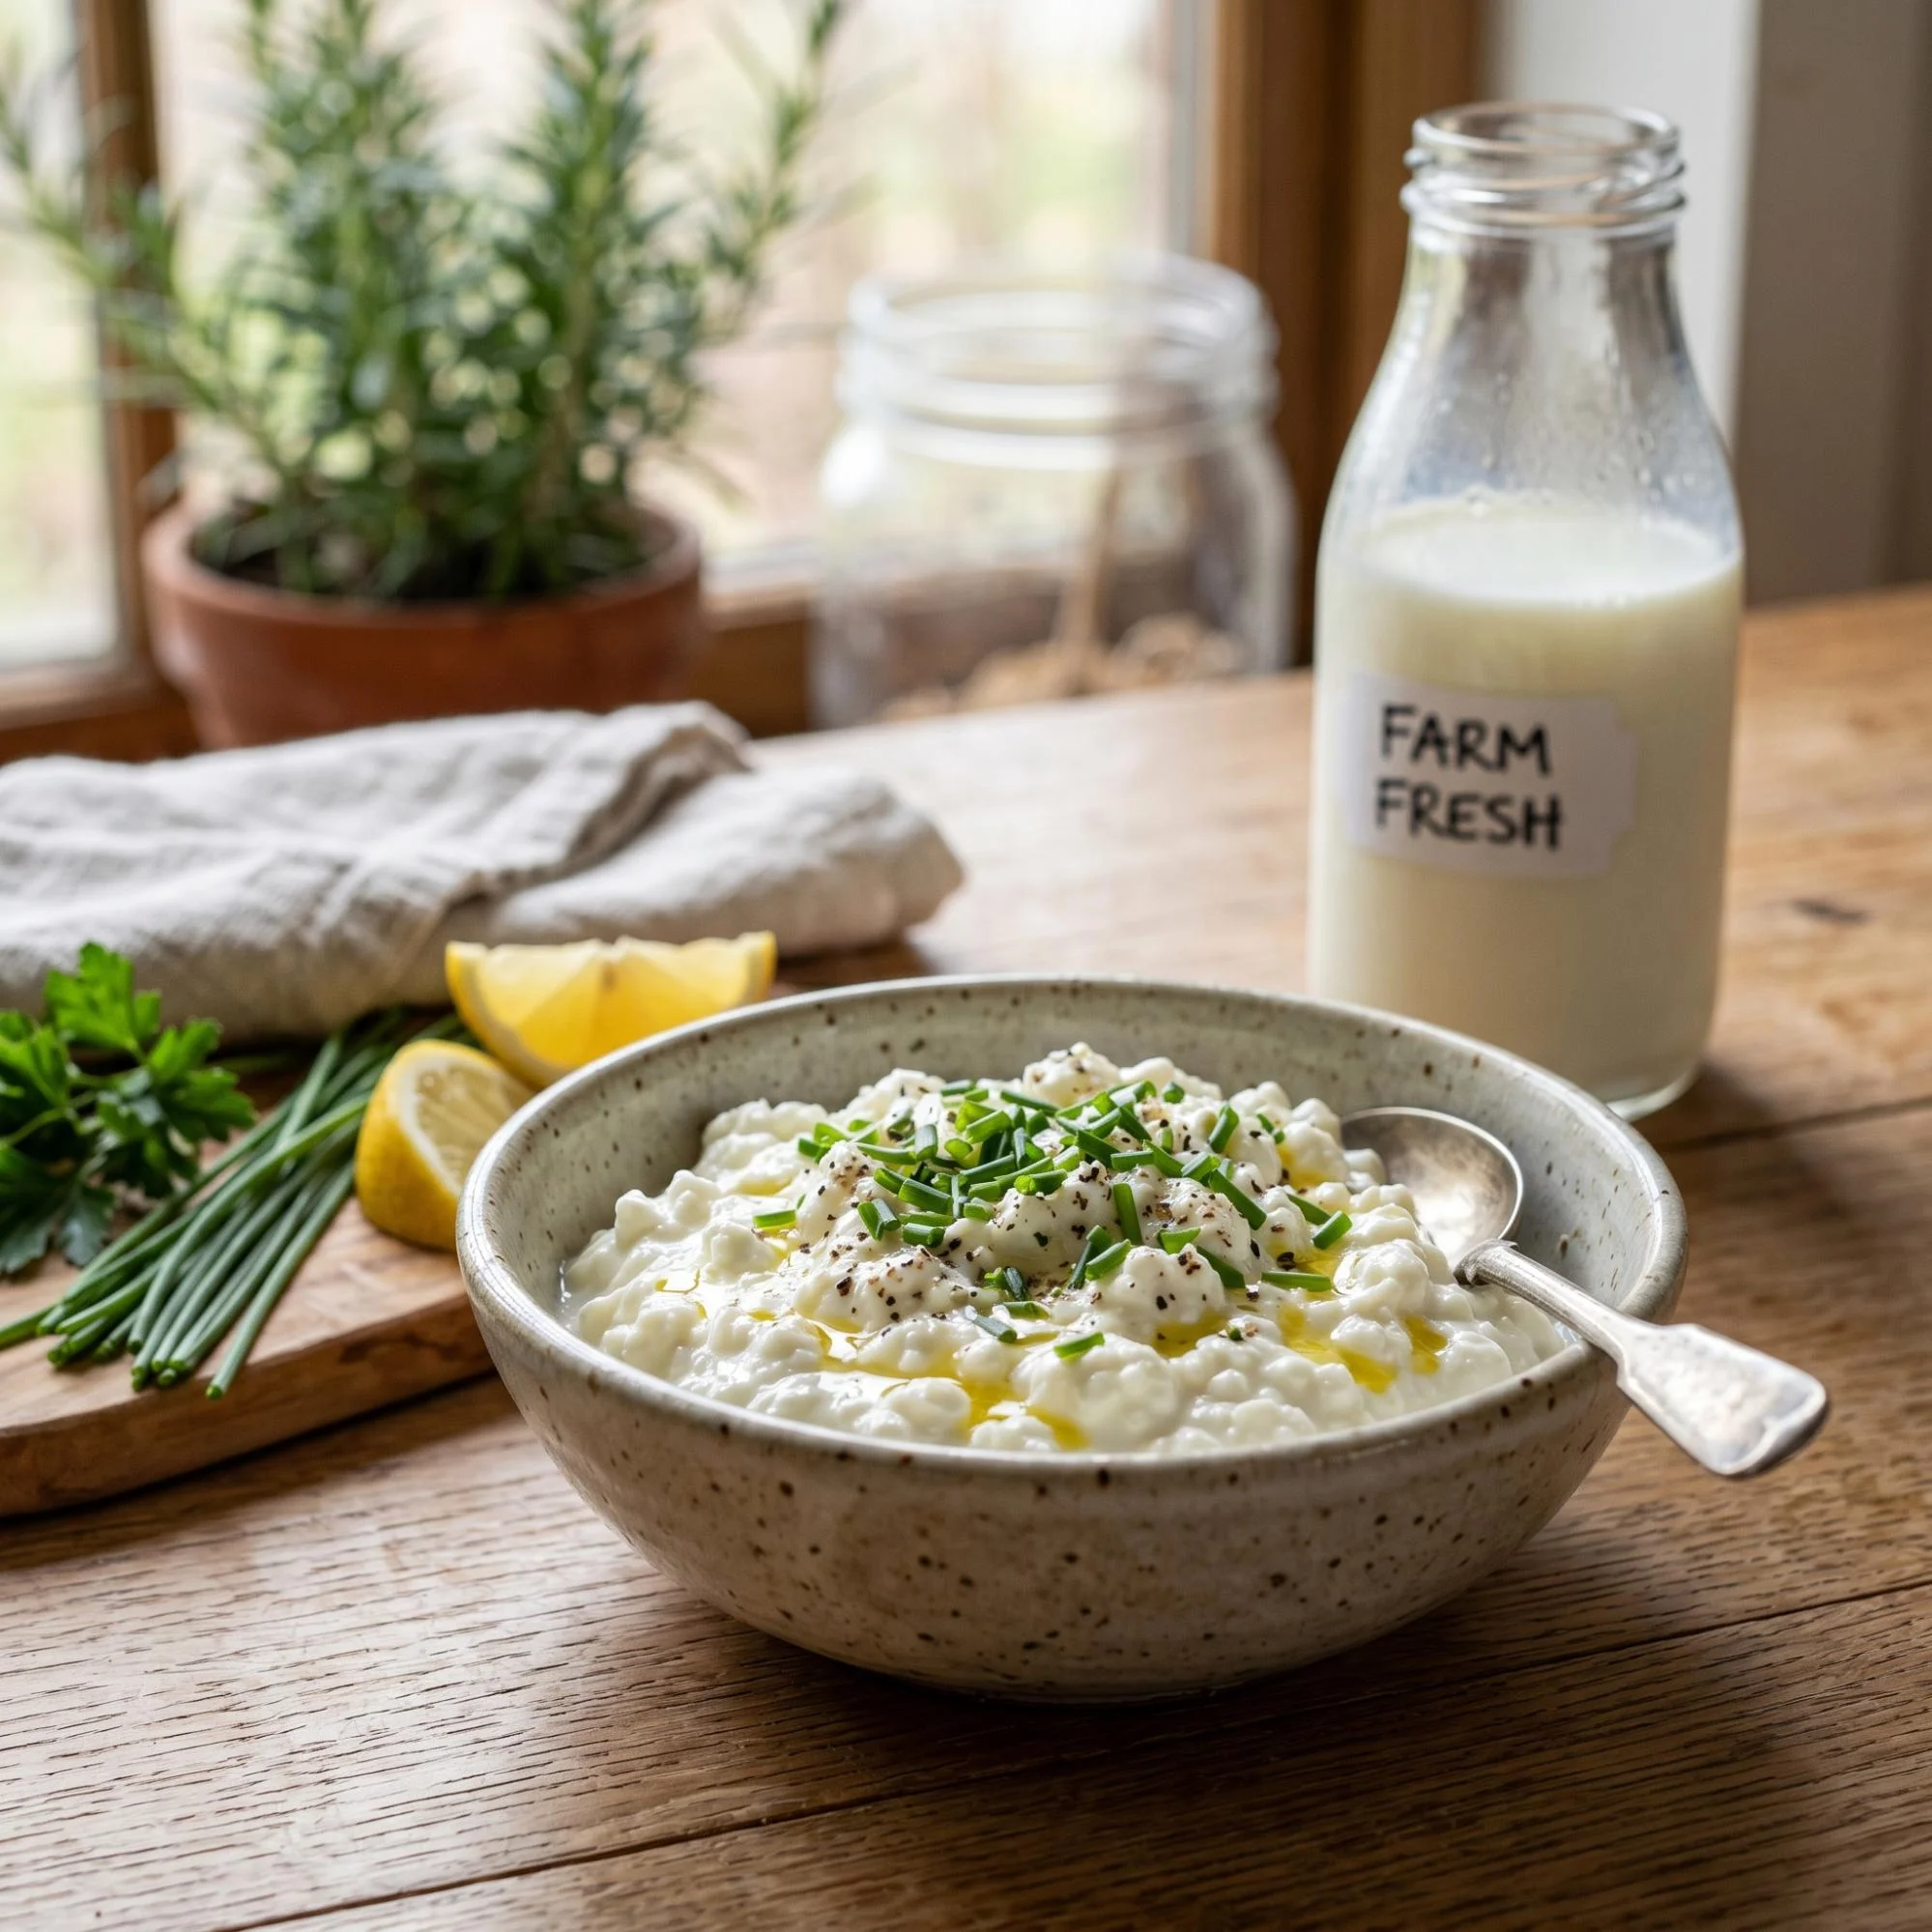
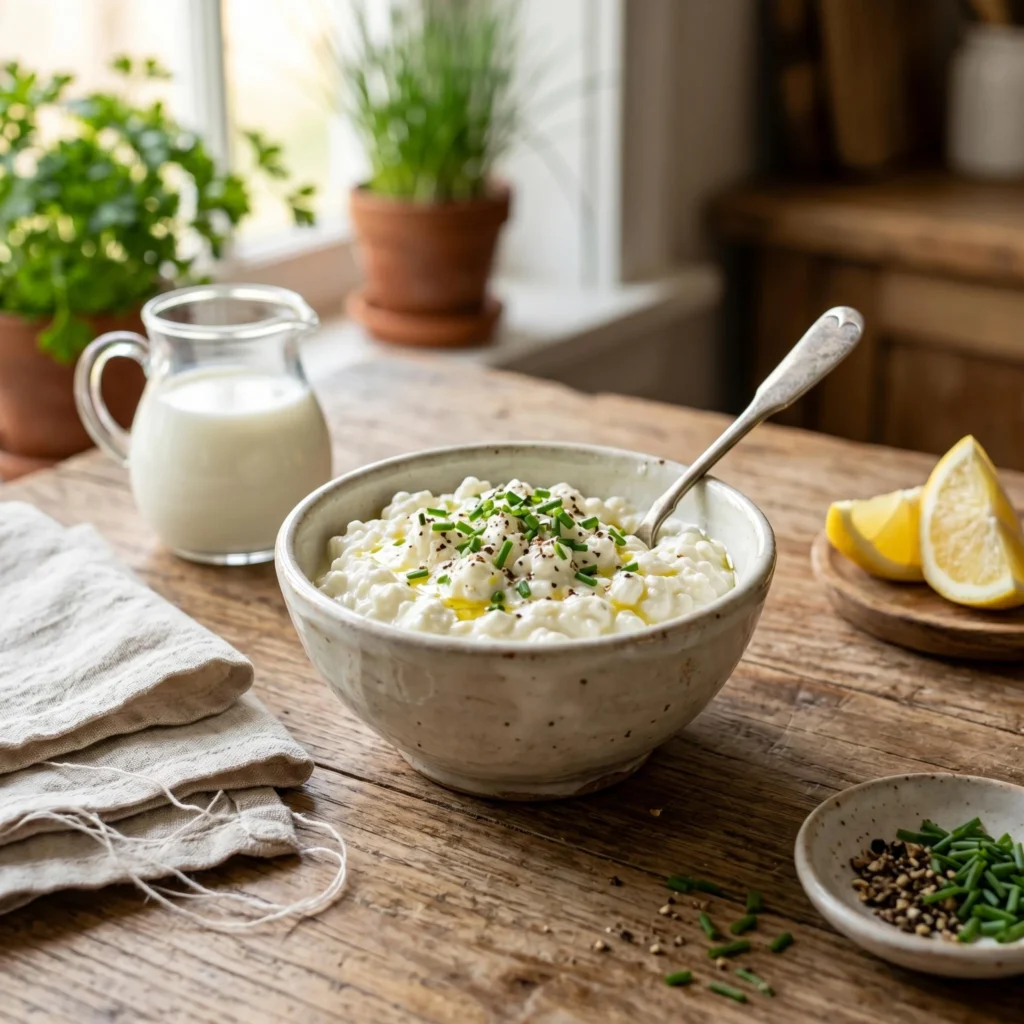
Whether you’re serving it as a savory breakfast bowl, blending it into high-protein pancakes, or styling a spectacular brunch spread for a digital food blog, homemade cottage cheese elevates every meal. The pristine white curds contrasting with vibrant green herbs and a drizzle of golden olive oil make this dish incredibly photogenic—just look at the stunning, rustic textures captured in the Ultra-realistic_8K_image_of_fresh_202606032203.jpeg file. The best part? You only need three basic ingredients and a little bit of patience. Let’s walk through everything step by step so you can master fresh cheesemaking perfectly on your first try.
Why Make Cottage Cheese at Home?

If you’ve only ever bought cottage cheese from the supermarket, you’re in for a delightful surprise. Homemade cottage cheese is:
- Incredibly Fresh: Free from the artificial gums, stabilizers, and preservatives found in commercial brands.
- Customizable Texture: You control the size of the curds and exactly how creamy it gets.
- Budget-Friendly: A single gallon of milk yields a massive, cost-effective batch.
- Visually Stunning: A dream to photograph, naturally catching the light and holding its shape beautifully for food styling and social media content.
- Naturally Sweet: Lacks the sharp, metallic tang sometimes present in mass-produced tubs.
And honestly, the flavor difference is undeniable. Fresh cottage cheese has a subtle, milky sweetness and a tender chew that packaged versions just can’t match.
Ingredients for Homemade Cottage Cheese
One of the reasons this recipe works so well is its beautiful simplicity. You only need a few high-quality staples. You’ll need:
- 1 gallon whole milk: Make sure it is regular pasteurized, not ultra-pasteurized (UHT). UHT milk will not curdle properly.
- 3/4 cup white vinegar: You can also use fresh lemon juice, which adds a slight citrus note, but white vinegar yields the most traditional, neutral flavor.
- 1 teaspoon fine sea salt: Adjust to your personal taste.
- 1/4 to 1/2 cup heavy cream or half-and-half (optional): To dress the curds at the very end for that classic, creamy finish.
That’s it. No rennet, no complicated cultures, no special equipment beyond a heavy-bottomed pot and some cheesecloth.
Step by Step Easy Cottage Cheese Recipe
Follow these simple steps for soft, tender curds every time.
Step 1: Heat the Milk Pour the gallon of whole milk into a large, heavy-bottomed pot. Heat it slowly over medium heat, stirring frequently to prevent the milk from scorching on the bottom. Bring the milk to about 190°F (88°C). If you don’t have a thermometer, look for the milk to get very frothy and steamy, just shy of a rolling boil.
Step 2: Add the Acid Remove the pot from the heat. Immediately pour in the white vinegar (or lemon juice). Stir the milk very gently for about 30 seconds. You will see the magic happen almost instantly: the milk will separate into thick, white curds and yellowish, watery whey.
Step 3: Rest the Curds Cover the pot with a clean kitchen towel and let it sit undisturbed for 30 minutes. This resting period allows the curds to fully form and firm up.
Step 4: Drain the Whey Line a colander or fine-mesh sieve with a double layer of cheesecloth (or a very clean, thin cotton towel) and place it over a large bowl or in the sink. Gently pour the curds and whey into the cheesecloth. Let it drain for about 5 to 10 minutes.
Step 5: Rinse the Curds Gather the corners of the cheesecloth and run cold water gently over the curds for a minute or two, gently squeezing them. Rinsing cools the cheese down, stops the cooking process so the curds don’t get rubbery, and washes away any lingering vinegar taste.
Step 6: Season and Cream Transfer the drained curds to a medium mixing bowl. Use a fork to break them up into your desired curd size. Stir in the salt. If you like a dry cottage cheese, you can stop here! For a classic, creamy cottage cheese, stir in the heavy cream one tablespoon at a time until it reaches your perfect consistency.
Pro Tips for Perfect Homemade Cottage Cheese
Small details make a big difference in cheesemaking.
- Avoid UHT Milk: Ultra-pasteurized milk has been heated to such high temperatures that its protein structure is altered, preventing it from forming proper curds. Always check the label.
- Don’t boil the milk: If the milk reaches a rolling boil before you add the vinegar, your curds will turn out tough and rubbery.
- Save the whey: The leftover yellowish liquid (whey) is incredibly nutritious. Use it in place of water when baking bread, boiling pasta, or cooking oatmeal!
- Style it right: If you are snapping photos of your creation, a sprinkle of coarse black pepper, fresh chives, and a drizzle of high-quality olive oil will make the white curds pop on camera.
How to Store Homemade Cottage Cheese
Fresh homemade cottage cheese does not contain the preservatives of commercial brands, so it won’t last quite as long, but it is so good you’ll likely finish it quickly!
Store your freshly made cottage cheese in an airtight glass container in the refrigerator. It will keep beautifully for up to one week. Do not freeze cottage cheese. Freezing drastically alters the cellular structure of the dairy, and it will become grainy and separate when thawed.
Ways to Use Cottage Cheese
Now comes the fun part. This soft, fresh cheese is incredibly versatile. Use it for:
- Savory Breakfast Bowls: Topped with halved cherry tomatoes, everything bagel seasoning, and a soft-boiled egg.
- High-Protein Blends: Whipped smooth in a food processor to use as a base for creamy pasta sauces or high-protein dips.
- Sweet Toasts: Smeared on sourdough toast with a drizzle of honey, fresh figs, and toasted walnuts.
- Baking: Layered into classic lasagnas or baked ziti for a creamy, rich texture.
Once you start making your own fresh cheese, you’ll find yourself planning your weekly meals around it.
Frequently Asked Questions
Why didn’t my milk curdle? If your milk didn’t separate into curds and whey, the milk either wasn’t hot enough when the acid was added, or you accidentally used ultra-pasteurized (UHT) milk.
Can I use skim or 2% milk? You can, but the yield will be much smaller, and the curds will be noticeably drier and less flavorful. Whole milk provides the essential milk fat needed for a rich, satisfying texture.
Why is my cottage cheese rubbery? Rubbery curds are the result of overheating. Ensure you remove the pot from the burner before adding the vinegar, and don’t skip the cold water rinse, which brings the temperature down quickly.
Final Thoughts
This easy homemade cottage cheese recipe proves that artisanal cheesemaking doesn’t have to be intimidating. With just a gallon of milk, a splash of vinegar, and a few simple steps, you can create a fresh, creamy, and visually gorgeous ingredient that completely transforms your recipes. Once you taste those tender, milky curds fresh from your own kitchen, you’ll understand why taking the time to make it from scratch is entirely worth the effort. So grab a gallon of milk, heat up that pot, and enjoy the simple, rewarding joy of making your own cottage cheese.