Quick and Easy Strawberry Cheesecake Cups Recipe
There’s something incredibly comforting about a perfectly portioned, beautifully layered dessert that requires absolutely no baking. Cool, creamy, lightly sweet, and bursting with the flavor of fresh berries, these no-bake strawberry cheesecake cups are the ultimate treat. Once you try this easy dessert recipe at home, you may never go back to laboring over a traditional, time-consuming baked cheesecake again.
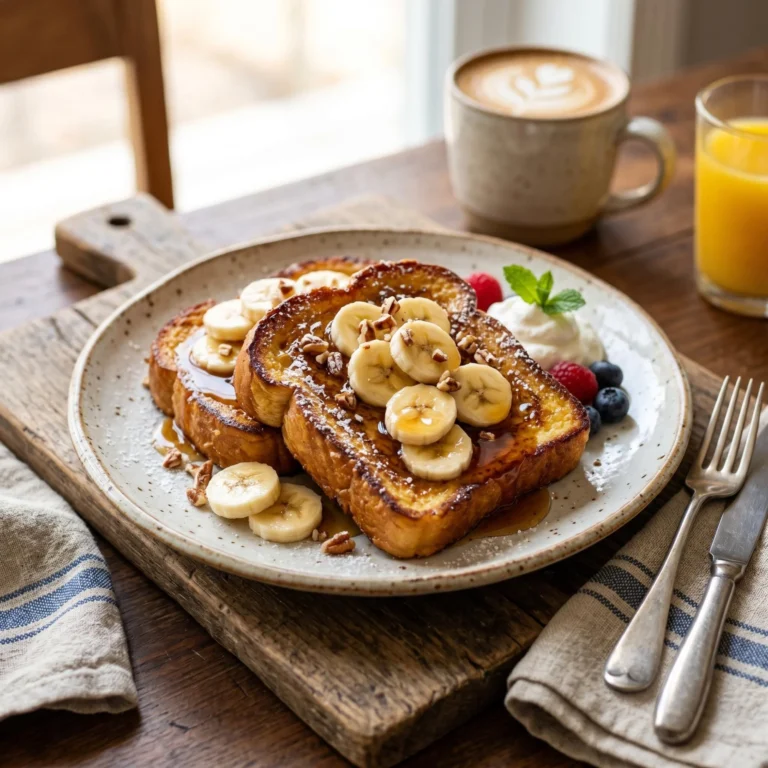
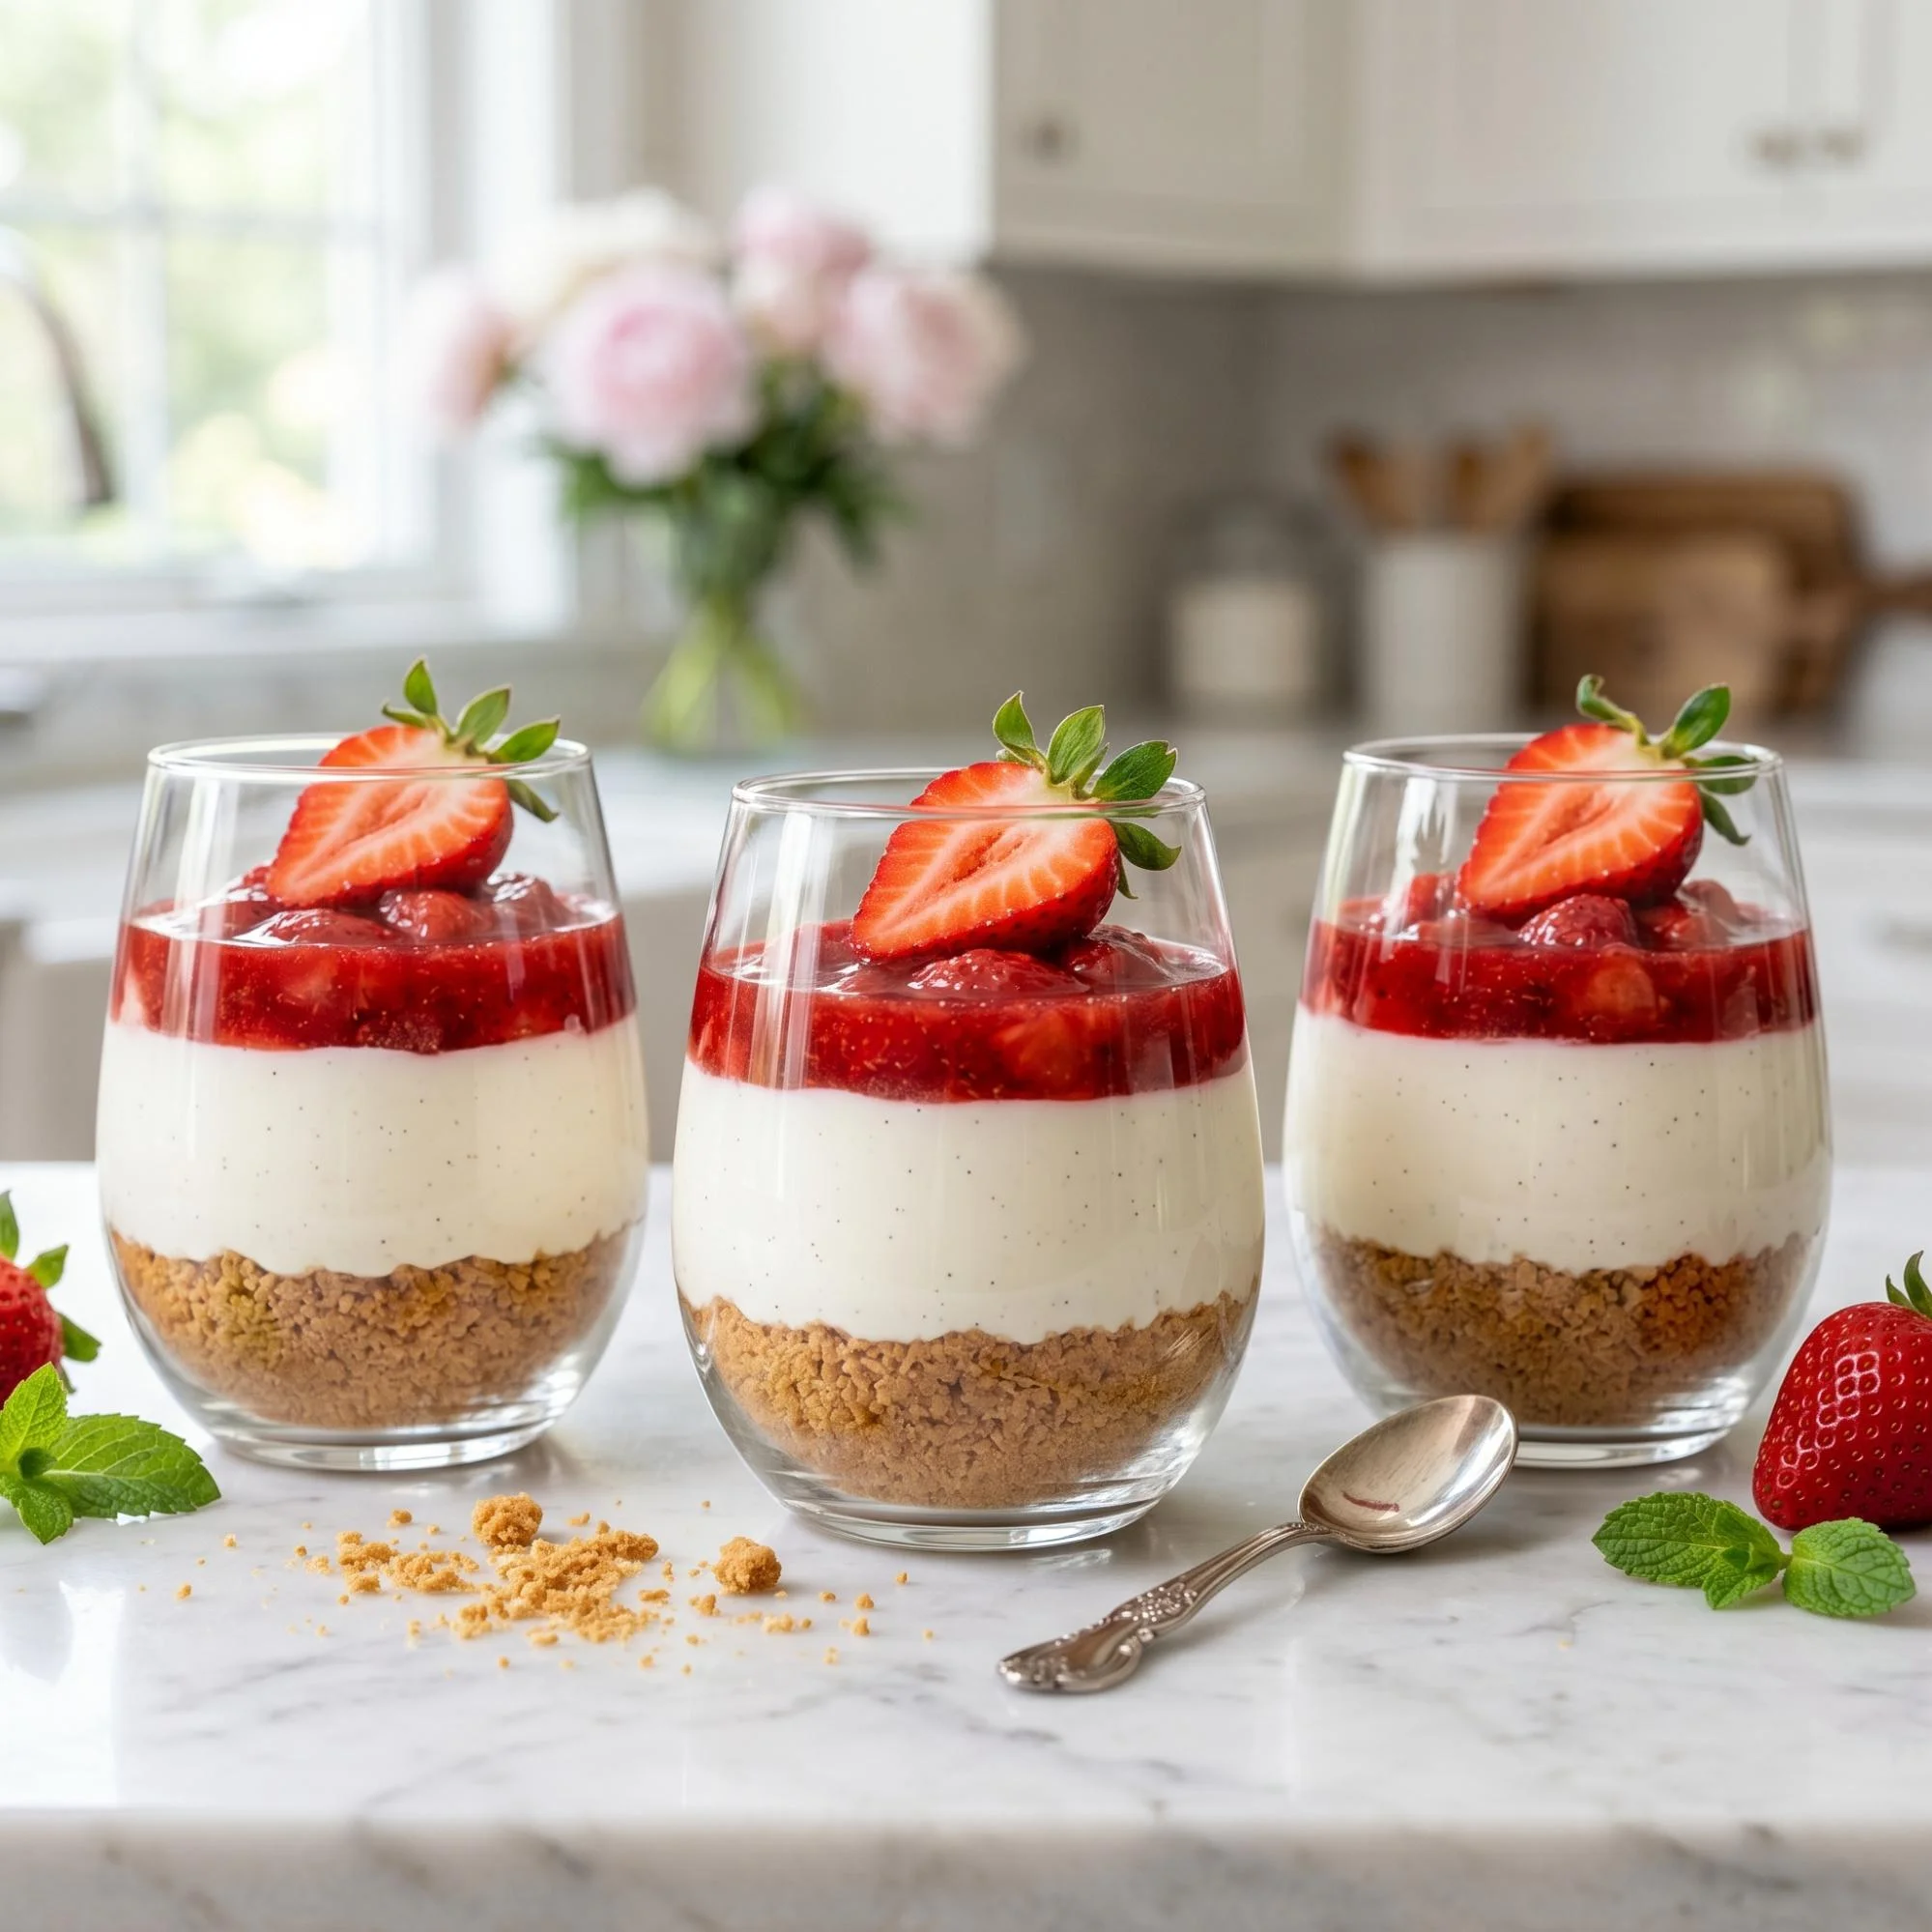
Whether you’re hosting a summer barbecue, preparing a romantic date night dinner, or simply looking for a stunning sweet treat to photograph and share, homemade cheesecake cups elevate every occasion. The striking contrast between the buttery graham cracker crust, the vanilla bean speckled filling, and the ruby-red fruit compote is a dream to behold—just look at the stunning, mouth-watering details perfectly captured in the A_hyper-realistic,_ultra-detailed,_1_1_square_202606052038.jpeg file. The best part? You only need a handful of pantry staples, some fresh strawberries, and about 20 minutes of active prep time. Let’s walk through everything step by step so you can master these elegant, individually sized desserts perfectly on your first try.
Why Make Strawberry Cheesecake Cups at Home?
If you’ve only ever bought heavy, dense cheesecakes from a bakery, you’re in for a refreshing surprise. Homemade no-bake cheesecake cups are:
- Completely No-Bake: Perfect for warm days when you don’t want to turn on the oven.
- Portion Controlled: Individual glasses mean everyone gets their own perfect serving.
- Budget-Friendly: Yields gourmet, restaurant-quality desserts at a fraction of the cost.
- Made with Real Ingredients: Free from artificial stabilizers and synthetic fruit flavorings.
- Visually Stunning: The distinct, colorful layers make them highly photogenic and impressive for guests.
And honestly, the flavor and texture difference is undeniable. A freshly whipped no-bake cheesecake has a light, mousse-like consistency that pairs beautifully with the tartness of a homemade strawberry topping.
Ingredients for Easy Strawberry Cheesecake Cups
One of the reasons this recipe works so flawlessly is its simplicity. You don’t need a water bath or a springform pan. You’ll need:
For the Graham Cracker Crust:
- 1 cup graham cracker crumbs
- 3 tablespoons unsalted butter, melted
- 1 tablespoon granulated sugar
For the Cheesecake Filling:
- 1 block (8 oz) full-fat cream cheese, softened to room temperature
- 1/2 cup heavy whipping cream, cold
- 1/3 cup powdered sugar
- 1 teaspoon pure vanilla extract (or vanilla bean paste)
For the Strawberry Topping:
- 2 cups fresh strawberries, hulled and diced (plus extra halves for garnish)
- 2 tablespoons granulated sugar
- 1 teaspoon fresh lemon juice
That’s it. No complicated ingredients, no gelatin, and no eggs required.
Step by Step Easy Strawberry Cheesecake Cups Recipe
Follow these simple steps for perfectly layered, beautifully textured dessert cups every time.
Step 1: Prep the Strawberry Topping In a small saucepan, combine the diced strawberries, granulated sugar, and fresh lemon juice. Cook over medium heat for about 5 to 7 minutes, stirring occasionally, until the strawberries soften and release their juices to form a syrupy compote. Remove from heat and let it cool completely.
Step 2: Mix the Crust In a medium bowl, combine the graham cracker crumbs, melted butter, and sugar. Stir with a fork until the mixture resembles wet sand.
Step 3: Whip the Heavy Cream In a separate chilled bowl, use a hand mixer to beat the cold heavy whipping cream until stiff peaks form. Be careful not to over-whip it into butter. Set the whipped cream aside.
Step 4: Beat the Cream Cheese In a large mixing bowl, beat the room-temperature cream cheese until it is completely smooth and creamy, with no lumps remaining. Add the powdered sugar and vanilla extract, beating until fully incorporated.
Step 5: Fold and Combine Gently fold the whipped cream into the cream cheese mixture using a rubber spatula. Use a light sweeping motion to keep the filling airy and mousse-like. Stop mixing as soon as no white streaks of heavy cream remain.
Step 6: Assemble the Cups Divide the graham cracker mixture evenly among 3 to 4 glass cups or jars, pressing it down gently to form a base. Next, spoon or pipe the creamy cheesecake filling over the crust. Finally, top each cup with a generous layer of the cooled strawberry compote. Chill the cups in the refrigerator for at least 2 hours to let the filling set before serving.
Pro Tips for Perfect Cheesecake Cups
Small details make a big difference, especially when you want a flawless presentation.
- Room temperature cream cheese is mandatory: If your cream cheese is cold, your filling will be incredibly lumpy and won’t blend smoothly with the whipped cream.
- Use a piping bag for clean lines: To get those perfect, distinct layers without smearing the filling on the sides of the glass, transfer your cheesecake mixture to a piping bag (or a ziplock bag with the corner snipped off) and pipe it directly over the crust.
- Let the compote cool: If you pour warm strawberry sauce over the delicate cream cheese filling, it will melt the layers together into a messy soup.
- Garnish right before serving: Add a fresh, halved strawberry and a sprig of mint to the top of each cup just before handing them to your guests for that ultimate, bakery-style finish.
How to Store Homemade Cheesecake Cups
These dessert cups are the ultimate make-ahead treat, as they need time to chill and set anyway.
Store your assembled cheesecake cups in the refrigerator, covered tightly with plastic wrap to prevent them from absorbing other fridge odors. They will keep beautifully for up to 3 days. Freezing is not recommended, as the fresh strawberry compote will become mushy and weep excess liquid when thawed, ruining the texture of the cheesecake layer.
Ways to Customize Your Dessert Cups
Now comes the fun part. This simple no-bake cheesecake base is incredibly versatile. Swap out the layers to create:
- Lemon Blueberry: Swirl lemon curd into the cheesecake filling and top with a fresh blueberry compote.
- Chocolate Lovers: Use crushed Oreos for the crust and top with a rich chocolate ganache instead of fruit.
- Tropical Delight: Top the vanilla bean filling with diced fresh mango, pineapple, and a sprinkle of toasted coconut.
- Caramel Pecan: Layer the cheesecake over a crushed pecan shortbread crust and top with salted caramel sauce.
Once you start making your own no-bake cups, you’ll find yourself brainstorming new flavor combinations for every season.
Frequently Asked Questions
Why is my cheesecake filling lumpy? Most likely, your cream cheese was not softened enough. It must be completely at room temperature before you begin beating it. If it’s too late and you have lumps, let the bowl sit in a warm spot for 15 minutes and beat it again before folding in the whipped cream.
Can I use frozen strawberries for the topping? Yes. Frozen strawberries work perfectly for the cooked compote. You do not need to thaw them first; just add a few extra minutes to the stovetop cooking time. Save any fresh strawberries solely for the final garnish.
Can I make these dairy-free? Absolutely. You can substitute the cream cheese for a high-quality, plant-based cream cheese alternative, and swap the heavy cream for a dairy-free whipping cream or whipped coconut cream.
Final Thoughts
This easy strawberry cheesecake cups recipe proves that gourmet, visually stunning desserts don’t require hours of baking or complicated pastry techniques. With just a few ingredients and simple layering steps, you can create a vibrant, creamy treat that completely transforms your dessert table. Once you dip your spoon through that sweet strawberry topping, into the vanilla bean mousse, and down to the buttery crust, you’ll understand why so many people swear by no-bake recipes. So grab your glass jars, whip up that cream cheese, and enjoy the simple joy of making an elegant dessert from scratch.