The Best Chocolate Oreo Cake Recipe: Decadent, Fudgy, and Better Than the Bakery
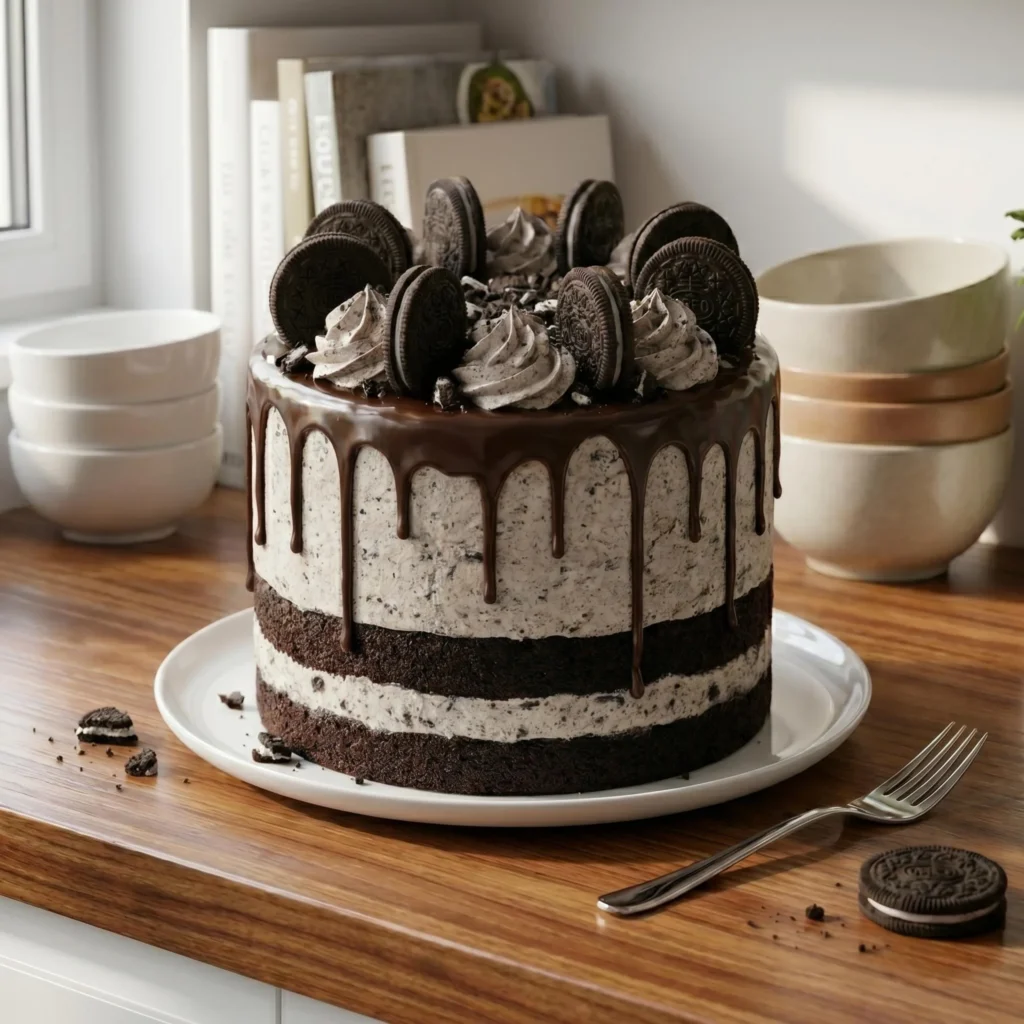
There is something incredibly joyful about slicing into a towering cake to reveal perfect, contrasting layers of dark chocolate and speckled cookies and cream. Whether you’ve seen it dominating your social media feeds or spotted it in the display case of a high-end bakery, the classic Cookies and Cream Cake—a deeply fudgy chocolate base packed with an unapologetic amount of crushed Oreos and topped with a glossy chocolate drip—is the ultimate celebration dessert. Once you try this easy, incredibly moist best chocolate Oreo cake recipe at home, you may never buy a boxed mix or a pricey bakery cake again.
Whether you are baking for a birthday, a weekend gathering, or simply styling a vibrant, photogenic dessert for your culinary feed, this cake delivers flawlessly. The crunchy, nostalgic bite of the chocolate sandwich cookies contrasting against a fluffy, dark crumb and smooth, speckled buttercream looks absolutely breathtaking. The best part? You only need standard baking staples, a family-sized pack of your favorite sandwich cookies, and a little bit of patience. Let’s walk through everything step-by-step so you can master this viral, fun-filled cake perfectly on your first try.
Why Make the Best Chocolate Oreo Cake at Home?
If you’ve only ever bought cookies and cream cakes from the grocery store, you’re in for a wonderful surprise. A homemade chocolate Oreo cake is:
- Incredibly moist and tender: Made with buttermilk and a touch of hot water to bloom the cocoa, it won’t dry out like commercial cakes.
- Free from artificial preservatives: You know exactly what is going into your batter and frosting.
- Budget-friendly: A few pantry staples and a package of cookies cost a fraction of a custom, multi-tiered bakery order.
- Highly customizable: Swap the classic Oreos for mint, peanut butter, or golden varieties to match a specific theme or craving.
- Visually stunning: The stark contrast of the dark chocolate cake, the speckled white frosting, and that gorgeous, glossy ganache drip creates a camera-ready, highly textured aesthetic.
And honestly, the flavor difference is undeniable. A freshly baked chocolate cake boasts a rich, complex aroma and a delicate crumb that boxed versions simply cannot match, especially when paired with a real butter-based frosting.
Ingredients for the Best Chocolate Oreo Cake
One of the reasons this recipe works so well is its simplicity. You likely already have most of these baking essentials in your kitchen. You’ll need:
For the Chocolate Cake Batter:
- 2 cups all-purpose flour
- 2 cups granulated sugar
- ¾ cup unsweetened cocoa powder (Dutch-processed is great here)
- 2 teaspoons baking soda & 1 teaspoon baking powder
- 1 teaspoon salt
- ½ cup vegetable oil (keeps the cake much moister than butter!)
- 1 cup buttermilk, at room temperature
- 2 large eggs, at room temperature
- 2 teaspoons pure vanilla extract
- 1 cup hot water or hot brewed coffee (coffee enhances the chocolate flavor)
For the Oreo Buttercream:
- 1 ½ cups (3 sticks) unsalted butter, softened
- 4 to 5 cups powdered sugar
- 3 tablespoons heavy cream
- 1 tablespoon vanilla extract
- 1 ½ cups finely crushed Oreos (about 15-18 cookies)
For the Chocolate Drip & Decor:
- ½ cup semi-sweet chocolate chips
- ¼ cup heavy cream
- Extra whole and halved Oreos for decorating the top
Step-by-Step Chocolate Oreo Cake Recipe
Follow these simple steps for a perfectly fudgy, impressive cake every time.
Step 1: Mix the Dry Ingredients Preheat your oven to 350°F (175°C). Grease and flour three 8-inch round cake pans and line the bottoms with parchment paper. In a large bowl, whisk together the flour, sugar, cocoa powder, baking soda, baking powder, and salt.
Step 2: Add the Wet Ingredients Add the oil, buttermilk, eggs, and vanilla extract to the dry ingredients. Beat on medium speed for about 2 minutes until completely smooth.
Step 3: Bloom the Cocoa Turn your mixer to the lowest speed. Carefully and slowly pour in the hot water (or hot coffee). The batter will seem very thin, but do not worry—this is the secret to an incredibly moist cake!
Step 4: Bake and Cool Divide the batter evenly among your three prepared cake pans. Bake for 22 to 25 minutes, or until a toothpick inserted into the center comes out clean. Let the cakes cool in their pans for 10 minutes before turning them out onto a wire rack to cool completely.
Step 5: Whip the Oreo Buttercream While the cakes cool, beat your softened butter on medium-high speed until pale and creamy (about 3 minutes). Gradually add the powdered sugar, alternating with the heavy cream and vanilla. Once fluffy, use a silicone spatula to gently fold in the finely crushed Oreos.
Step 6: Assemble and Frost Place one cooled cake layer on your serving plate. Spread a thick, even layer of Oreo buttercream. Repeat with the second and third layers. Frost the entire outside of the cake with the remaining buttercream, smoothing the sides. Pop the cake into the fridge for 20 minutes to chill.
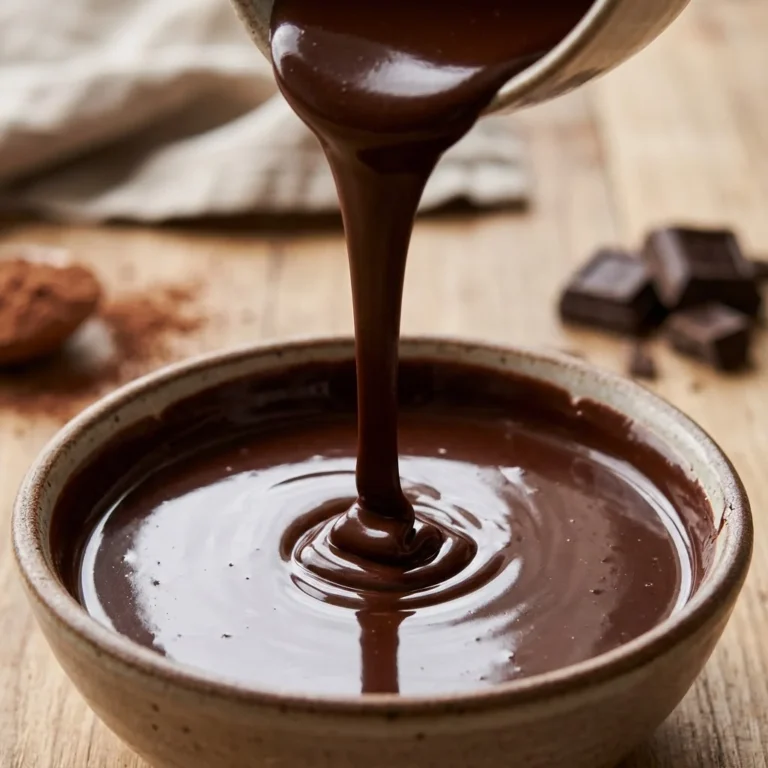
Step 7: The Drip and Final Decor Microwave the chocolate chips and heavy cream together in 15-second increments, stirring until smooth and glossy. Let it cool slightly so it isn’t piping hot. Spoon the ganache over the top edges of your chilled cake, letting it drip down the sides. Pipe leftover buttercream into rosettes on top, and press whole or halved Oreos into the swirls for a bakery-perfect finish.
Pro Tips for a Perfect Oreo Cake
Small details make a big difference when baking from scratch.
- Crush the Oreos finely: For the frosting, make sure your crushed Oreos are more like coarse sand than big chunks. If the chunks are too big, they will tear your cake while frosting and clog your piping bag when you make the rosettes on top.
- Use hot coffee: You won’t taste the coffee in the final cake, but hot coffee drastically enhances and deepens the chocolate flavor of the cocoa powder.
- Chill before the drip: A cold cake is essential for a beautiful drip. If the cake is room temperature, the warm ganache will melt the buttercream and run straight to the bottom of the cake plate.
How to Store Homemade Cake
A freshly baked chocolate Oreo cake can be stored in an airtight cake dome at room temperature for up to 2 days, provided your kitchen isn’t too hot. For longer storage, keep it in the refrigerator for up to 5 days, but always let slices come to room temperature before eating for the best texture.
You can also freeze the cake layers! Wrap the completely cooled, unfrosted cakes tightly in plastic wrap and store them in the freezer for up to 2 months. Thaw overnight at room temperature before frosting.
Ways to Customize Your Oreo Cake
Now comes the fun part. This versatile chocolate base is perfect for experimenting.
- Mint Chocolate Dream: Swap classic Oreos for Mint Oreos, and add ½ teaspoon of peppermint extract to the buttercream for a refreshing twist.
- Peanut Butter Cup: Use Peanut Butter Oreos for the frosting, and swap the chocolate drip for a warmed peanut butter drip.
- Ultimate Chocolate: Add ½ cup of mini chocolate chips directly into the cake batter for little pockets of melted chocolate in every bite.
Frequently Asked Questions
Why did my frosting clog my piping tip? This happens when the Oreo pieces in the buttercream are larger than the opening of your piping tip. To avoid this, pulse your cookies in a food processor until fine, or use a large open-star tip (like a 1M) for the decorations on top.
Can I make this as cupcakes instead? Yes! This batter makes about 24 perfect cupcakes. Line a muffin tin with paper liners and bake at 350°F (175°C) for 18 to 20 minutes.
Why did the center of my cake sink? Sinking cakes are usually caused by opening the oven door too early, which lets cold air in before the structure of the cake has set. Always wait until the minimum baking time has passed before checking on your cakes.
Final Thoughts
This best chocolate Oreo cake recipe proves that baking a show-stopping, trendy dessert from scratch doesn’t have to be complicated. With just a few staple ingredients, a simple mixing method, and a hefty dose of classic sandwich cookies, you can create a joyful, incredibly delicious cake that completely transforms any celebration.
Once you cut that first slice, revealing a perfectly fudgy crumb layered with a mountain of speckled, sweet cookies and cream frosting, you’ll understand why this recipe is so beloved. So preheat your oven, grab your favorite cookies, and enjoy the simple joy of baking a beautiful, bakery-worthy cake from scratch!