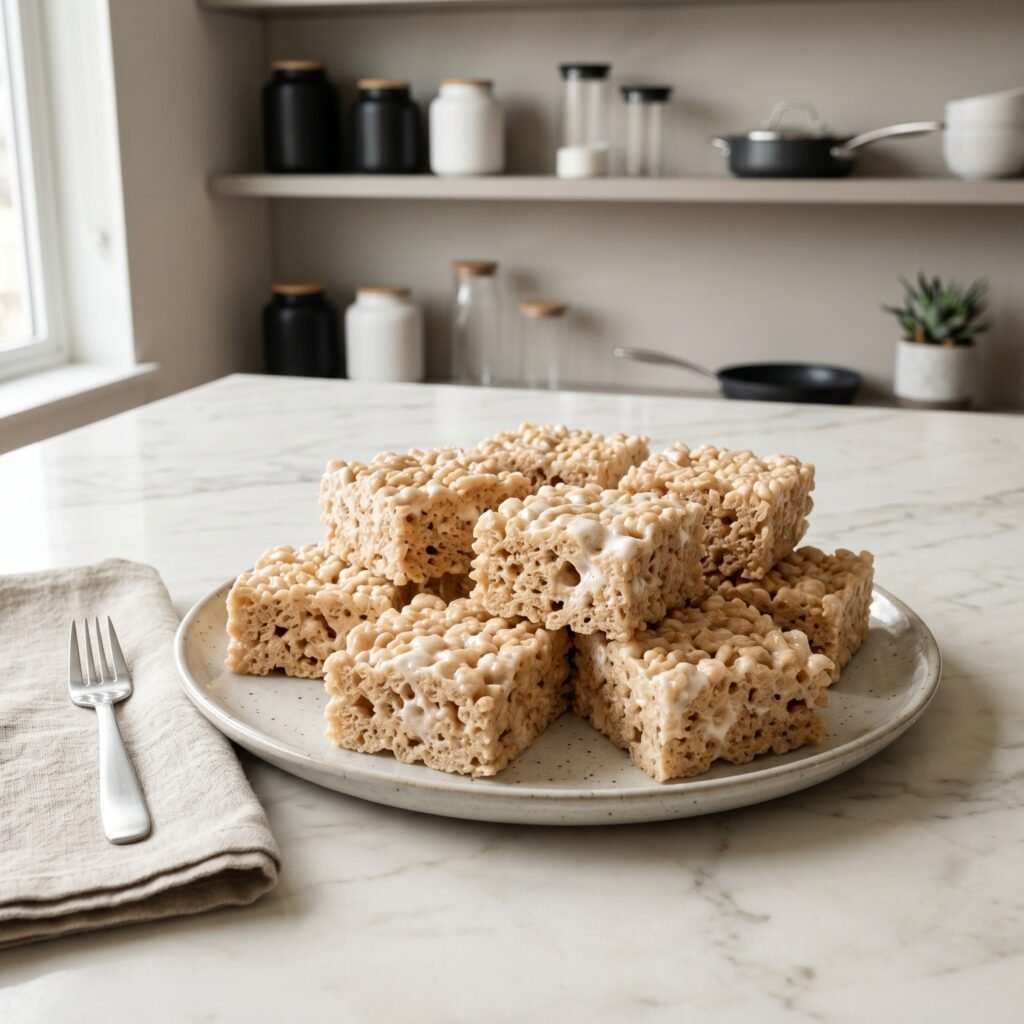
The Best Rice Krispie Treats Recipe: Soft, Gooey, and Better Than Store-Bought
This best rice krispie treats recipe is the perfect sweet, nostalgic snack for any occasion. It combines the satisfying, airy crunch of toasted rice cereal with a rich, gooey, and buttery marshmallow coating, creating a classic and comforting dessert. Made with just a few simple ingredients, it is a delicious, fresh, and easy-to-make alternative to dense, artificially flavored store-bought squares. If you are looking for a quick, crowd-pleasing treat that takes minimal effort, let’s get right into it!
Why You Will Love This Recipe
If you’ve been stuck in a rut of just serving stale, pre-packaged boxed treats, you are going to fall in love with this method. These rice krispie treats are:
- Texturally perfect: Gently melting the marshmallows on low heat ensures the binding stays incredibly soft, while the cereal provides maximum crunch without becoming rock hard.
- Highly customizable: You can easily load them up with mini chocolate chips, rainbow sprinkles, or a drizzle of melted peanut butter.
- Made with basic staples: You only need crispy rice cereal, butter, mini marshmallows, vanilla extract, and a pinch of salt.
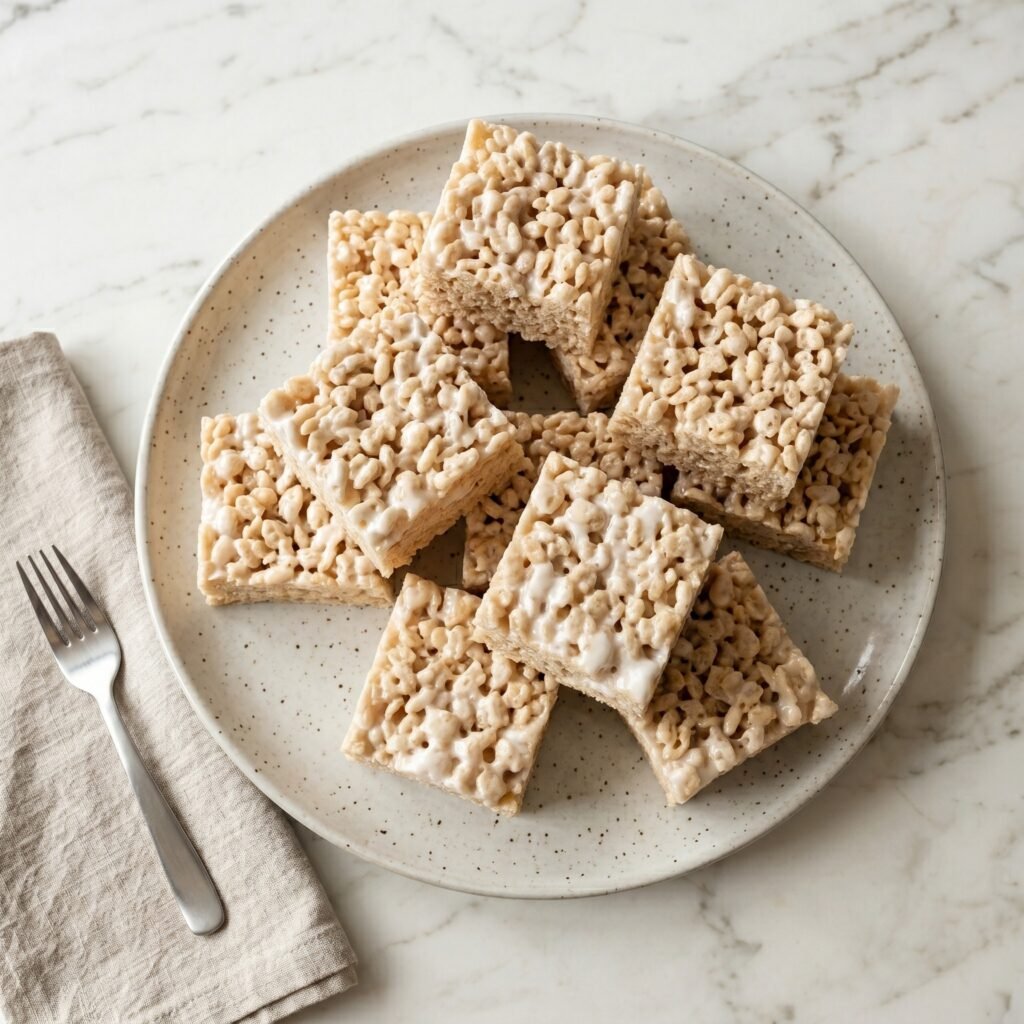
- Visually gorgeous: The thick, glossy marshmallow strands pulling apart as you cut into the golden squares look like they came straight out of a high-end bakery.
Ingredients You Will Need
The beauty of this recipe lies in its sheer simplicity. To get that perfect sweet and gooey texture, you will need:
- 6 cups crispy rice cereal
- 1 package (10 oz) fresh mini marshmallows (plus 1 extra cup set aside)
- ¼ cup unsalted butter
- 1 teaspoon pure vanilla extract
- A small pinch of sea salt
Step-by-Step Instructions for Rice Krispie Treats
Follow these easy steps. I’ve broken them down into quick, bite-sized pieces so you can achieve maximum gooeyness without any stress!
Step 1: Prep the Pan Line a 9×9 inch square baking pan with parchment paper. Lightly grease the paper with butter or cooking spray. Set the pan aside.
Step 2: Melt the Base Place a large pot over medium-low heat. Melt the butter completely. Add the 10 oz package of marshmallows to the melted butter. Stir continuously until they are completely smooth and liquid.
Step 3: Add the Flavor Remove the pot entirely from the heat. Stir in the vanilla extract and the pinch of salt. Mix until it is perfectly combined into the marshmallow base.
Step 4: Fold Everything Together Pour the crispy rice cereal into the pot. Add the reserved 1 cup of whole mini marshmallows. Use a rubber spatula to gently fold everything together until the cereal is coated.
Step 5: Press and Cool Transfer the sticky mixture into your prepared pan. Gently press it down into an even layer using lightly greased fingers. Let it cool at room temperature for 1 hour before slicing!
Pro Tips for the Ultimate Treat
Small adjustments can take your cereal treats from good to absolute perfection.
Use fresh marshmallows: Stale, old marshmallows lose their moisture and will melt into a hard, brittle sugar blob. Always use a brand new, unopened bag for the softest texture.
Do not press hard: When transferring the mixture to the pan, press it down very gently. If you pack the cereal down tightly, your treats will become dense and hard to bite into.
Brown the butter: For an incredible gourmet upgrade, let your butter cook for an extra 3 to 4 minutes until it turns a deep amber color and smells nutty before adding the marshmallows.
What to Serve with Rice Krispie Treats
This versatile little dessert pairs beautifully with almost any casual setting.
As an afternoon snack: Serve a thick square alongside a cold glass of whole milk or a hot cup of black coffee for a perfectly balanced break.
For a party: Cut them into smaller, bite-sized squares, insert a colorful lollipop stick into each one, and dip the tops in melted dark chocolate.
Loaded style: Before the treats cool, press a handful of crushed graham crackers and mini chocolate chips directly into the top for a fun “S’mores” variation!
How to Store Rice Krispie Treats
Have leftovers? It is incredibly easy to save them for later!
On the Counter: Store the completely cooled treats in an airtight container at room temperature for up to 3 days. Do not put them in the fridge, or they will become rock hard.
How to Soften: If your treats start to feel a little stiff on day three, place a single square in the microwave for exactly 5 seconds to bring that perfectly gooey, soft texture right back.
In the Freezer: You can freeze these treats! Wrap individual squares tightly in plastic wrap, then place them in a zip-top freezer bag for up to 6 weeks. Let them sit at room temperature for 15 minutes before eating.
Frequently Asked Questions
Can I use marshmallow fluff instead? It is not recommended. Marshmallow fluff contains different stabilizers and does not set up the same way melted whole marshmallows do, resulting in a soggy treat.
Why did my treats turn out hard? Hard treats are usually caused by two things: cooking the marshmallows over heat that is too high, or pressing the mixture into the pan too firmly. Always use low heat and a gentle touch!
Can I prep this ahead of time? Yes! You can easily make a batch the night before an event, keep them tightly covered on the counter, and slice them right before serving.
Final Thoughts
This best rice krispie treats recipe is proof that making a show-stopping childhood favorite doesn’t have to be complicated. With a quick melt, a gentle fold, and a short cooling time, you get the ultimate sweet, chewy bite every single time. Try making a batch today, and I promise it’ll become a permanent favorite in your kitchen!