Best Banana Bread Recipe: Moist, Easy, and Perfectly Sweet
Banana bread fails in two specific ways, and both are measurement problems rather than technique problems.
Too much banana gives you a loaf that looks done on the outside and stays gummy in the middle. This happens constantly because recipes say “3 bananas” and bananas range from small to enormous.
Too much mixing develops gluten and turns a tender quick bread into something closer to rubber.
Fix those two and banana bread is genuinely easy. One bowl, no mixer, about ten minutes of work before it goes in the oven.
Which Bananas to Use, and How to Ripen Them Fast
This is the part that decides everything else, so it is worth getting right.
What you want. Heavily spotted, mostly brown skin, soft enough that the fruit nearly falls apart when you peel it. As bananas ripen, their starch converts to sugar, which is why overripe bananas taste sweeter and mash smoother. Yellow bananas with no spots are still mostly starch and give you a bland, pale loaf.
Black-skinned is fine. As long as there is no mold and it does not smell fermented or alcoholic, a completely black banana is ideal for baking.
How much, not how many. Three bananas can mean anything from 250g to 500g depending on size. Measure instead: you want about 1¼ cups mashed, or 350 grams peeled. Too much banana is the single most common reason banana bread comes out gummy in the center.
How to Ripen Bananas Fast
Oven, 20 minutes. Place unpeeled bananas on a lined baking sheet at 300°F until the skins turn completely black and shiny. Cool for ten minutes before peeling. The flesh will be soft and sweet, though slightly less flavorful than naturally ripened.
Paper bag, 1 to 2 days. Seal them in a paper bag with an apple. Both release ethylene gas, which is what triggers ripening.
Freezer, if you have time. Freezing and thawing breaks down the cell walls, giving you very soft, very sweet bananas. Thaw in a bowl and use the liquid that comes out too.
Why This One Stays Moist
Three ingredients are doing the work, and understanding them means you can adjust the recipe without breaking it.
The bananas. Mostly water and sugar. Sugar is hygroscopic, meaning it holds onto moisture rather than letting it bake off. This is why a loaf with enough banana stays soft for days.
Melted butter. Butter coats flour proteins and limits gluten formation, which keeps the crumb tender. Melted rather than creamed also means a denser, more fudgy texture rather than a cakey one.
Minimal mixing. Every stir past “just combined” builds gluten. Gluten is what you want in sandwich bread and what you do not want here.

Ingredients
Wet
- 3 ripe bananas (about 1¼ cups mashed, or 350g peeled)
- ⅓ cup unsalted butter, melted and slightly cooled
- ¾ cup granulated sugar, or packed brown sugar
- 1 large egg, beaten
- 1 teaspoon vanilla extract
Dry
- 1½ cups all-purpose flour
- 1 teaspoon baking soda
- ¼ teaspoon salt
Optional
- ½ cup chopped walnuts or chocolate chips
- 1 teaspoon ground cinnamon
Brown sugar over white. It brings molasses, which deepens the flavor and adds a little extra moisture. White sugar works and gives a lighter, cleaner result.
Unsalted butter, cooled slightly. Hot melted butter poured onto a beaten egg can start cooking it. Let it sit two minutes off the heat first.
Do not substitute baking powder. Baking soda needs the acid from the bananas to work. Baking powder brings its own acid and will not interact with the fruit the same way.
Room temperature egg. Cold egg hitting melted butter causes the butter to seize into small solid flecks, which shows up as greasy spots in the baked loaf.
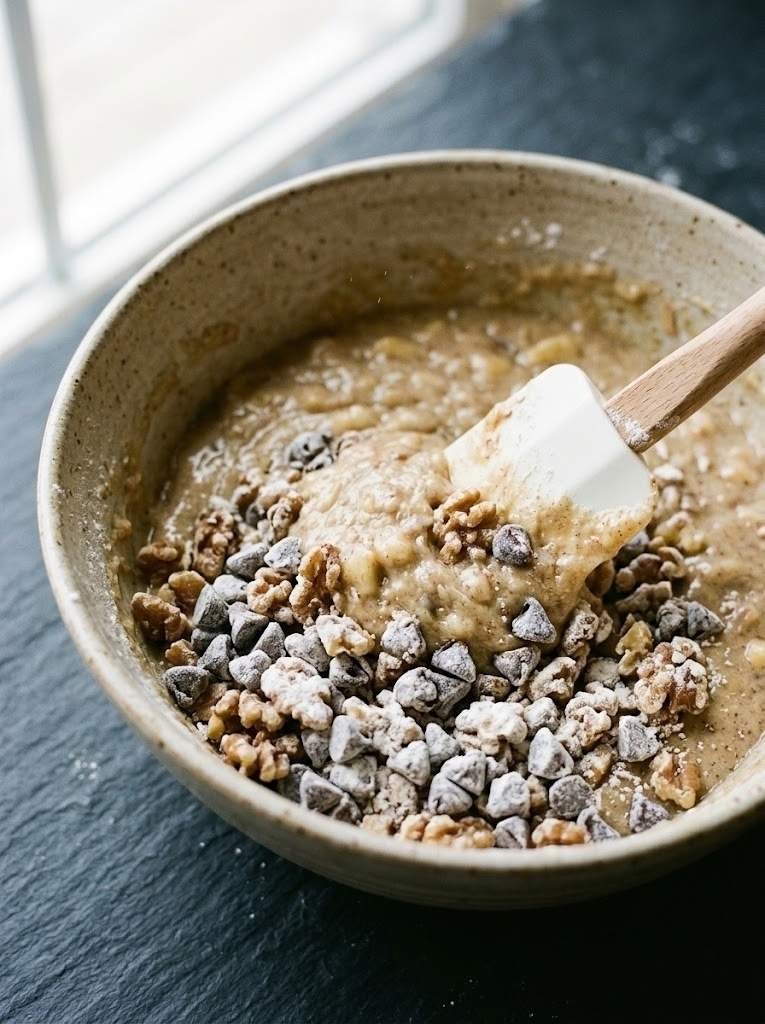
Toss add-ins in flour. A tablespoon of the measured flour tossed with the walnuts or chocolate chips keeps them suspended instead of sinking to the bottom.
Step-by-Step Instructions
Step 1: Prep the Oven and Pan
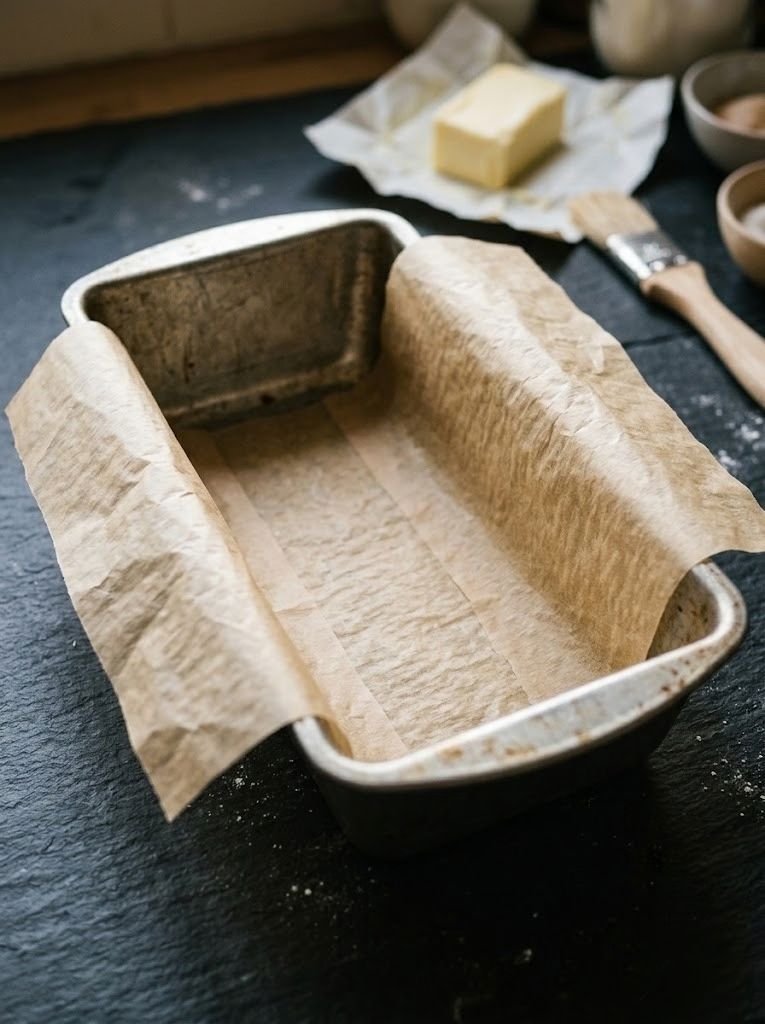
Preheat to 350°F (175°C). Grease a 9×5-inch loaf pan, then line it with a strip of parchment running the long way with overhang on both sides.
The parchment sling means you lift the loaf straight out instead of trying to invert a soft quick bread.
Step 2: Whisk the Dry Ingredients Separately
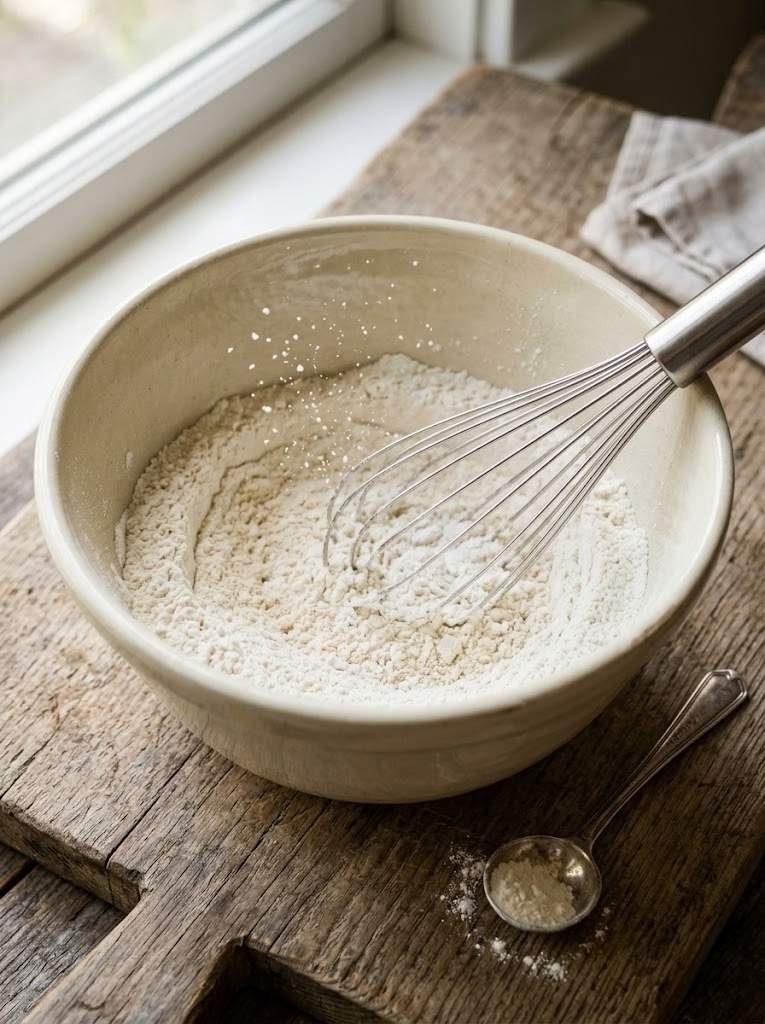
In a medium bowl, whisk the flour, baking soda, and salt together for 20 seconds.
This is the step most recipes skip, including the original version of this one. Baking soda added directly to the wet banana mixture starts reacting immediately, so some of the lift is gone before the loaf reaches the oven. It also distributes unevenly, which gives you soapy pockets in some bites and flat spots in others.
Mixed into the flour first, it stays inert until the two bowls meet.
Step 3: Mash the Bananas
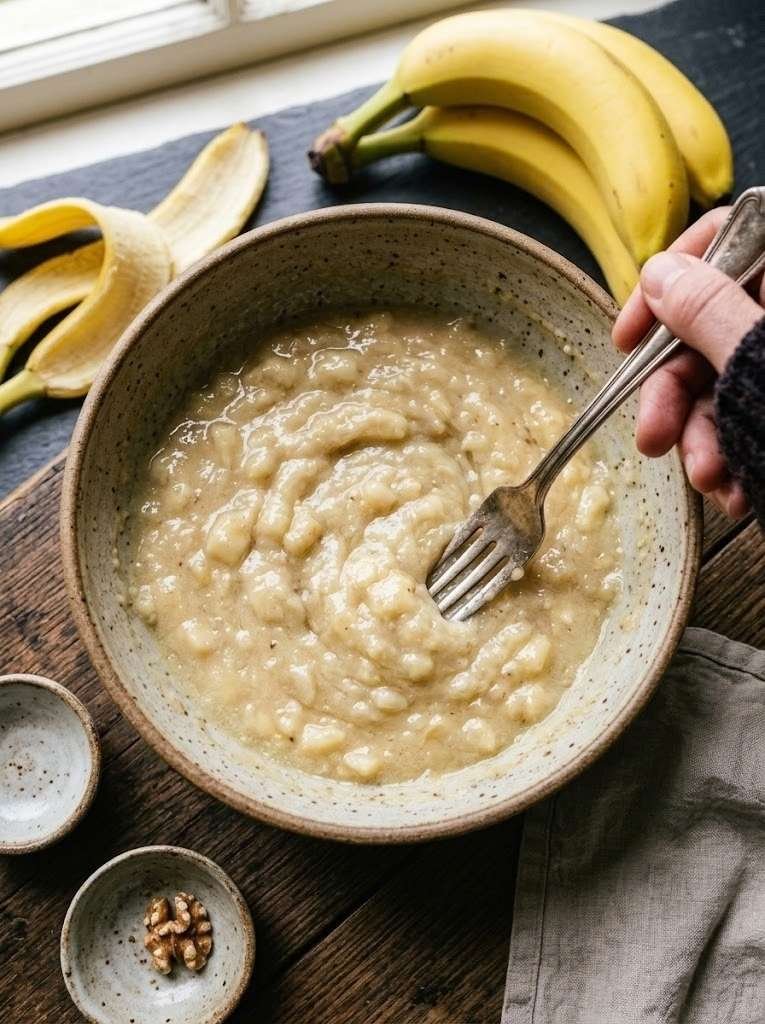
Mash the bananas in a large bowl with a fork until mostly smooth. A few small lumps are fine and give the finished loaf some texture.
Measure here if you have not already. You want about 1¼ cups. If you have noticeably more, hold some back rather than adding it all.
Step 4: Add the Rest of the Wet Ingredients
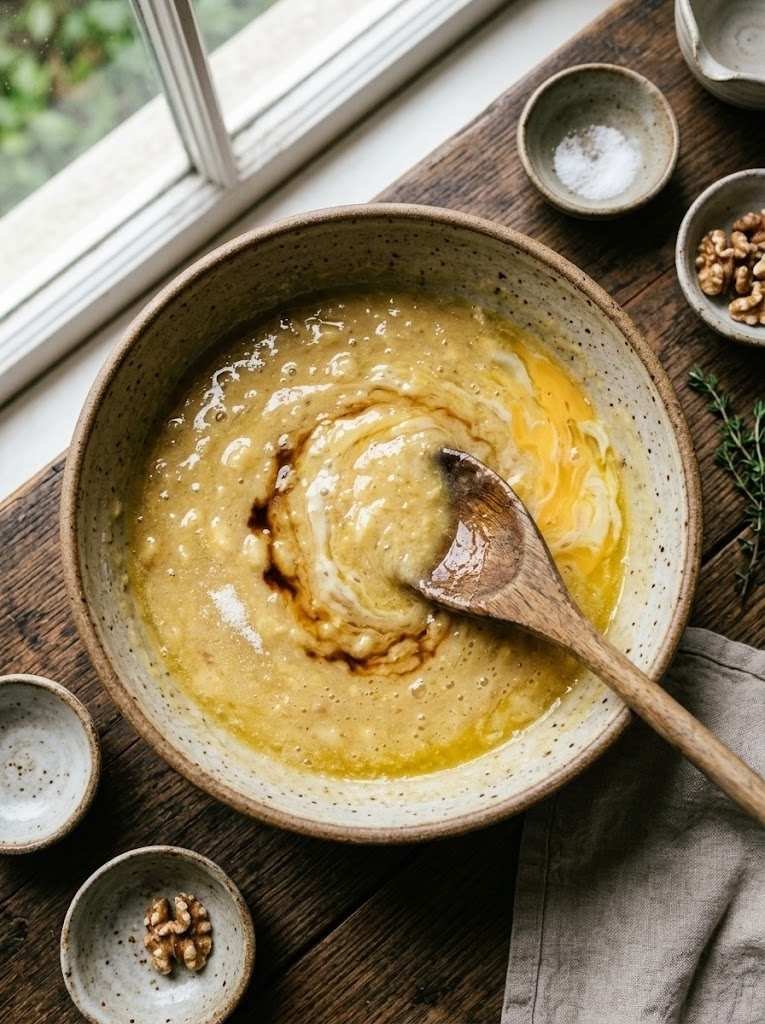
Stir the melted butter into the mashed banana. Then add the sugar, beaten egg, and vanilla, stirring until smooth.
Sugar goes in with the wet ingredients here rather than the dry, which helps it dissolve into the banana rather than sitting as grains in the batter.
Step 5: Combine, But Barely
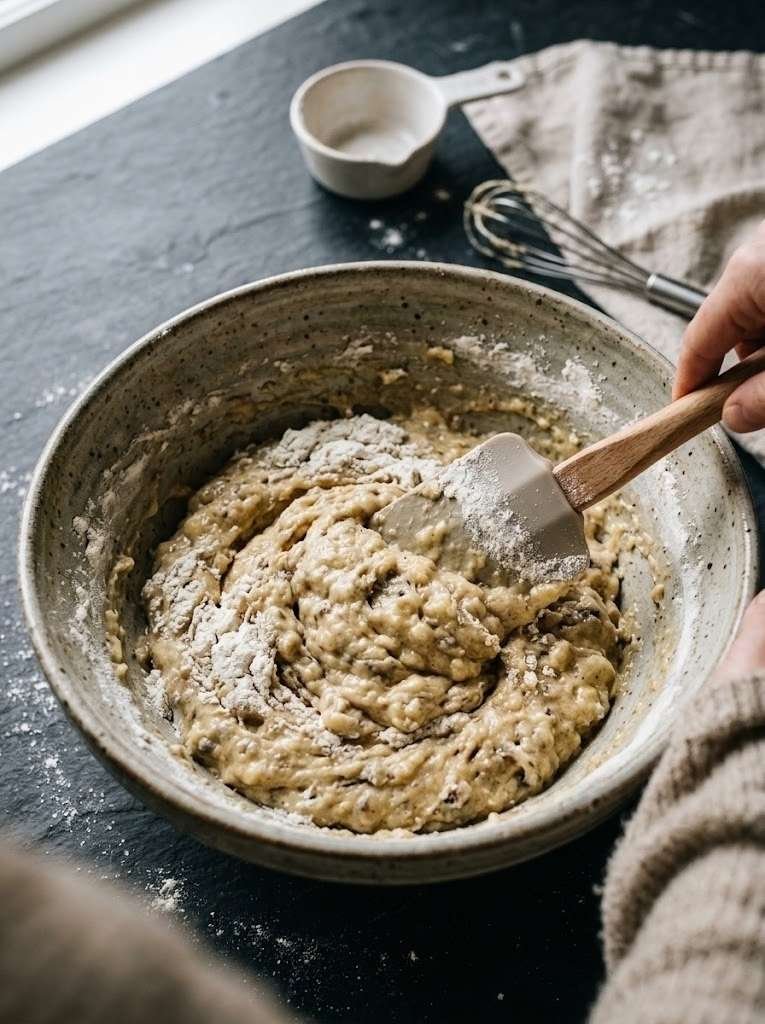
Add the dry mixture to the wet and fold with a spatula until just combined, about 12 to 15 strokes.
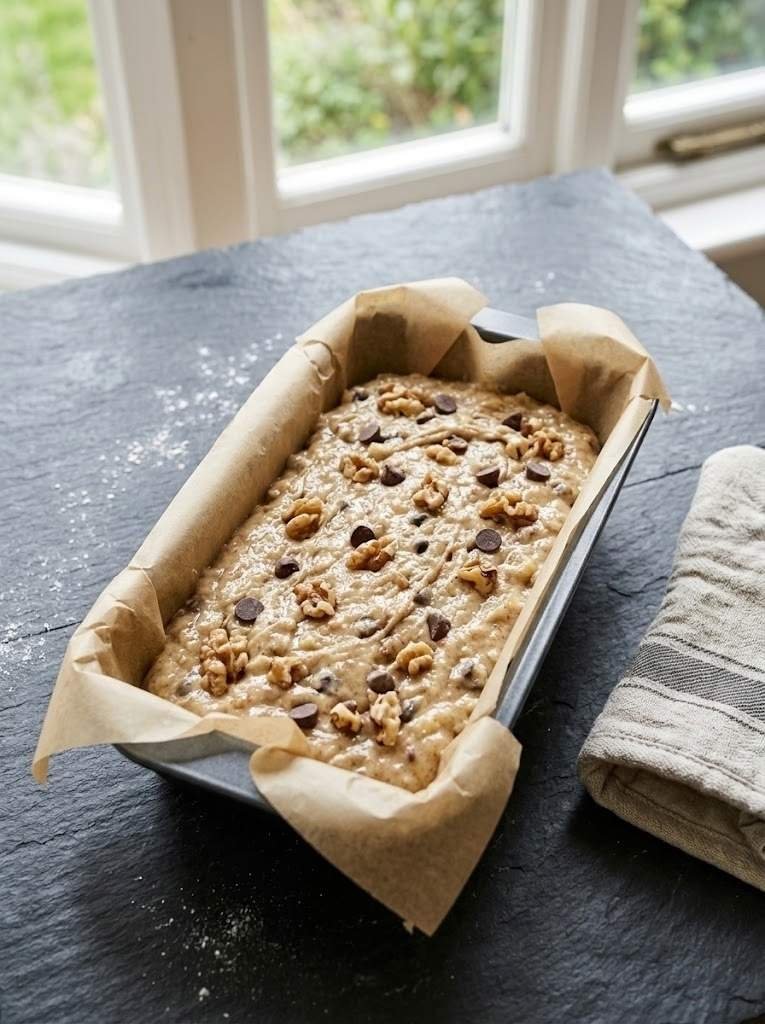
Stop while a few streaks of flour are still visible. The batter should look thick and slightly lumpy, not smooth.
Smooth batter means you have overmixed. Every extra stroke builds gluten, and gluten is what turns banana bread rubbery.
Step 6: Fold in Add-Ins
If using walnuts or chocolate chips, toss them in a tablespoon of flour first, then fold them in with 3 or 4 strokes only.
Step 7: Bake
Pour into the prepared pan and smooth the top. Bake for 60 to 65 minutes.
If the top is browning fast at the 40-minute mark, tent foil loosely over it and keep going.
Check two ways. A toothpick inserted into the center should come out with a few moist crumbs, not wet batter. More reliably, an instant-read thermometer should read 200 to 205°F at the center.
The toothpick alone can mislead with banana bread, because the fruit’s moisture can produce a clean toothpick in a loaf that is still underbaked.
Step 8: Cool Properly
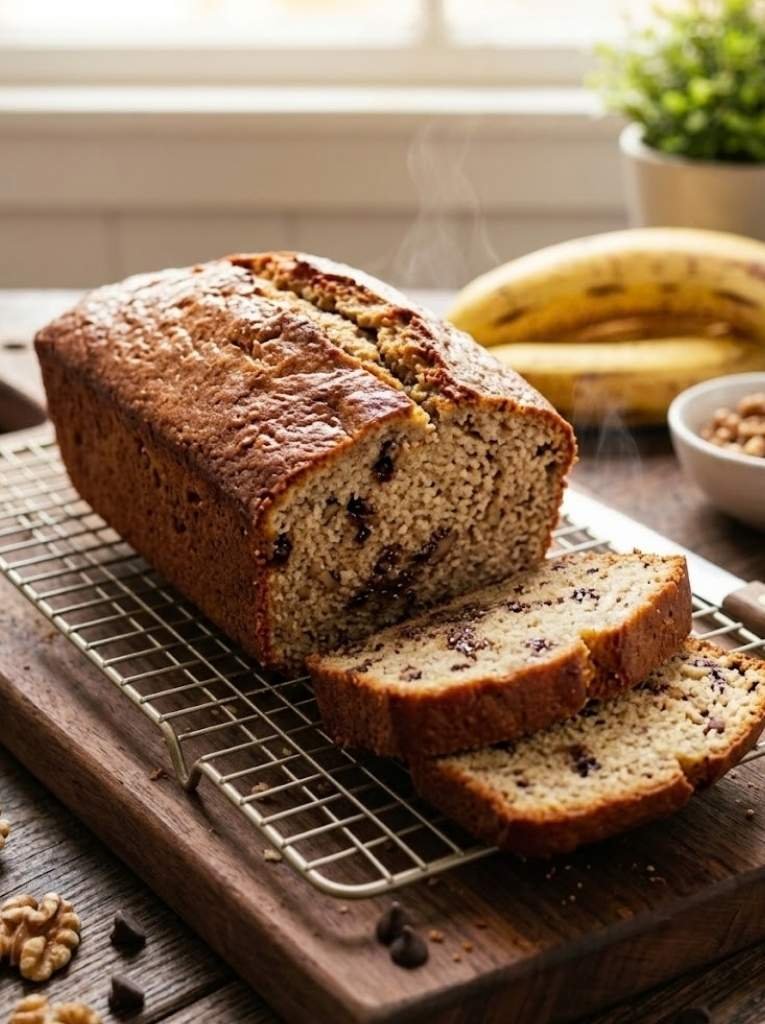
Cool in the pan for 10 minutes, then lift it out using the parchment and move it to a wire rack.
Let it cool at least 1 hour before slicing. Cutting a warm quick bread compresses the crumb and gives you dense, gummy slices even when the loaf is perfectly baked.
Variations
Chocolate chip. Fold in ½ cup semi-sweet chips. The most requested version, and the sugar can drop to ⅔ cup since the chips add sweetness.
Walnut. ½ cup chopped walnuts, toasted at 350°F for five minutes first. Raw walnuts taste flat against the sweet banana.
Cinnamon swirl. Mix 2 tablespoons sugar with 1 teaspoon cinnamon. Pour half the batter in, sprinkle half the mixture, add the rest of the batter, then the rest of the cinnamon sugar, and swirl once with a knife.
Brown butter. Brown the butter before cooling it. Adds a nutty depth that works particularly well with walnuts.
Peanut butter swirl. Warm ⅓ cup peanut butter until pourable, drop spoonfuls on top of the batter, and swirl once. Do not over-swirl or it disappears.
Healthier. Replace half the flour with whole wheat and cut the sugar to ½ cup. The loaf comes out denser and less sweet, with the banana flavor more forward.
Muffins. Same batter, 12-cup muffin tin, 18 to 22 minutes at 350°F.
Serving Ideas
Warm with butter. A thick slice, lightly toasted, with salted butter melting into it. Hard to improve on.
With peanut butter or almond butter. Turns a slice into something closer to a proper breakfast.
Toasted in a pan. Butter a skillet and griddle each side for two minutes. The cut faces caramelize and it is noticeably better than a toaster.
With coffee. The bitterness works against the sweetness. This is the standard pairing for a reason.
As dessert. Warm slice, scoop of vanilla ice cream, drizzle of caramel.
Storage
Room temperature, 4 days. Wrap the cooled loaf in plastic or store in an airtight container. Banana bread is actually better on day two, once the flavors settle.
Refrigerator, 1 week. Cold firms up the crumb, so let slices come to room temperature or warm them before eating.
Freezer, 3 months. Freeze the whole loaf wrapped twice, or slice it first and freeze with parchment between slices. Sliced is more practical since you can take one at a time.
Reheating. Fifteen seconds in the microwave for a room-temperature slice, thirty for frozen. A toaster works for frozen slices and gives better edges.
Frequently Asked Questions
Can I use frozen bananas?
Yes, and they work well. Thaw them in a bowl and use the liquid that collects along with the fruit. Freezing breaks down the cell walls, which makes them softer and sweeter than fresh.
Can I make this without eggs?
Replace the egg with ¼ cup unsweetened applesauce or a flax egg (1 tablespoon ground flaxseed plus 3 tablespoons water, rested 5 minutes). The loaf comes out slightly denser.
Why is my banana bread gummy in the middle?
Almost always too much banana. Measure 1¼ cups mashed rather than counting fruit. The other cause is pulling it out too early, which a thermometer solves.
Can I use oil instead of butter?
Yes, same quantity. Oil gives a slightly moister loaf that stays soft longer, but you lose the butter flavor. Neutral oils work best.
Do I have to use a 9×5 pan?
An 8×4 pan also works but bakes taller and needs about 10 extra minutes. Check with a thermometer rather than guessing.
Can I halve the sugar?
Cut it to ½ cup without changing anything else. Below that the texture suffers, since sugar holds moisture as well as sweetening.
How ripe is too ripe?
Black skin is fine. Throw them out only if there is visible mold, or if they smell fermented or alcoholic.
Final Thoughts
This comes down to two measurements. 1¼ cups of mashed banana, and fifteen folds of the spatula.
Get those two right and the rest of the recipe is hard to ruin. Everything else, the add-ins, the sugar type, the pan size, is flexible.
Save this recipe now so it is there the next time the bananas go spotty.