Easy Grillo’s-Style Fresh Pickles Recipe: Crisp, Garlicky, and Better Than Store-Bought
There is something genuinely refreshing about biting into a crisp, cold, garlicky dill pickle. If you have ever tried Grillo’s Pickles, you know how different a fresh, refrigerator-style pickle tastes.
They are not cooked or processed like shelf-stable brands. Instead, they are cold-packed in a simple brine, which is what gives them that bright green color, sharp garlic bite, and audible crunch.
Once you make this Grillo’s-style pickle recipe at home, the plastic tub at the grocery store starts to look a lot less appealing.
Whether you are layering them into a massive deli sandwich, serving them alongside weekend BBQ, or styling a beautiful, rustic charcuterie board for your culinary content, these homemade pickles steal the show.
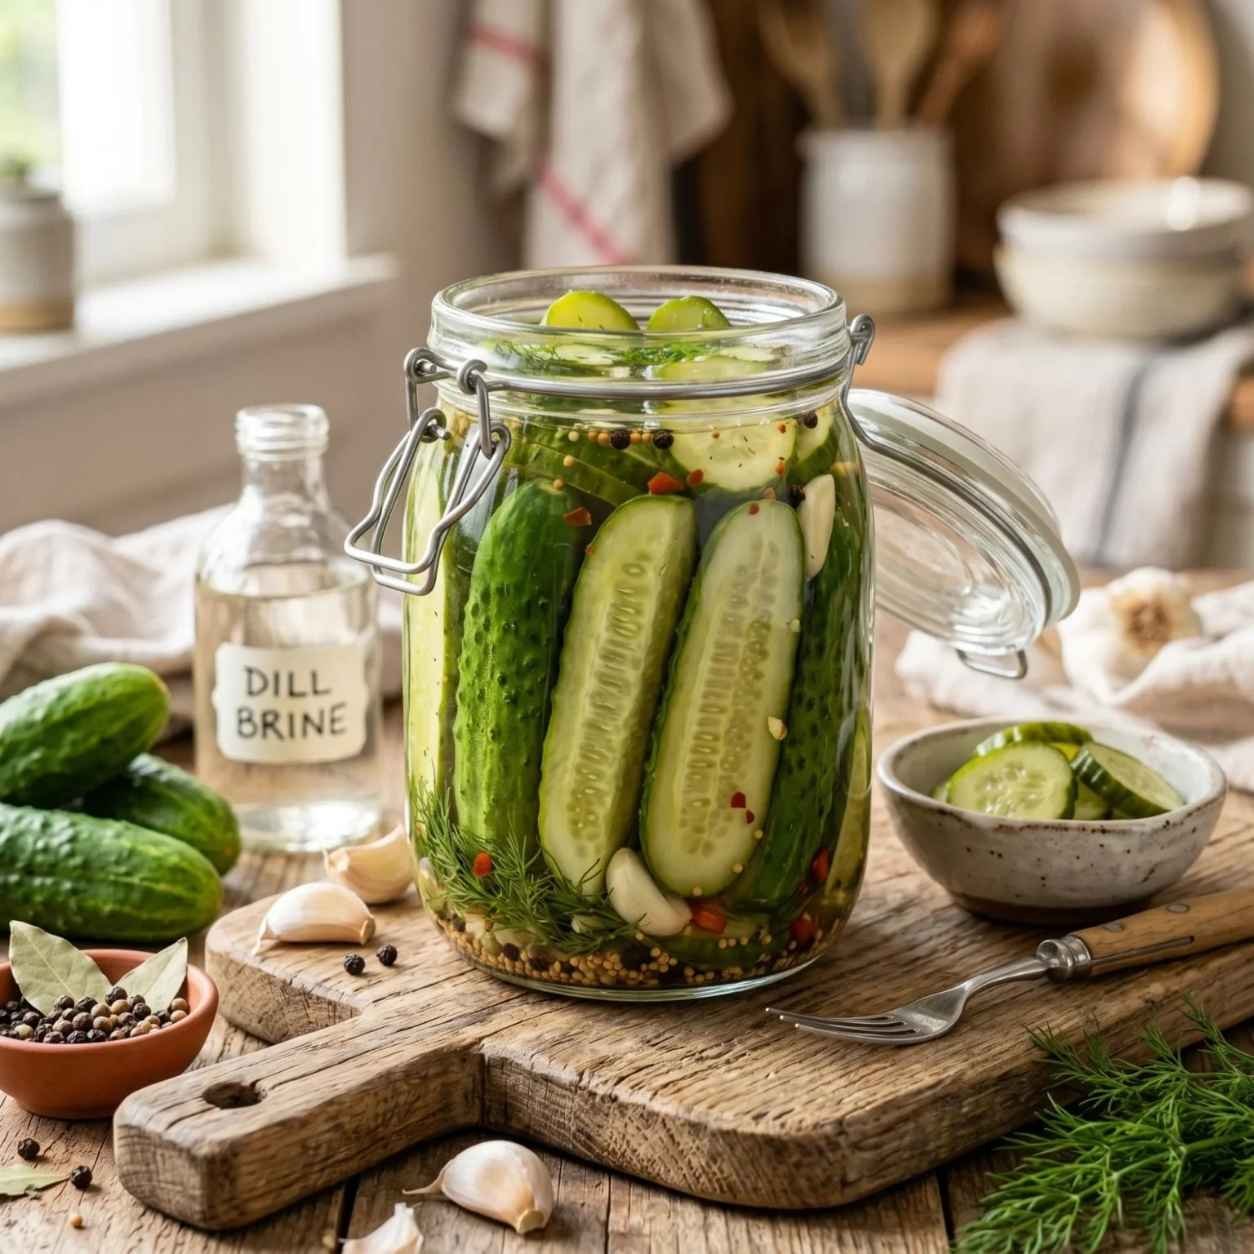
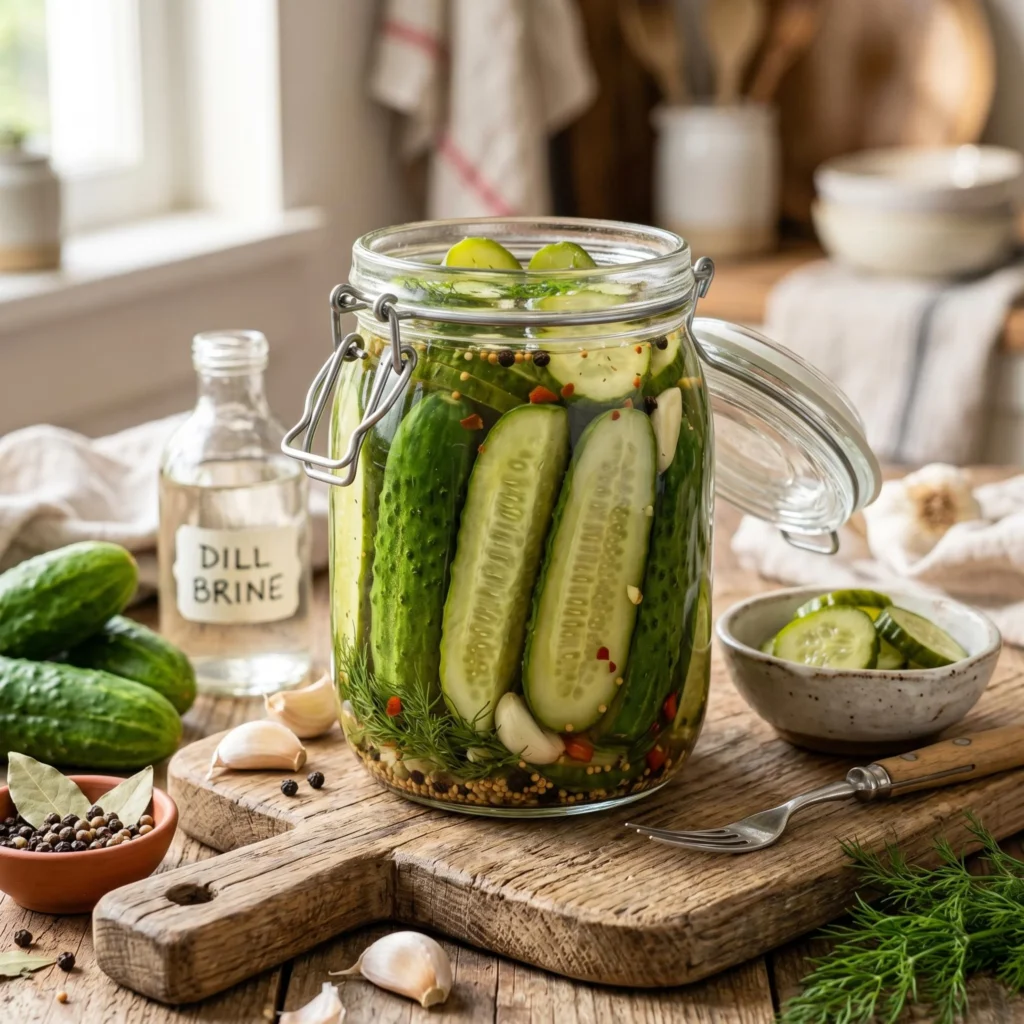
The visual appeal of a glass jar packed with fresh dill, floating garlic cloves, and bright green cucumbers looks stunning on a kitchen counter or on camera. The best part? You only need a few simple ingredients and about 15 minutes of hands-on prep time.
Why Make Fresh Refrigerator Pickles at Home?
If you have only ever bought shelf-stable pickles from the middle aisles, the difference here is hard to miss. Homemade refrigerator pickles are:
- Genuinely crunchy: Because they are never heated or processed, the cucumbers keep their natural snap.
- Free from artificial colors and preservatives: No yellow dyes, no strange chemicals, just vinegar, water, salt, and fresh aromatics.
- Budget-friendly: A few dollars of fresh cucumbers gives you a full jar.
- Easy to adjust: Want them spicier? Add habanero. Love garlic? Toss in five extra cloves.
- Ready in minutes: Fifteen minutes of prep, then the fridge does the rest.
🥒 Jump to What You Need
The flavor difference is clear. Fresh pickles taste clean, bright, and strongly herbaceous in a way heavily processed versions cannot match.
How to Pick the Right Cucumbers
The cucumber matters more than the brine. A soft cucumber going into the jar comes out as a soft pickle, no matter how good your recipe is.
Look for Kirby cucumbers. They are short, bumpy, and thicker skinned than the long English cucumbers sold in plastic wrap. That thicker skin is what holds up to the brine without going limp.
Press them gently. They should feel firm all the way through with no soft spots. Any give at all means they have been sitting too long.
Smaller is better. Cucumbers under four inches have fewer developed seeds, and seeds are where mushiness starts. If you only find larger ones, cut them into spears rather than leaving them whole.
Check the skin. Dull or wrinkled skin means the cucumber has already lost moisture. You want them bright and taut.
Buy them the same day if you can. Cucumbers lose crunch fast in the fridge. A cucumber picked up Saturday and pickled Sunday will be noticeably better than one that sat all week.
Ingredients for Grillo’s-Style Pickles
The freshness of the ingredients matters more here than anything else, since nothing gets cooked. Fresh refrigerator pickles generally keep the ingredient list short, and this one is no different. You will need:
- 1 to 1.5 lbs small pickling cucumbers: Look for Kirby cucumbers. They are firm, bumpy, and have thicker skins, making them perfect for crunch.
- 1 1/2 cups filtered water
- 1 1/4 cups white distilled vinegar: The classic, clean-tasting acid base for that signature tang.
- 1 1/2 tablespoons kosher salt: Do not use iodized table salt, as it can make the brine cloudy.
- 4 to 6 cloves fresh garlic: Peeled and gently smashed to release their oils.
- 1 large bunch of fresh dill: Use the stems, fronds, and flowers if you can find them.
- 1/2 teaspoon whole black peppercorns & 1/2 teaspoon mustard seeds: For a subtle, spiced background note.
- 1 fresh grape leaf (Optional but authentic): Grape leaves contain tannins that help keep the pickles extra crunchy. If you can’t find one, a small pinch of loose black tea leaves does the same trick!
Step-by-Step Easy Fresh Pickles Recipe
Follow these simple steps for perfectly tangy, crunchy pickles every time.
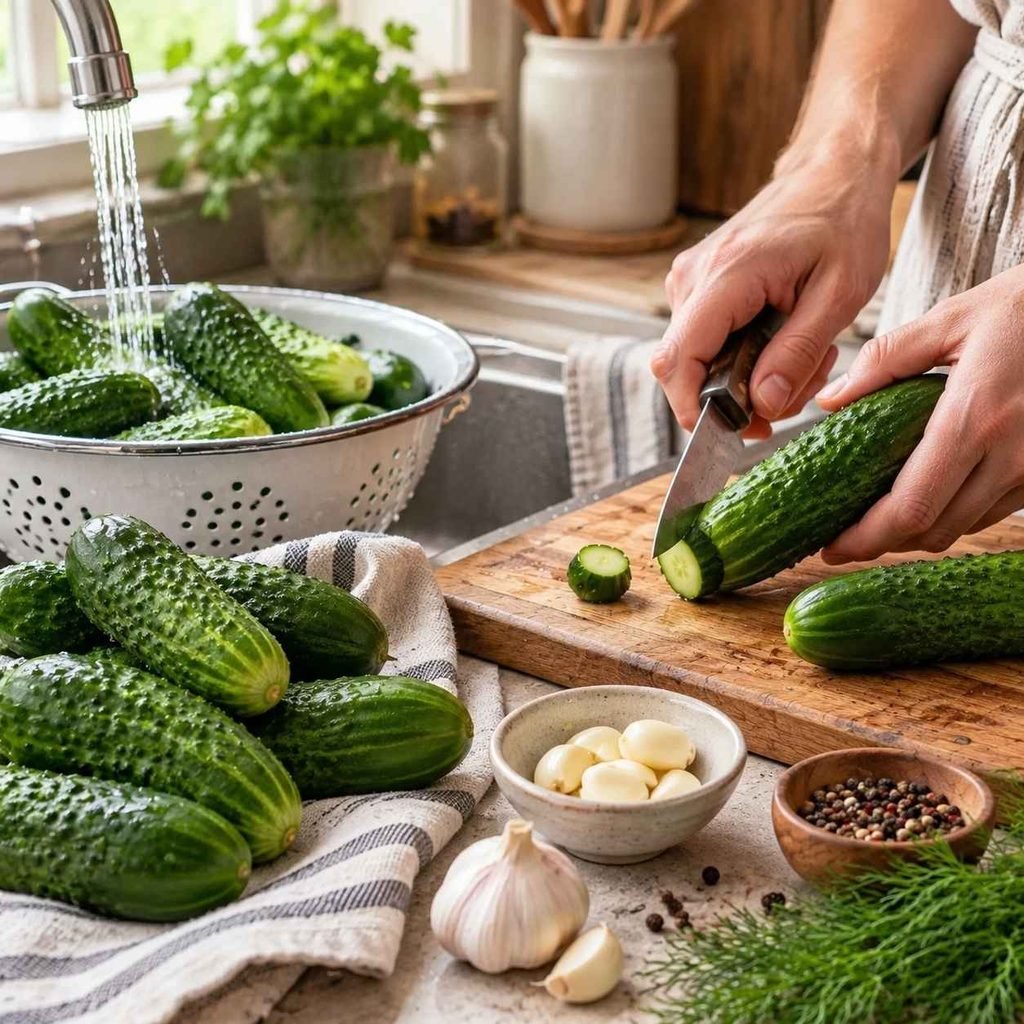
Step 1: Prep the Cucumbers Wash the cucumbers thoroughly under cold water, scrubbing away any dirt. Crucial step: Slice about 1/8-inch off the blossom end of each cucumber (the end opposite the stem).
The blossom end contains an enzyme that can make pickles soft and mushy. You can leave the cucumbers whole, slice them into halves, spears, or cut them into thick chips.
🔪 Which Cut Should You Use?
The cut changes both how fast they pickle and what you can use them for.
Whole (48 to 72 hours)
Stays crunchiest the longest since less surface is exposed to the brine. Takes the longest to develop flavor. Best if you plan to keep the jar for weeks.
Spears (24 to 48 hours)
The middle ground, and what most people want. Good crunch, decent speed, and they fit a sandwich or a burger plate well.
Chips (12 to 24 hours)
Fastest to pickle because of all that exposed surface. Softens sooner too, so eat these within two weeks. Best cut for burgers and fried pickles.
Halves (36 to 48 hours)
Useful when your cucumbers are too big to fit whole but you still want a long shelf life. Cut lengthwise, not across.
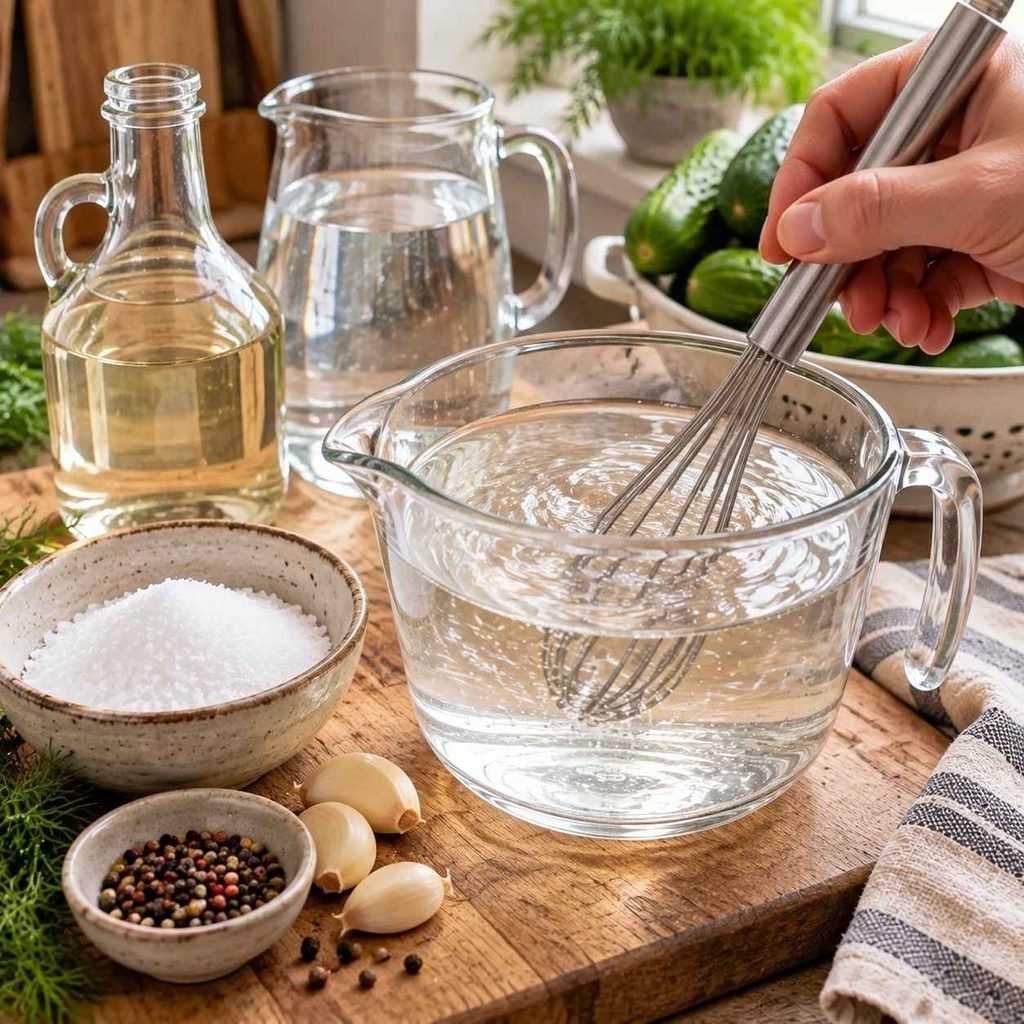
Step 2: Make the Cold Brine Unlike traditional canning, we want a cold brine to preserve the crunch. In a large measuring cup or bowl, combine the filtered water, white vinegar, and kosher salt. Whisk vigorously for a minute or two until the salt is completely dissolved.
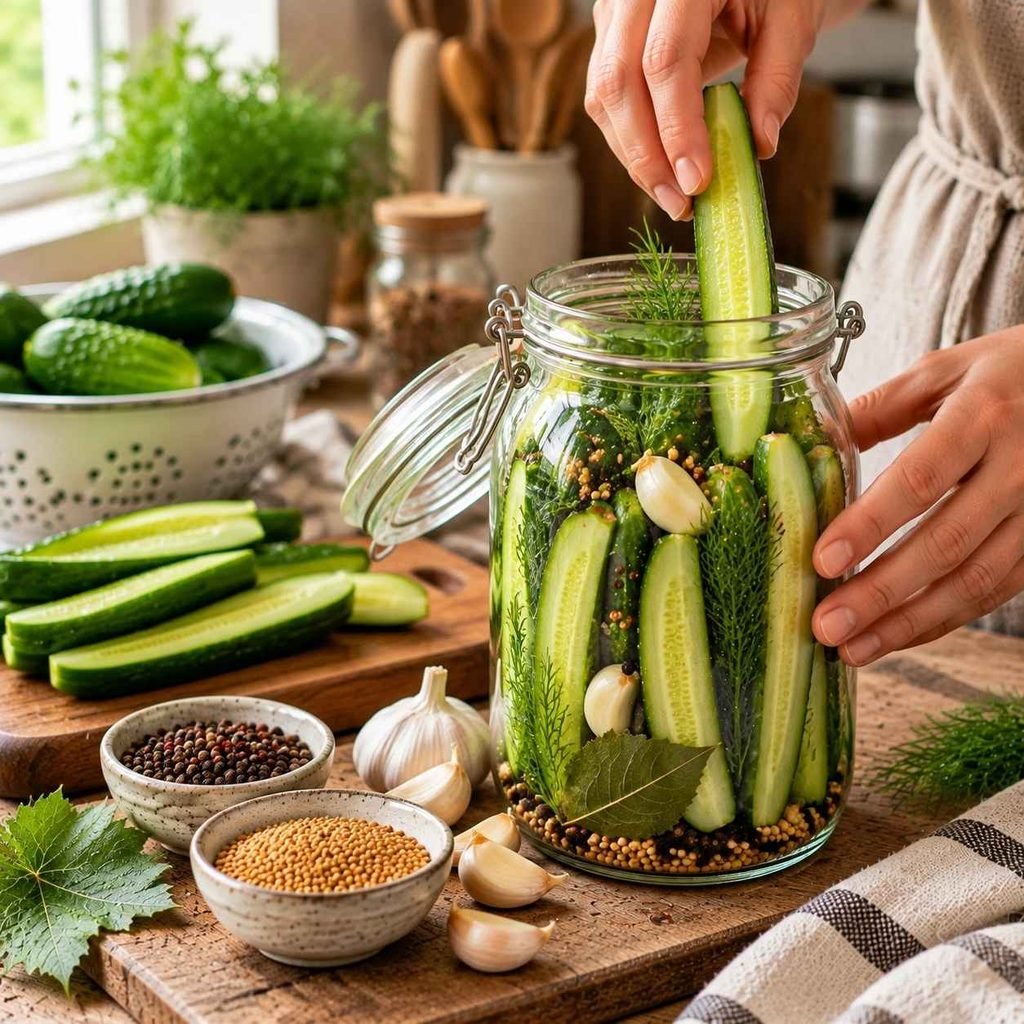
Step 3: Pack the Jar Grab a clean, large glass jar (a 32-ounce mason jar or a clasp-lid jar works perfectly). Drop the smashed garlic cloves, peppercorns, mustard seeds, and the grape leaf into the bottom. Stuff the fresh dill sprigs into the jar. Tightly pack your prepped cucumbers into the jar, wedging them in so they don’t float to the top.
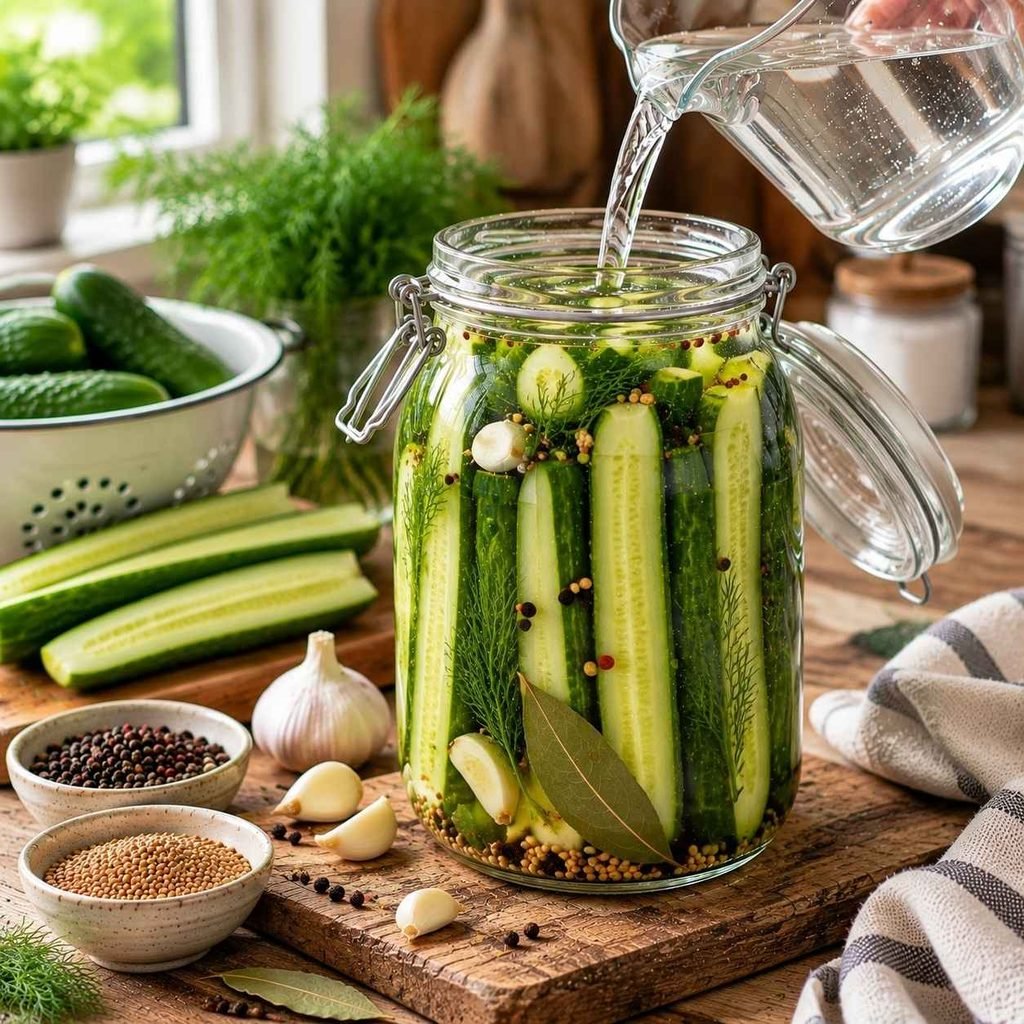
Step 4: Pour the Brine Pour your cold salt-and-vinegar brine over the cucumbers until they are completely submerged. Leave about a half-inch of space at the top of the jar. Tap the jar gently on the counter to release any trapped air bubbles.
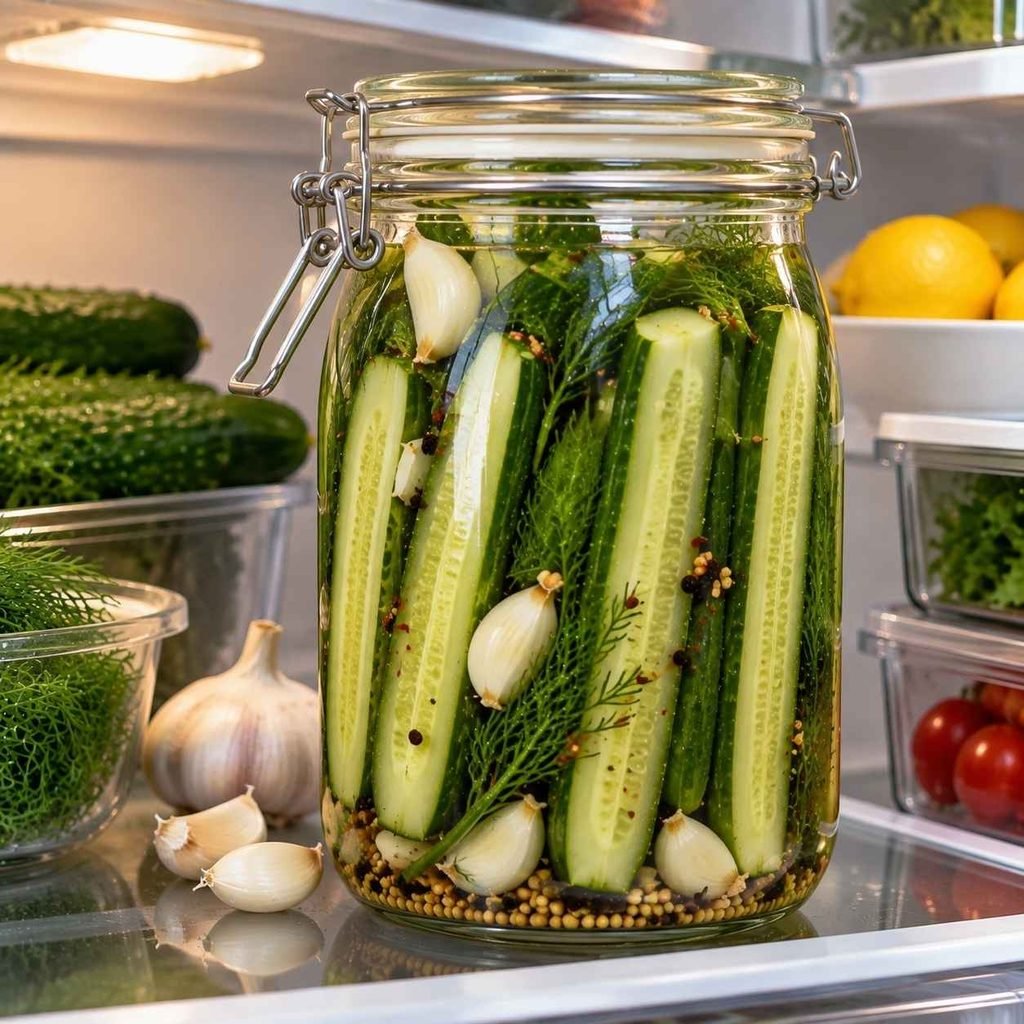
Step 5: Chill and Wait Seal the jar tightly with its lid and place it directly into the refrigerator. Now comes the hard part: waiting. While they will start tasting like pickles in about 24 hours, they are best if you let them sit for 48 to 72 hours so the garlic and dill flavors can fully penetrate the cucumbers.
⏳ What to Expect, Day by Day
Based on spears. Whole pickles run a day behind, chips a day ahead.
After 12 hours
Salty and vinegary on the outside, still tasting like raw cucumber in the middle. Not ready.
After 24 hours
Recognizably a pickle. Garlic is still faint. Edible, but you can taste that it needs more time.
After 48 hours (the sweet spot)
Garlic and dill have worked all the way through. Still fully crunchy. This is when to start eating them.
After 1 week
Strongest flavor. Crunch is still there but starting to soften very slightly at the edges.
After 3 to 4 weeks
Still good, noticeably softer. Better chopped into potato salad or tartar sauce than eaten straight.
Pro Tips for the Crunchiest Pickles
Small details make the difference between a crunchy pickle and a soft one.
- Give them an ice bath: Before packing them in the jar, soak your whole cucumbers in a bowl of ice water for 30 minutes. This perks them up and ensures maximum crispness.
- Never use hot brine: Pouring boiling liquid over the cucumbers will lightly cook them, resulting in a softer texture. Cold brine is the secret to Grillo’s-style crunch.
- Use the right salt: Always use kosher salt, pickling salt, or pure sea salt. Anti-caking agents in standard table salt will turn your beautiful brine murky.
- Keep them submerged: If your cucumbers are floating above the brine, they won’t pickle properly. Wedge a piece of onion or an extra sprig of dill at the top to keep them pushed down.
🔧 Troubleshooting
⚠️ The pickles turned out soft
Fix it: usually the blossom end was left on, or the cucumbers were not fresh. Cut 1/8 inch off the blossom end every time, and buy cucumbers the same week you pickle them.
⚠️ The brine looks cloudy
Fix it: table salt with anti-caking agents is the usual cause, and it is harmless. Switch to kosher or pickling salt next batch. If the cloudiness came with a bad smell, throw the jar out.
⚠️ Cucumbers keep floating above the brine
Fix it: anything above the brine will not pickle and can spoil. Wedge a folded grape leaf, an onion slice, or an extra dill sprig at the top to hold them down.
⚠️ They taste too salty or too sour
Fix it: the ratio was off. Measure the salt level, not heaped. For a milder batch next time, shift to 1 3/4 cups water and 1 cup vinegar.
⚠️ There is white film or fuzz on top
Throw it out. Refrigerator pickles are not shelf-stable, and fuzzy growth means the batch has spoiled. Do not scrape it off and eat the rest.
How to Store Homemade Pickles
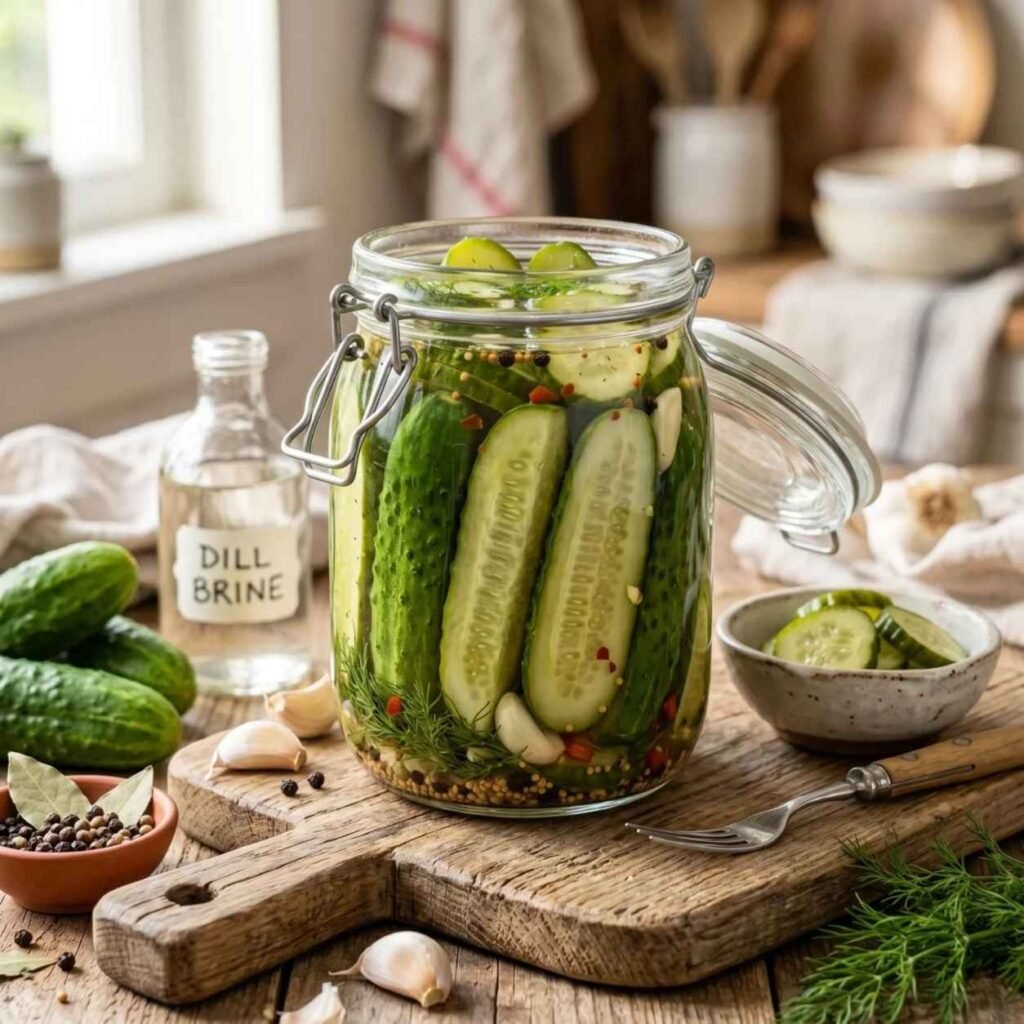
Because these are “refrigerator pickles” and have not been processed in a hot water bath, they must be stored in the refrigerator at all times. They are not shelf-stable.
When kept continuously chilled in their sealed glass jar, When kept continuously chilled in their sealed glass jar, these pickles stay fresh and crunchy for 4 to 6 weeks. In most kitchens they disappear well before that.
Ways to Use Fresh Dill Pickles
Now comes the fun part. These bright, garlicky pickles elevate almost anything they touch. Use them for:
- Snacking: Straight out of the jar, standing in front of the open fridge.
- Next-level sandwiches: Layered generously on turkey clubs, Italian subs, or classic smash burgers.
- Homemade fried pickles: Use the chip-cut version for a tangy, crunchy appetizer.
- Potato and Macaroni Salads: Dice them up to add a bright, acidic crunch to heavy summer side dishes.
Nutrition
Estimated per serving, about one medium spear
Estimates only. Sodium varies quite a bit depending on how long the pickles sit in the brine and how much salt the cucumber absorbs.
Frequently Asked Questions
Can I use the same brine for other vegetables?
Yes. Sliced carrots, red onion, green beans, and cauliflower all work well in this brine. Harder vegetables like carrots need an extra day or two before they taste pickled through.
Do I need to peel the garlic?
Yes, peel it, then smash each clove with the flat side of a knife. Smashing breaks the cell walls so the garlic actually releases into the brine instead of sitting there whole.
My jar is smaller than 32 ounces. What do I do?
Halve everything, including the brine. The one rule that cannot bend is that the cucumbers must stay fully submerged, so use a jar that lets the brine cover them completely.
Final Thoughts
This Grillo’s-style recipe shows that making crisp, garlicky pickles at home does not need canning equipment or hours in a hot kitchen. A few fresh ingredients, a cold brine, and two days of patience gets you there.
Once you pull that cold jar out of the fridge and hear the crunch of the first bite, the appeal of the refrigerator method makes sense. Grab some cucumbers, pack a jar, and let the fridge handle the rest.
Save this recipe now so it is ready the next time you see good Kirby cucumbers at the store.