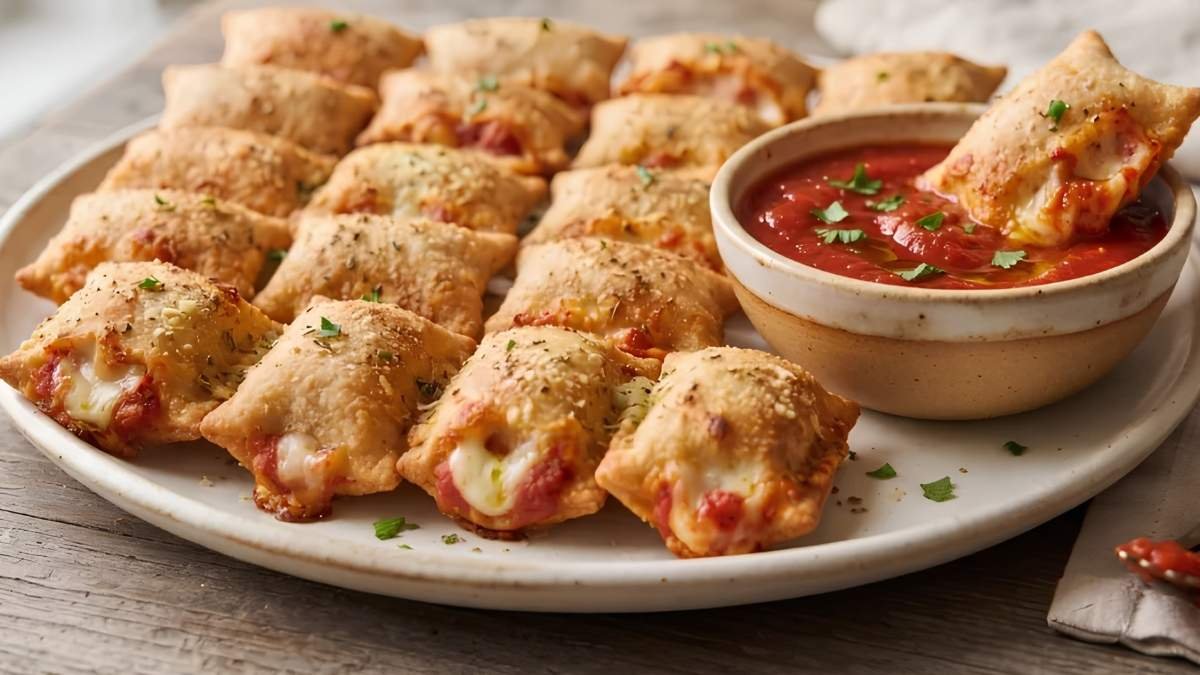
Homemade Pizza Rolls: A Fun Childhood Homemade Snack
| Prep Time | 25 minutes |
| Chill Time | 15 minutes |
| Bake Time | 14 minutes |
| Total Time | 55 minutes |
| Yield | 24 pizza rolls |
| Course | Snack, Appetizer |
| Calories | 65 per roll |
Everyone remembers the frozen ones, and everyone also remembers the two things wrong with them: the filling was hotter than lava and there was never quite enough of it. These fix both. Real mozzarella, real pepperoni, a proper dab of thick pizza sauce sealed between two squares of dough.
The whole recipe hinges on one thing, which is keeping them shut. Pizza rolls burst when the filling heats up and turns to steam before the seal has had a chance to set. Too much sauce does it, thin watery sauce does it, and warm dough does it. Fifteen minutes in the freezer before they go in the oven solves most of it.
Baked in the oven they come out golden and soft, closer to a small calzone than the crunchy frozen version. If crisp is what you are after, the air fryer gets you there and there are timings for it further down.
My first tray lost about half its cheese to the baking sheet. I had sealed them properly, or thought I had, and they still split along the edges within eight minutes.
What I had actually done was fill them with thin marinara straight from a jar and put them in a hot oven at room temperature. Thick sauce and fifteen minutes in the freezer fixed it on the next tray, and I have not had one burst since.
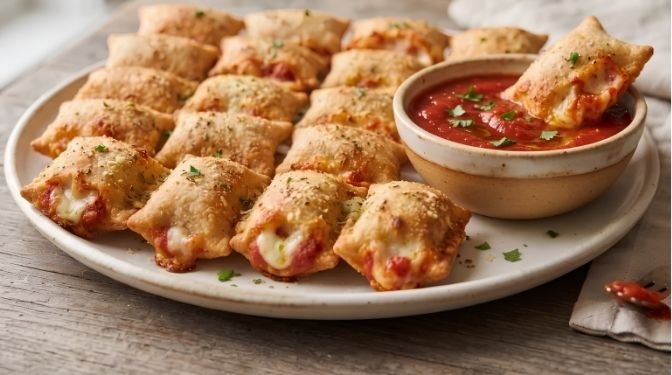
Why You Will Love This Recipe
If you’ve been stuck in a rut of boring snacks or bland processed foods, you are going to fall in love with this method. These homemade pizza rolls are:
- Pure Nostalgia: Every bite brings back the comforting taste of your favorite childhood after-school snack.
- Better Ingredients: Made with wholesome, fresh dough, real mozzarella, and your favorite pizza toppings without any artificial preservatives or mystery ingredients.
- Customizable Fillings: Easily swap out ingredients to make cheese-only, pepperoni, or veggie-loaded rolls that fit your exact cravings.
- Freezer-Friendly: Make a massive batch ahead of time and pop them straight into the oven whenever an afternoon snack craving hits.
Equipment You Will Need
A pizza cutter or a large sharp knife. You are cutting forty-eight squares out of one sheet of dough, and a pizza cutter does it in a fraction of the time a knife takes. It also pushes down rather than dragging, so the edges stay clean instead of stretching.
A large rimmed baking sheet. Twenty-four rolls need room between them. Two smaller sheets work if that is what you have, in which case rotate them halfway through baking.
Parchment paper. Cheese will escape from at least one roll no matter how careful you are, and parchment means it lifts off rather than welding to the pan.
A fork. For crimping the edges shut. Fingers alone leave a seal that opens under steam pressure; fork tines press the two layers together across a much wider area.
Ingredients You Will Need
The beauty of this recipe lies in its simplicity. To get that perfect crispy, cheesy bite, you will need:
For the Rolls:
- 1 tube (13.8 oz) refrigerated pizza dough
- 3/4 cup low-moisture mozzarella, shredded
- 1/4 cup thick pizza sauce (not thin marinara)
- 1/2 cup mini pepperoni
- 1 large egg, beaten with 1 tsp water
For the Topping:
- 2 tbsp unsalted butter, melted
- 1 tsp Italian seasoning
- 1/2 tsp garlic powder
- 1/4 tsp fine salt
- 1/4 cup grated Parmesan
- 1 tbsp fresh parsley, finely chopped
Step-by-Step Instructions for Homemade Pizza Rolls
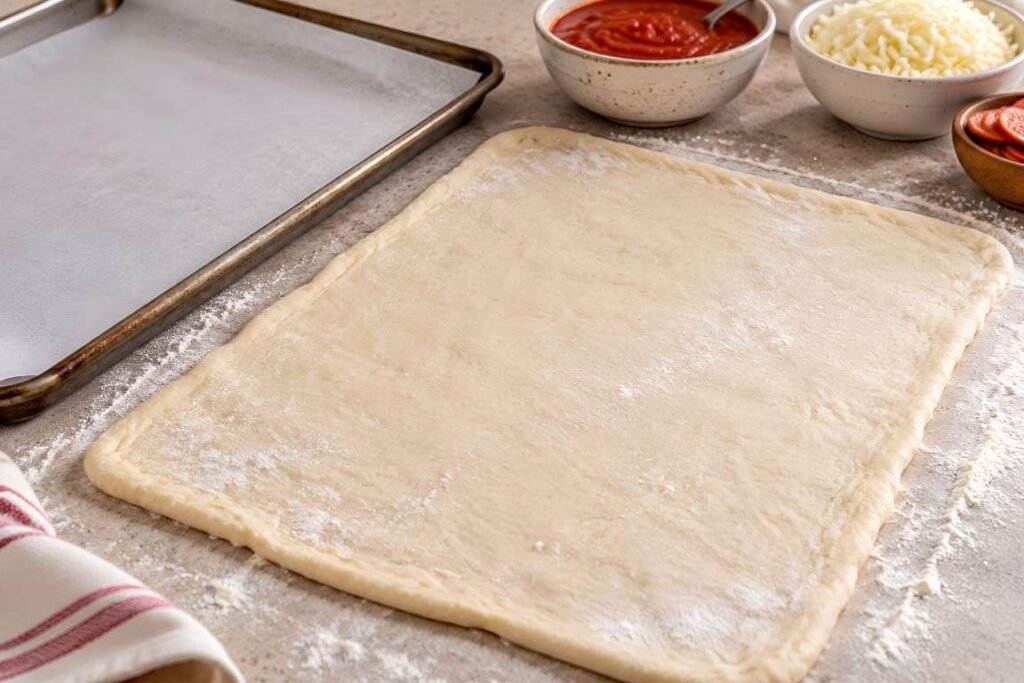
Step 1: Prep the Sheet and Dough Line a large baking sheet with parchment. Unroll the pizza dough onto a lightly floured surface and roll it out to roughly 12 by 16 inches, about an eighth of an inch thick. Thin dough matters here, since a thick pocket takes longer to cook through than the cheese takes to melt and escape.
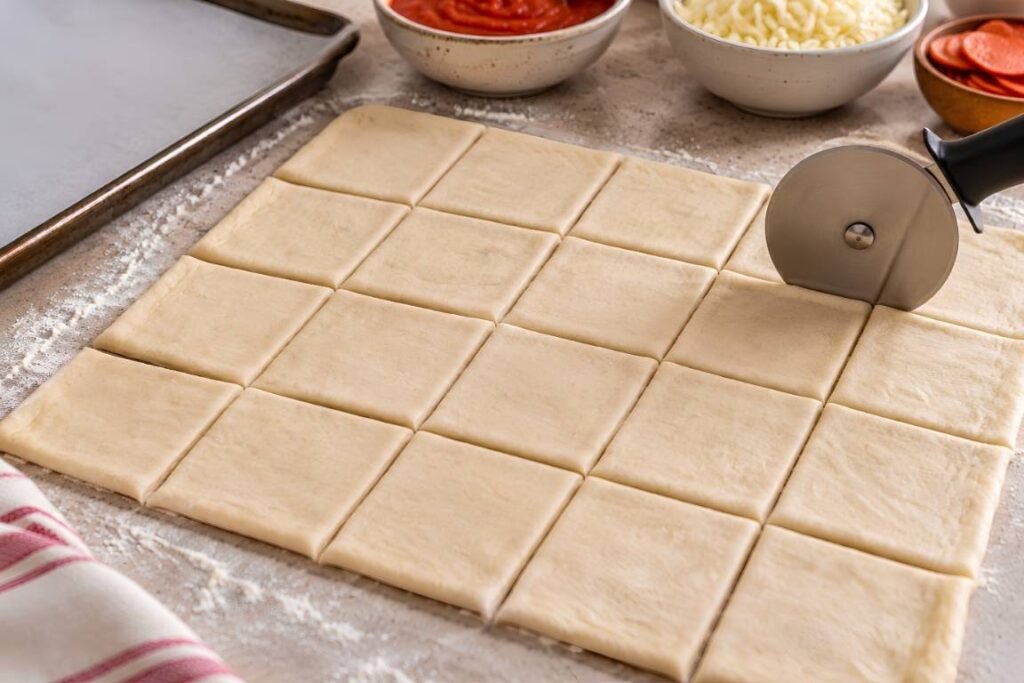
Step 2: Cut the Squares Using a pizza cutter, cut the dough into 2-inch squares. You should get 48, which makes 24 rolls. Two inches looks small and is correct. Larger squares are harder to seal and the filling to dough ratio goes wrong.
Step 3: Fill Half the Squares Lay 24 squares out on the work surface. Onto the centre of each, put half a teaspoon of thick pizza sauce, a pinch of mozzarella, and three or four mini pepperoni. Leave a clear half-inch border all the way around. Filling that reaches the edge is filling that stops the seal from closing.
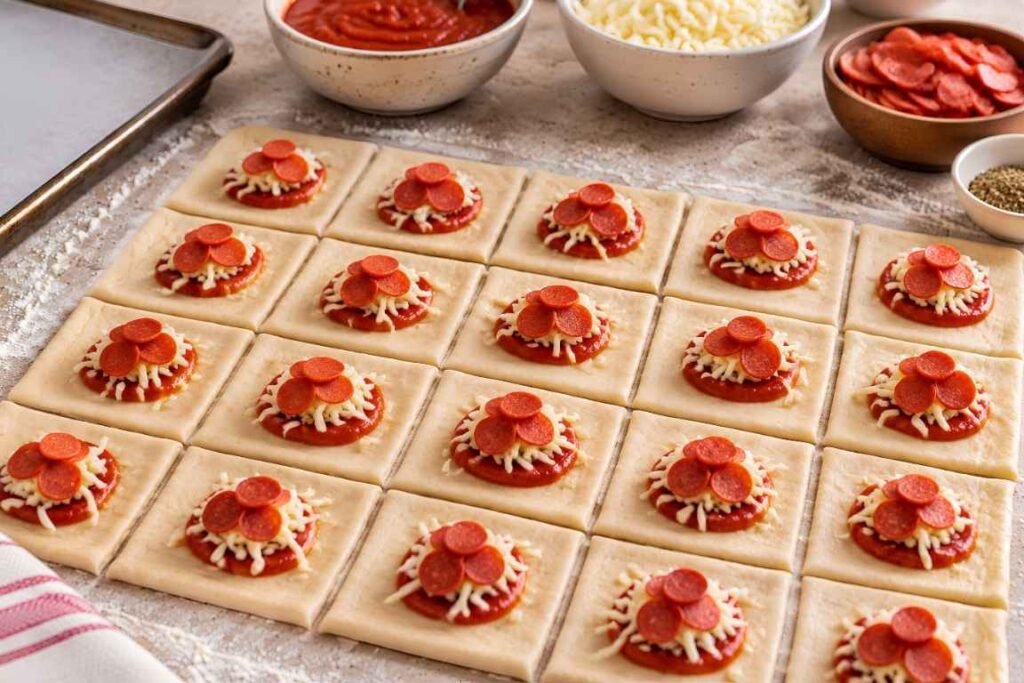
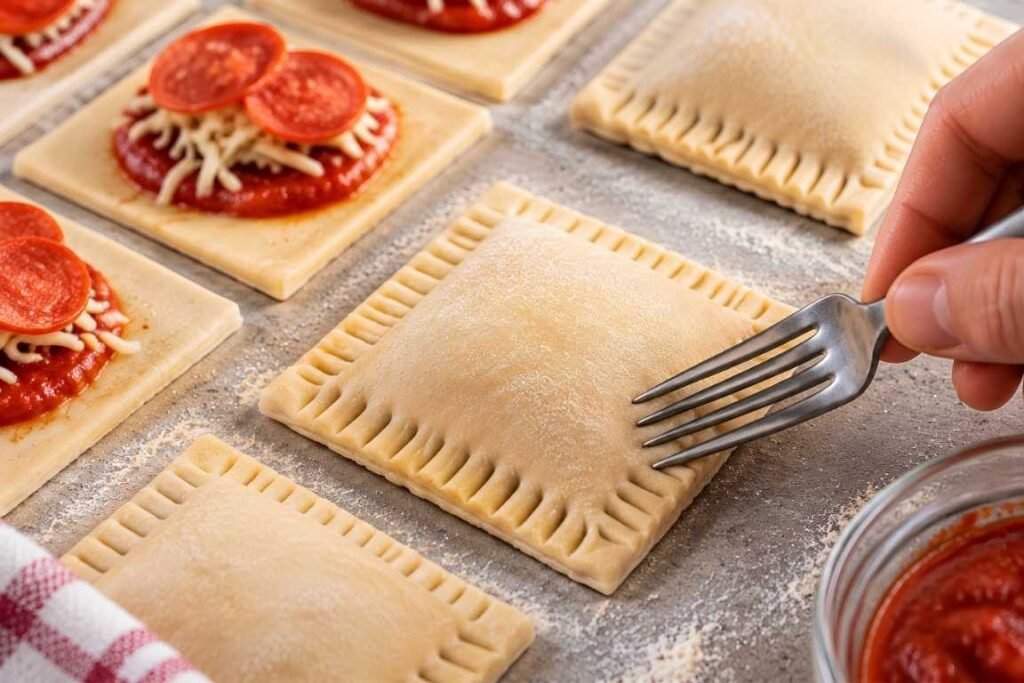
Step 4: Seal Them Brush the exposed border of each filled square with egg wash. Lay a second square on top and press down around all four edges with your fingers first, pushing the air out as you go, then crimp the whole border with the tines of a fork. Trapped air expands in the oven and pops the seal, so pressing it out matters as much as the crimping does.
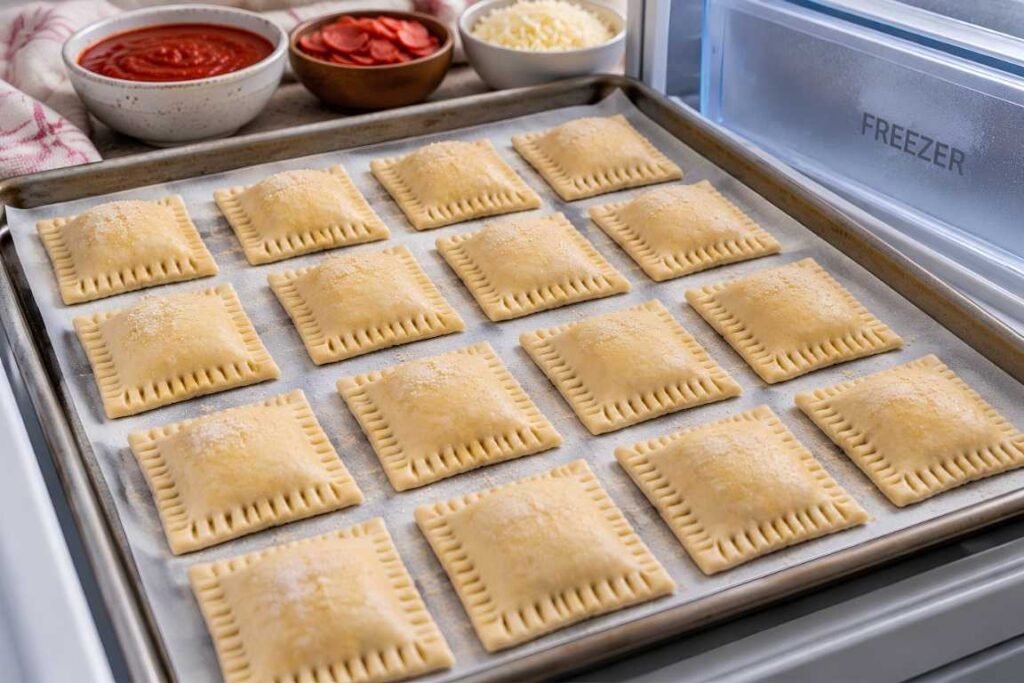
Step 5: Chill Before Baking Arrange the sealed rolls on the lined baking sheet with an inch between them and put the whole tray in the freezer for 15 minutes. Meanwhile preheat the oven to 400°F (200°C). This is the step that keeps them shut. Cold dough holds its shape long enough for the seal to set before the filling inside turns to steam, and skipping it is the most common reason a batch splits.
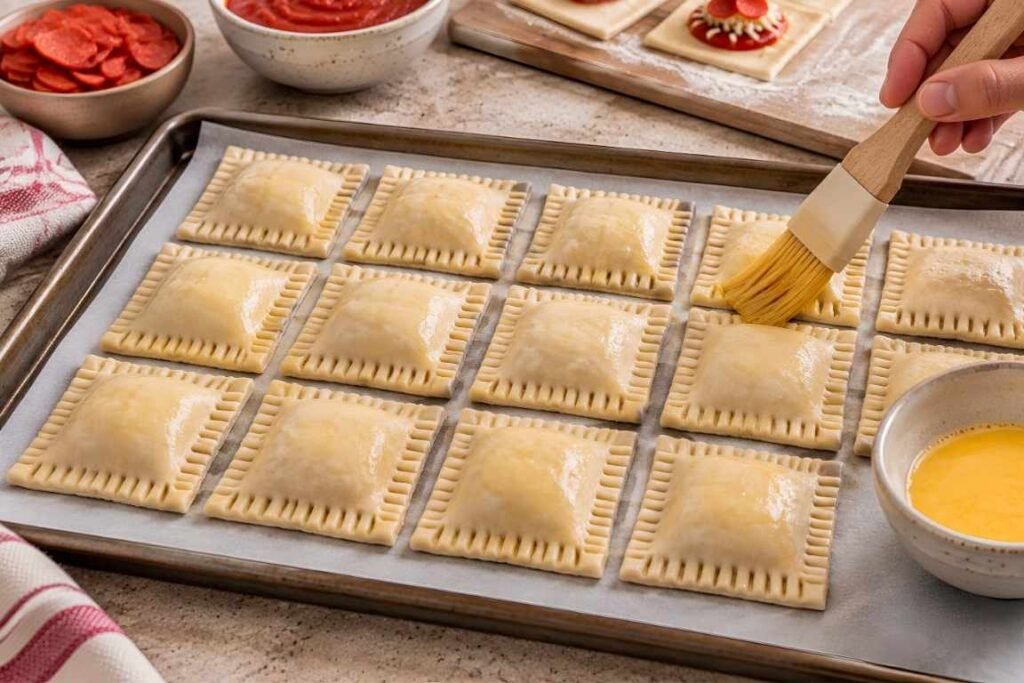
Step 6: Egg Wash and Bake Brush the tops with the remaining egg wash. Bake for 12 to 15 minutes, until deep golden. Do not add the butter or seasoning yet. Dried herbs, garlic powder, and Parmesan all burn at 400°F over fifteen minutes, turning bitter and dark rather than fragrant.
Step 7: Butter and Season Straight Out of the Oven As soon as the tray comes out, brush the tops with melted butter and immediately sprinkle over the Italian seasoning, garlic powder, salt, Parmesan, and fresh parsley. The residual heat blooms the dried herbs and softens the Parmesan without scorching either, and the butter makes everything stick.
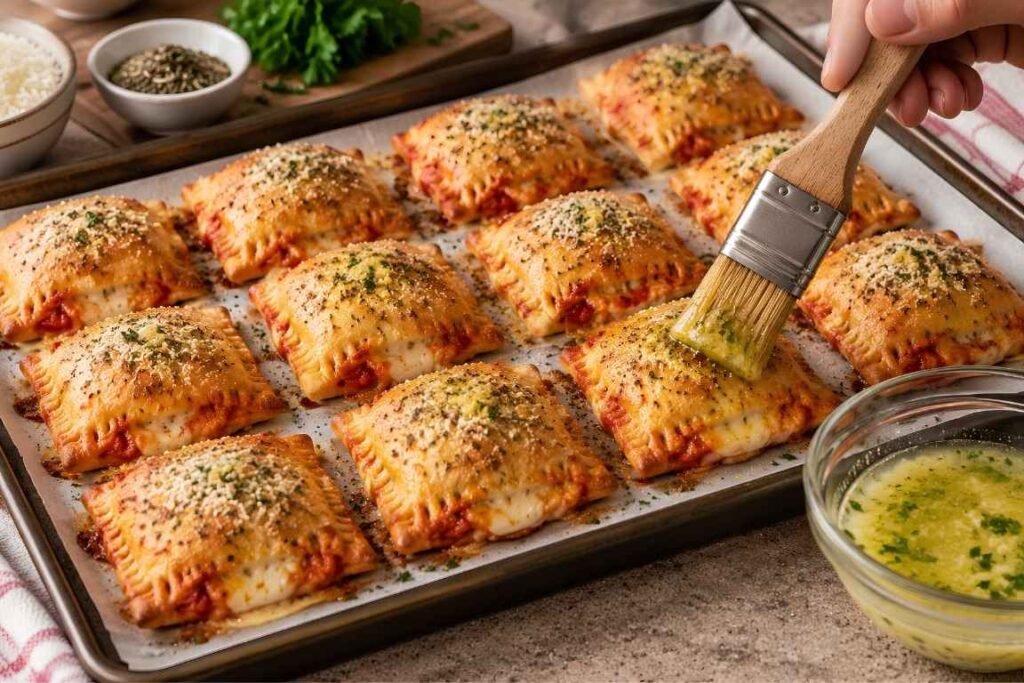
Step 8: Let Them Cool Properly Give them at least 5 minutes before anyone eats one. The outside will feel safe to touch long before the inside is, and melted cheese and sauce hold heat far longer than dough does. If you are serving these to children, cut one open first and check, or leave them closer to 10 minutes. Serve with warm pizza sauce for dipping.
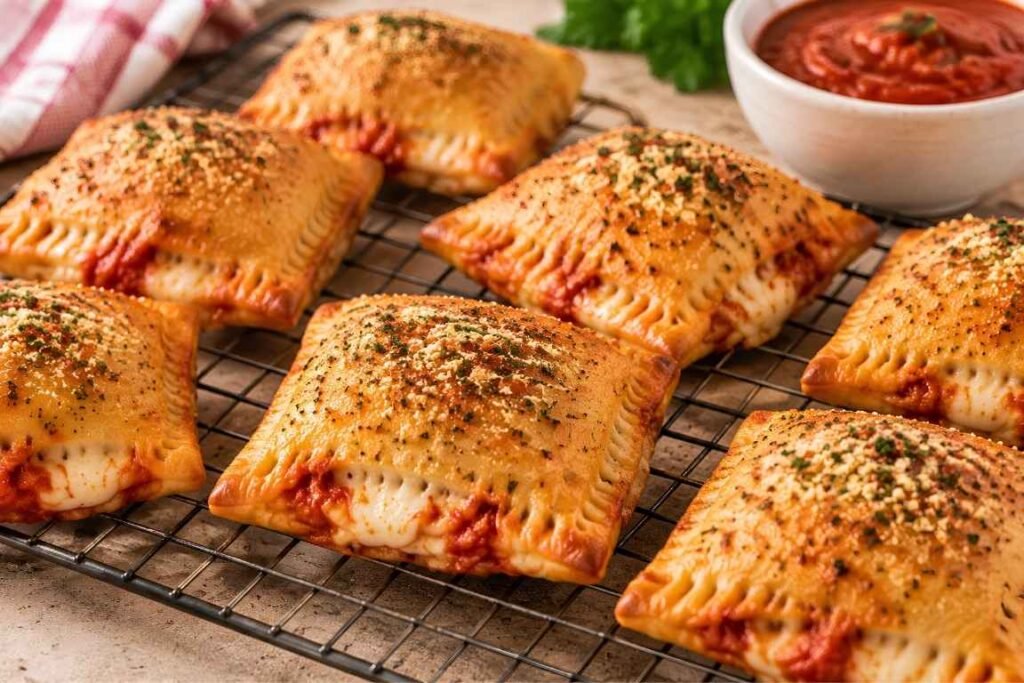
Pro Tips for the Ultimate Snack
Small adjustments can take your homemade pizza rolls from good to absolute perfection.
The freezer step is not optional. Fifteen minutes is the difference between twenty-four sealed rolls and a tray of melted cheese. If you are making these in batches, keep the unbaked ones in the freezer while the first tray bakes.
Press the air out before you crimp. Work from the centre of the filling outward so the air escapes at the edges. A pocket with air trapped inside will pop along a seam no matter how well you crimped it.
Blot the pepperoni. Lay the slices on a paper towel for a minute before they go in. Pepperoni releases a surprising amount of grease, and inside a sealed pocket it has nowhere to go except through the seal.
Season the moment they come out. Thirty seconds later and the butter has soaked in and the Parmesan will not stick. Have the toppings measured and sitting beside the oven before the timer goes.
Make the full batch even if you cannot eat it. Unbaked rolls freeze better than almost anything, and having twenty-four in a bag means a snack that takes eighteen minutes and no work at all.
Common Mistakes to Avoid
Using thin marinara instead of thick pizza sauce. The most common cause of burst rolls by some distance. Thin sauce is mostly water, water turns to steam in a sealed pocket, and steam has to go somewhere. Thick sauce holds its shape and stays put.
Baking them at room temperature. Warm dough softens immediately in a hot oven and starts spreading before the seal has set. Fifteen minutes in the freezer is what gives the edges time to firm up first.
Overfilling. Half a teaspoon of sauce and a pinch of cheese looks like nothing in the middle of a two-inch square. It is the right amount. Anything more and the filling reaches the border, and filling on the border means the seal never closes.
Sealing with fingers alone. Fingers press a narrow line. Fork tines press a wide band and interlock the two layers. Under steam pressure, the narrow line gives way first.
Seasoning before baking. Dried herbs, garlic powder, and Parmesan all scorch over fifteen minutes at 400°F. They go on the second the tray leaves the oven, not before it goes in.
Variations to Try
Cheese only. Skip the pepperoni and use a full cup of mozzarella with a pinch of Parmesan in each. This is the one children reach for first, and without the pepperoni grease the seals hold even better.
Supreme. Finely diced bell pepper, red onion, and black olives alongside the pepperoni. Chop everything small, and cook the pepper and onion for two minutes first, since raw vegetables release water inside the pocket.
Buffalo chicken. Shredded cooked chicken tossed with two tablespoons of buffalo sauce and mozzarella, no pizza sauce at all. Serve with ranch instead of marinara.
Breakfast rolls. Scrambled egg, cooked crumbled sausage, and cheddar. These reheat well and travel in a lunchbox better than the pepperoni version does.
What to Serve with Homemade Pizza Rolls
This versatile snack works wonderfully on its own, but a few additions can round out the experience.
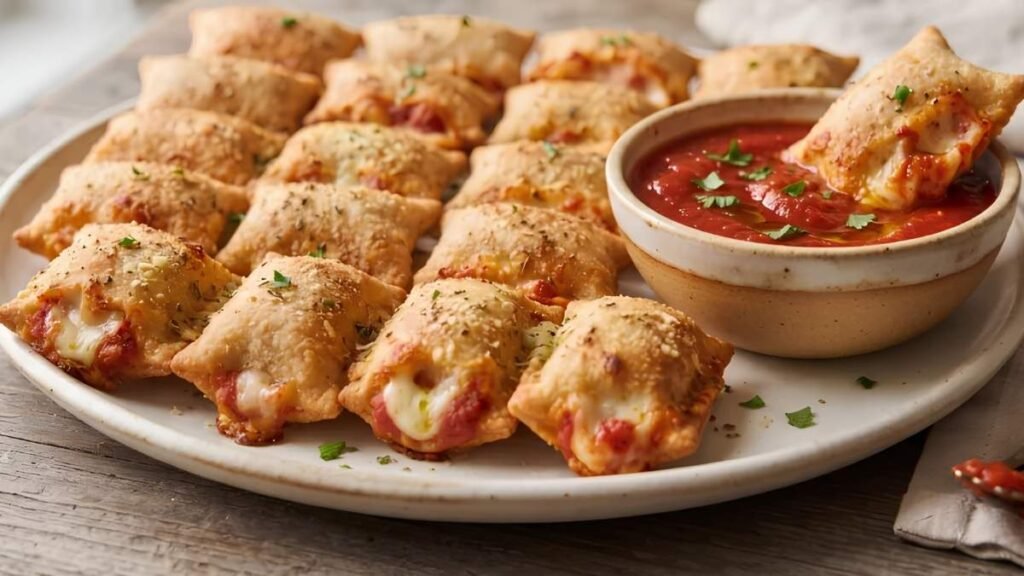
- Classic Marinara Dip: Warm up extra pizza sauce or chunky marinara for the ultimate dipping experience.
- Garlic Butter Sauce: Drizzle melted garlic butter infused with fresh parsley over the hot rolls right after they come out of the oven.
- Ranch Dressing: A cool, creamy ranch dip pairs wonderfully with the savory pepperoni and zesty tomato sauce.
How to Store and Reheat Leftovers
These are worth making in a bigger batch than you need, because the unbaked ones keep for months.
In the fridge. Baked rolls keep in an airtight container for up to 3 days. They soften as they sit, which reheating fixes.
How to reheat. Oven or toaster oven at 350°F for 5 to 7 minutes, or air fryer at 350°F for 4 minutes. Avoid the microwave, which turns the dough tough and steams whatever crispness was left.
Freezing unbaked, which is the better option. Seal the rolls as directed but do not egg wash them. Freeze them in a single layer on a tray for an hour, then transfer to a freezer bag for up to 2 months.
Bake straight from frozen at 400°F for 18 to 20 minutes, brushing with egg wash just before they go in. There is no need to thaw, and frozen rolls actually hold their seal better than fresh ones.
Freezing baked. It works but the result is noticeably drier, since they are effectively being cooked twice. Reheat from frozen at 350°F for 10 to 12 minutes. If you have the choice, freeze them unbaked.
Frequently Asked Questions
- Can I use puff pastry instead of pizza dough?Yes! Puff pastry creates an ultra-flaky, buttery twist on the classic snack, though traditional pizza dough gives you that authentic pizzeria texture.
- Can I make vegetarian pizza rolls?Absolutely. Skip the pepperoni and fill them with your favorite veggies like sautéed mushrooms, bell peppers, chopped spinach, or extra cheese.
- Can I cook these in an air fryer?Yes, air frying at 380°F for about 8 to 10 minutes gives them an incredible, extra-crispy finish!
Final Thoughts
Most of what goes wrong with homemade pizza rolls happens before they reach the oven. Thick sauce rather than thin, half a teaspoon rather than a spoonful, air pressed out before crimping, and fifteen minutes in the freezer. Get those four right and the batch comes out sealed every time.
The rest is yours to decide. Cheese only for the children, buffalo chicken for the adults, air fryer if you want them crisp and the oven if you do not mind them soft. They freeze unbaked better than almost anything, which is the real reason to make more than you need.
If you make them, leave a note in the comments and tell me what you filled them with. The combinations people come up with are usually better than mine.