Small-Batch Mini Vanilla Cake: The Ultimate Soft and Fluffy Treat
Recipe at a Glance
| Prep Time | 15 minutes |
| Bake Time | 25 minutes |
| Cooling Time | 45 minutes |
| Total Time | 1 hour 25 minutes |
| Yield | One 6-inch cake, 4 to 6 slices |
| Course | Dessert |
| Calories | 390 per slice |
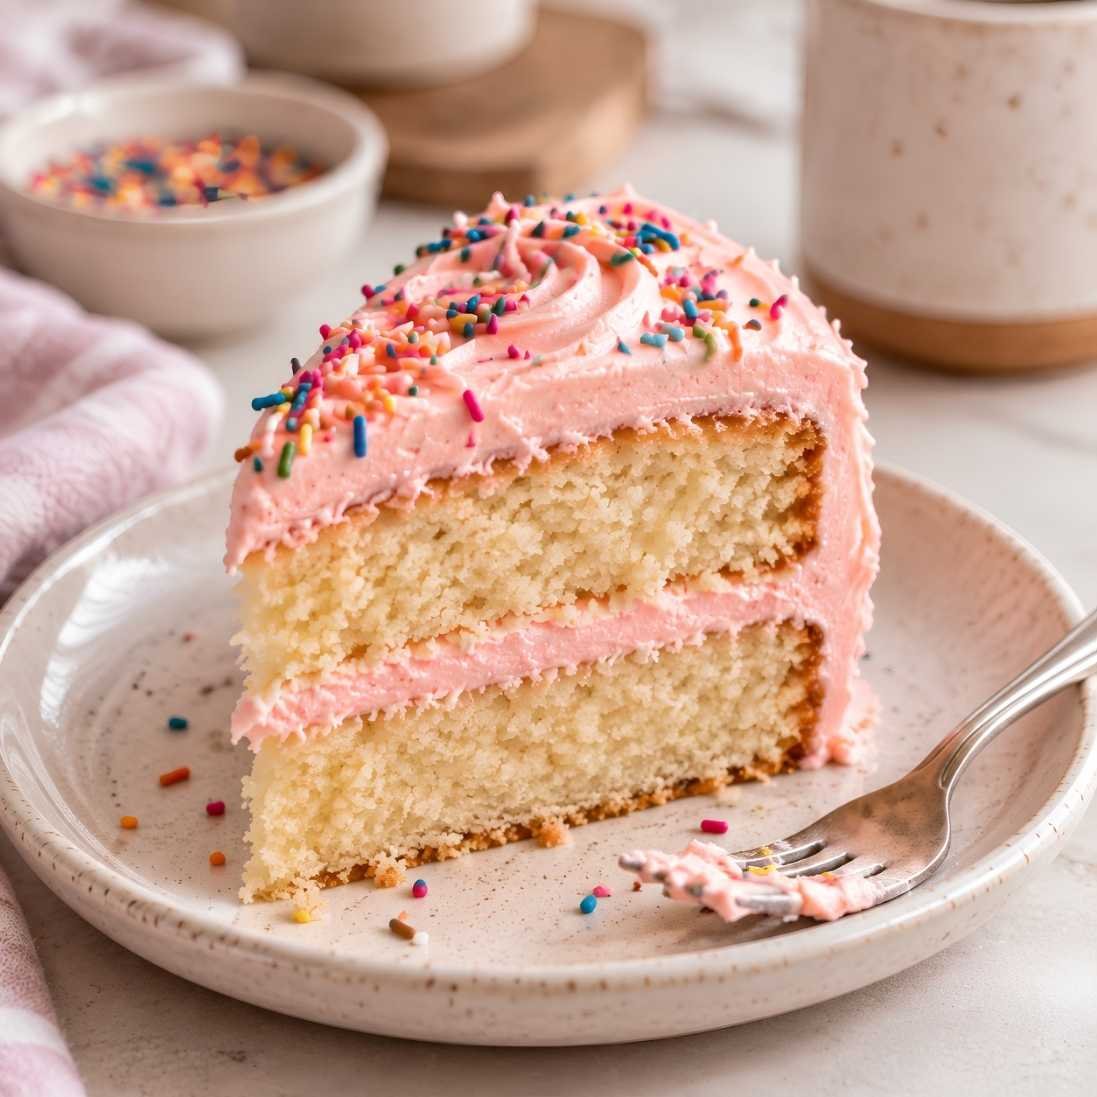
Most vanilla cake recipes assume you are feeding a room. You end up with two nine-inch layers, four cups of buttercream and a cake sitting on the counter for a week that nobody wants by Thursday. This one is a single six-inch layer that cuts into four generous slices or six modest ones, and it is gone the same day.
Small-batch baking is not just a scaled-down version of a big recipe. The ratios shift. A single egg has to do all the work of binding and lifting, which means the baking powder and the flour have to be balanced around it rather than divided down from something larger. That is the part most halved recipes get wrong, and it is why they come out dense.
About twenty-five minutes in the oven, another forty-five waiting for it to cool before the frosting goes on. That cooling is not optional, and it is where most people ruin an otherwise good cake.
The first time I made this I decided the cake felt cool enough after twenty minutes. It was cool on top and still warm underneath, and the buttercream slid off the side of it onto the plate within about a minute.
I scraped it back on, it slid off again. Now I put the cake on a rack and leave the kitchen for forty-five minutes, and if I am in a hurry I put it in the fridge for twenty. Warm cake and butter frosting do not negotiate.
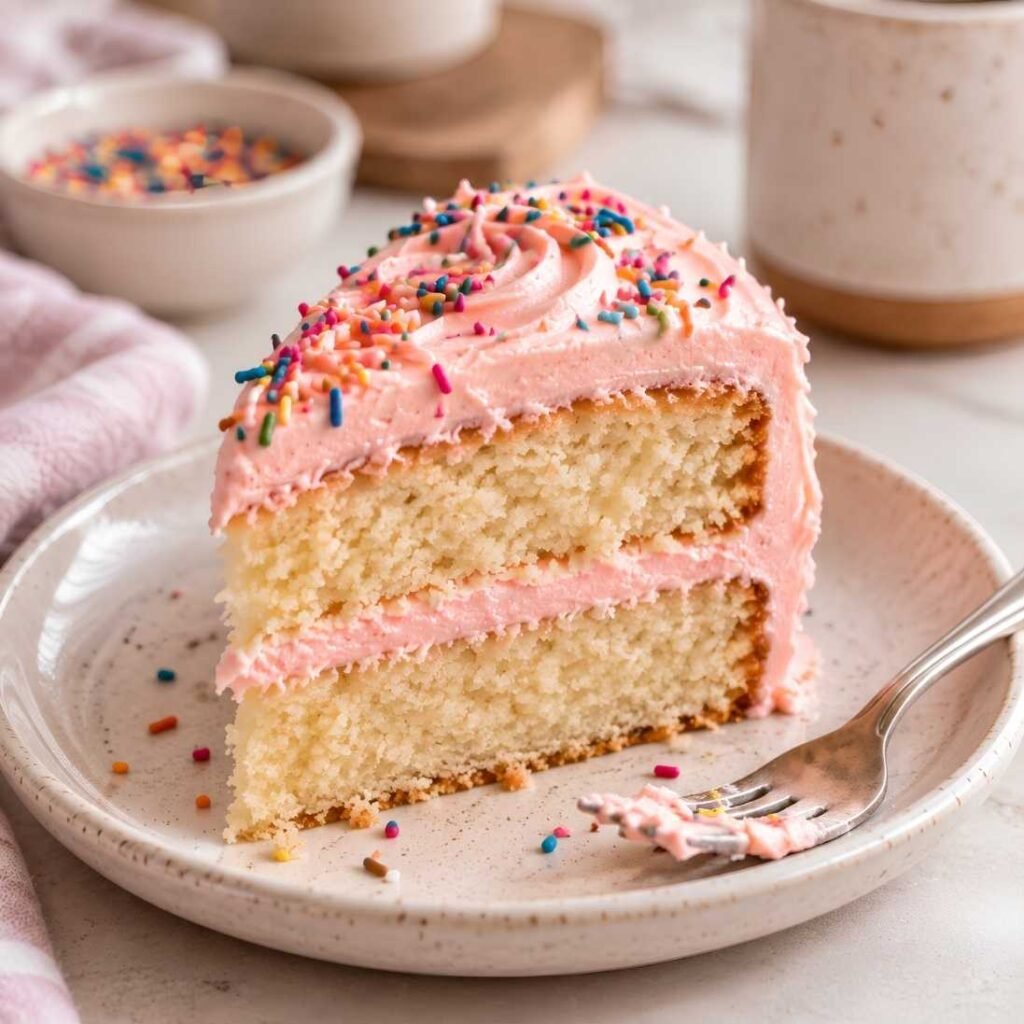
Why You Will Love This Small-Batch Recipe
If you’ve ever hesitated to bake because standard recipes yield way too many servings, you are going to fall in love with this scaled-down method. This mini vanilla cake is:
- Perfect Portion Control: Specifically formulated to yield a modest serving size that comfortably feeds four to six people without food waste.
- Made with Pantry Staples: You do not need any fancy ingredients or specialty equipment, just everyday baking items like flour, butter, sugar, and milk.
- Unbelievably Moist: Despite its smaller size, this cake maintains a tender, fluffy, and rich crumb that melts in your mouth.
- Infinitely Customizable: Easily adapt the frosting colors, add different extracts, or swap out sprinkles to match any theme, holiday, or personal preference.
Equipment You Will Need
A 6-inch round cake pan. This is the one piece that decides everything, and it is worth reading the FAQ below before you buy one, since a loaf pan or a cupcake tin will both work if a 6-inch pan is not something you own.
Parchment paper. Cut a circle for the bottom of the pan. Six-inch cakes have a lot of edge relative to their size and they stick more than larger ones do.
A hand mixer. The creaming step needs two full minutes of beating, and doing it by hand with a wooden spoon takes closer to eight and rarely gets the same result. A stand mixer is overkill for a batter this small, since the paddle barely reaches it.
A fine sieve. For the powdered sugar. It clumps in the bag and those clumps do not break down in a mixer, which is where gritty buttercream comes from.
Ingredients You Will Need
The beauty of small-batch baking lies in its absolute simplicity. To get that soft, golden crumb and rich flavor, you will need:
For the Cake:
- 3/4 cup all-purpose flour, spooned and levelled
- 1 tsp baking powder
- 1/4 tsp salt
- 1/4 cup unsalted butter, softened
- 1/3 cup granulated sugar
- 1 large egg, room temperature
- 1 1/2 tsp pure vanilla extract
- 1/3 cup whole milk, room temperature
For the Frosting:
- 1/4 cup unsalted butter, softened
- 3/4 cup powdered sugar, sifted
- 1 tbsp heavy cream or milk
- 1/2 tsp pure vanilla extract
- Pinch of salt
- Pink gel food coloring
- 2 tbsp rainbow jimmies sprinkles
Step-by-Step Instructions for Your Mini Vanilla Cake
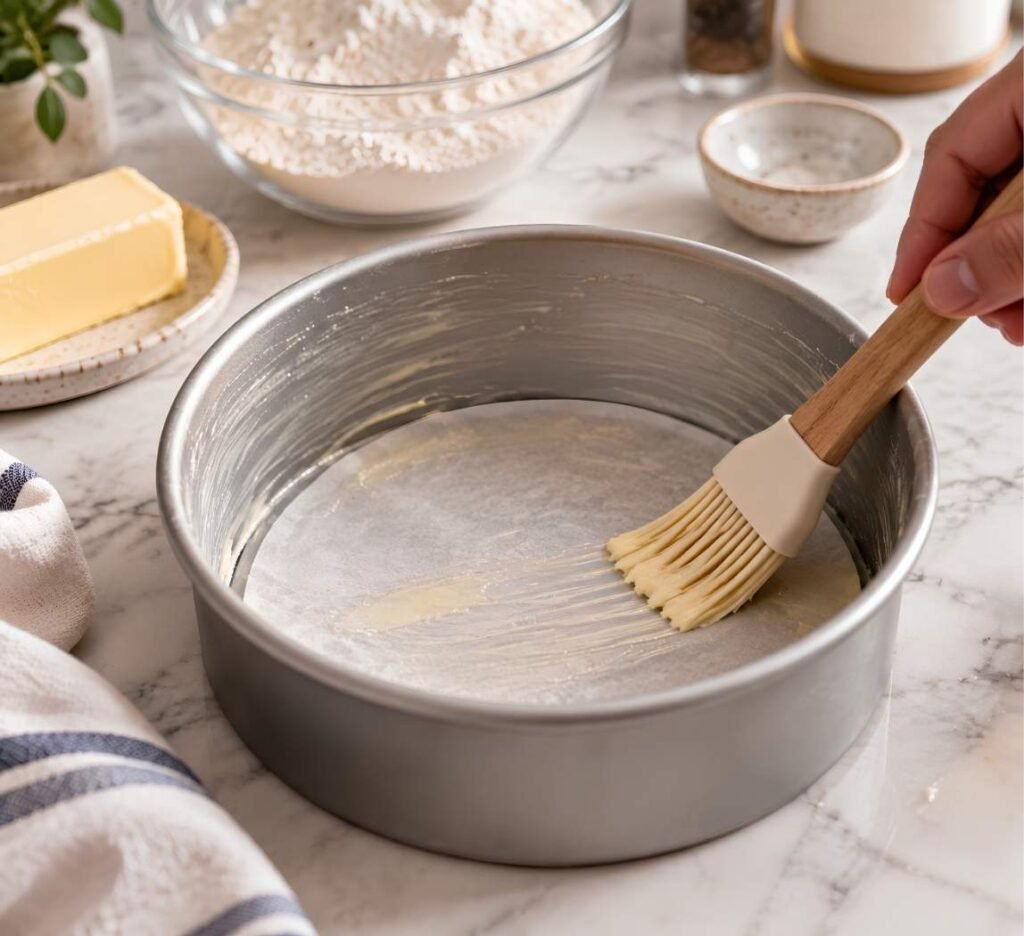
Step 1: Prep the Pan and Oven. Preheat the oven to 350°F (175°C). Grease a 6-inch round cake pan, line the bottom with a circle of parchment, then grease the parchment as well. Both, not either. Six-inch cakes have more edge relative to their volume than larger ones, and they stick accordingly.
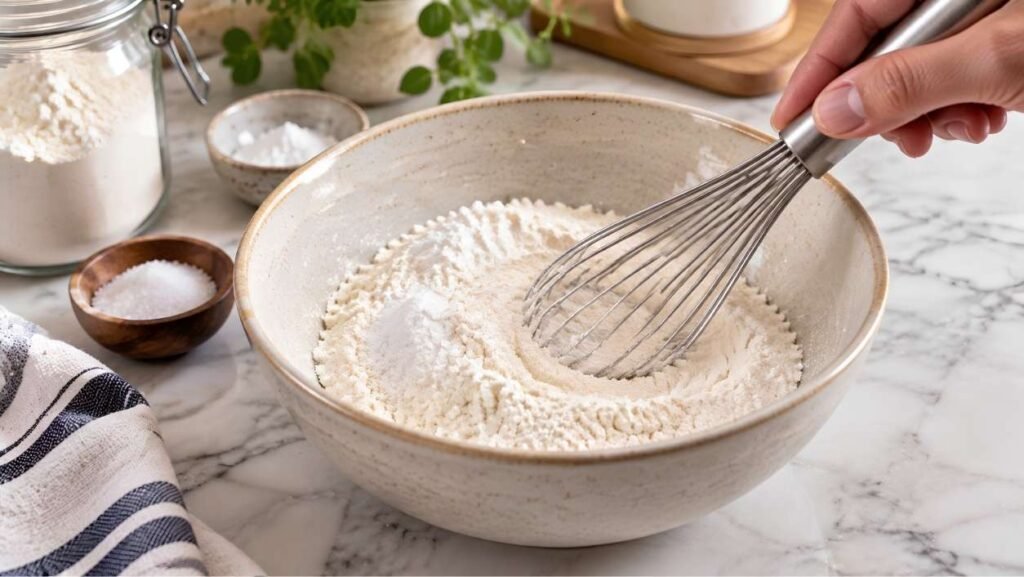
Step 2: Whisk the Dry Ingredients. In a medium bowl, whisk the flour, baking powder, and salt together for about twenty seconds. Baking powder clumps, and a clump that survives into the batter leaves a bitter metallic spot in the finished cake.
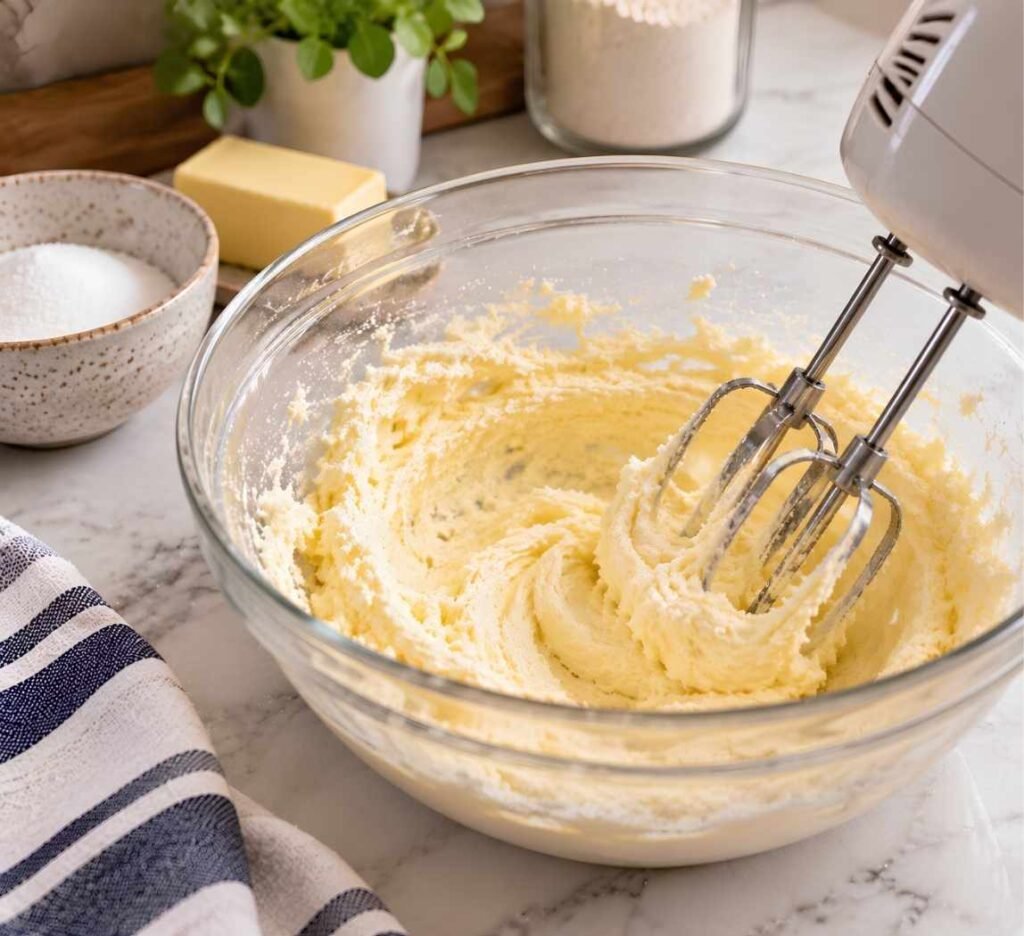
Step 3: Cream the Butter and Sugar. Beat the softened butter and sugar with a hand mixer on medium-high for a full 2 minutes. Set a timer, because it is longer than it feels.
The mixture should go from yellow and grainy to pale and visibly lighter in volume. This is the only air this cake gets before the oven, and stopping at thirty seconds is why halved cake recipes so often come out dense.
Step 4: Add the Egg and Vanilla. Add the room-temperature egg and the vanilla and beat for 30 seconds until fully combined. If the mixture looks curdled or split, the egg was too cold. Keep beating for another thirty seconds, and it will usually come back together.
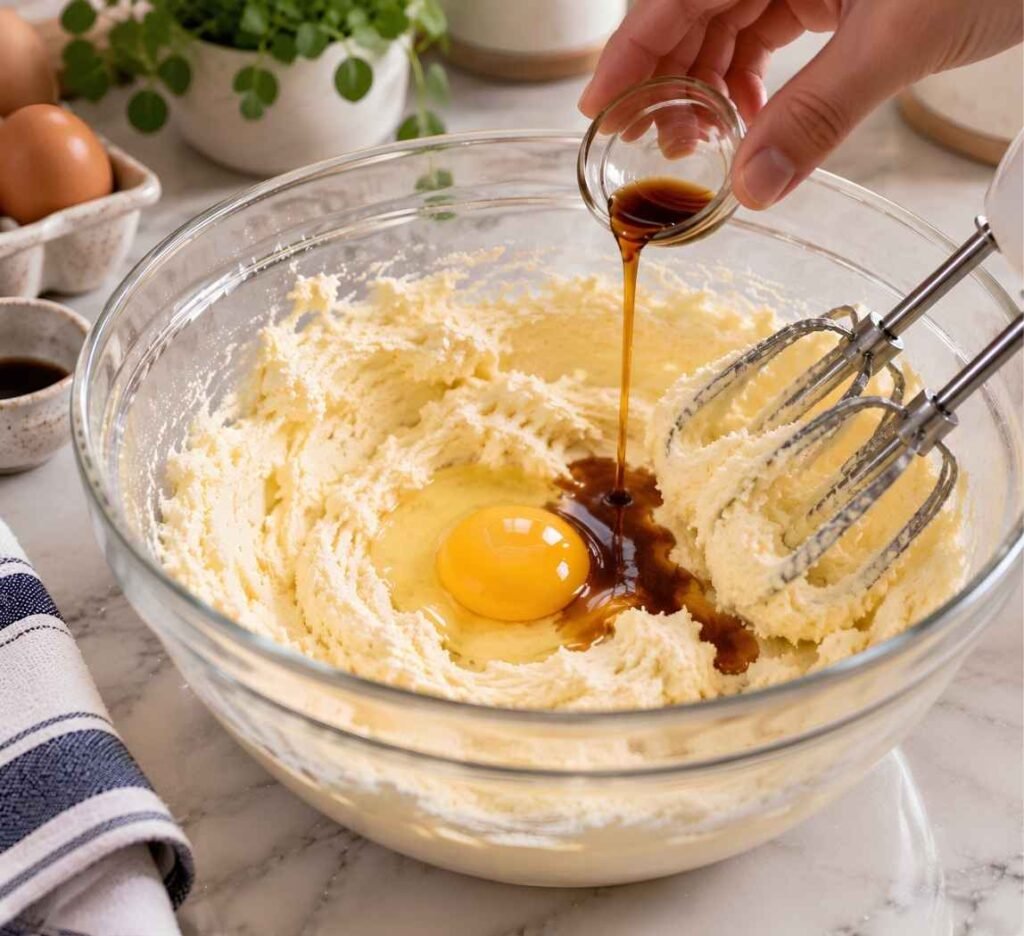
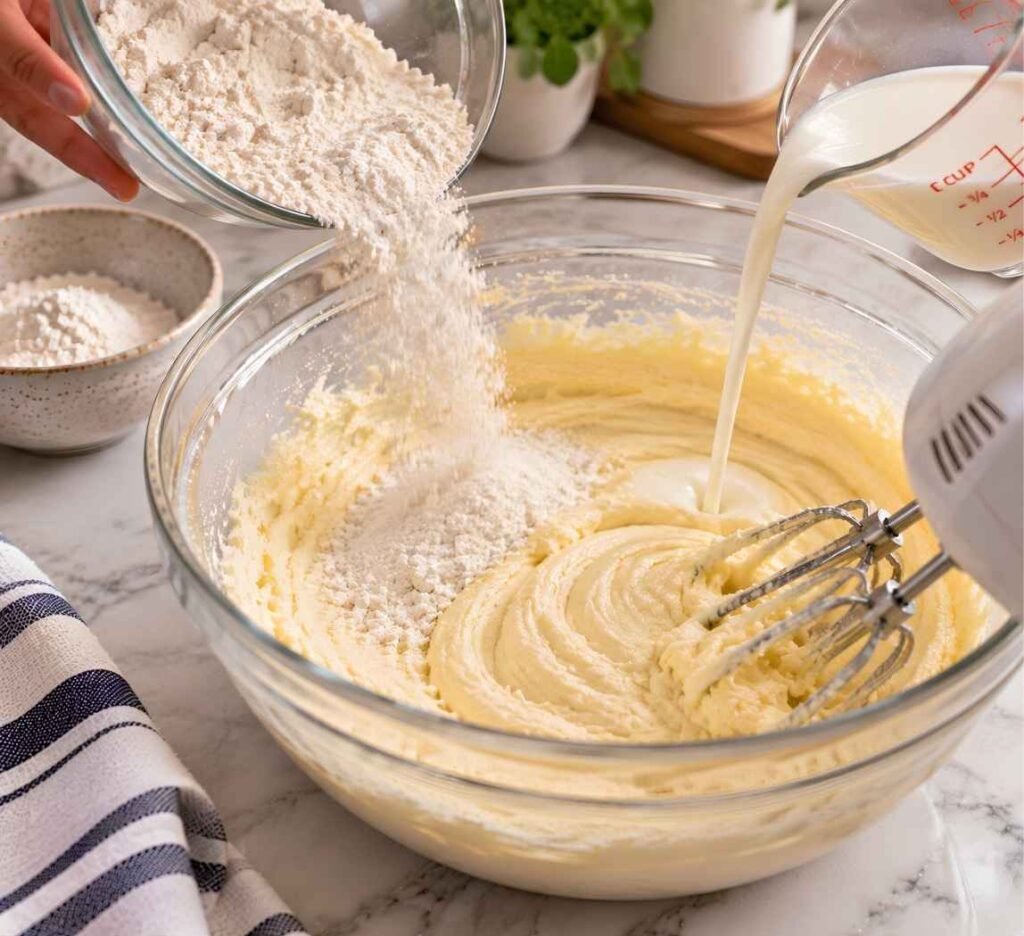
Step 5: Alternate Flour and Milk. On the lowest speed, add a third of the flour mixture, then half the milk, then another third of the flour, then the rest of the milk, and finally the last of the flour. Stop as soon as the last streaks disappear. Ten seconds of mixing too long here is enough to toughen the crumb.
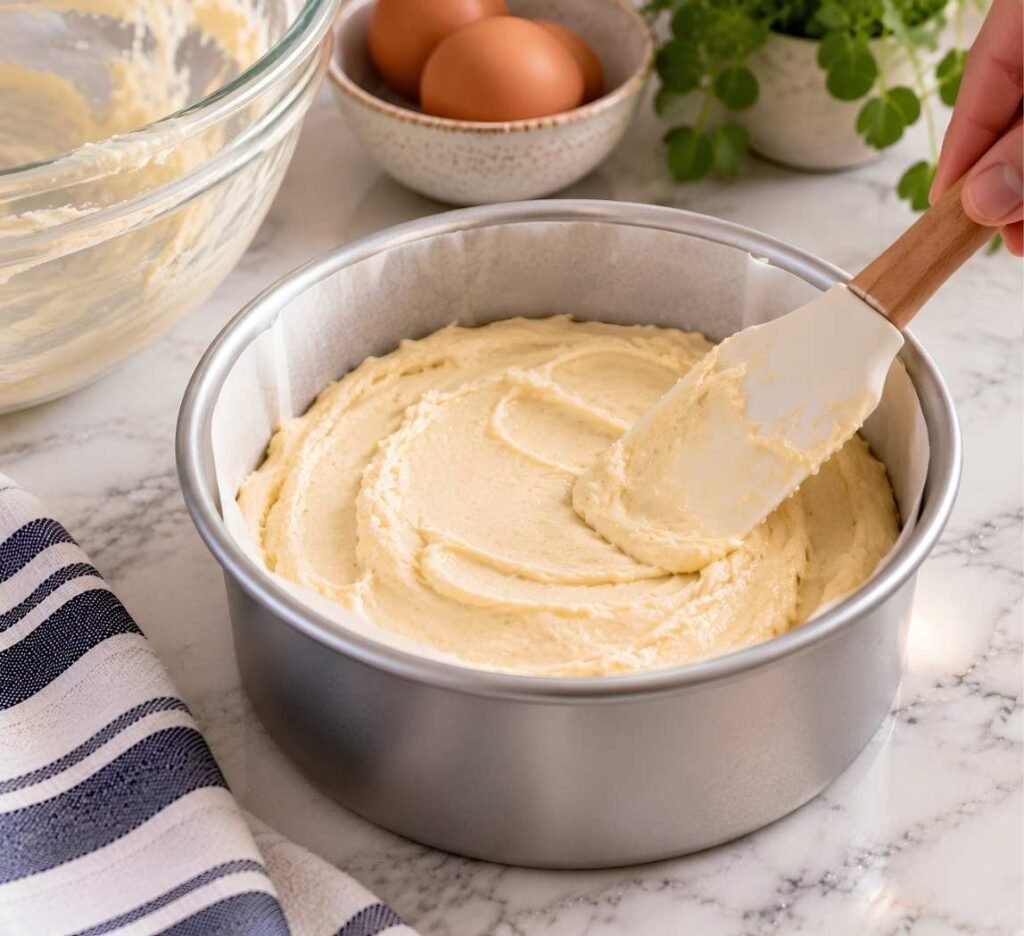
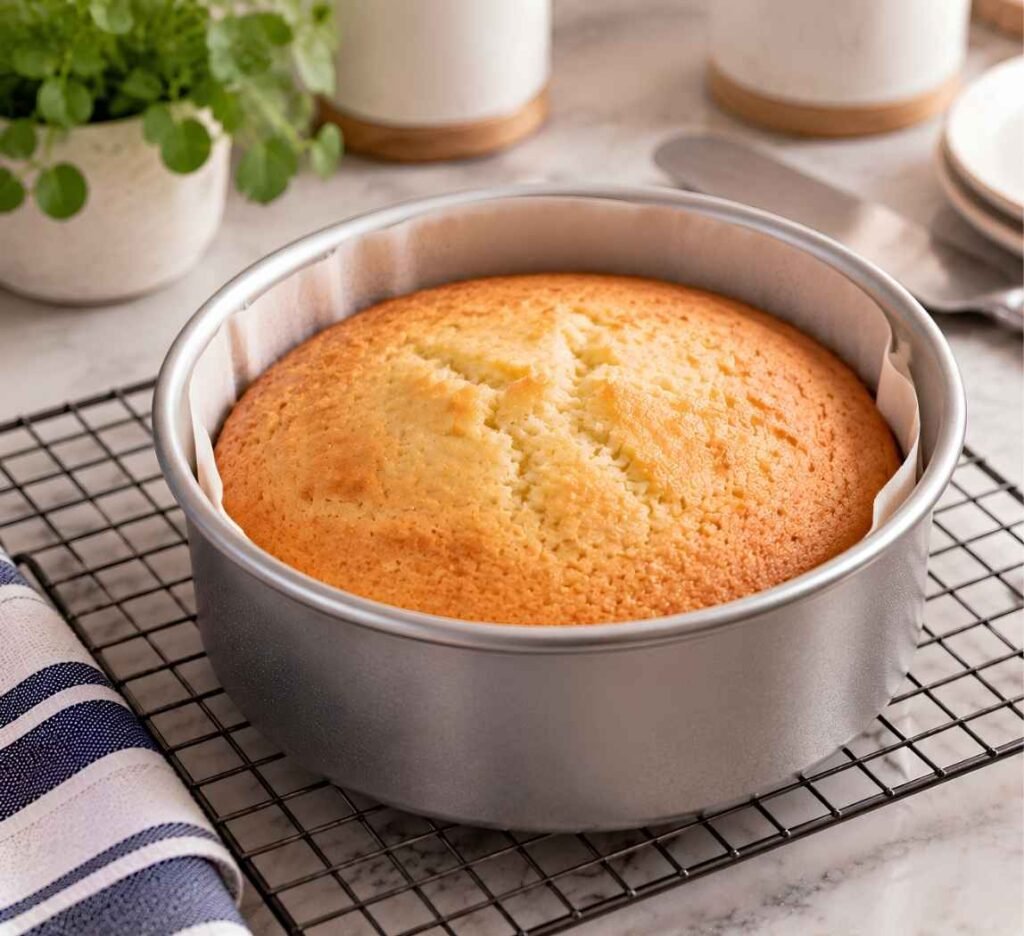
Step 6: Bake. Scrape the batter into the pan and smooth the top. Bake for 22 to 26 minutes. It is done when the top springs back under a light press and a toothpick comes out with a few moist crumbs clinging to it. A toothpick that comes out completely clean means the cake is already slightly overbaked, since it continues cooking for two or three minutes after it leaves the oven.
Step 7: Cool Completely. Let the cake sit in the pan for 10 minutes, then run a knife around the edge and turn it out onto a wire rack. Leave it for at least 45 minutes, until the bottom of the cake feels cool to the back of your hand, not just the top.
If you are short on time, twenty minutes on a rack followed by twenty in the fridge works. Frosting a warm cake means the buttercream melts and slides off, and there is no recovering from it.
Step 8: Make the Frosting. Beat the softened butter alone for 1 minute until smooth and pale. Add the sifted powdered sugar in two additions, beating on low first so it does not fly out of the bowl, then on medium.
Add the cream, vanilla, and a pinch of salt, and beat for a final 2 minutes until light and spreadable. Add the gel colouring one small drop at a time, since the colour deepens as it sits.
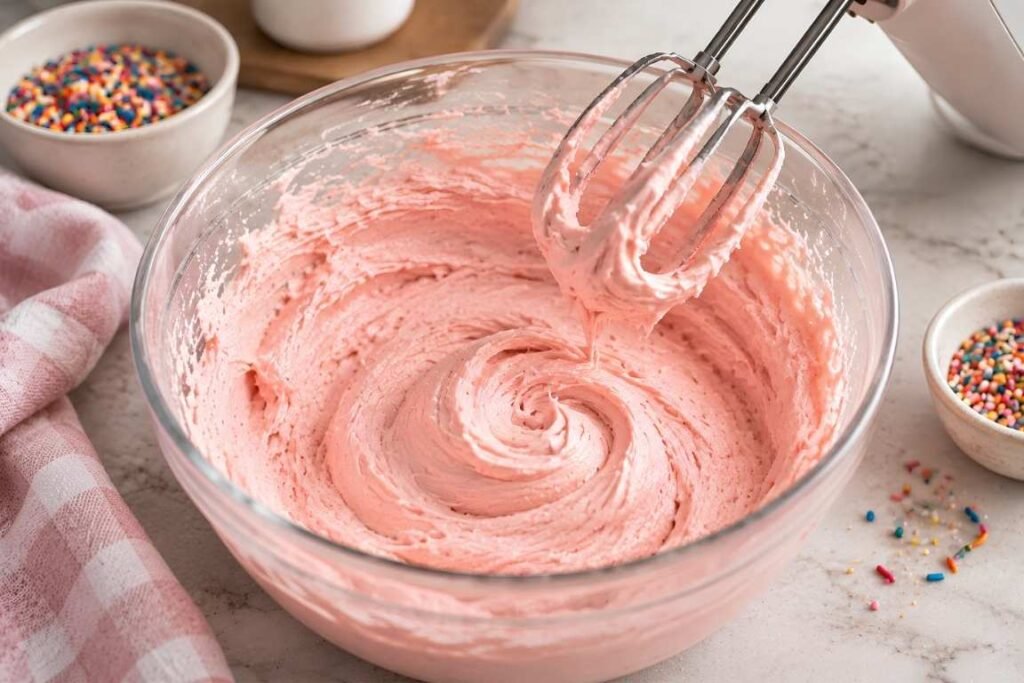
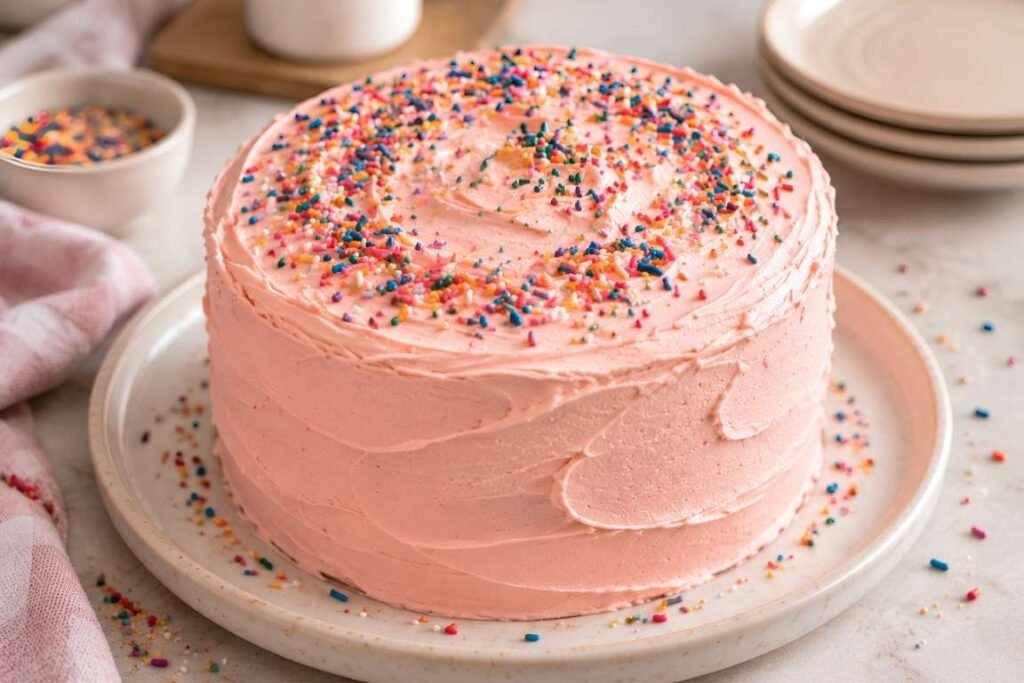
Step 9: Frost and Decorate. Spread the frosting over the cooled cake with an offset spatula, working from the centre outward. Scatter the jimmies over the top while the frosting is still soft, so they stick. Slice with a knife wiped clean between cuts.
Pro Tips for the Ultimate Small-Batch Bake
Small adjustments can take your mini vanilla cake from good to absolute perfection.
Cream the butter and sugar for the full two minutes. This is the single biggest factor in whether a small-batch cake comes out light or heavy. With only one egg and half a teaspoon of leavening doing the work, the air you beat in at this stage is most of the rise.
Check the bottom of the cake, not the top. The surface cools long before the middle does. Rest the back of your hand against the base of the cake, and if there is any warmth at all, it is not ready for frosting.
Colour the frosting a shade lighter than you want. Gel colouring deepens over the first twenty minutes as it sits. What looks perfect in the bowl is usually a shade too strong on the cake.
Chill the frosted cake for ten minutes before slicing. The buttercream firms up just enough that the knife cuts through it cleanly rather than dragging it across the top of the cake.
Warm your knife for cleaner slices. Run it under hot water and wipe it dry between cuts. It makes more difference on a small cake than a large one, since every slice is on display.
Bring it back to room temperature before eating. Cold butter cake tastes dry and dense even when it is neither. Thirty to forty minutes out of the fridge brings both the crumb and the buttercream back.
- Check the bottom of the cake, not the top. The surface cools long before the middle does. Rest the back of your hand against the base of the cake, and if there is any warmth at all, it is not ready for frosting.
- Colour the frosting a shade lighter than you want. Gel colouring deepens over the first twenty minutes as it sits. What looks perfect in the bowl is usually a shade too strong on the cake.
- Chill the frosted cake for ten minutes before slicing. The buttercream firms up just enough that the knife cuts through it cleanly rather than dragging it across the top of the cake.
- Warm your knife for cleaner slices. Run it under hot water and wipe it dry between cuts. It makes more difference on a small cake than a large one, since every slice is on display.
- Bring it back to room temperature before eating. Cold butter cake tastes dry and dense even when it is neither. Thirty to forty minutes out of the fridge brings both the crumb and the buttercream back.
Common Mistakes to Avoid
Frosting a cake that is still warm. The most common one by a wide margin. Buttercream is mostly butter, and butter melts at body temperature. A cake that feels cool on top can still be warm underneath, and the frosting will slide off within a minute of going on.
Microwaving the butter to soften it. The edges melt while the centre stays firm, and melted butter cannot hold air during creaming. What you get is a dense, greasy cake. Leave it on the counter for twenty minutes instead.
Stopping the creaming step early. Thirty seconds of beating looks like it has done something. It has not. Two full minutes is what turns the butter pale and doubles its volume, and that trapped air is most of this cake’s lift.
Scooping flour straight from the bag. It compacts the flour and can add twenty percent more than the recipe intends. In a cake using three-quarters of a cup, that is enough to dry it out completely.
What to Serve with Your Mini Vanilla Cake
This versatile dessert works wonderfully on its own, but a few additions can elevate your dessert table.
- Fresh Berries: Serve individual slices alongside a handful of fresh raspberries, sliced strawberries, or blueberries to add a tart contrast to the sweet buttercream.
- A Scoop of Ice Cream: Pair a warm slice of cake with a small scoop of vanilla bean or strawberry ice cream for an indulgent treat.
- Hot Coffee or Tea: A freshly brewed cup of coffee or herbal tea makes the perfect companion for an afternoon slice.
How to Store and Keep Leftovers
Have leftovers? It is incredibly easy to store your cake properly so it stays fresh.
- In the Fridge: Store the frosted cake in an airtight container in the refrigerator for up to 3 days. Bring it to room temperature for about 15 minutes before serving so the butter softens up.
- In the Freezer: Unfrosted cake layers can be wrapped tightly in plastic wrap and frozen for up to 2 months. Thaw overnight in the fridge before frosting and serving.
Frequently Asked Questions
- Can I bake this as cupcakes instead? Yes! This batter easily yields about 6 to 8 standard-sized cupcakes if you prefer individual portions. Just reduce the baking time to about 14 to 18 minutes.
- Can I use oil instead of butter? While butter provides the best classic flavor and structure, neutral vegetable oil can be used if you want an extra-moist crumb, though the rich buttery taste will be slightly reduced.
- What size pan is best for this recipe? A 6-inch round cake pan is ideal for achieving the perfect height and proportion for a small-batch cake serving 4 to 6 people.
Final Thoughts
This small-batch mini vanilla cake is absolute proof that you don’t need to spend hours in the kitchen or bake a giant multi-tier creation to enjoy a bakery-quality dessert. With its tender crumb, smooth pink frosting, and cheerful confetti sprinkles, it brings instant joy to any day of the week. Whip up a batch today and enjoy every single delicious, perfectly proportioned bite!