Easy Pickled Dilly Beans Recipe
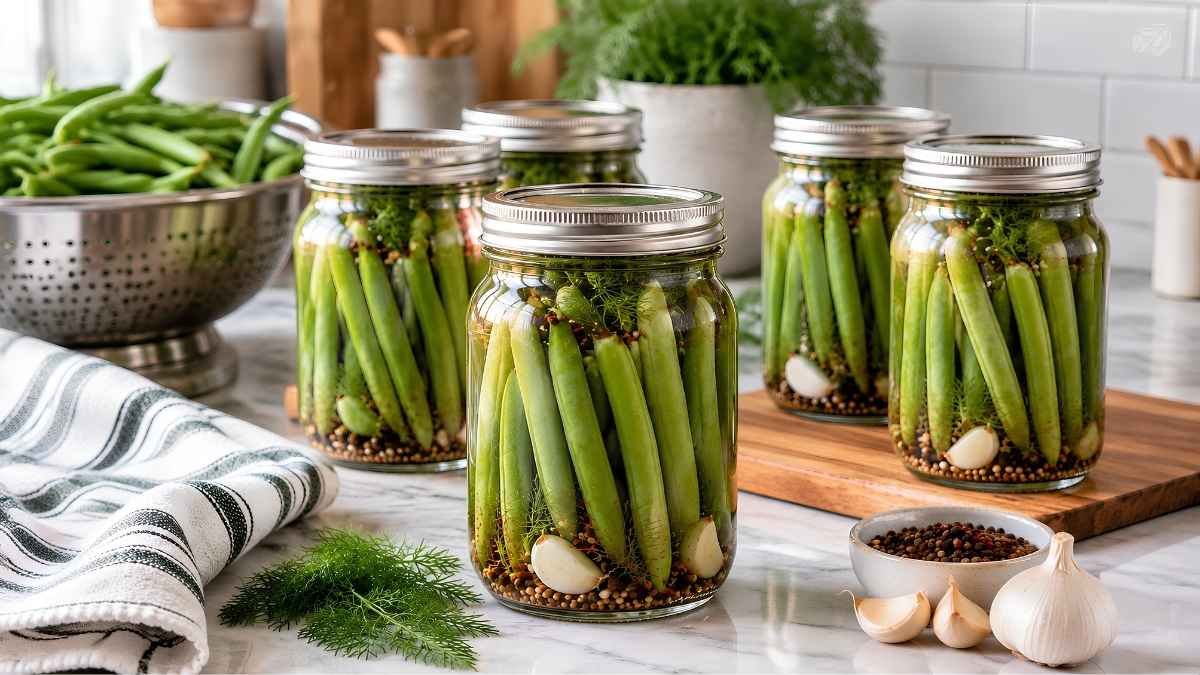
This easy pickled dilly beans recipe is the perfect way to turn fresh green beans into a crisp, tangy snack bursting with garlic and dill flavor. It combines crunchy green beans with a punchy vinegar brine, garlic cloves, and fresh dill, creating a pickle that’s every bit as satisfying as a classic dill pickle spear.
Made with just a handful of pantry staples, it is a delicious, versatile, and easy-to-make alternative to store-bought pickled vegetables loaded with preservatives. If you are looking for a quick, crowd-pleasing snack or garnish that takes minimal effort, let’s get right into it.
Unlike traditional canning, which requires special equipment and processing time, this recipe is a quick refrigerator pickle that comes together in well under an hour of active time. The beans do most of the work simply sitting in the fridge, soaking up flavor from the brine and aromatics over the following days.
Why You Will Love This Recipe
If you’ve been stuck in a rut of the same store-bought pickles every time, you are going to fall in love with this method. These dilly beans are:
Texturally perfect: The beans stay wonderfully crisp and crunchy, soaking up the tangy brine without turning soft or mushy.
Highly customizable: You can easily load them up with red pepper flakes, mustard seeds, or extra garlic depending on your taste.
Made with basic staples: You only need fresh green beans, vinegar, garlic, and a few pantry seasonings.
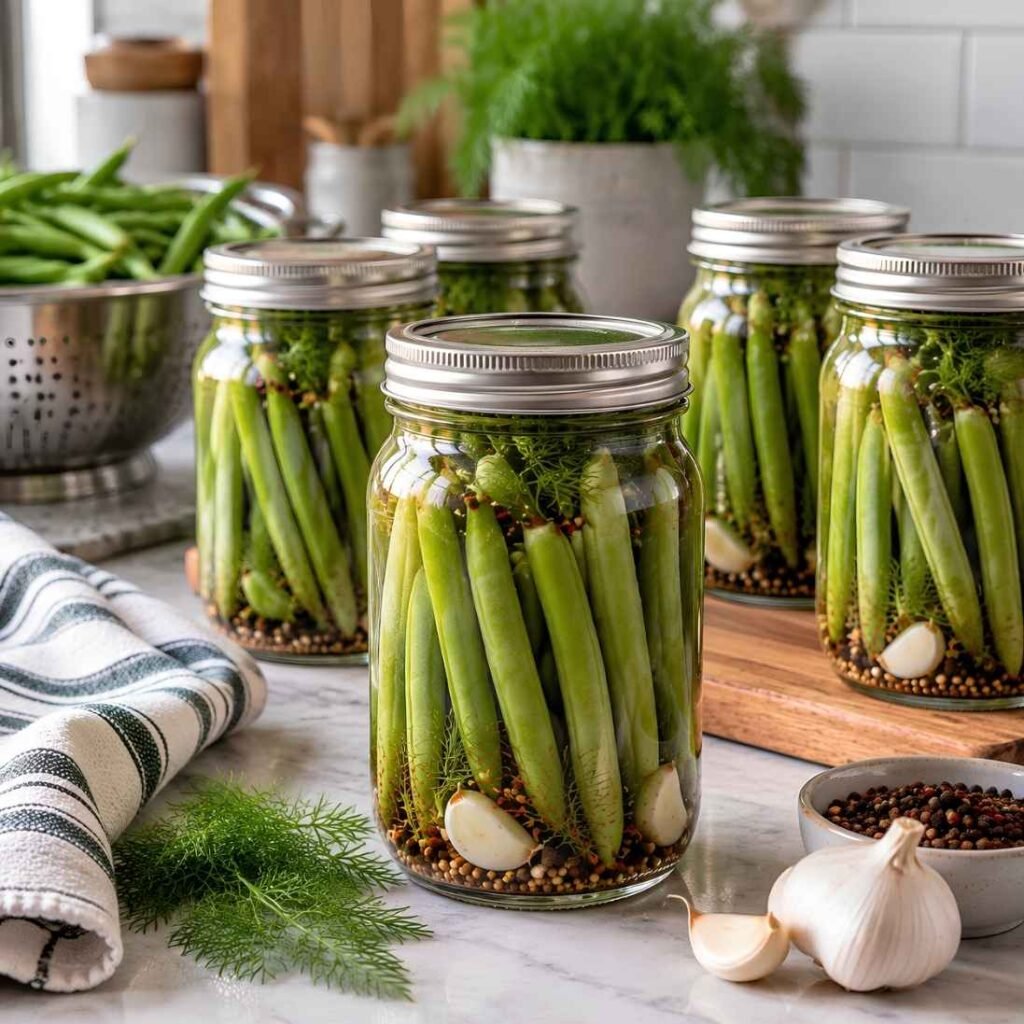
Visually gorgeous: The bright green beans packed into a jar with fresh dill and garlic cloves look like they came straight out of a farmhouse pantry shelf.
Ingredients You Will Need
The beauty of this recipe lies in its sheer simplicity. To get that perfect crisp, tangy bite, you will need:
- 1 pound fresh green beans, trimmed to fit your jars
- 4 cloves garlic, peeled
- 2 to 3 fresh dill sprigs, or 1 teaspoon dill seed
- 1 teaspoon black peppercorns
- 1/2 teaspoon red pepper flakes (optional)
- 1 1/2 cups white vinegar
- 1 1/2 cups water
- 3 tablespoons kosher salt
- 1 tablespoon sugar
Step-by-Step Instructions for Easy Pickled Dilly Beans
Follow these easy steps. I’ve broken them down into quick, bite-sized pieces so you can achieve maximum crunch without any stress.
Step 1: Prep the Jars and Green Beans
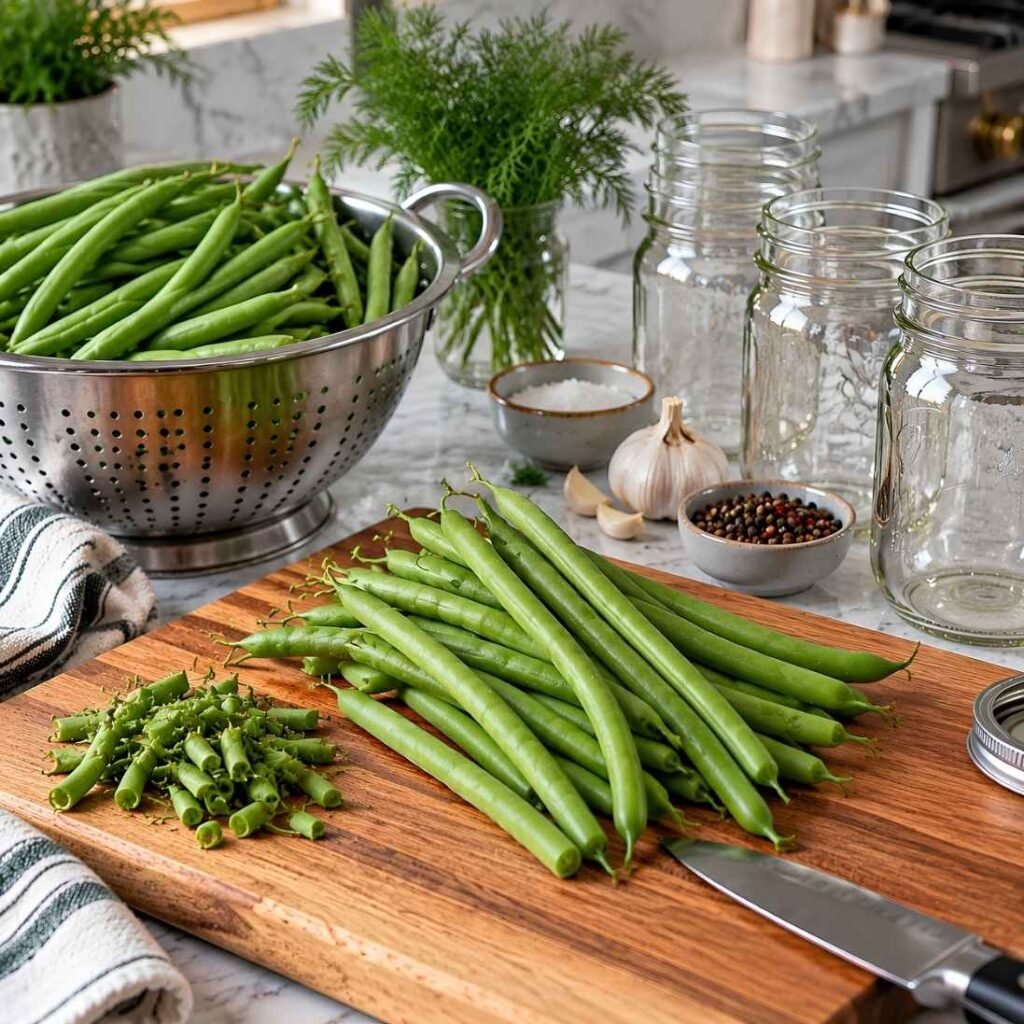
Wash your canning jars, lids, and rings thoroughly with hot soapy water and rinse well. Trim the ends of the green beans so they fit neatly inside the jars, leaving about ½ inch of space at the top. Keep the beans as uniform in length as possible for a clean, packed look.
Step 2: Pack the Jars
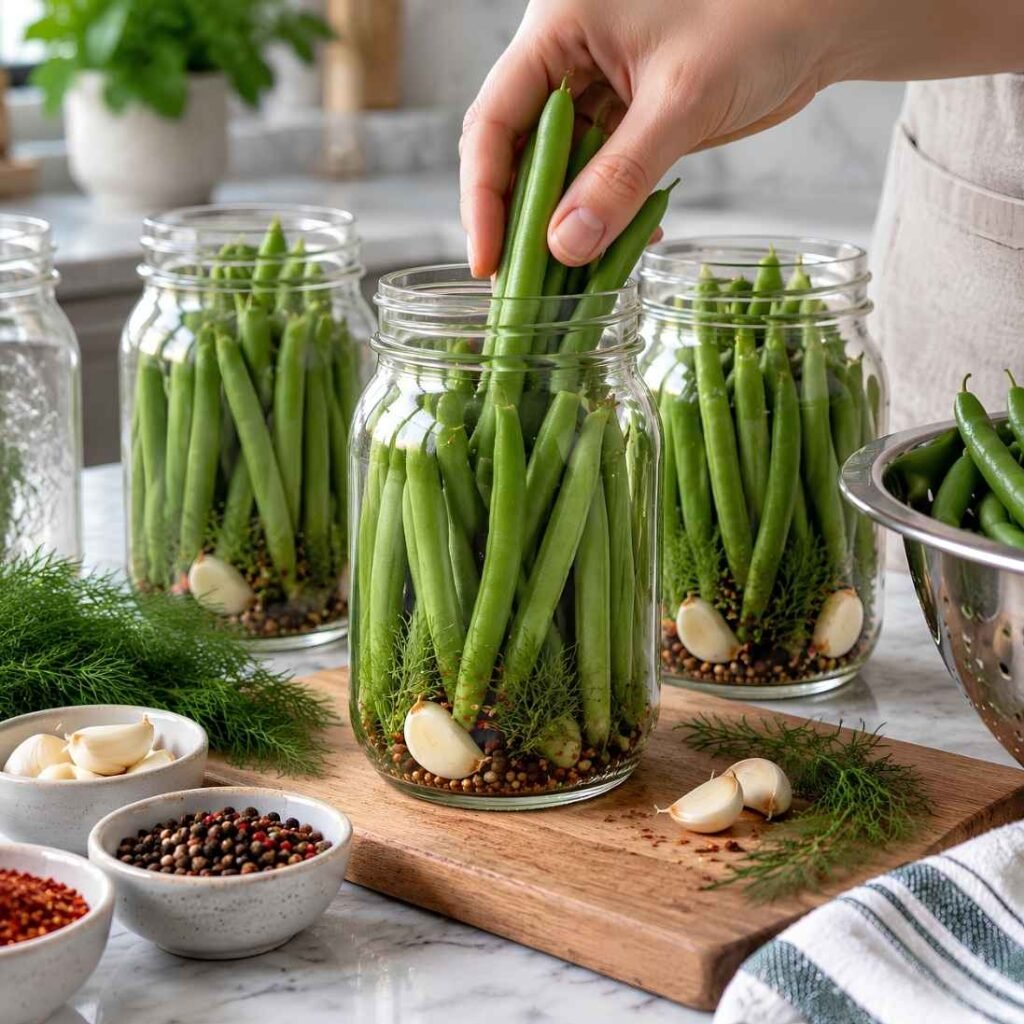
Add garlic cloves, fresh dill sprigs, black peppercorns, mustard seeds, and red pepper flakes (if using) evenly between the jars. Pack the trimmed green beans tightly into each jar, standing them upright. Make sure the beans are snug but not crushed so they maintain their crisp texture.
Step 3: Make the Pickling Brine
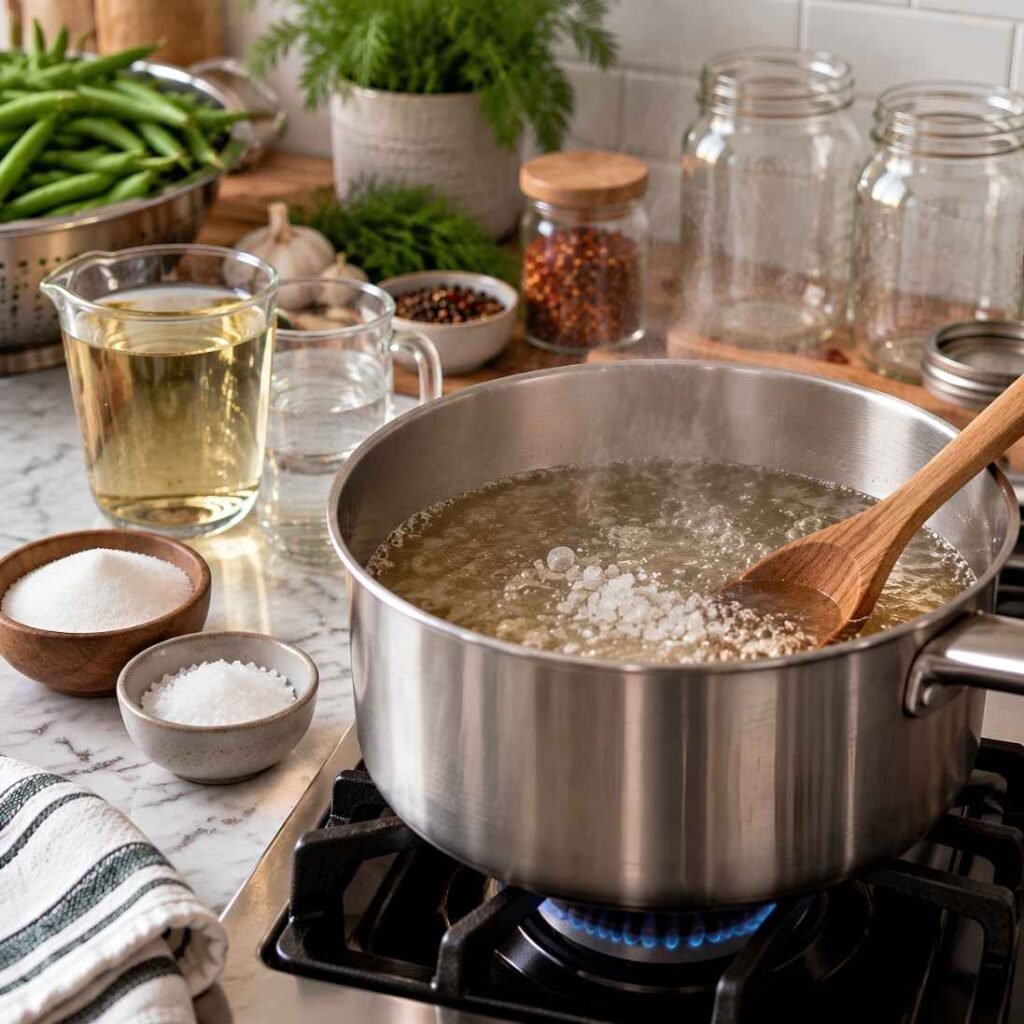
In a saucepan, combine white vinegar, water, pickling salt, and sugar. Bring the mixture to a gentle boil over medium heat, stirring until the salt and sugar completely dissolve. This creates the flavorful brine that preserves and seasons the beans.
Step 4: Fill the Jars with Brine
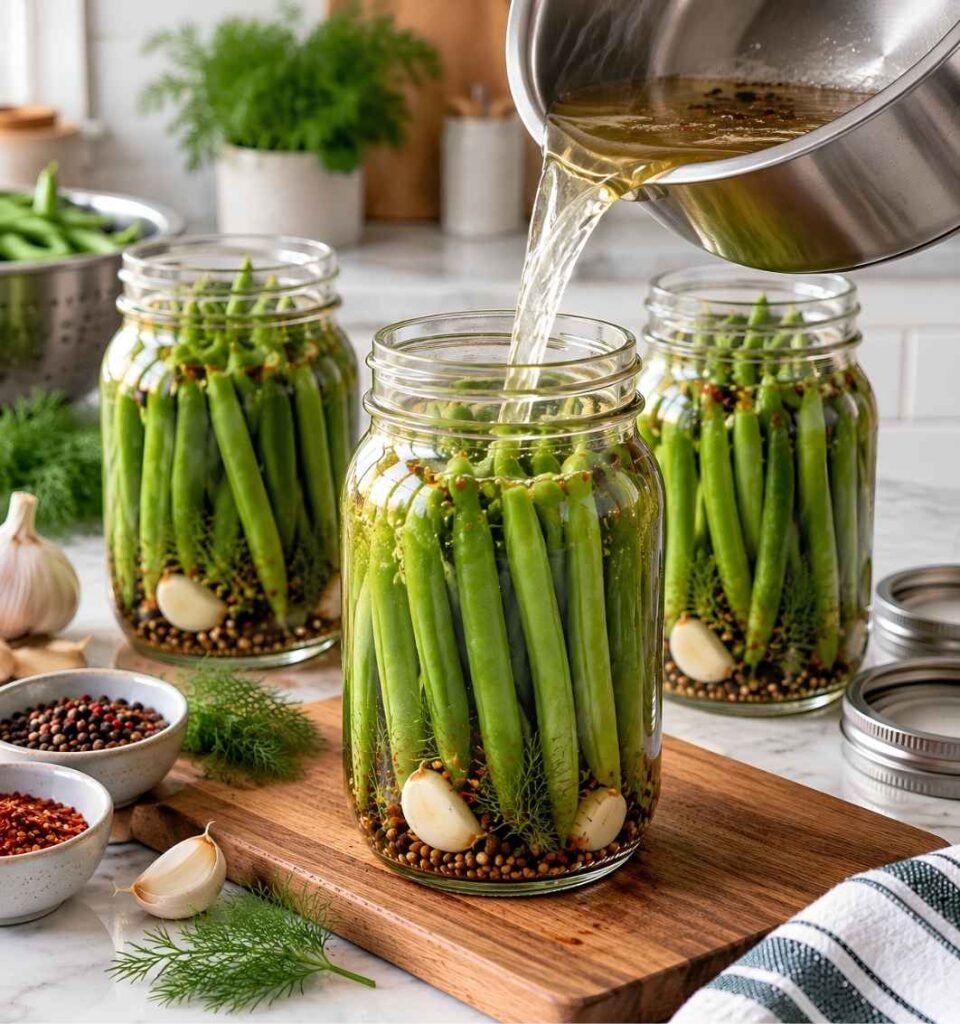
Carefully pour the hot brine over the packed green beans until they are fully covered, leaving about ½ inch of headspace at the top of each jar. Use a clean utensil to gently release any trapped air bubbles, then wipe the jar rims clean.
Step 5: Seal and Chill
Place the lids on the jars and tighten the rings until they are secure. Allow the jars to cool completely at room temperature before transferring them to the refrigerator. Let the beans pickle for at least 24 hours before eating, although the flavor becomes even better after 3 to 5 days.
Pro Tips for the Ultimate Dilly Beans
Small adjustments can take your pickled dilly beans from good to absolute perfection.
Choose the freshest beans possible: Fresh, firm green beans without any soft spots yield the crispest pickles, since older beans tend to soften more quickly in the brine.
Don’t skip the headspace: Leaving a small gap at the top of the jar allows the brine to fully circulate around the beans, ensuring even pickling.
Let them sit before eating: While the beans are technically safe to eat after a day, the flavor deepens significantly after a few days in the fridge, so patience really pays off here.
Blanch briefly for extra crispness: For an even crunchier result, quickly blanch the beans in boiling water for about 1 minute before packing them into jars, then shock them in ice water before adding the hot brine.
What to Serve with Easy Pickled Dilly Beans
These crisp, tangy beans are wonderfully versatile beyond just snacking straight from the jar.
As a snack: Enjoy them straight from the jar as a crunchy, low-calorie snack any time of day.
In cocktails: Use a dilly bean in place of an olive or pickle spear as a garnish for a Bloody Mary or martini.
On a charcuterie board: Add them alongside cheese, crackers, and cured meats for a tangy, crunchy contrast on any snack board.
Chopped into salads: Slice the pickled beans and toss them into a green salad or grain bowl for a punch of tangy flavor and crunch.
How to Store Easy Pickled Dilly Beans
Have leftovers? It is incredibly easy to save for later.
In the Fridge: Store the sealed jars in the fridge for up to 2 months, since this is a refrigerator pickle rather than a shelf-stable canned product.
How to Serve After Opening: Once opened, keep the jar refrigerated and try to use clean utensils each time to avoid introducing bacteria into the brine.
Note on Canning: This recipe is designed as a quick refrigerator pickle rather than a traditional shelf-stable canned good, so it should always be stored cold rather than at room temperature after the initial cooling period.
Frequently Asked Questions
1. How long do pickled dilly beans need to sit before eating?
Pickled dilly beans can be enjoyed after about 24 hours in the refrigerator, but the flavor gets even better after 3 to 5 days. Allowing them more time helps the dill, garlic, and spices fully infuse into the beans for a deeper, more balanced flavor.
2. How long do homemade pickled dilly beans last?
When stored properly in sealed jars in the refrigerator, homemade pickled dilly beans can stay fresh and flavorful for several weeks. Always use a clean utensil when removing beans from the jar to help maintain quality.
3. Do I have to use fresh dill for this recipe?
Fresh dill gives the best flavor and a classic pickled taste, but you can also use dried dill if fresh dill is not available. The flavor may be slightly different, but the beans will still taste delicious.
4. Can I make pickled dilly beans less spicy?
Yes. Simply reduce or skip the red pepper flakes to make a milder version. If you prefer extra heat, you can add more red pepper flakes or a small sliced chili pepper to each jar.
5. Why are my pickled beans not crunchy?
Soft beans can happen if they are overcooked or if the brine is not prepared correctly. For the crispiest texture, start with fresh, firm green beans and avoid letting them sit too long at room temperature before pickling.
Final Thoughts
Making your own Easy Pickled Dilly Beans at home is a wonderful way to preserve fresh green beans while creating a flavorful snack that is far better than many store-bought versions. The combination of crisp green beans, fragrant dill, garlic, peppercorns, and tangy vinegar brine creates the perfect balance of fresh, salty, and slightly spicy flavors.
The best part about this recipe is how simple the process is. With just a few basic ingredients and a little preparation, you can create jars of crunchy pickled beans that are ready to enjoy whenever you need a quick bite or a flavorful addition to your meals. They make a great appetizer for gatherings, a tasty side dish with grilled foods, or a crunchy topping for sandwiches and salads.