Homemade Cherry Jam Recipe: Sweet, Rich, and Better Than Store-Bought
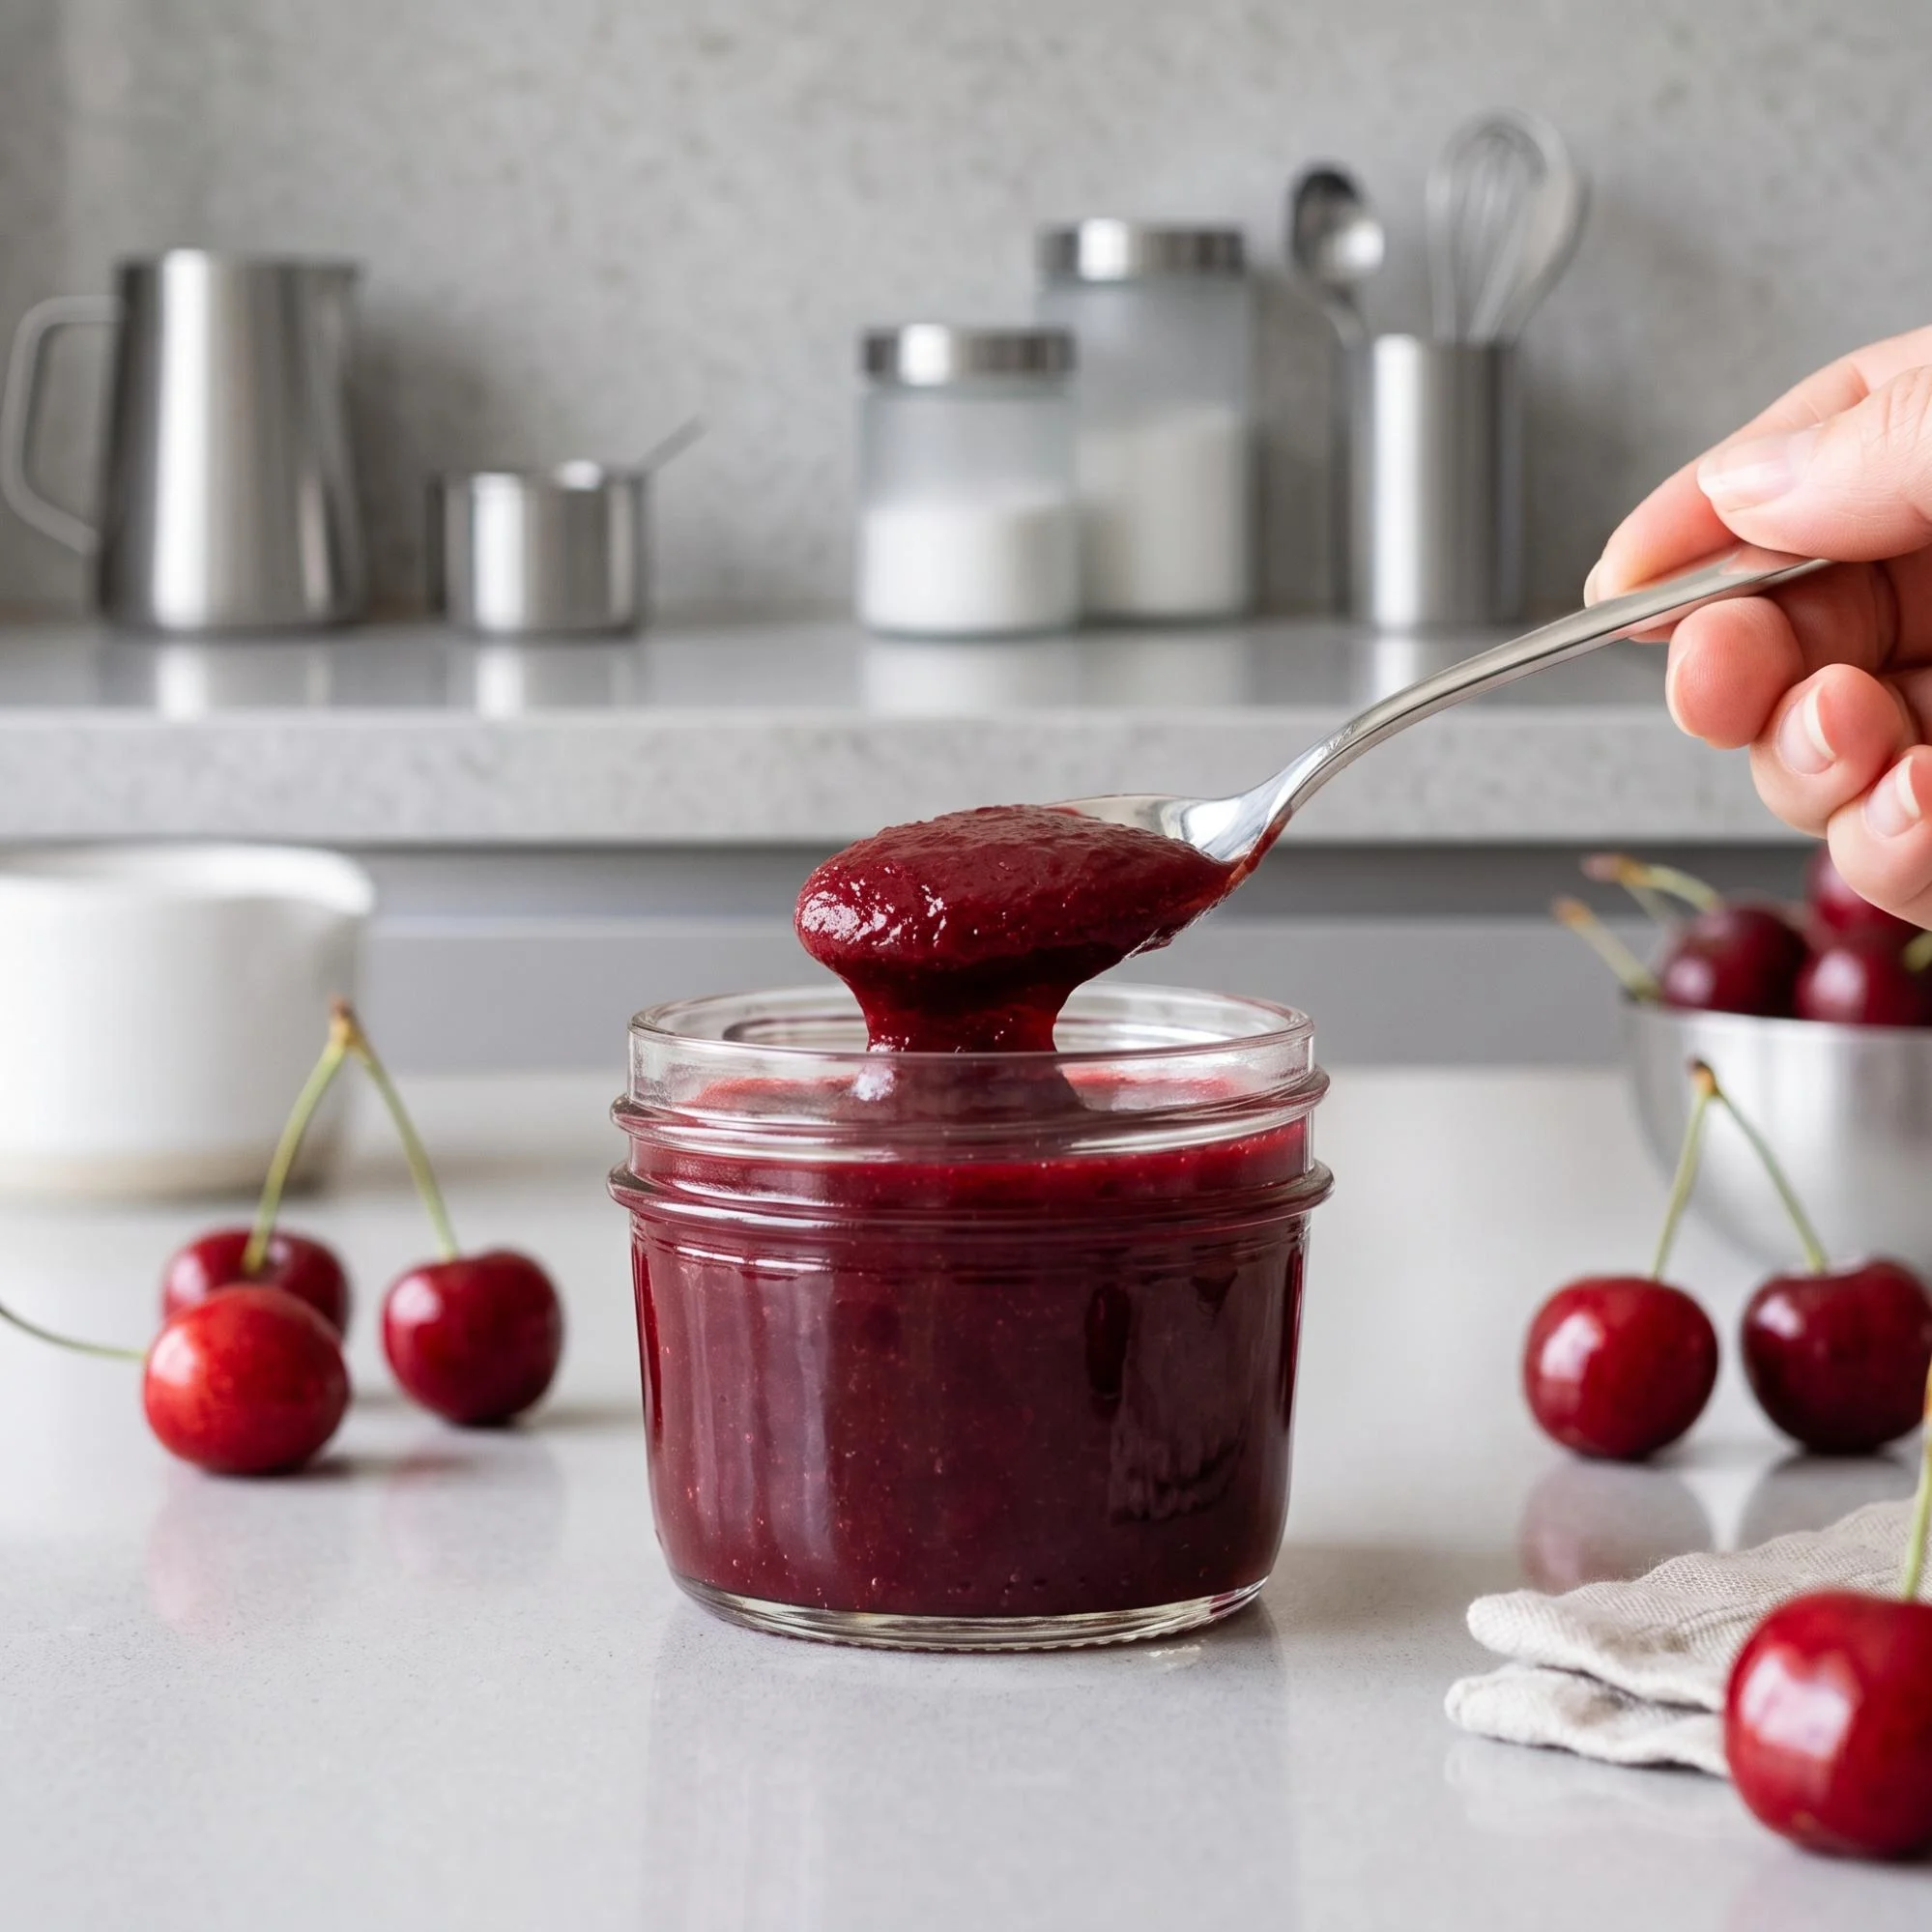
This luscious homemade cherry jam recipe is the perfect sweet spread for a cozy morning breakfast or a weekend brunch. It combines the deep, vibrant sweetness of fresh cherries with a bright, citrusy splash of lemon, creating a rich and perfectly balanced jam. Made with just a few simple ingredients, it is a delicious, natural, and easy-to-make alternative to store-bought preserves that are often packed with artificial preservatives or excessive corn syrup. If you are looking for a quick, crowd-pleasing fruit spread that takes minimal effort, let’s get right into it.
Why You Will Love This Recipe
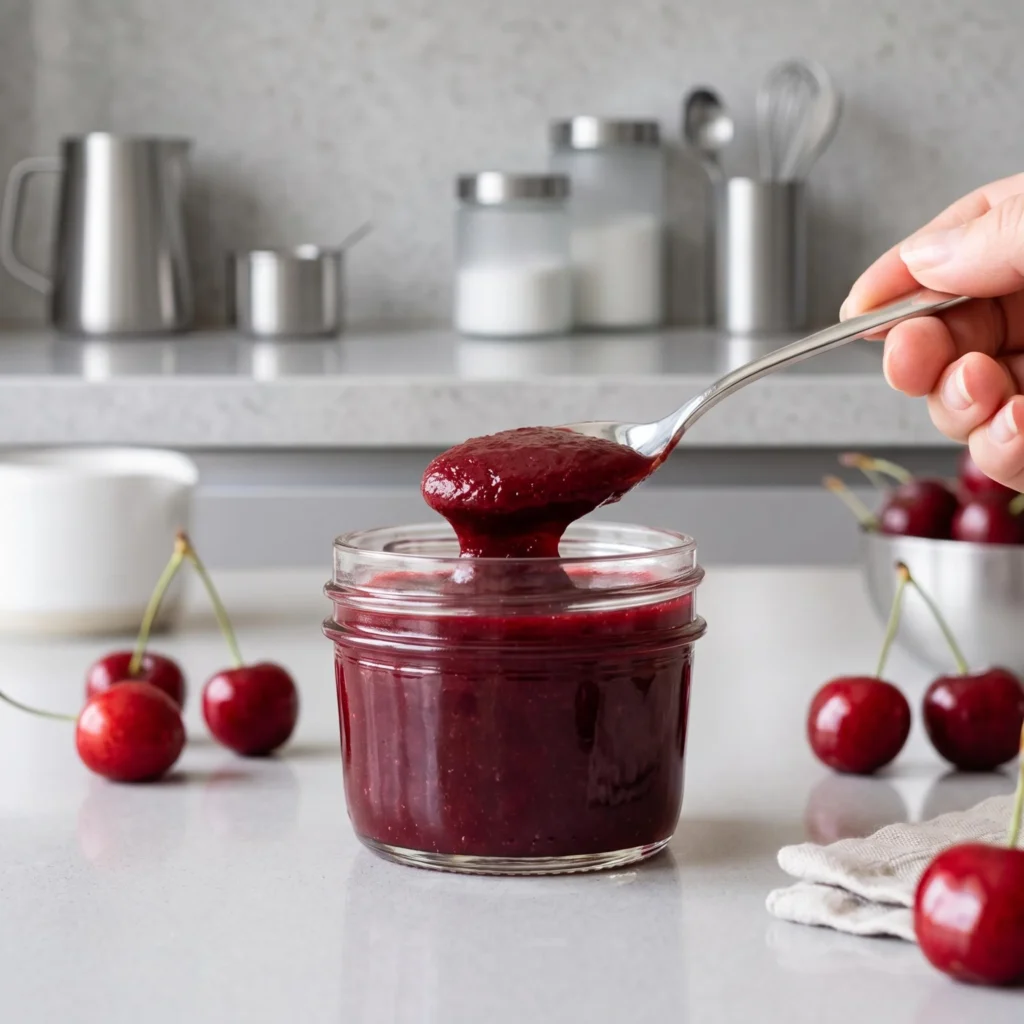
If you’ve been stuck in a rut of just serving plain butter or overly processed jellies, you are going to fall in love with this method. This cherry jam is:
- Texturally perfect: Simmering it slowly allows the fruit to break down naturally, creating a beautiful, spreadable consistency with perfect little chunks of real fruit.
- Highly customizable: You can easily load it up with a splash of vanilla extract, a pinch of cinnamon, or a splash of amaretto for a sophisticated twist.
- Made with basic staples: You only need fresh sweet cherries, granulated sugar, and some fresh lemon juice.
- Visually gorgeous: The vibrant, deep ruby-red color looks like it came straight out of a high-end artisanal bakery.
Ingredients You Will Need
The beauty of this recipe lies in its sheer simplicity. To get that perfect fruity sweetness, you will need:
- 4 cups fresh sweet cherries, pitted and halved
- 2 cups granulated sugar
- 2 tablespoons fresh lime or lemon juice
- 1/2 teaspoon pure vanilla extract (optional)
Step-by-Step Instructions for Homemade Cherry Jam
Follow these easy steps. I’ve broken them down into quick, bite-sized pieces so you can achieve maximum flavor without any stress.
- Step 1: Prep the Cherries Wash the fresh cherries thoroughly. Remove the stems and carefully pit them. Cut each cherry in half so they break down easier during the cooking process.
- Step 2: Macerate the Fruit Put the halved cherries and granulated sugar into a large, heavy-bottomed pot. Stir them together and let the mixture sit for about 30 minutes to draw out the natural fruit juices.
- Step 3: Simmer and Reduce Place the pot over medium heat and bring the mixture to a rolling boil. Stir in the fresh lemon juice. Lower the heat to medium-low and let it simmer uncovered for 25 to 30 minutes, stirring occasionally and mashing the fruit slightly with a wooden spoon.
- Step 4: Test the Set Place a small plate in the freezer for 5 minutes. Drop a small spoonful of the hot jam onto the cold plate. If it wrinkles when you push it with your finger, the jam is ready. If it is still runny, simmer for another 5 minutes and test again.
- Step 5: Cool and Store Remove the pot from the heat and stir in the vanilla extract if using. Let the jam cool in the pot for 15 minutes before transferring it to clean glass jars.
Pro Tips for the Ultimate Jam
Small adjustments can take your homemade jam from good to absolute perfection.
- Pick ripe cherries: Look for deep, dark red cherries that are firm but yield slightly to gentle pressure. Riper cherries mean you get a naturally sweeter, more robust flavor.
- Use the lemon juice: Don’t skip the citrus! Cherries are naturally low in pectin (the natural starch that makes jam set). The acidity of the lemon juice reacts with the sugar to naturally thicken the jam without needing store-bought pectin packets.
- Watch the pot: Sugar burns very quickly once the liquid evaporates. Keep a close eye on the jam during the last 10 minutes of simmering, stirring frequently to prevent it from sticking to the bottom.
What to Serve with Cherry Jam
This versatile little spread pairs beautifully with almost any baked good.
- As a breakfast spread: Serve it generously smeared over warm, buttery toast, freshly baked biscuits, or flaky croissants.
- As a dessert topping: Spoon it gently over a slice of rich New York cheesecake or a bowl of vanilla bean ice cream.
- Loaded style: Swirl a few generous spoonfuls directly into your morning oatmeal or a bowl of plain Greek yogurt for a bright, fruity kick!
How to Store Homemade Cherry Jam
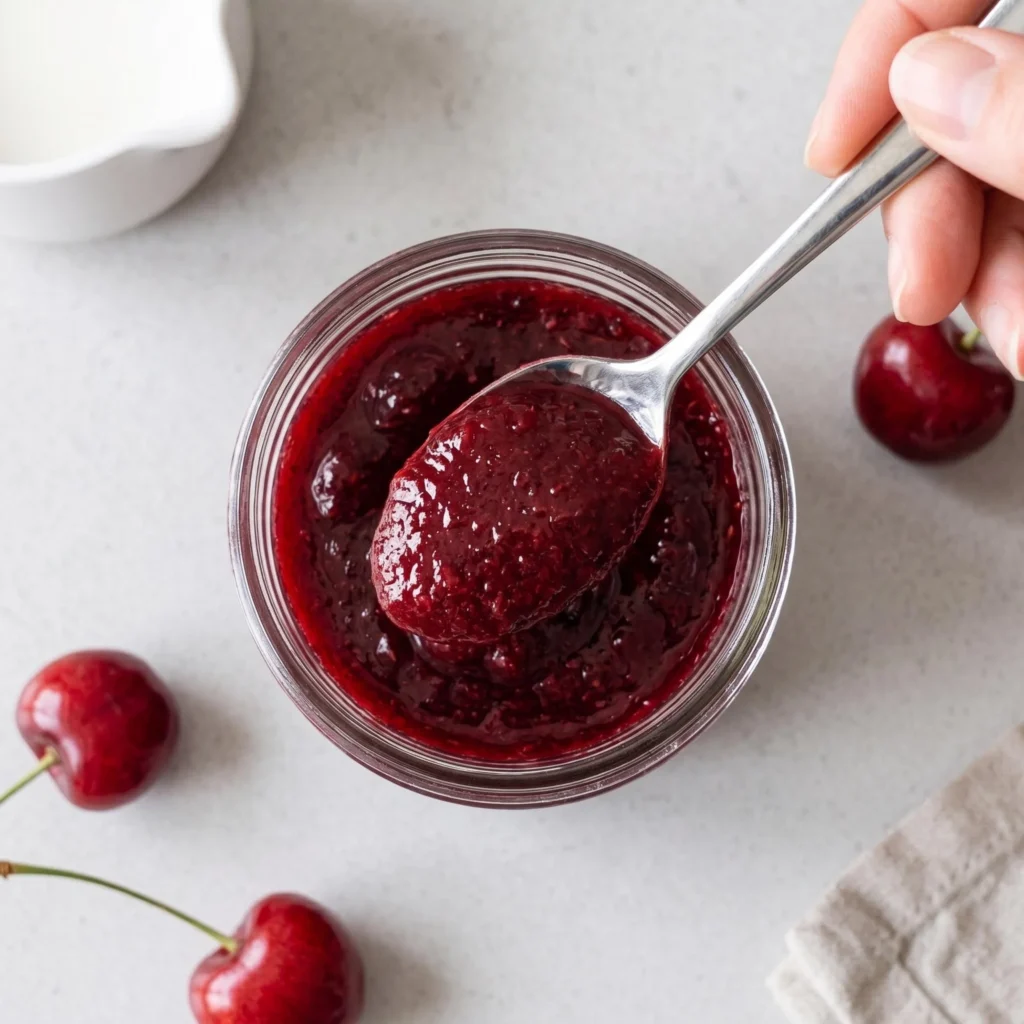
Have leftovers? It is incredibly easy to save for later.
- In the Fridge: Store the completely cooled jam in an airtight glass jar in the fridge for up to 3 weeks.
- How to Re-mix: If the jam sets up a bit too firm in the cold fridge, simply let the jar sit at room temperature for 10 minutes before serving to soften it right back into a perfectly spreadable texture.
- In the Freezer: You can freeze the jam in freezer-safe containers (leaving an inch of room at the top for expansion) for up to 6 months. Thaw overnight in the fridge before using.
Frequently Asked Questions
- Can I make this in a slow cooker? It is better to use a stovetop. A wide pot on the stove allows the water to evaporate quickly, which is essential for getting the jam to thicken and set properly.
- What are the best cherries to use? Bing or Rainier cherries are the absolute best choices because of their naturally vibrant, sweet flavor. Frozen cherries are a great second choice if fresh ones are out of season.
- Can I use less sugar? You can reduce the sugar slightly, but keep in mind that sugar acts as a preservative and helps the jam set. Drastically reducing it will result in a much thinner, runnier syrup instead of a thick jam.
Final Thoughts
This rich homemade cherry jam recipe is proof that making a show-stopping fruit spread doesn’t have to be complicated. With a quick simmer, a simple mash, and a cool fridge, you get the ultimate sweet, tart bite every single time. Try it today, and I promise it’ll become a permanent favorite for your Kitchen Mastery Secrets collection.