Homemade Mint Ice Cream Recipe: Refreshing, Creamy, and Perfect for Summer
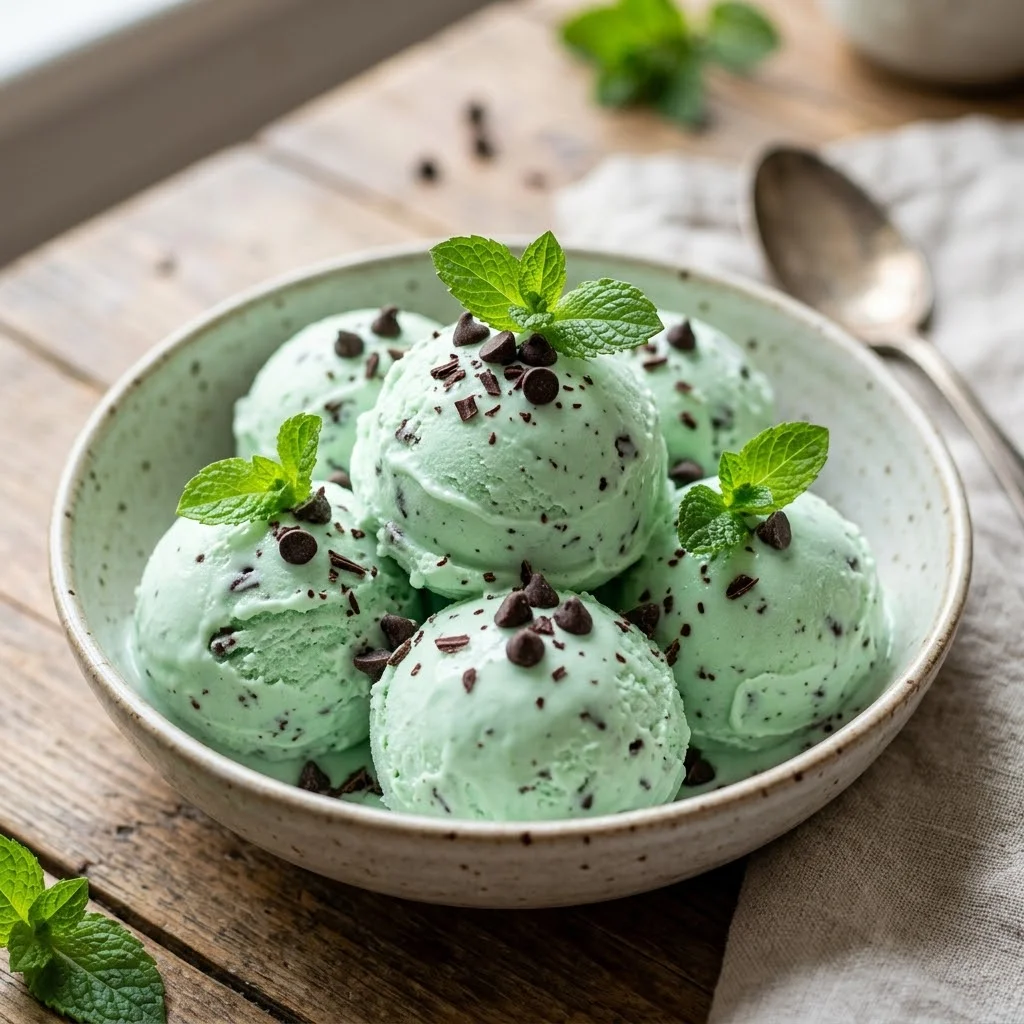
Mint chocolate chip ice cream is a refreshing treat, combining the cool flavor of mint with the richness of creamy ice cream and the crunch of chocolate chips. Whether you’re enjoying it on a hot summer day or simply craving a delicious homemade dessert, this easy-to-make mint ice cream will quickly become a family favorite. Let’s walk through how to make this delicious frozen treat from scratch!
Why Make Mint Ice Cream at Home?
If you’ve never made ice cream at home, you’re in for a treat! Homemade mint ice cream has:
- Fresh and Authentic Flavor: The mint flavor is vibrant and refreshing, unlike many store-bought varieties that use artificial flavors.
- Customizable: You can adjust the level of mintiness or the amount of chocolate chips to suit your taste.
- Creamy Texture: Making ice cream at home allows you to control the ingredients, giving you a creamier, more luxurious texture compared to store-bought options.
It’s easier than you think, and the result is so much better than anything you’ll find in the freezer section!
Ingredients for Homemade Mint Ice Cream
You won’t need any fancy ingredients to make this refreshing treat. Here’s what you’ll need:
- 2 cups heavy cream
- 1 cup whole milk
- 3/4 cup granulated sugar
- 1 teaspoon pure vanilla extract
- 1 teaspoon peppermint extract (or more to taste)
- 1 drop of green food coloring (optional, for a classic mint green look)
- 1/2 cup mini chocolate chips
Step-by-Step Mint Ice Cream Recipe
Making homemade mint ice cream is incredibly simple. Follow these steps to create your own batch of creamy, minty goodness.
Step 1: Combine the Cream and Milk
In a large mixing bowl, combine the heavy cream, whole milk, and sugar. Stir well until the sugar has dissolved completely. This will create the creamy base for your ice cream.
Step 2: Add the Flavorings
Next, add the peppermint extract and vanilla extract to the cream mixture. Stir until well combined. If you want your ice cream to have that classic minty green color, add just one drop of green food coloring and mix until you achieve the desired shade.
Step 3: Chill the Mixture
Cover the bowl with plastic wrap and refrigerate the mixture for at least 2 hours, or overnight. Chilling the mixture helps the flavors develop and improves the texture of the ice cream.
Step 4: Churn the Ice Cream
Once the mixture is chilled, transfer it to your ice cream maker and churn according to the manufacturer’s instructions. The mixture will gradually thicken and become smooth as it freezes.
If you don’t have an ice cream maker, you can place the mixture in a shallow dish and freeze it, stirring every 30 minutes for 3-4 hours to break up any ice crystals.
Step 5: Add the Chocolate Chips
Once the ice cream reaches a soft-serve consistency, add in the mini chocolate chips. Use a spatula or spoon to mix them in evenly. If you prefer a stronger chocolate flavor, feel free to add more chocolate chips.
Step 6: Freeze the Ice Cream
Transfer the mixture to an airtight container and freeze for at least 4 hours, or until the ice cream is firm. The longer it sits, the creamier and firmer it will become.
Step 7: Serve and Enjoy
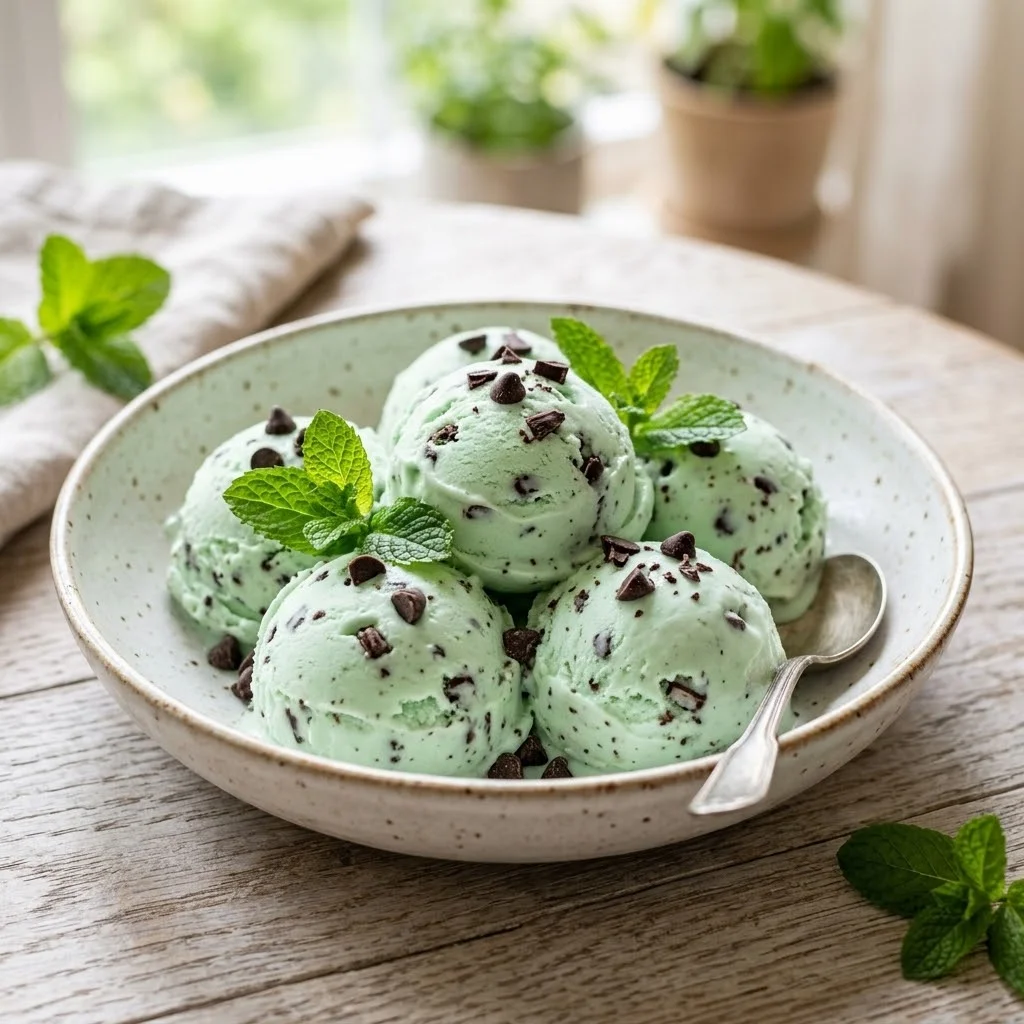
When you’re ready to serve, let the ice cream sit out for a few minutes to soften slightly. Scoop it into bowls or cones and enjoy the refreshing, creamy flavor of homemade mint chocolate chip ice cream.
Pro Tips for the Best Mint Ice Cream
- Balance the Mint Flavor: If you prefer a stronger mint flavor, you can add a little more peppermint extract. Just be careful not to overdo it, as peppermint extract can be quite potent.
- Make it Ahead of Time: Homemade ice cream often tastes better after a day or two in the freezer. The flavors have more time to meld together.
- Customize the Mix-Ins: If you don’t like chocolate chips, you can substitute with other mix-ins like crushed Oreos, chopped nuts, or a drizzle of hot fudge sauce.
How to Store Homemade Mint Ice Cream
Homemade mint ice cream can be stored in an airtight container in the freezer for up to 2-3 weeks. Be sure to press plastic wrap directly on the surface of the ice cream before sealing it with the lid to prevent ice crystals from forming.
If you’ve made a larger batch, you can store it in individual portions in small containers, making it easy to grab a scoop whenever you want.
Ways to Use Homemade Mint Ice Cream
This homemade mint ice cream is perfect on its own, but here are a few ideas for ways to enjoy it:
- Mint Ice Cream Sundae: Top with whipped cream, a cherry, and some hot fudge sauce for a classic sundae.
- Mint Milkshake: Blend the ice cream with milk for a delicious mint milkshake. Add a few extra chocolate chips for extra texture.
- Sandwich Between Cookies: Scoop some ice cream between two chocolate chip cookies for a fun ice cream sandwich.
Frequently Asked Questions
Can I make this without an ice cream maker?
Yes! If you don’t have an ice cream maker, you can still make mint ice cream by placing the mixture in a shallow dish and freezing it. Be sure to stir it every 30 minutes for 3-4 hours to break up the ice crystals and achieve a smoother texture.
Can I make the ice cream without food coloring?
Absolutely! The food coloring is purely for aesthetic purposes, so feel free to skip it if you prefer a more natural appearance.
How can I adjust the sweetness?
You can adjust the amount of sugar depending on how sweet you like your ice cream. If you prefer a less sweet version, you can reduce the sugar slightly, but keep in mind that sugar also helps in achieving a smooth texture.
Final Thoughts
Homemade mint ice cream is the perfect treat to beat the heat, offering a cool, creamy, and refreshing flavor that everyone will love. The best part? You can make it with simple ingredients that you probably already have in your kitchen. Once you try this homemade mint ice cream recipe, you might never go back to store-bought versions again.
So, grab your ice cream maker, whip up a batch, and indulge in the sweet, minty, chocolatey goodness of this homemade treat. Your family and friends will thank you!