Sourdough Discard Breadsticks: Fluffy, Crunchy, and Irresistibly Delicious with a Tangy Twist
If you have leftover sourdough discard sitting in your fridge, don’t throw it away! These sourdough discard breadsticks are a delicious way to transform extra starter into warm, homemade breadsticks with incredible flavor and texture. They have a golden, crispy outside, a soft, fluffy center, and a mild, tangy taste that makes them better than ordinary breadsticks.
These easy homemade breadsticks are perfect for serving with pasta, soups, salads, or your favorite dipping sauce. With simple ingredients and a straightforward process, you can create a fresh bakery-style side dish right in your own kitchen.
This recipe is also a great way to reduce food waste while making something everyone will enjoy. Whether you are an experienced sourdough baker or just starting out, these fluffy sourdough discard breadsticks are a simple and delicious recipe to add to your collection.
🥖 Recipe Overview
Why You’ll Love These Sourdough Discard Breadsticks
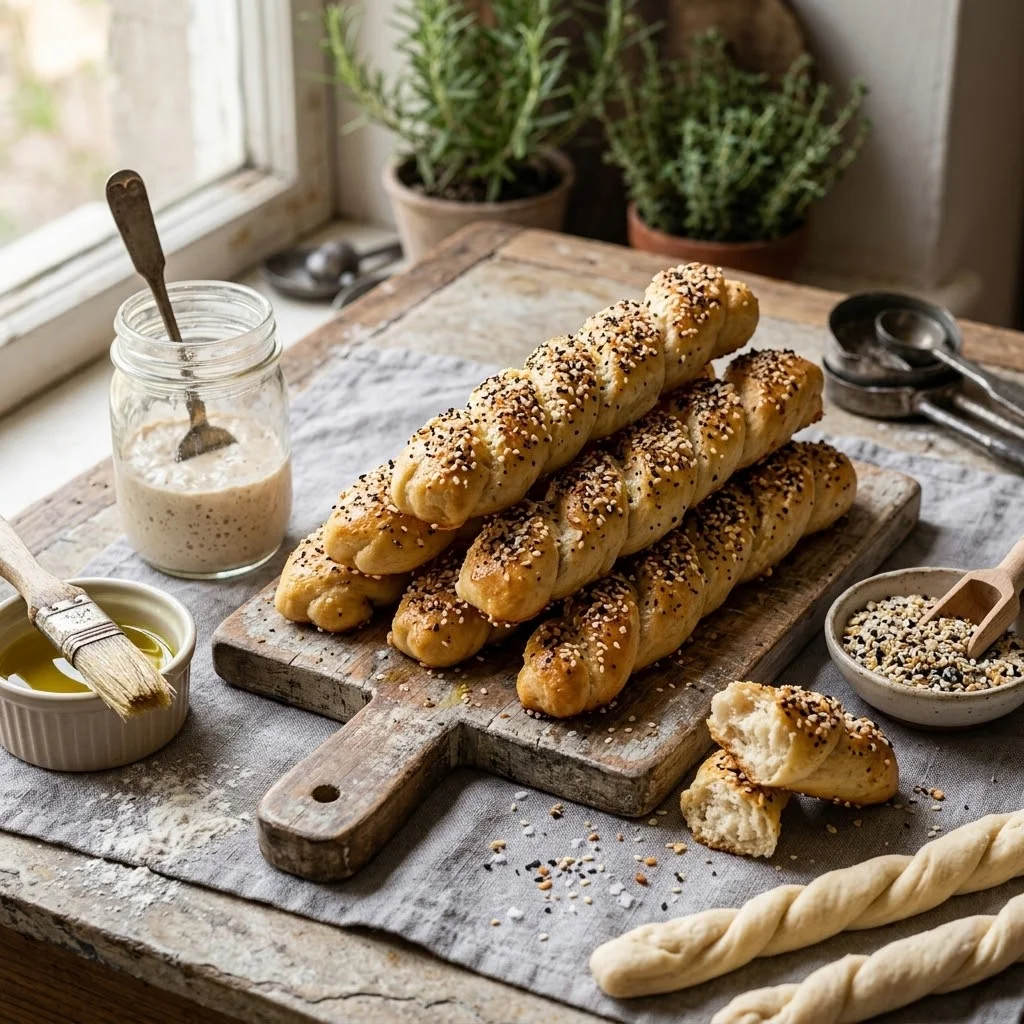
These sourdough discard breadsticks are a delicious way to use leftover starter while creating something warm and homemade. They have the perfect balance of a crispy golden crust and a soft, fluffy center that makes them hard to resist.
Whether you serve them with pasta, soups, or your favorite dipping sauce, these breadsticks are a versatile addition to any meal. Plus, you can easily customize them with garlic, cheese, herbs, or your favorite seasonings.
Uses sourdough discard: A smart way to reduce waste while making a delicious homemade snack.
Soft and fluffy texture: The breadsticks stay light inside with a golden crust outside.
Easy to customize: Add parmesan, garlic butter, rosemary, or different toppings.
Perfect for any meal: Enjoy them as a side dish, appetizer, or quick snack.
Ingredient Notes
Making these sourdough discard breadsticks is simple, but each ingredient helps create the perfect flavor and texture.
- Sourdough discard: Adds a mild tangy flavor and gives leftover starter a delicious purpose.
- All-purpose flour: Provides structure while keeping the breadsticks soft and fluffy.
- Olive oil: Adds moisture and helps create a golden crust.
- Yeast: Helps the dough rise and creates a light texture.
- Seasonings: Garlic, herbs, sesame seeds, or cheese add extra flavor.
- Use active yeast for better rise and fluffier breadsticks.
- Allow enough rising time for a softer texture.
- Brush with olive oil before baking for a golden crust.
- Add garlic butter after baking for extra flavor.
- Do not add too much flour or the dough may become dense.
- Do not skip the rising time.
- Do not overbake the breadsticks.
- Do not make the strips too thin.
Step-by-Step Instructions for Making Sourdough Discard Breadsticks
Follow these simple steps to create soft, fluffy sourdough discard breadsticks with a golden, crispy crust.
Step 1: Activate the Yeast
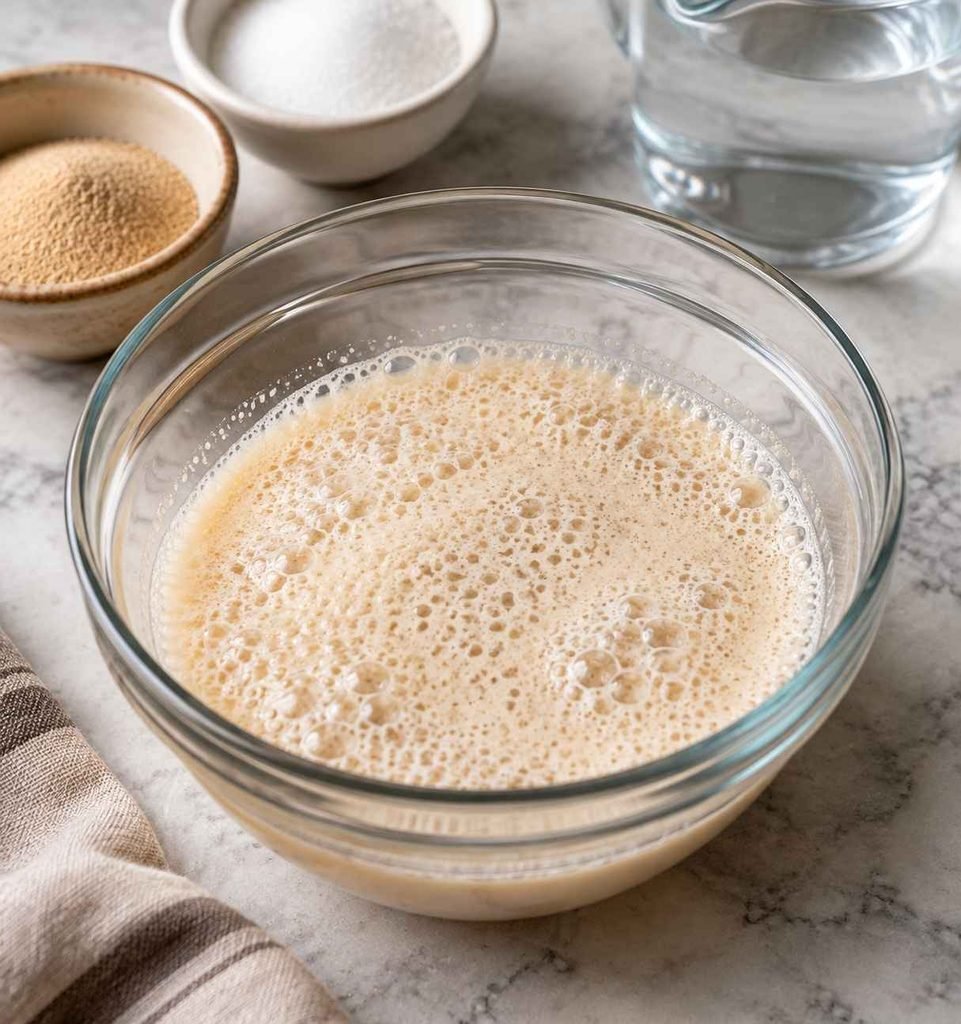
Combine warm water, sugar, and active dry yeast in a small bowl. Stir gently and let it sit for 5–10 minutes until the mixture becomes foamy. This helps confirm that the yeast is active and ready to help the dough rise.
Step 2: Prepare the Dough
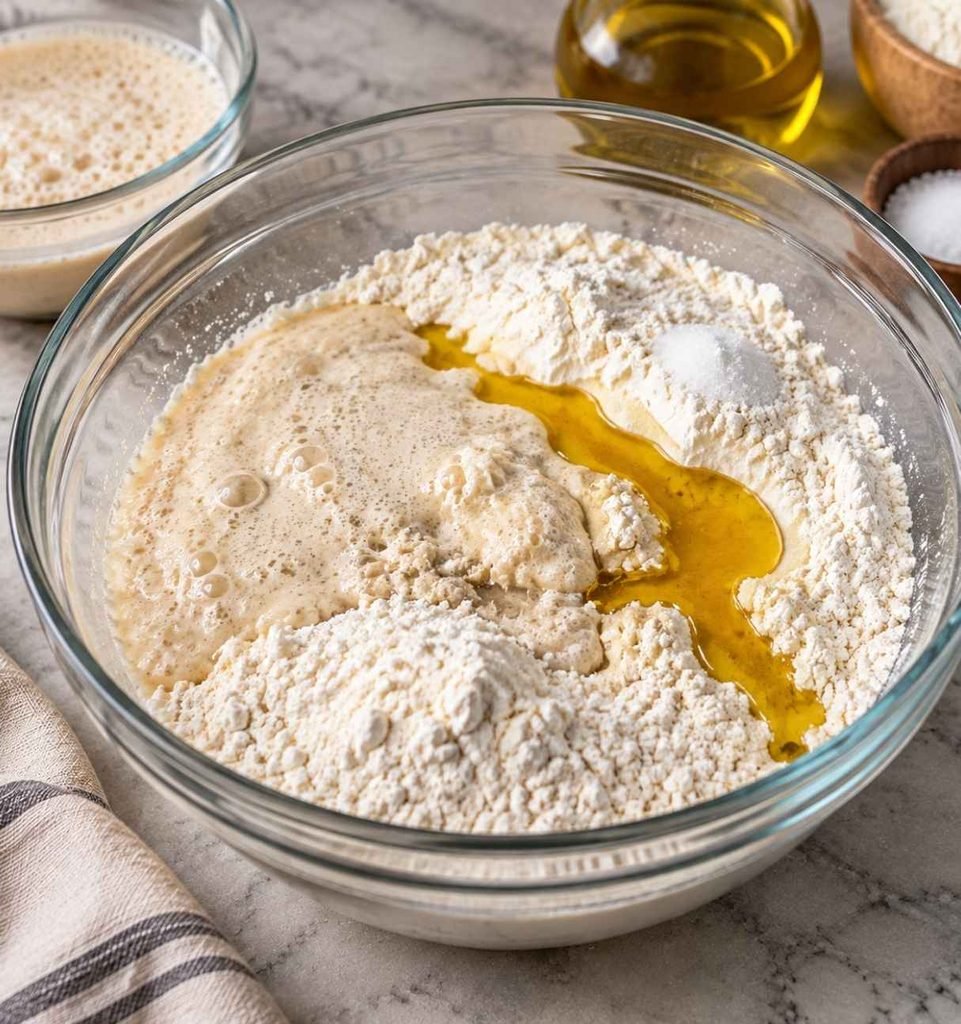
In a large bowl, combine the sourdough discard, flour, and salt. Add the activated yeast mixture and olive oil. Mix until a soft dough forms.
The dough should feel slightly sticky but still easy to handle. If it feels too wet, add a small amount of flour gradually.
Step 3: Knead the Dough
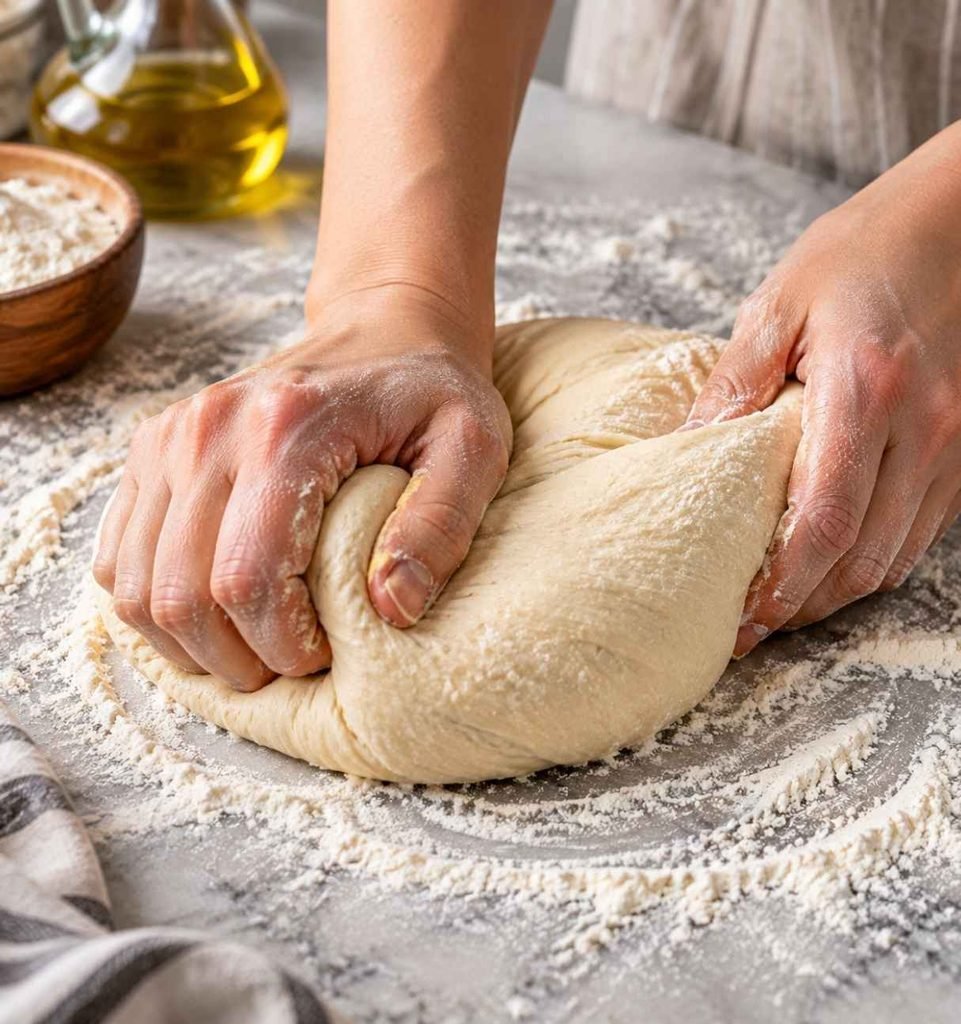
Transfer the dough to a lightly floured surface and knead for 5–7 minutes. Proper kneading develops gluten, which helps create soft and airy breadsticks.
The finished dough should become smooth and elastic.
Step 4: Let the Dough Rise
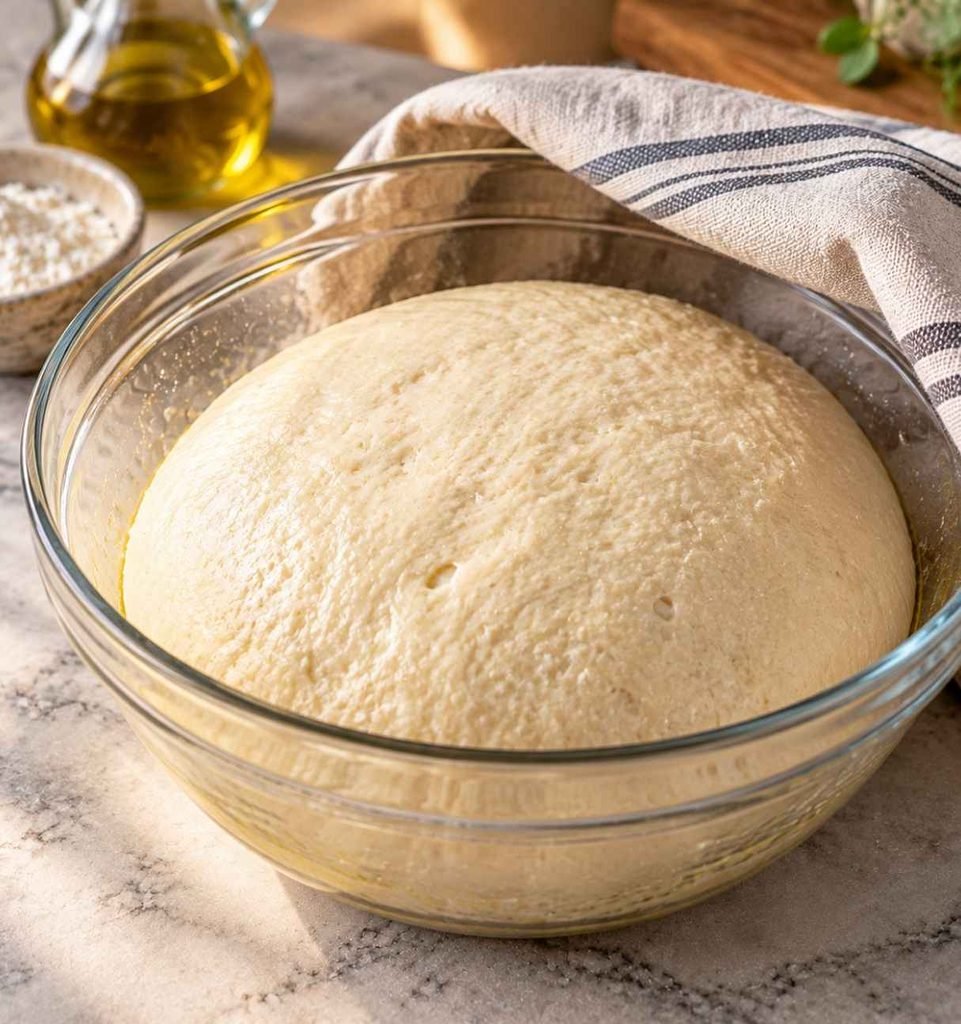
Place the dough in a lightly oiled bowl and cover it. Let it rise in a warm place for about 1 hour, or until it doubles in size.
A proper rise is important because it creates a lighter and fluffier texture.
Step 5: Shape the Breadsticks
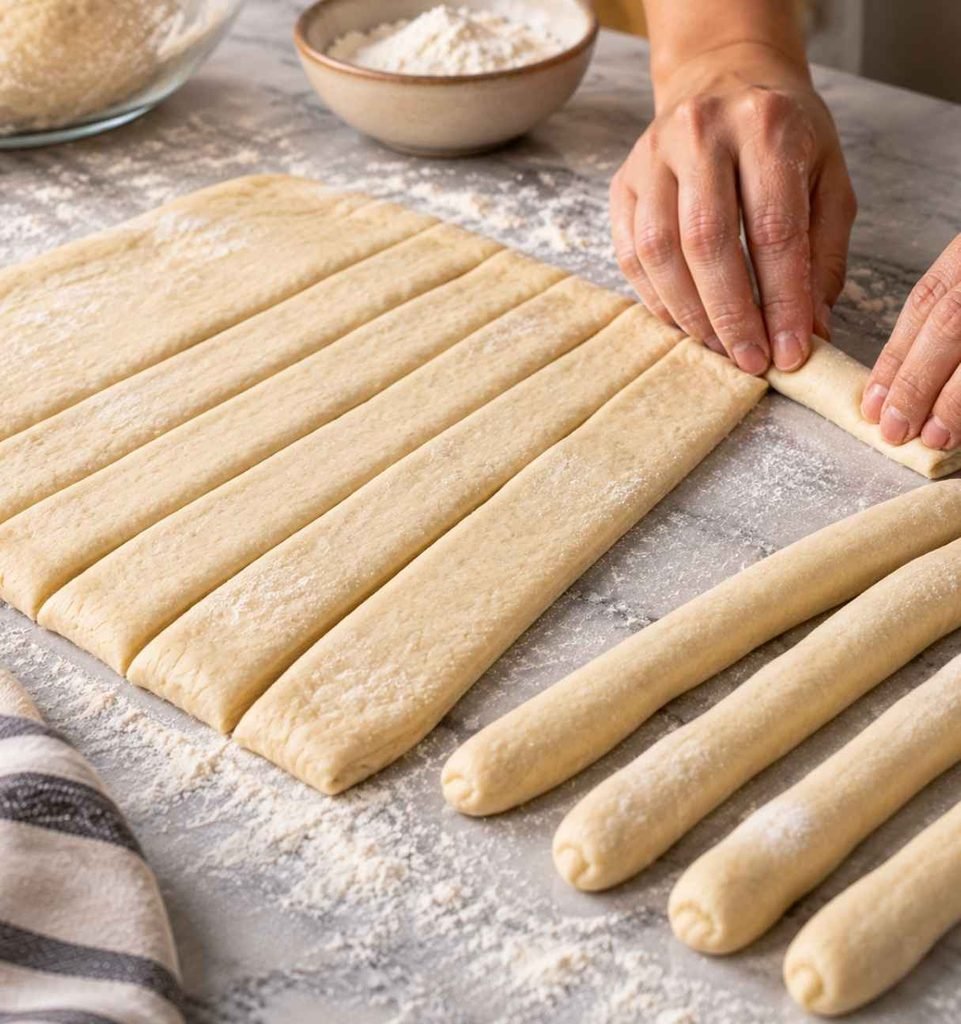
After rising, gently press down the dough to release excess air. Roll it into a rectangle about ½ inch thick.
Cut the dough into even strips and shape them into breadsticks.
Step 6: Second Rise Before Baking
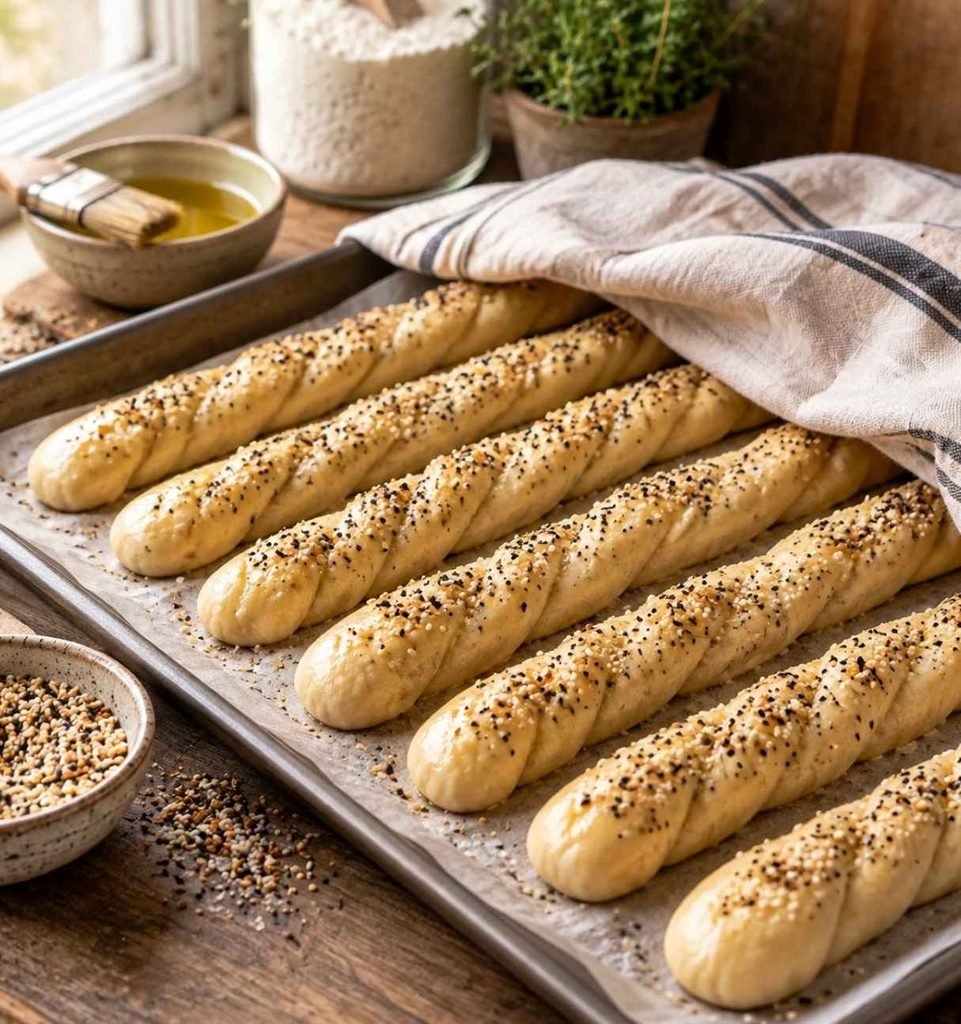
Place the shaped breadsticks on a parchment-lined baking sheet. Cover lightly and let them rest for another 15–20 minutes.
This extra resting time helps create softer and fluffier breadsticks.
Step 7: Add Toppings and Bake
Brush the breadsticks with olive oil and add garlic powder, sesame seeds, everything seasoning, or your favorite toppings.
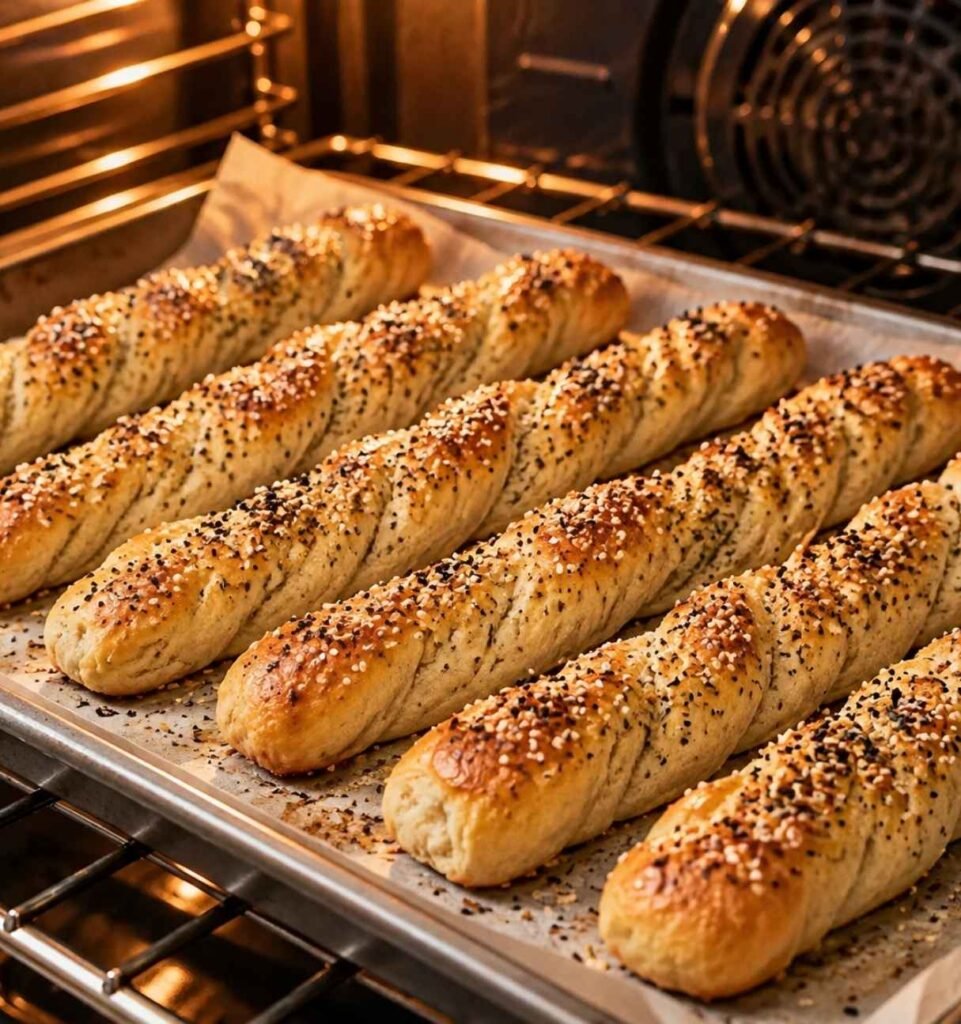
Bake in a preheated oven at 375°F (190°C) for 15–20 minutes, until golden brown.
Avoid overbaking because it can make the breadsticks dry.
Step 8: Serve Warm
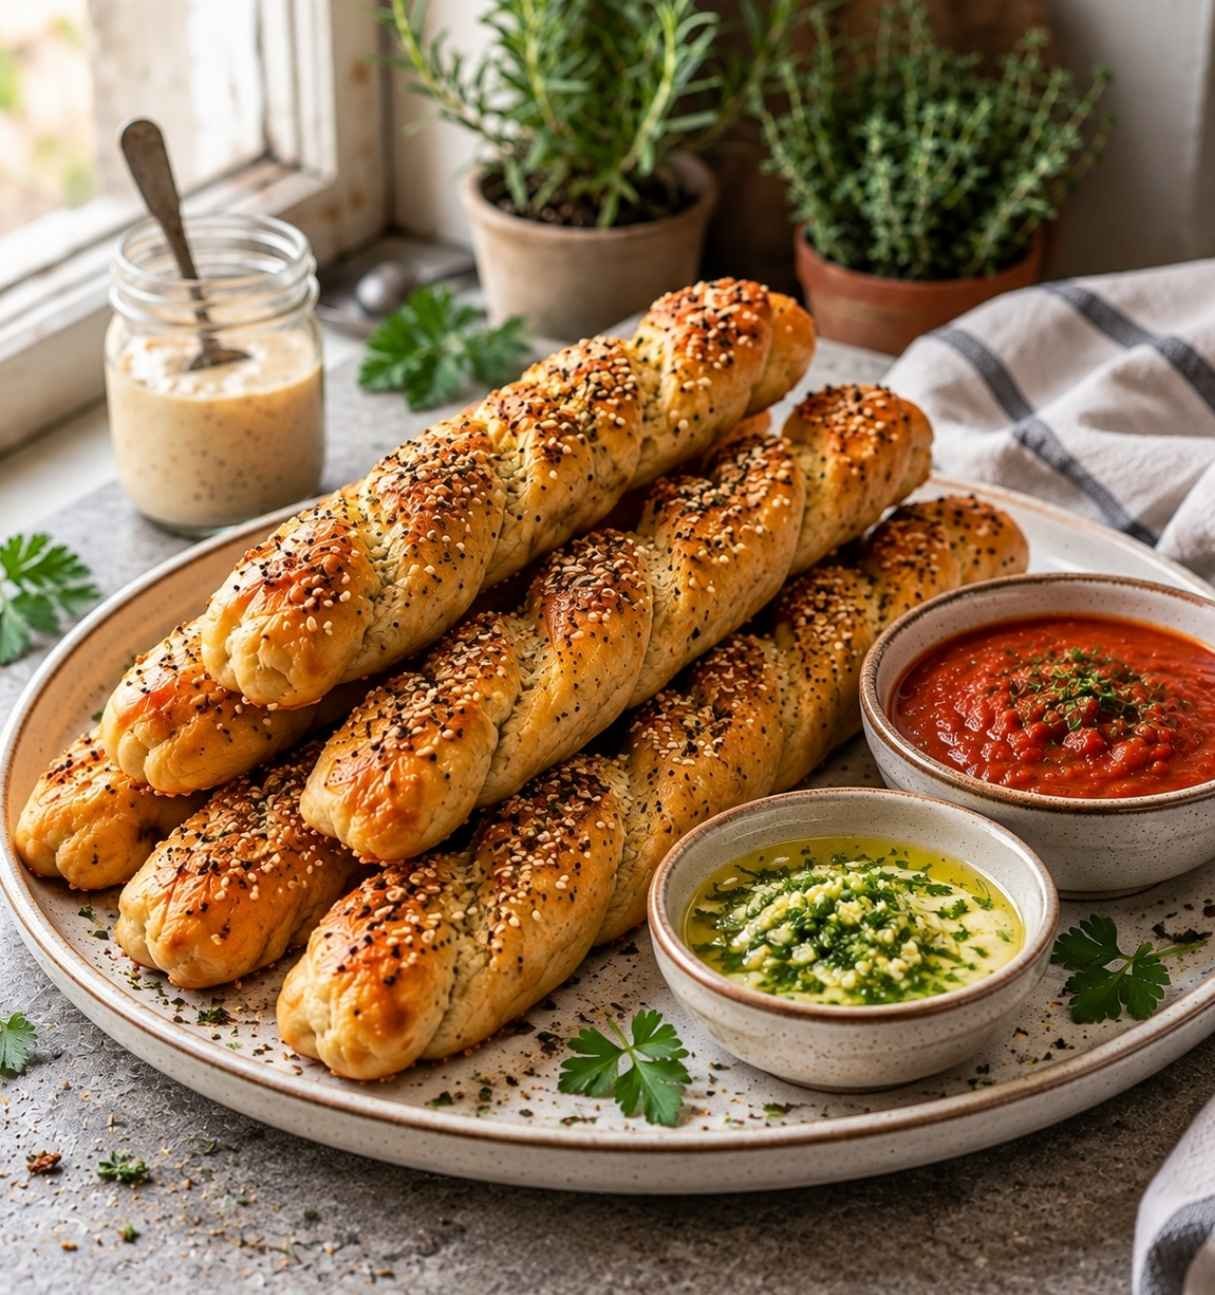
Allow the breadsticks to cool slightly before serving. Enjoy them warm with marinara sauce, garlic butter, hummus, or your favorite dip.
How To Store and Reheat Sourdough Discard Breadsticks
These sourdough discard breadsticks are best enjoyed fresh, but you can easily store leftovers and enjoy them later.
At Room Temperature:
Store cooled breadsticks in an airtight container or zip-top bag for up to 2 days. Keep them away from moisture to maintain their texture.
In The Refrigerator:
For longer storage, place the breadsticks in an airtight container and refrigerate for up to 5 days.
In The Freezer:
Freeze baked breadsticks for up to 2 months. Wrap them individually before placing them in a freezer-safe bag.
How To Reheat:
For the best texture, warm breadsticks in a 350°F (175°C) oven for 5–8 minutes. You can also use an air fryer for a few minutes to bring back the crispy outside.
What To Serve With Sourdough Discard Breadsticks
These homemade sourdough discard breadsticks are delicious on their own, but they become even better when paired with the right dishes and dips.
With Pasta:
Serve them alongside creamy pasta, spaghetti, lasagna, or baked pasta dishes to soak up extra sauce.
With Soup:
These warm breadsticks are the perfect companion for tomato soup, creamy soups, or hearty stews.
With Dipping Sauces:
Pair them with marinara sauce, garlic butter, ranch dressing, or cheese sauce for an easy snack or appetizer.
For Breakfast or Brunch:
Enjoy them with scrambled eggs, omelets, or a savory breakfast spread.
For Parties:
Arrange them on a serving board with different dips for an easy crowd-friendly appetizer.
Conclusion
Making sourdough discard breadsticks is an easy and enjoyable way to turn your sourdough starter discard into a flavorful treat. These breadsticks are crispy on the outside, soft on the inside, and offer a unique tang that’s hard to resist.
Whether you enjoy them as a snack, side dish, or even as a party appetizer, these breadsticks are a fantastic way to showcase the power of sourdough discard.
Try making them today, and enjoy the satisfying crunch and homemade flavor of sourdough breadsticks right from your kitchen!
- 1 cup sourdough discard
- 2 cups all-purpose flour
- 1 teaspoon salt
- 2 tablespoons olive oil
- 1 teaspoon sugar
- 1/2 teaspoon active dry yeast
- 3/4 cup warm water
- Garlic powder or seasoning (optional)
- Sesame seeds or everything seasoning (optional)
- Mix warm water, sugar, and yeast. Let sit until foamy.
- Combine sourdough discard, flour, salt, yeast mixture, and olive oil to form dough.
- Knead dough for 5–7 minutes until smooth and elastic.
- Cover and let dough rise for about 1 hour until doubled.
- Roll dough into a rectangle and cut into breadstick shapes.
- Let shaped breadsticks rest for 15–20 minutes before baking.
- Brush with olive oil, add toppings, and bake at 375°F (190°C) for 15–20 minutes.
- Serve warm with marinara, garlic butter, or your favorite dip.
- Do not add too much flour or the breadsticks may become dense.
- Allow enough rising time for a fluffy texture.
- Avoid overbaking to keep them soft inside.
- Store leftovers in an airtight container for up to 2 days.
- Freeze for up to 2 months for easy future meals.