Monster Cookie Protein Balls Recipe: Healthy, Chewy, and Better Than Energy Bars
Monster Cookie Protein Balls are the perfect no-bake snack when you want something quick, chewy, and satisfying. Made with simple ingredients like oats, peanut butter, protein powder, chocolate chips, and colorful candy pieces, these bite-sized treats taste like your favorite monster cookie while providing a convenient energy boost.
They come together in just a few minutes with no oven required, making them perfect for busy mornings, post-workout snacks, lunchboxes, or easy meal prep. The soft, chewy texture and classic cookie flavor make these protein balls a snack everyone will enjoy.
Why Make Monster Cookie Protein Balls at Home?
If you’ve only ever relied on pre-packaged energy bites or protein bars from the grocery store, you’re in for a wonderful surprise. A homemade batch of protein balls is:
- Incredibly fresh and chewy: Made with real peanut butter and honey, they won’t dry out or taste like cardboard.
- Free from artificial preservatives: You know exactly what is going into your snack, skipping the mysterious chemical binders and sugar alcohols.
- Budget-friendly: A tub of oats and a jar of peanut butter cost a fraction of buying individual protein snacks every day.
- Highly customizable: Swap the peanut butter for an allergy-friendly alternative, or use a plant-based protein powder to make them vegan.
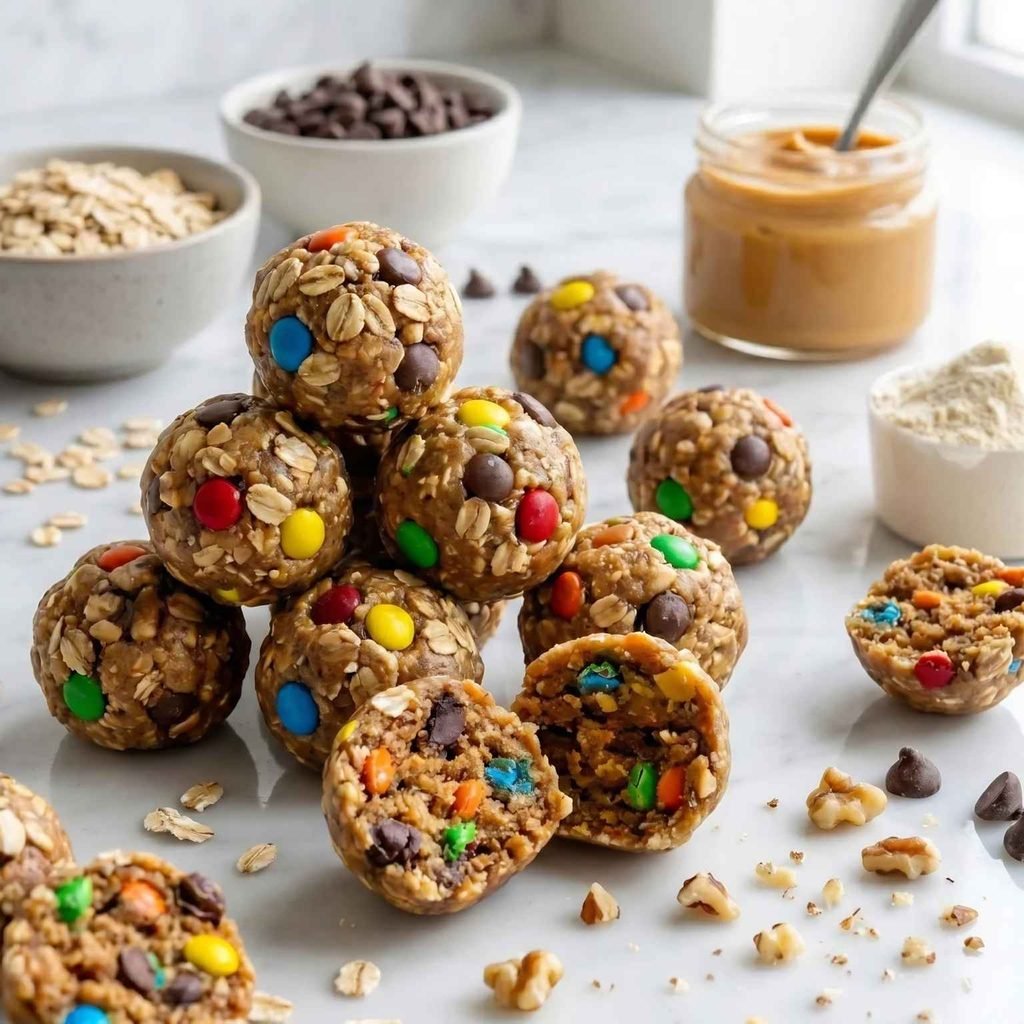
- Visually stunning: The pop of rainbow colors from the mini M&Ms creates a camera-ready, highly textured aesthetic that makes healthy eating incredibly fun.
And honestly, the flavor difference is undeniable. A freshly mixed batch boasts a rich, nutty aroma and a delicate chew that mass-produced versions simply cannot match.
Monster Cookie Protein Balls Recipe At A Glance
- Prep Time: 10 minutes
- Chill Time: 30 minutes
- Total Time: 40 minutes
- Servings: 12 to 16 protein balls
- Difficulty: Easy
- Method: No-Bake
- Storage: Refrigerator or freezer friendly
Ingredients for Easy Protein Balls
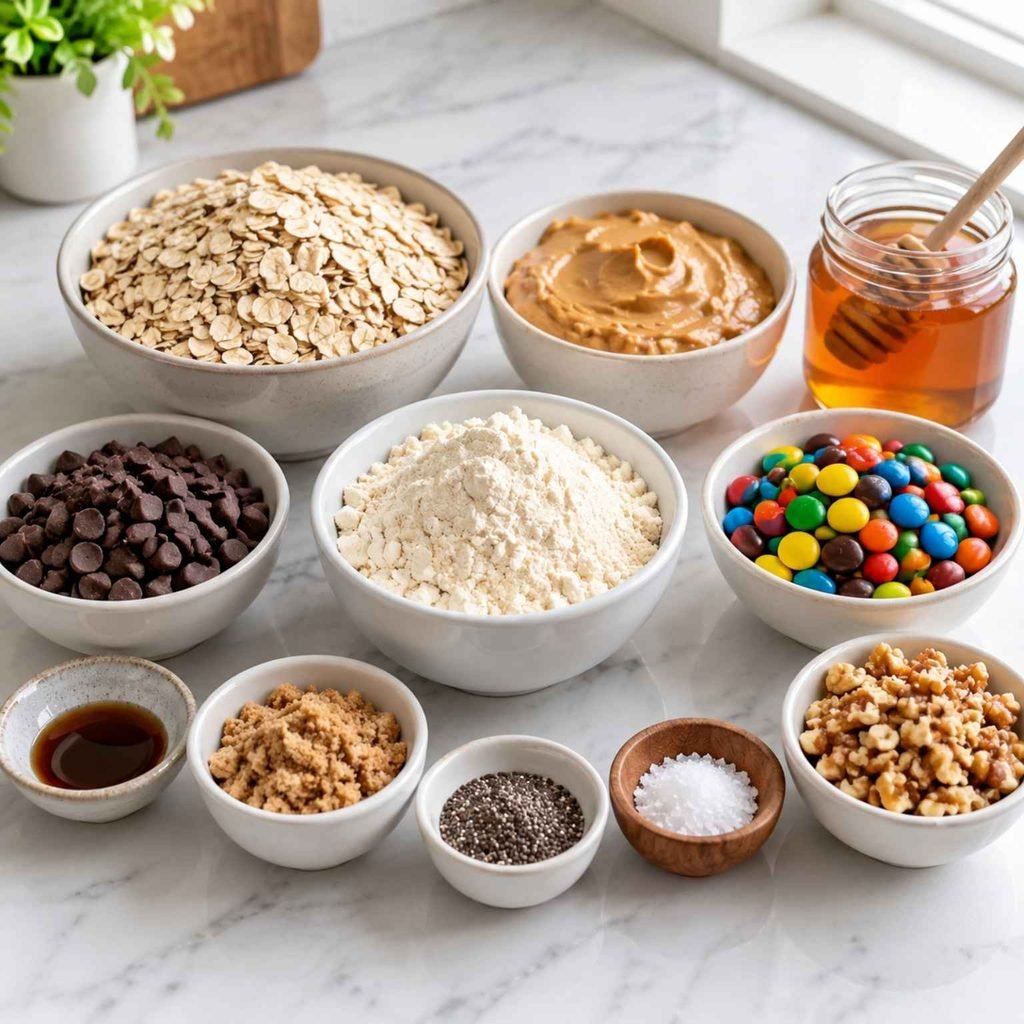
One of the reasons this recipe works so well is its simplicity. You likely already have most of these wholesome essentials in your kitchen. You’ll need:
For the Base:
- 1 ½ cups old-fashioned rolled oats (do not use steel-cut)
- 1 cup creamy peanut butter (standard creamy works best; if using natural, ensure it is stirred very well)
- ⅓ cup pure honey or maple syrup
- ½ cup vanilla protein powder (whey or plant-based)
- 1 teaspoon pure vanilla extract
- A pinch of sea salt
For the Monster Cookie Mix-ins:
- ¼ cup mini chocolate chips
- ¼ cup mini candy-coated chocolates (like mini M&Ms)
Ingredient Tips For Perfect Protein Balls
- Rolled Oats: Give the protein balls their chewy texture and help create a satisfying bite.
- Peanut Butter: Adds creaminess, flavor, and helps hold the mixture together.
- Protein Powder: Boosts protein content and adds extra flavor. Vanilla works best for a classic cookie taste.
- Chocolate Chips & Candy Pieces: Create the signature monster cookie flavor and add fun texture.
- Honey or Maple Syrup: Adds natural sweetness and helps bind the ingredients.
Step-by-Step Instructions For Monster Cookie Protein Balls
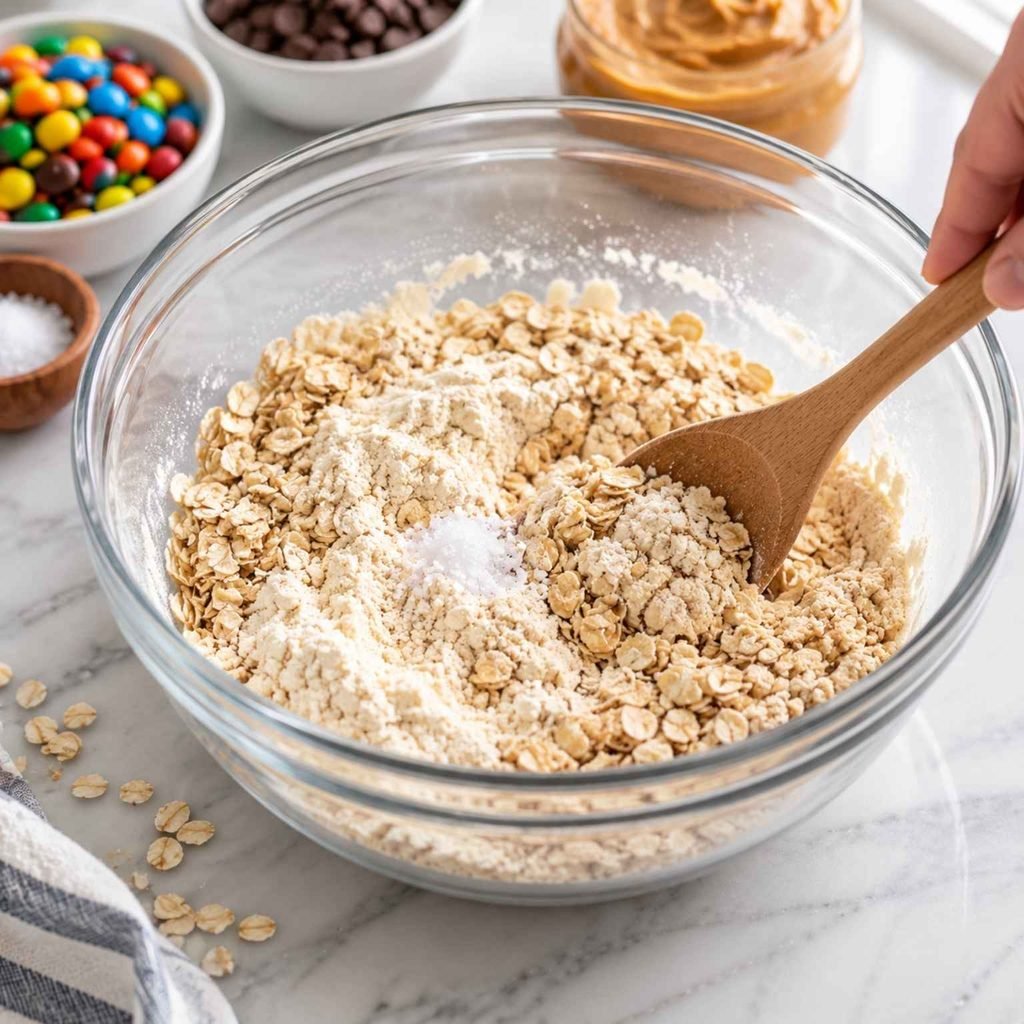
1. Combine The Dry Ingredients
In a large mixing bowl, add rolled oats, protein powder, and a pinch of salt. Stir everything together first to make sure the ingredients are evenly distributed.
Tip: Mixing dry ingredients first prevents pockets of protein powder and creates a smoother texture.
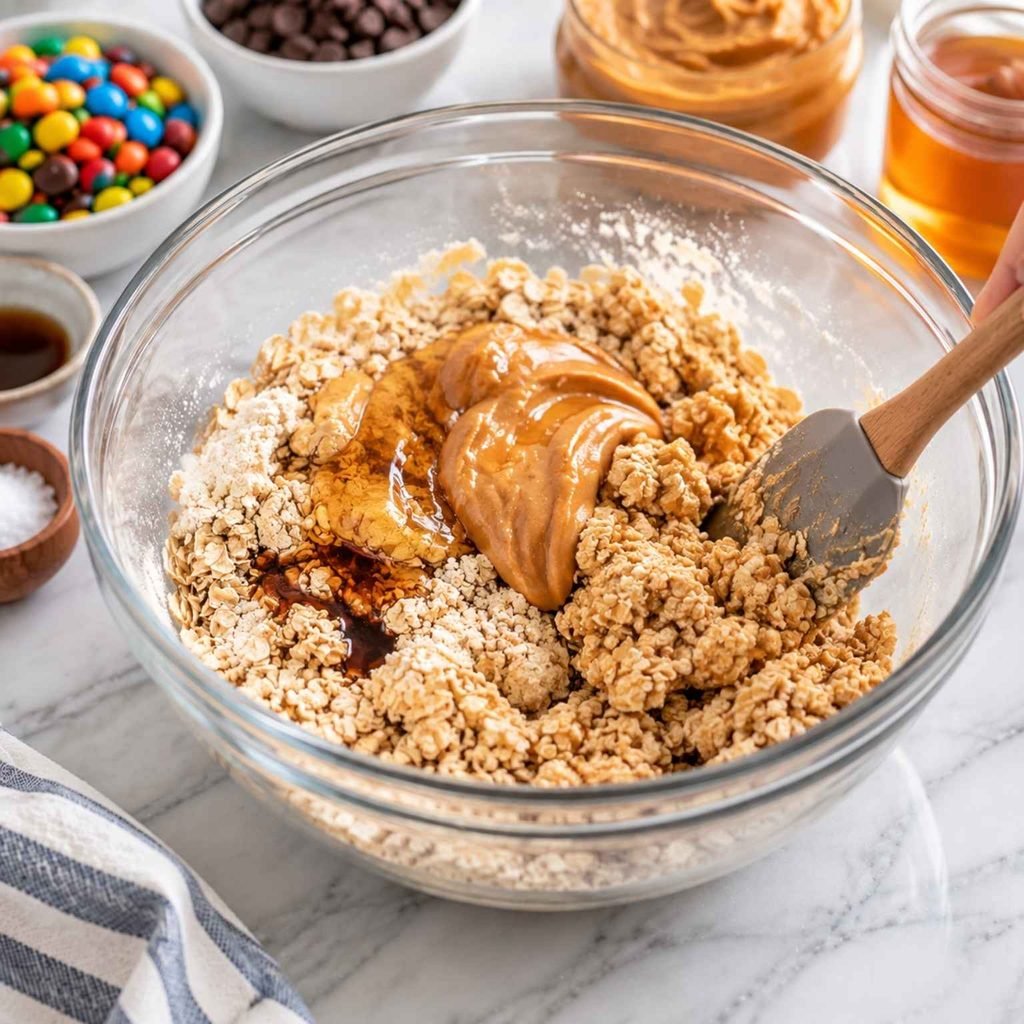
2. Add The Wet Ingredients
Add peanut butter, honey or maple syrup, and vanilla extract to the bowl. Mix well until the ingredients start coming together into a thick, sticky mixture.
Texture Check: The mixture should hold together when pressed between your fingers. If it feels too dry, add a small amount of milk or extra peanut butter.
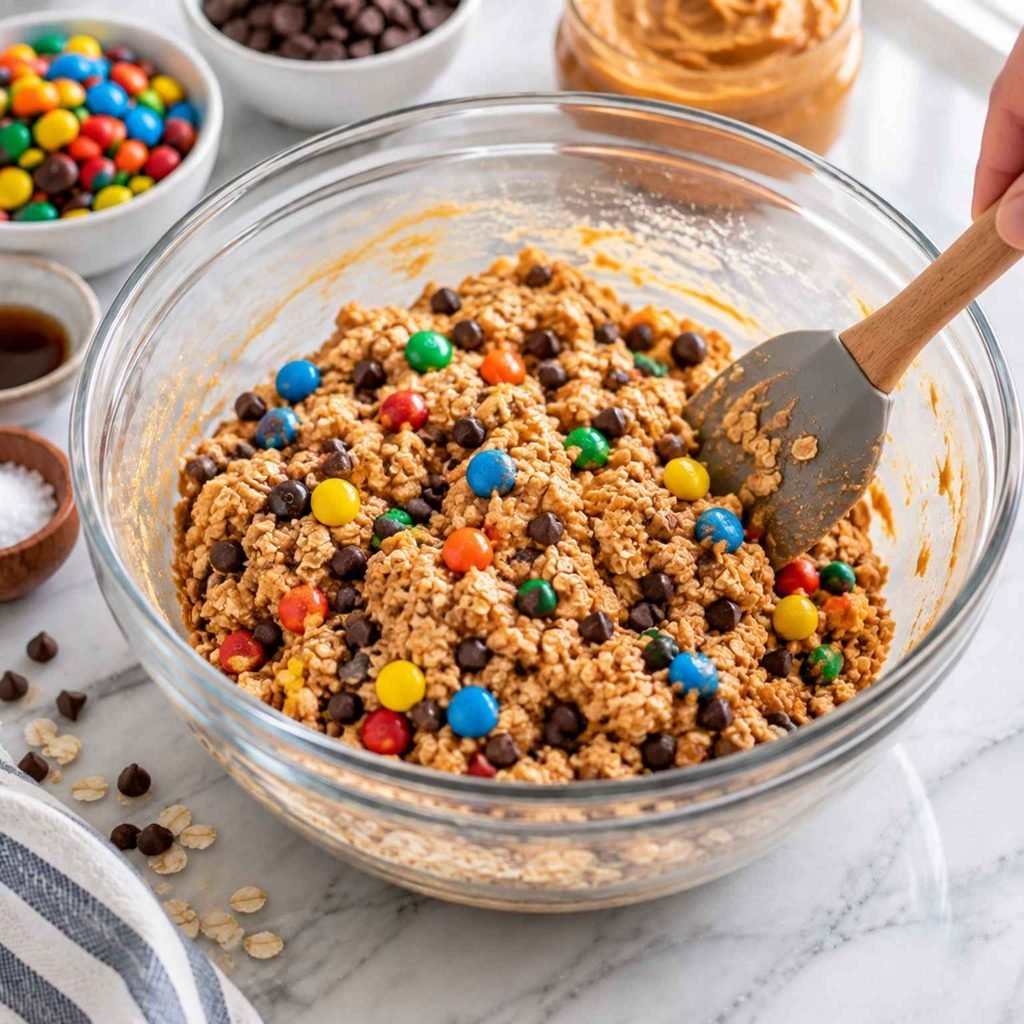
3. Fold In The Mix-Ins
Gently mix in mini chocolate chips and candy pieces until they are evenly spread throughout the mixture.
Tip: Avoid overmixing because it can crush the candy pieces and make the texture less enjoyable.
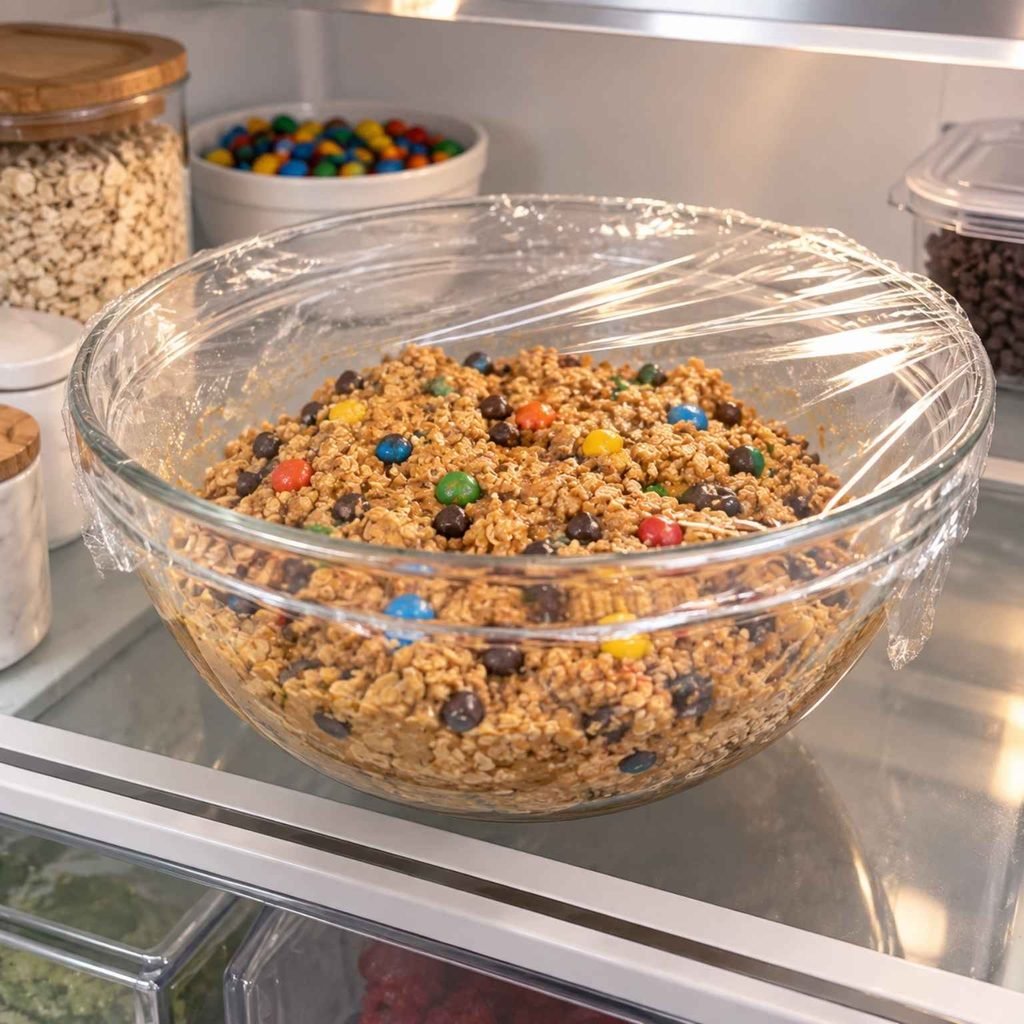
4. Chill The Mixture
Cover the bowl and refrigerate the mixture for about 20 to 30 minutes.
Chilling makes the mixture easier to roll and helps the protein balls keep their shape.
Do not skip this step: Warm or soft mixtures can become difficult to handle.
5. Roll Into Protein Balls
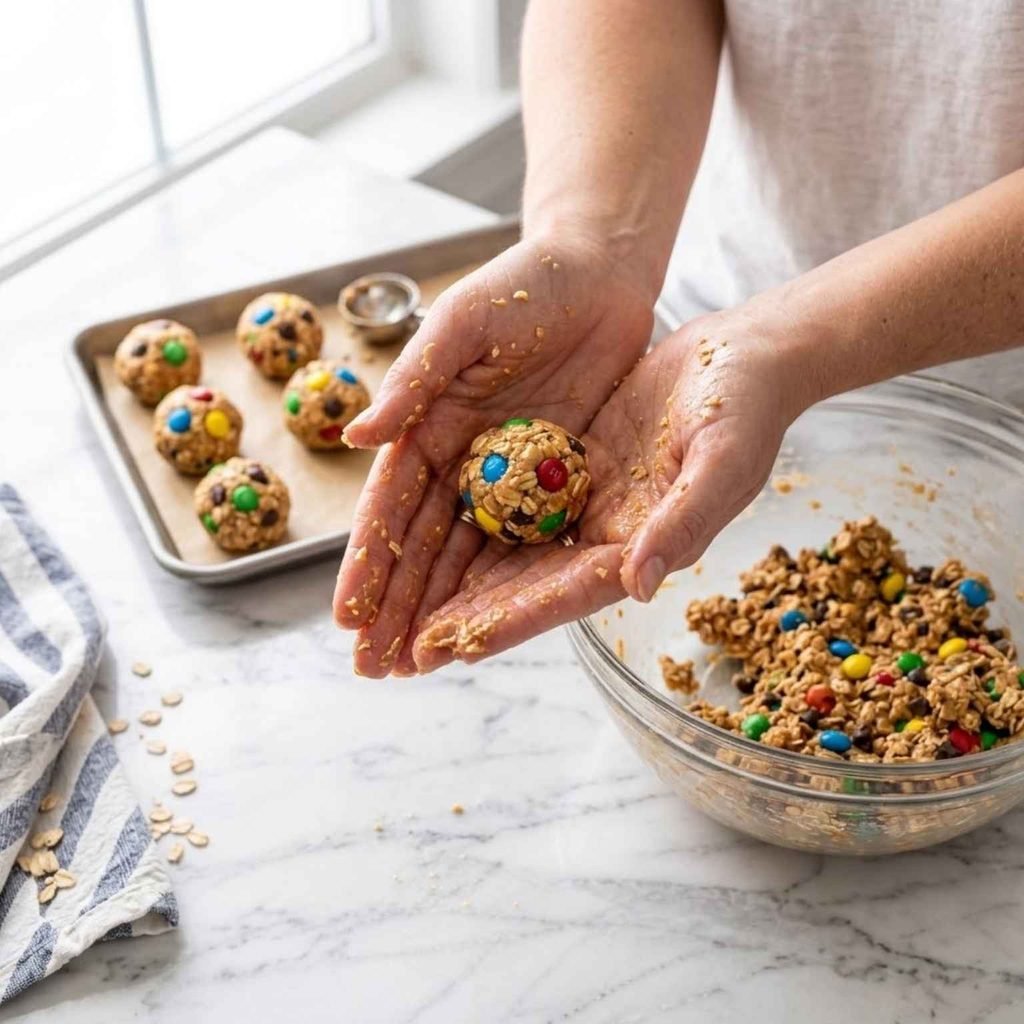
Use a spoon or cookie scoop to portion the mixture into equal sizes. Roll each portion between your palms until smooth and round.
Tip: Slightly damp hands can prevent sticking while rolling.
6. Store And Enjoy
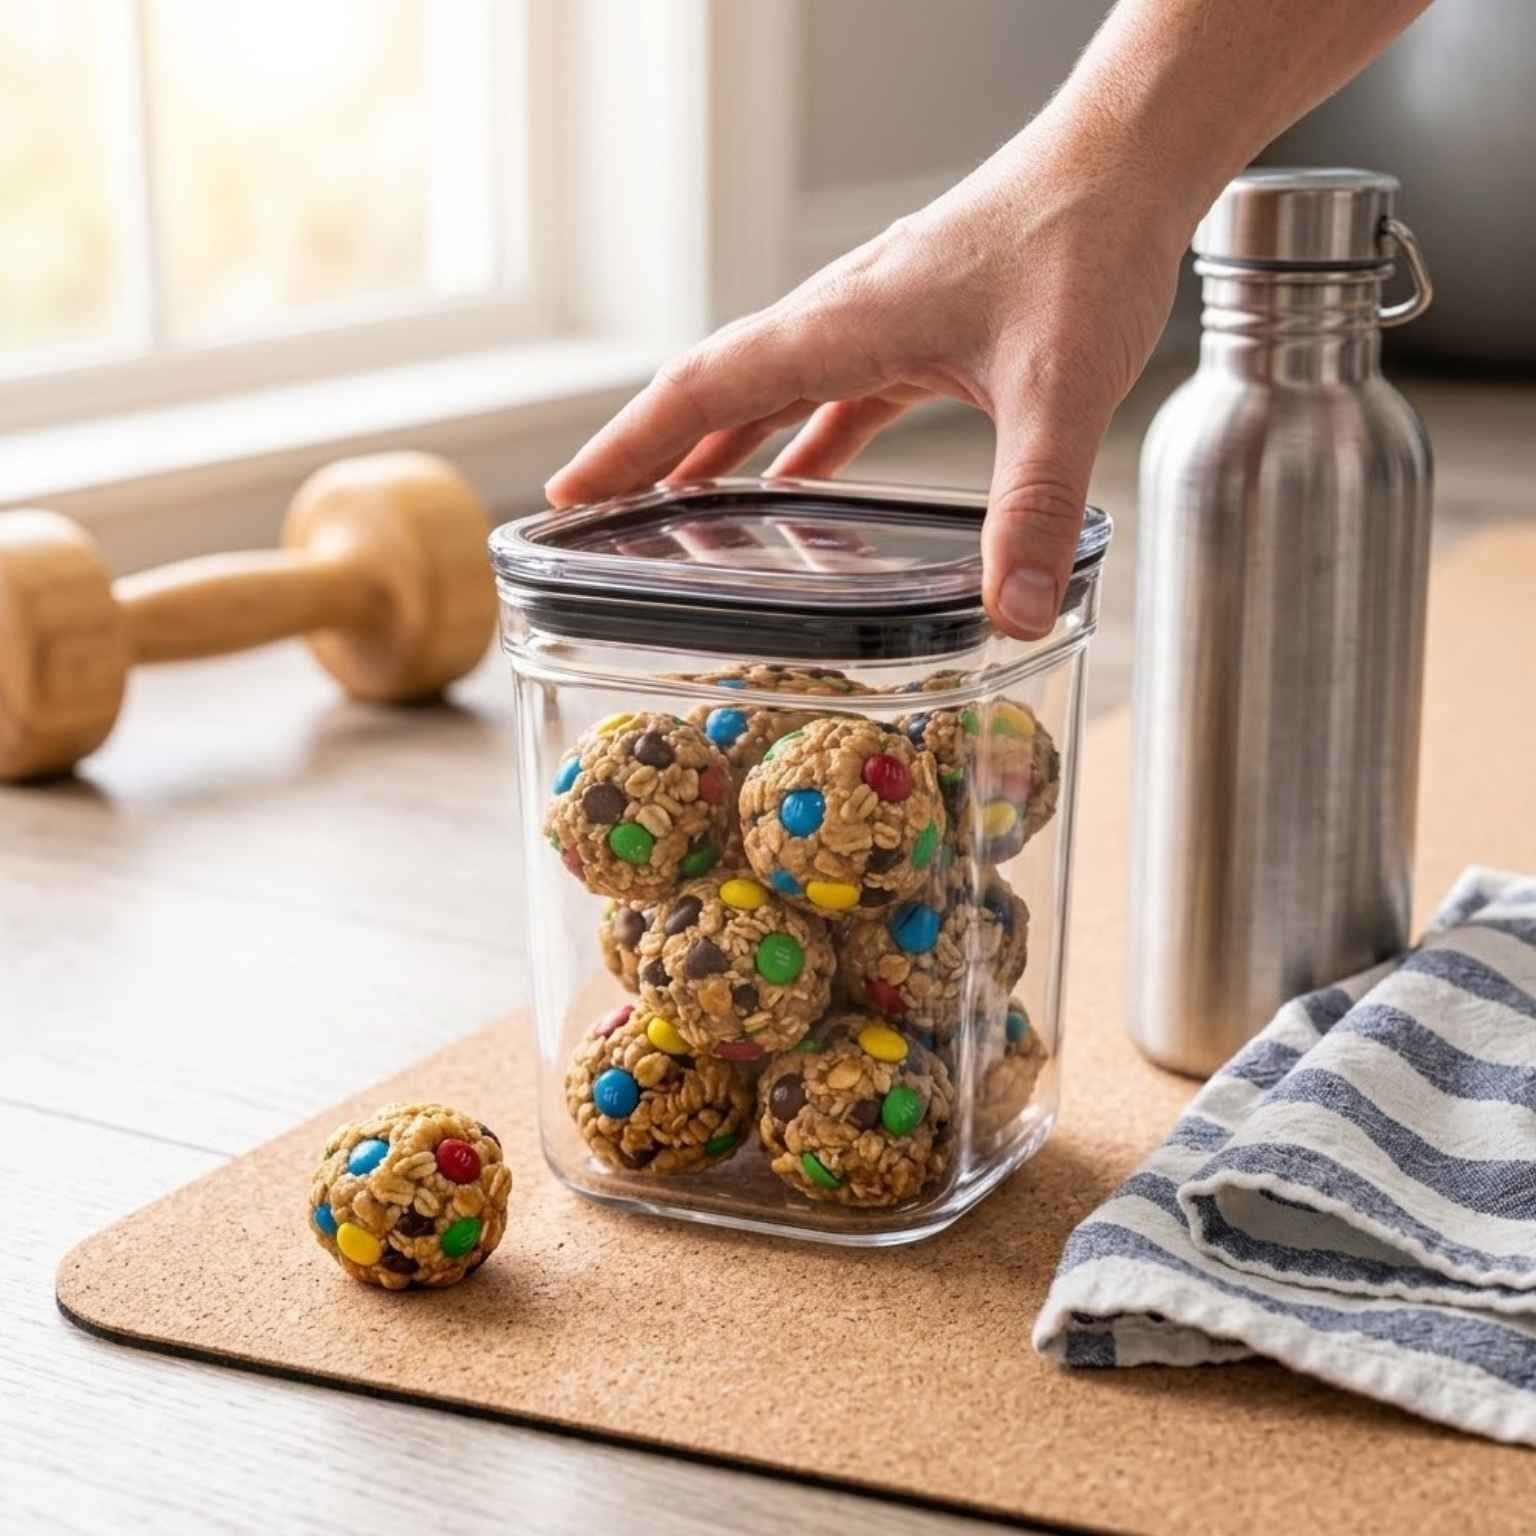
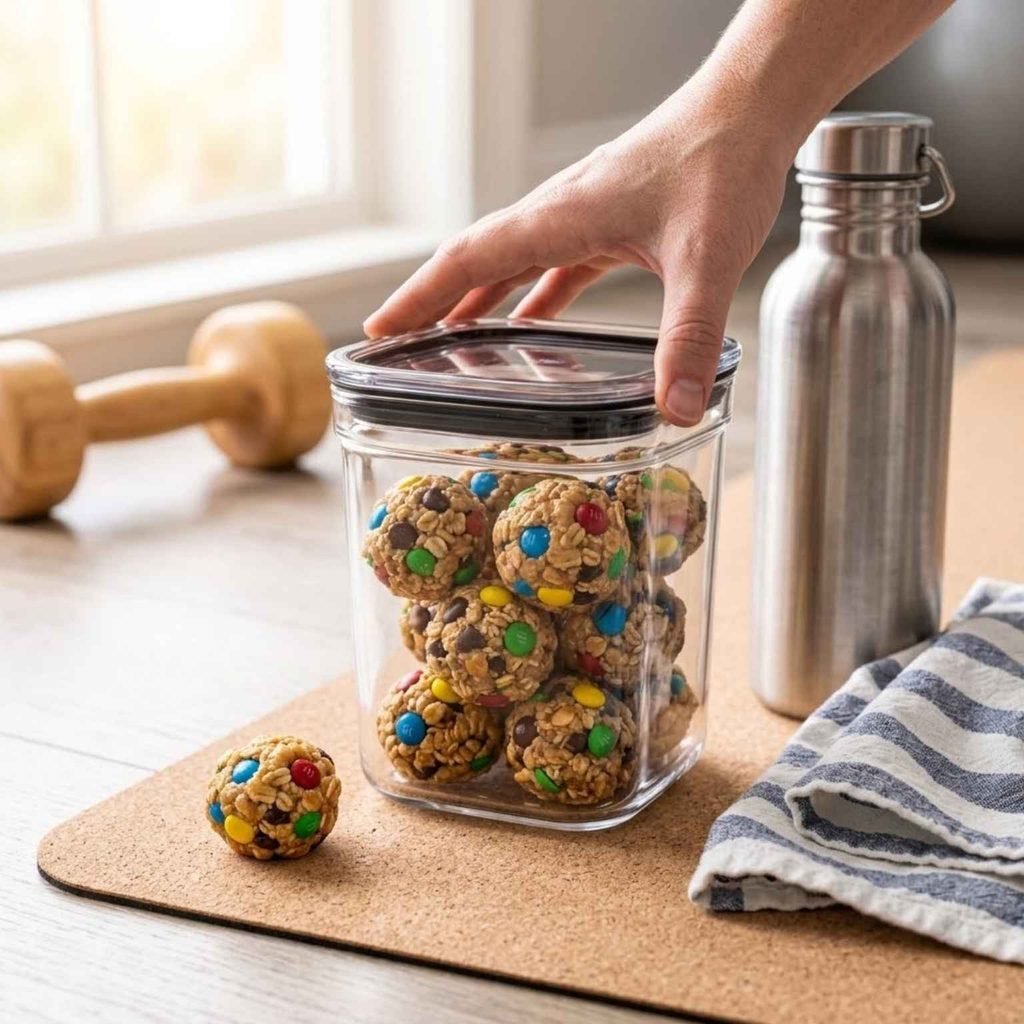
Place the finished protein balls in an airtight container. Keep them refrigerated until ready to eat.
They make an easy grab-and-go snack for busy mornings, workouts, or afternoon cravings.
Common Mistakes To Avoid
These protein balls are simple to make, but a few small mistakes can affect the texture and how well they hold together.
❌ Mixture Is Too Dry
If the protein balls crumble when rolling, add a little more peanut butter, honey, or a small splash of milk until the mixture binds.
❌ Adding Too Much Protein Powder
Extra protein powder can make the mixture dry and chalky. Measure carefully and adjust the liquid if needed.
❌ Skipping The Chill Time
A warm mixture is harder to shape. Chilling helps the protein balls become firm and easier to roll.
❌ Making Uneven Sizes
Use a cookie scoop to create evenly sized balls that chill and store more consistently.
Pro Tips for the Perfect Roll
Small details make a big difference when making no-bake treats from scratch.
- Wet your hands: If you find the dough is sticking to your palms while rolling, lightly dampen your hands with cold water. The balls will roll flawlessly.
- Adjusting the texture: Protein powders vary wildly in absorbency. If your dough is too dry and crumbly, add an extra tablespoon of honey or a splash of almond milk. If it is too wet, add another tablespoon of oats.
- Press candies on the outside: For that bakery-style finish, reserve a few mini candies and gently press them into the outside of the balls after rolling.
How to Store Homemade Protein Balls
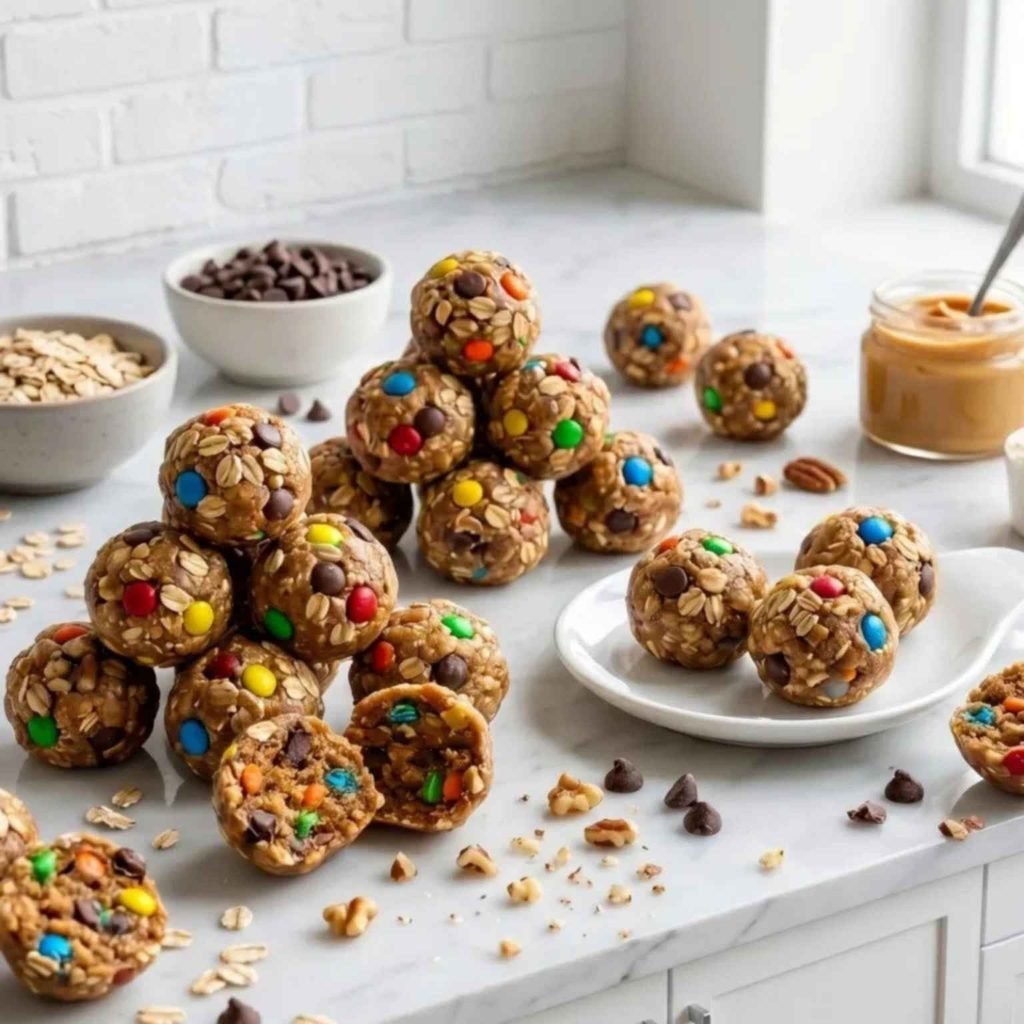
Freshly rolled monster cookie protein balls can be stored in an airtight container in the refrigerator for up to two weeks. Because they contain no raw eggs or dairy, they hold up beautifully over time, making them the ultimate meal-prep snack.
You can also freeze them! Place the balls in a single layer on a baking sheet to freeze for one hour, then transfer them to a freezer-safe zip-top bag. They will keep in the freezer for up to 3 months. You can eat them straight from the freezer for a firm, chewy treat, or let them thaw for 5 minutes at room temperature.
Fun Monster Cookie Protein Ball Variations
Chocolate Peanut Butter:
Add cocoa powder and chocolate protein powder for a richer chocolate flavor.
Almond Butter Version:
Replace peanut butter with almond butter for a slightly different nutty taste.
Extra Protein:
Add a little more protein powder and adjust with extra nut butter if the mixture becomes dry.
Gluten-Free Option:
Use certified gluten-free oats to make this recipe suitable for a gluten-free diet.
Healthy Cookie Dough Style:
Swap candy pieces for extra chocolate chips, nuts, or coconut flakes.
Ways to Customize Your Protein Balls
Now comes the fun part. This versatile oat base is perfect for experimenting.
- Nut-Free: Swap the peanut butter for sunflower seed butter for a delicious, allergy-friendly option.
- Vegan Variation: Swap the honey for maple syrup and ensure your chocolate chips and candies are dairy-free/plant-based.
- Extra Fiber: Add 2 tablespoons of chia seeds or ground flaxseed to the dry ingredients for an added nutritional boost and a slight crunch.
How To Store Protein Balls
These no-bake protein balls are perfect for meal prep because they store well and stay delicious for days.
- Refrigerator: Store in an airtight container for up to 1 week.
- Freezer: Freeze for up to 3 months in a freezer-safe container or bag.
- Before Eating: Let frozen protein balls sit at room temperature for a few minutes for the best chewy texture.
- Meal Prep Tip: Make a double batch and keep them ready for quick snacks throughout the week.
Frequently Asked Questions
Can I freeze Monster Cookie Protein Balls?
Yes. These protein balls freeze very well. Store them in an airtight container and freeze for up to 3 months. Let them thaw slightly before eating.
Why are my protein balls falling apart?
The mixture may need more binding ingredients. Add a little extra peanut butter, honey, or a small amount of milk until the mixture holds together.
Can I make these without protein powder?
Yes. You can replace protein powder with extra oats or ground nuts, but the protein content and texture will be different.
How do I make protein balls less sticky?
Chill the mixture longer or add a small amount of extra oats until the texture becomes easier to roll.
Can I use quick oats instead of rolled oats?
Yes. Quick oats work, but rolled oats usually provide a chewier texture.
Final Thoughts
Monster Cookie Protein Balls are a simple way to enjoy a delicious, homemade snack without spending hours in the kitchen. With chewy oats, creamy peanut butter, protein powder, and classic cookie-inspired flavors, these no-bake bites are easy to prepare and perfect for busy days.
Whether you make them for meal prep, a quick breakfast option, a post-workout snack, or a lunchbox treat, these protein balls are a convenient recipe to keep on hand. The best part is how easy they are to customize with your favorite mix-ins and flavors.
Make a batch ahead of time, store them in the fridge or freezer, and enjoy a sweet, satisfying snack whenever you need it.