The Best Classic Peanut Butter Cookies Recipe: Soft, Chewy, and Melt-in-Your-Mouth
There is something undeniably nostalgic and comforting about the aroma of freshly baked peanut butter cookies filling the kitchen. The perfect peanut butter cookie offers a delicate balance: deeply golden and slightly crisp on the edges, yet impossibly soft, chewy, and dense in the center. Once you try this classic, easy peanut butter cookie recipe at home, you will never want to reach for a store-bought package again.
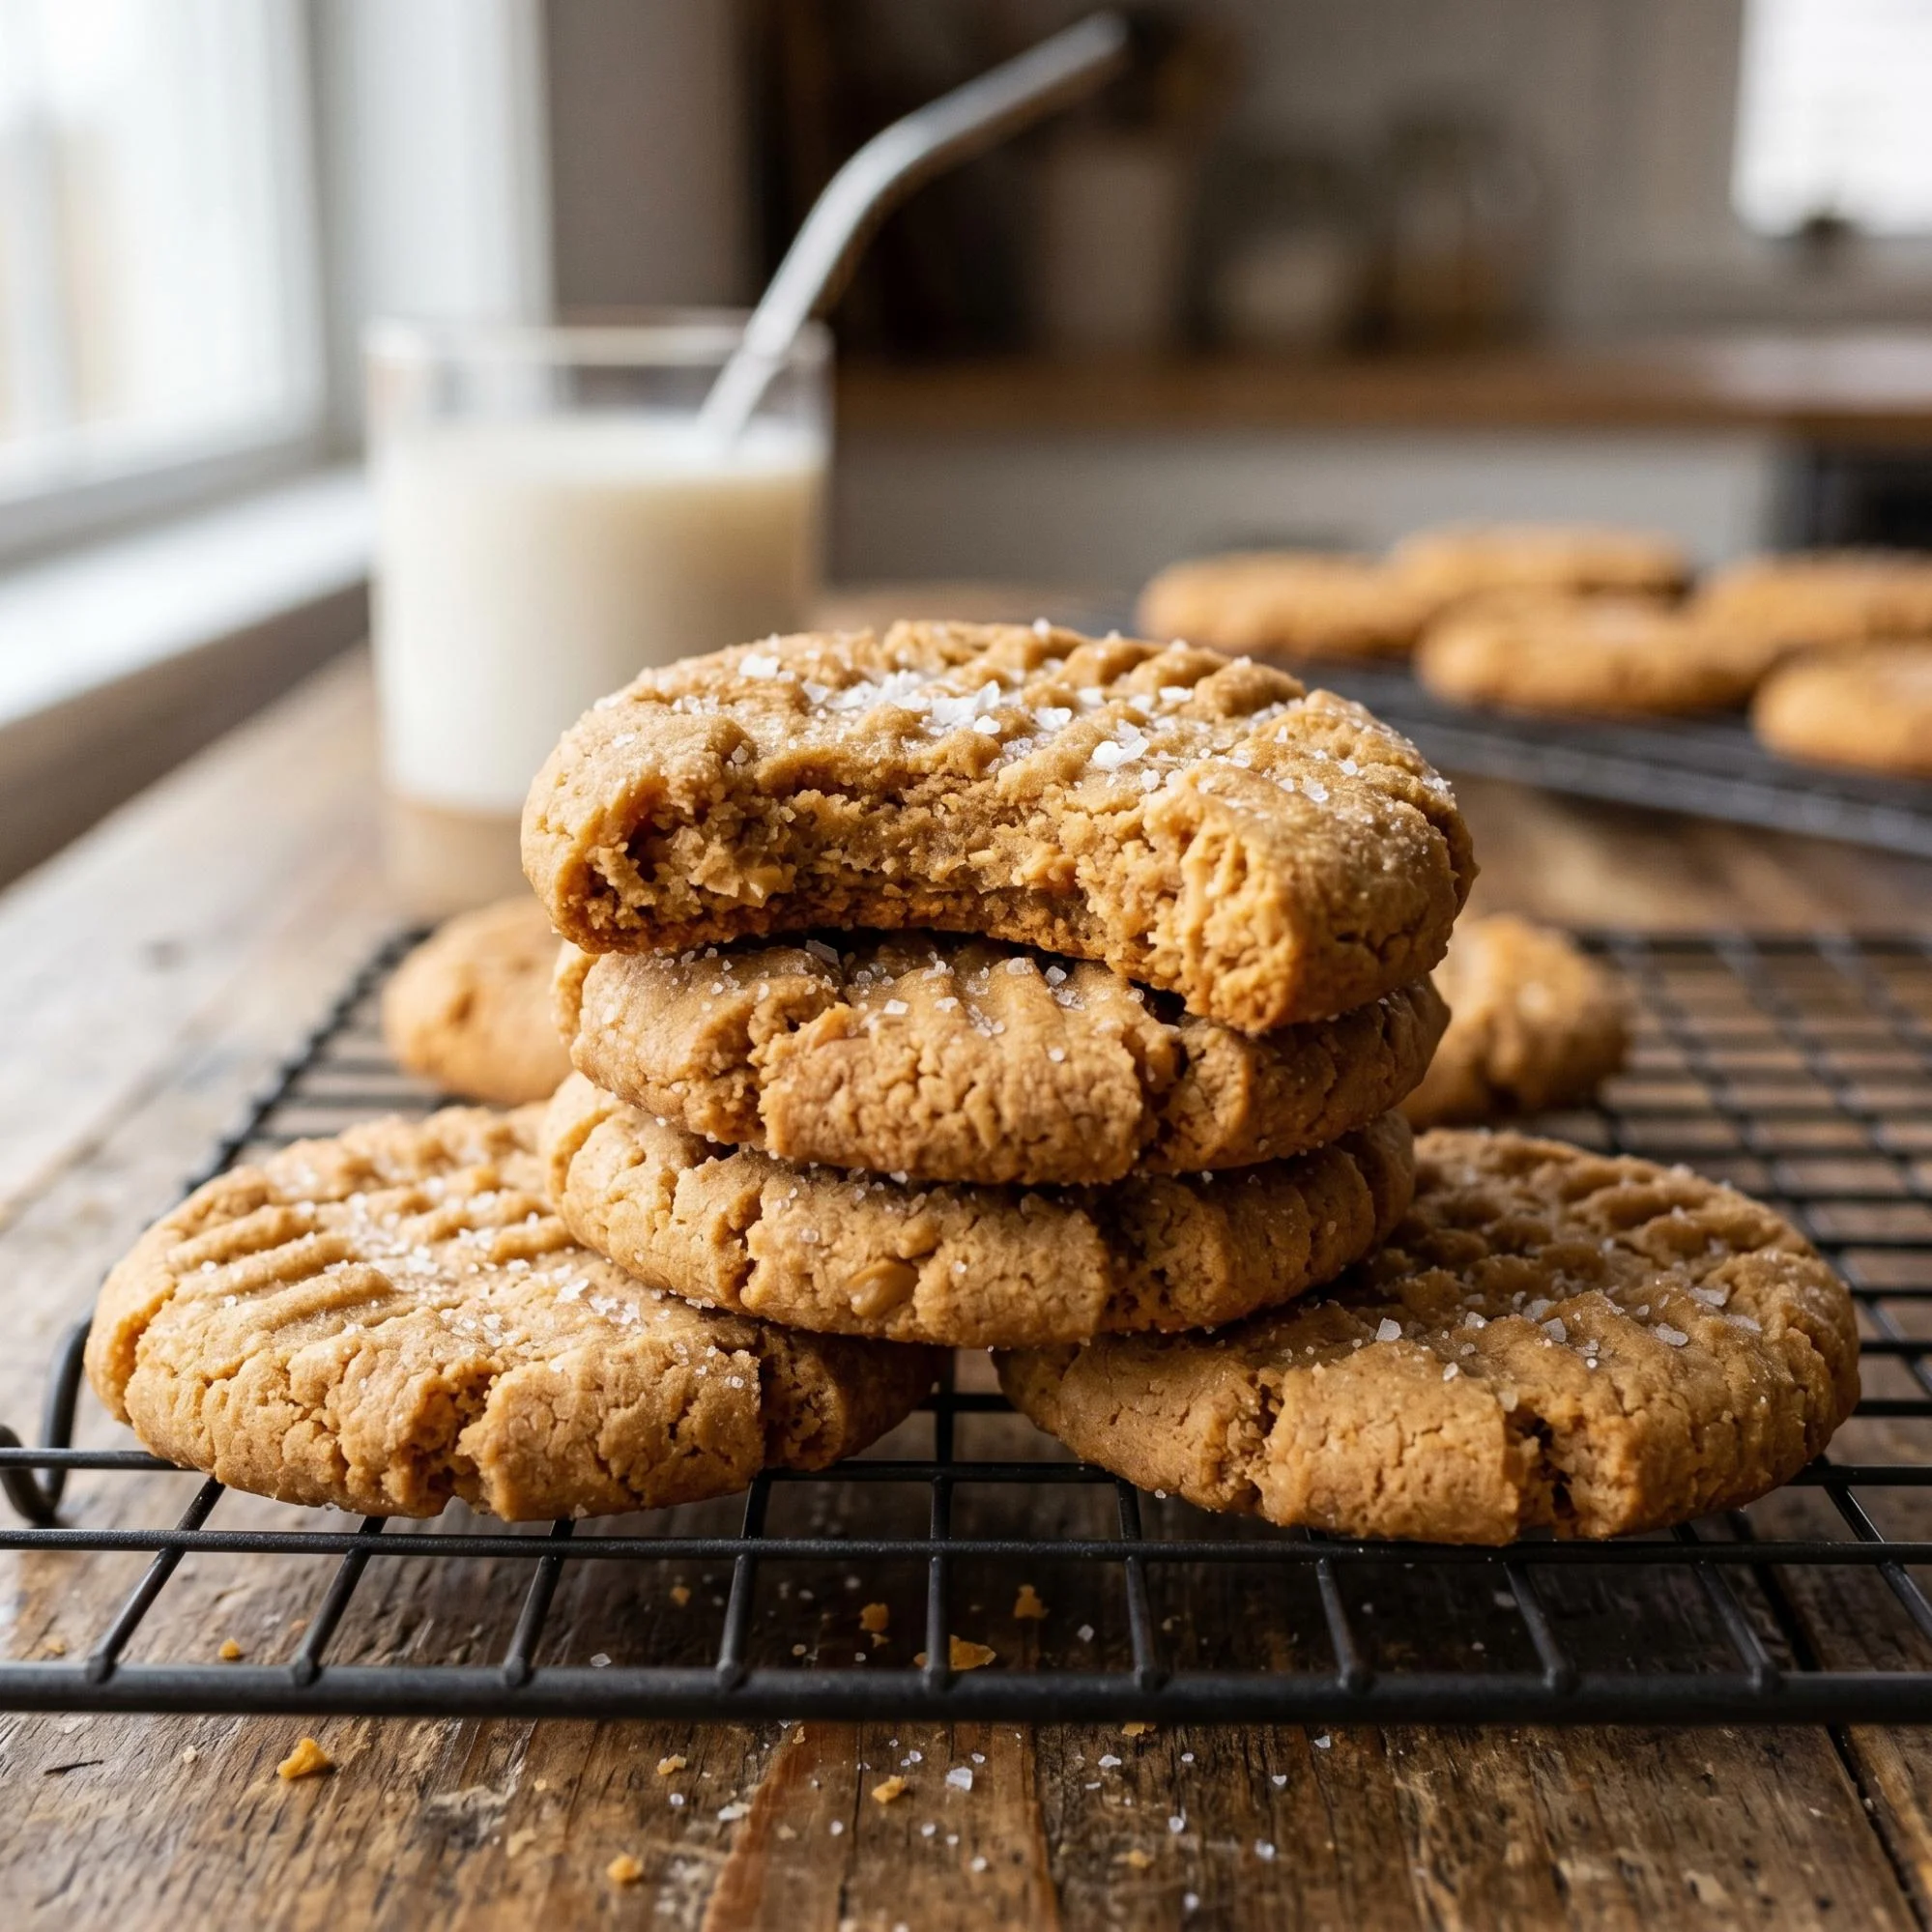
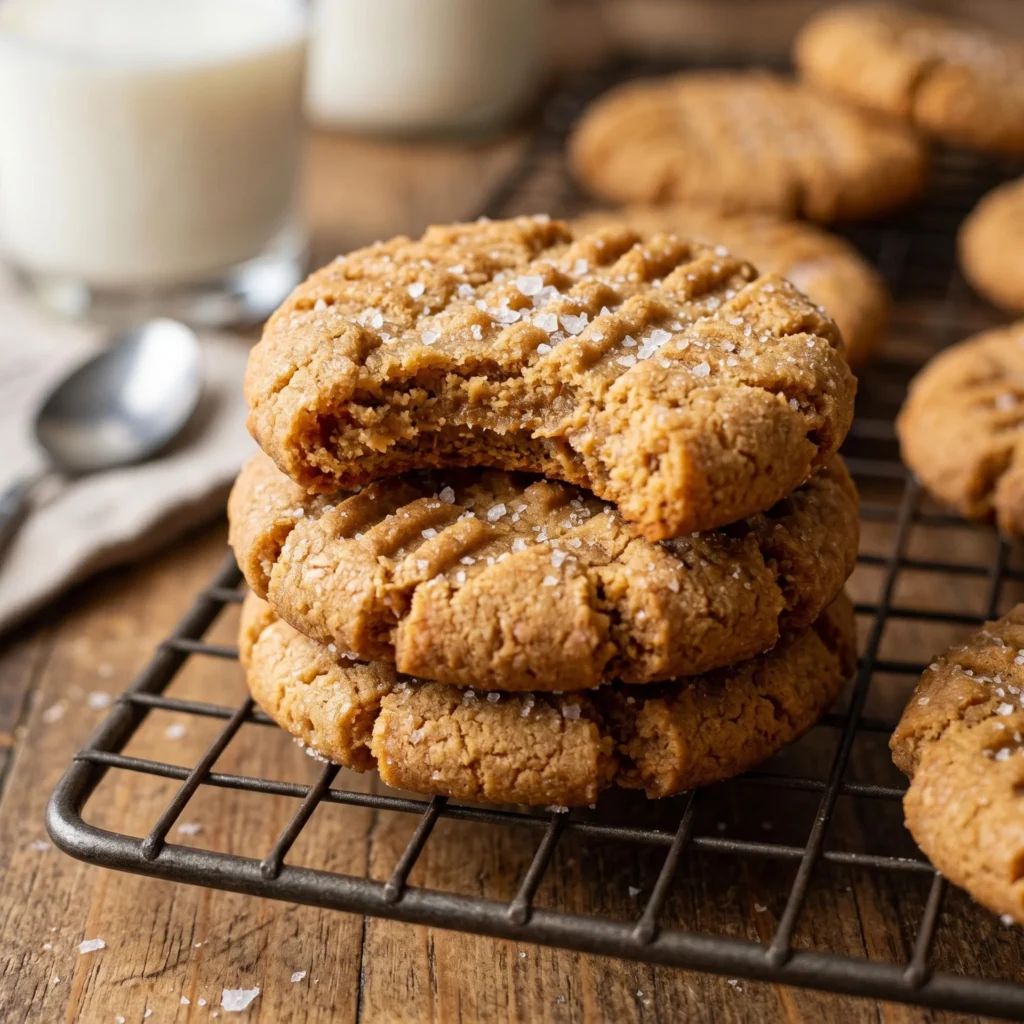
Whether you are whipping up a quick after-school treat, preparing for a holiday cookie exchange, or styling a beautifully textured, rustic dessert spread for your culinary feed and food blog, these cookies are absolute showstoppers. The iconic fork-pressed crisscross pattern catches the light perfectly, and the contrasting sprinkle of flaky sea salt on top looks absolutely breathtaking on camera. The best part? You only need a handful of basic baking staples and about 20 minutes to bring them to life. Let’s walk through everything step-by-step so you can master these classic cookies perfectly on your first try.
Why Make Peanut Butter Cookies at Home?
If you’ve only ever had mass-produced peanut butter cookies, you are missing out on the rich, melt-in-your-mouth texture of a fresh batch. Homemade peanut butter cookies are:
- Incredibly soft and chewy: You control the baking time, ensuring they never turn out dry or crumbly.
- Intensely flavorful: Real butter and high-quality peanut butter create a rich, savory-sweet profile.
- Made with simple ingredients: No preservatives or artificial flavorings.
- Highly photogenic: The crinkled edges, classic grid pattern, and glistening sea salt flakes make them an aesthetic dream to style on a dark wire cooling rack.
- Customizable: Easily add chocolate chips, roasted peanuts, or a drizzle of chocolate.
The flavor difference is immediate. Warm out of the oven, the sweet and salty notes perfectly complement a cold glass of milk in a way that pre-packaged cookies simply cannot replicate.
Ingredients for Easy Peanut Butter Cookies
The secret to this recipe’s perfect texture is the exact ratio of brown sugar to white sugar, which guarantees a chewy center and a crisp edge. You will need:
- ½ cup unsalted butter, softened to room temperature: The base for a tender crumb.
- ¾ cup creamy peanut butter: Standard commercial brands (like Jif or Skippy) work best for baking structure.
- ½ cup packed light brown sugar: Adds moisture and a deep, caramel-like chewiness.
- ½ cup granulated white sugar: Helps the cookies spread properly and crisp up on the edges.
- 1 large egg, at room temperature: Binds the dough together.
- 1 teaspoon pure vanilla extract: Elevates the overall flavor.
- 1 ¼ cups all-purpose flour: Spooned and leveled so the dough isn’t too dry.
- ¾ teaspoon baking soda & ½ teaspoon baking powder: Provides the perfect amount of lift.
- ¼ teaspoon fine salt: For the dough itself.
- Flaky sea salt: An essential garnish for finishing the cookies before or right after baking.
Step-by-Step Easy Peanut Butter Cookie Recipe
Follow these simple steps for perfectly textured, bakery-style cookies every time.
Step 1: Cream the Butter and Sugars Preheat your oven to 350°F (175°C) and line a large baking sheet with parchment paper. In a large bowl or stand mixer, beat the softened butter, creamy peanut butter, brown sugar, and white sugar together on medium speed for about 2 minutes until light, fluffy, and completely smooth.
Step 2: Add the Wet Ingredients Add the room-temperature egg and the vanilla extract to the creamed mixture. Beat on medium speed until fully incorporated, scraping down the sides of the bowl with a rubber spatula as needed.
Step 3: Combine the Dry Ingredients In a separate medium bowl, whisk together the all-purpose flour, baking soda, baking powder, and fine salt. Gradually add the dry ingredients to the wet ingredients, mixing on low speed just until a soft dough forms. Do not overmix, or the cookies will become tough.
Step 4: Roll and Press Scoop the dough into 1 ½-inch balls (about 1.5 tablespoons of dough each) and place them on the prepared baking sheet, leaving about 2 inches of space between them. Using the back of a fork, gently press down on each dough ball to flatten it slightly, creating a crisscross pattern. Pro Tip: If the fork sticks, dip the tines lightly in granulated sugar between presses.
Step 5: Bake and Garnish Bake in the preheated oven for 10 to 12 minutes. The edges should look set and lightly golden, but the centers will still look very soft and slightly underbaked—this is exactly what you want! Immediately upon removing them from the oven, sprinkle the tops generously with flaky sea salt.
Step 6: Cool Completely Let the cookies rest on the hot baking sheet for 5 minutes so they can firm up. Then, carefully transfer them to a wire cooling rack to cool completely.
Pro Tips for Perfect Peanut Butter Cookies
Small details take a good cookie and make it extraordinary.
- Avoid natural peanut butter: Natural peanut butters (where the oil separates at the top) can be too greasy and unpredictable for baking, causing the cookies to spread into puddles. Stick to standard, homogenized creamy peanut butter.
- Chill the dough (Optional but recommended): If your kitchen is very warm or your butter was too soft, pop the bowl of dough into the fridge for 30 minutes before rolling. This prevents the cookies from spreading too thin in the oven.
- Don’t overbake: They will continue to bake on the hot pan after you take them out of the oven. Pull them out when the centers still look slightly gooey for that ultimate chewy texture.
How to Store Homemade Cookies

These cookies stay remarkably soft for days if stored correctly.
Keep the completely cooled cookies in an airtight container at room temperature for up to 5 days. You can also place a small piece of plain sandwich bread in the container; the cookies will absorb the moisture from the bread, keeping them bakery-soft!
To Freeze the Dough: Roll the dough into balls and press the crisscross pattern into them. Freeze them solid on a baking sheet, then transfer to a freezer-safe bag for up to 3 months. Bake straight from frozen, just adding an extra minute or two to the baking time.
Ways to Serve Peanut Butter Cookies
While incredible on their own, you can easily elevate these cookies:
- The Classic: Served warm alongside an ice-cold glass of milk.
- Ice Cream Sandwiches: Place a generous scoop of vanilla bean or chocolate ice cream between two cooled cookies for a decadent summer dessert.
- Chocolate Dipped: Melt dark chocolate and dip half of the cooled cookie into it, letting it set on wax paper. The visual contrast of the dark chocolate against the golden cookie is stunning.
Frequently Asked Questions
Why did my cookies turn out crumbly? Crumbly cookies are usually the result of measuring too much flour. Always use the “spoon and level” method rather than scooping the measuring cup directly into the flour bag, which packs it down. Overbaking can also dry them out.
Can I use chunky peanut butter? Absolutely! Chunky peanut butter works wonderfully in this recipe and adds an excellent crunchy texture to the final bite. Use the exact same measurements.
Can I make these gluten-free? Yes. You can substitute the all-purpose flour with a high-quality, 1-to-1 gluten-free baking flour blend that contains xanthan gum. The texture remains beautifully chewy.
Final Thoughts
This classic peanut butter cookies recipe proves that you don’t need complicated techniques to create a deeply satisfying, visually beautiful dessert. With the perfect ratio of sugars, a quick mix, and that iconic fork-pressed finish, you can produce bakery-quality cookies that will instantly become a household favorite.
Once you take that first bite—experiencing the pop of flaky sea salt followed by the rich, soft, peanut butter center—you will understand why this specific recipe is a lifelong keeper. Heat up that oven, grab your mixing bowls, and enjoy the pure, comforting joy of making the best peanut butter cookies from scratch!