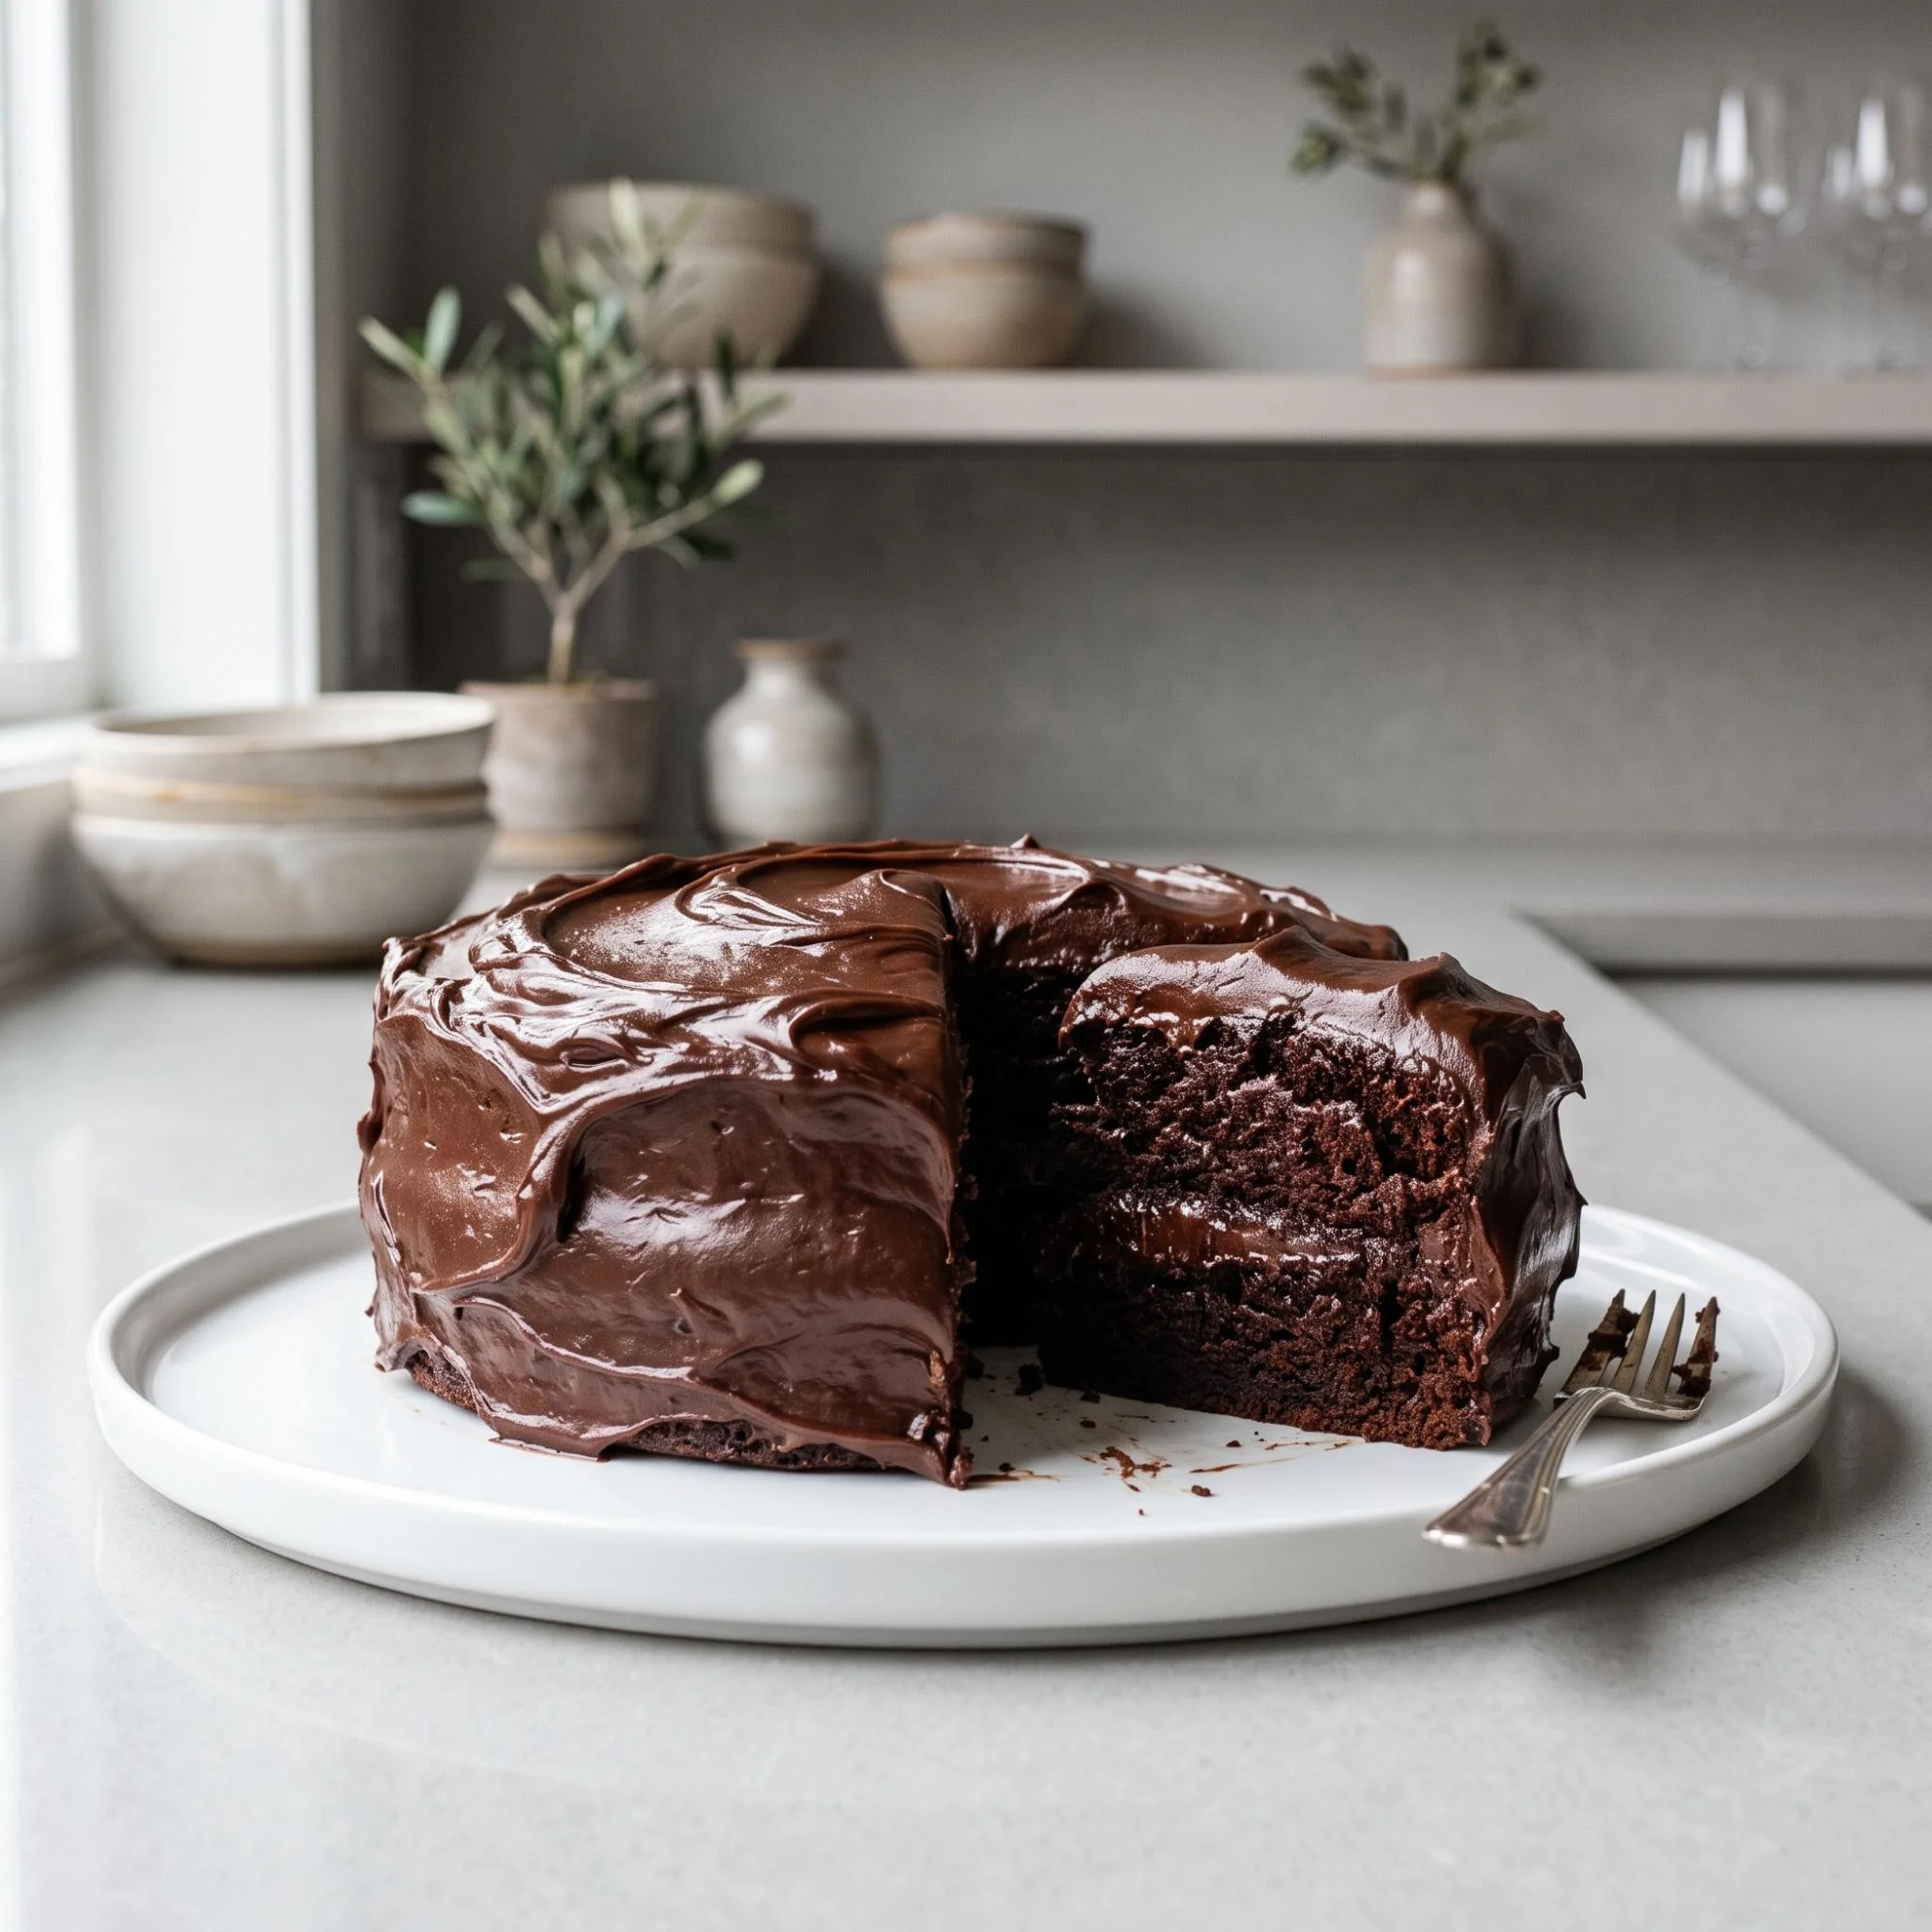
The Best Matilda Chocolate Cake Recipe
This guide to the best Matilda chocolate cake recipe is the perfect decadent dessert for any true chocolate lover. Inspired by the iconic, ultra-fudgy Bruce Bogtrotter cake, it combines a deeply rich, moist chocolate sponge with a thick, glossy chocolate fudge frosting, creating a heavy and satisfying slice.
Made with elevated pantry staples like buttermilk and hot coffee, it is a delicious, natural, and show-stopping alternative to dry, boxed cake mixes. If you are looking for a massive, crowd-pleasing chocolate centerpiece that takes minimal effort, let’s get right into it.
Why You Will Love This Recipe
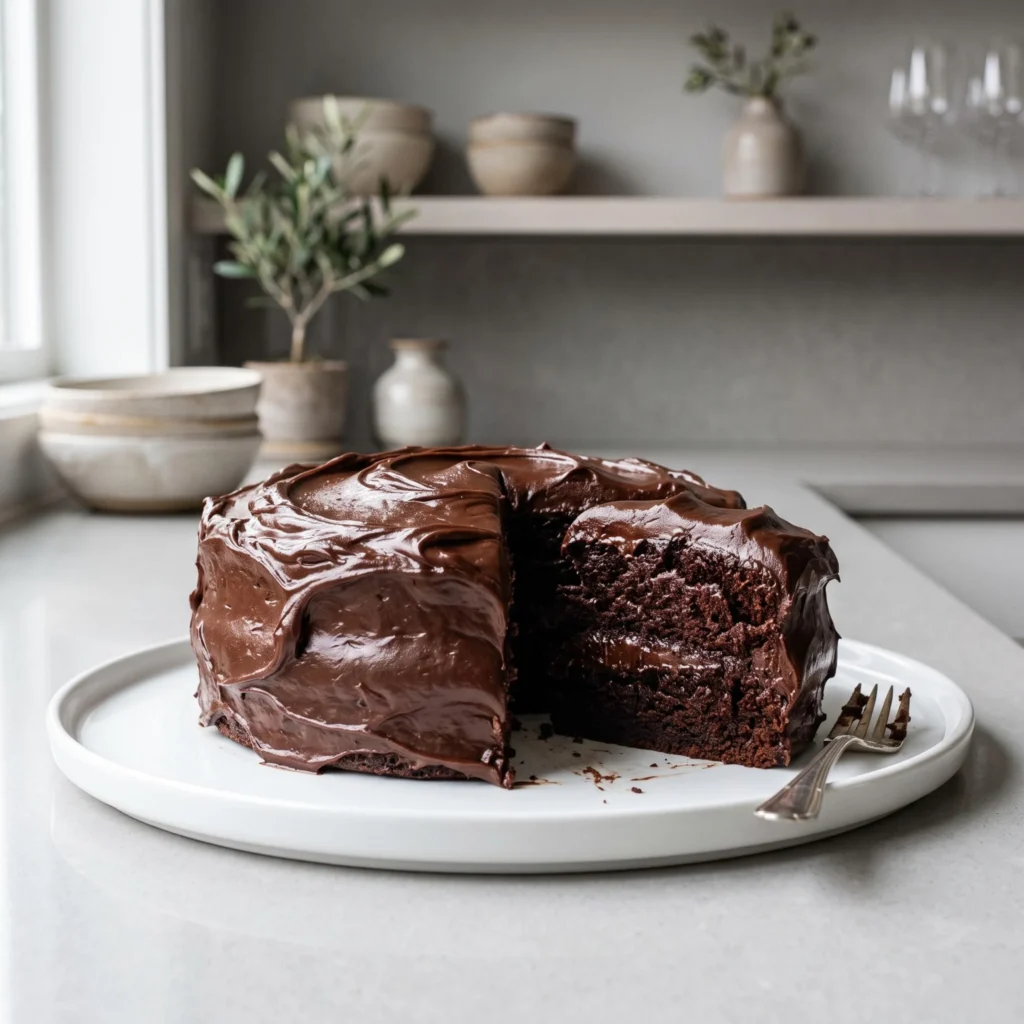
If you’ve been stuck in a rut of baking light, airy cakes that lack that true chocolate punch, you are going to fall in love with this method. This Matilda chocolate cake is:
- Texturally perfect: Using oil instead of butter in the batter makes it incredibly moist and soft, while the fudgy frosting provides maximum richness without being overly stiff.
- Highly customizable: You can easily load the batter with dark chocolate chips, a splash of espresso powder, or a pinch of flaky sea salt on top.
- Made with basic staples: You only need flour, quality cocoa powder, eggs, buttermilk, sugar, and some hot coffee.
- Visually gorgeous: The thick, swooping layers of glossy dark chocolate frosting look like they came straight out of a high-end bakery.
Ingredients You Will Need
The beauty of this recipe lies in its incredibly rich foundation. To get that perfect, nostalgic chocolate flavor, you will need:
- 2 cups all-purpose flour
- 2 cups granulated sugar
- 3/4 cup unsweetened cocoa powder (Dutch-processed is best)
- 2 teaspoons baking soda and 1 teaspoon baking powder
- 1 cup whole milk or buttermilk
- 1/2 cup vegetable oil
- 2 large eggs
- 1 cup hot brewed coffee (or hot water)
- For the Fudge Frosting: 1 cup unsalted butter (softened), 3 cups powdered sugar, 2/3 cup cocoa powder, and 1/3 cup heavy cream.
Step-by-Step Instructions for the Best Matilda Chocolate Cake
Follow these easy steps. I’ve broken them down into quick, bite-sized pieces so you can achieve maximum decadence without any baking stress.
- Step 1: Prep the Pans Preheat your oven to 350°F (175°C). Generously grease two 8-inch or 9-inch round cake pans and line the bottoms with a circle of parchment paper to ensure they do not stick.
- Step 2: Mix the Dry Ingredients Put the flour, granulated sugar, cocoa powder, baking soda, baking powder, and a pinch of salt into a large mixing bowl. Whisk everything together until the cocoa is completely smooth and evenly distributed.
- Step 3: Add the Wet Ingredients Add the buttermilk, vegetable oil, eggs, and a splash of vanilla extract to the dry mix. Beat on medium speed for 2 minutes. Carefully pour in the hot coffee and gently stir. The batter will be very thin, but that is exactly what you want!
- Step 4: Bake the Cake Divide the thin batter evenly between the two prepared cake pans. Bake for 30 to 35 minutes, or until a wooden toothpick inserted into the center comes out clean. Let the cakes cool completely on a wire rack.
- Step 5: Frost and Serve While the cakes cool, beat the softened butter, powdered sugar, cocoa powder, and heavy cream together until fluffy. Spread a thick layer of frosting between the two cooled cakes, then use the rest to generously swoop and swirl over the top and sides.
Pro Tips for the Ultimate Cake
Small adjustments can take your chocolate cake from good to absolute perfection.
- Use hot coffee: The hot liquid blooms the cocoa powder, releasing a much deeper, more intense chocolate flavor. You will not taste the coffee in the final cake; it simply enhances the chocolate!
- Do not overbake: Chocolate cake can dry out quickly. Check your cakes right at the 30-minute mark. A few moist crumbs on the toothpick are completely fine.
- Cool completely before frosting: If your cakes are even slightly warm, the butter-based fudge frosting will melt right off the sides and create a messy puddle.
What to Serve with Matilda Chocolate Cake
This versatile, heavy dessert pairs beautifully with simple, creamy contrasts.
- As a classic dessert: Serve a massive slice alongside a steaming cup of dark roast coffee or a tall glass of ice-cold whole milk.
- With a creamy topping: Pair it with a generous scoop of vanilla bean ice cream or a dollop of fresh, unsweetened whipped cream to cut through the intense chocolate.
- Loaded style: During the final frosting step, press a handful of mini chocolate chips or chocolate shavings directly into the sides of the cake for extra crunch.
How to Store Matilda Chocolate Cake
Have leftovers? It is incredibly easy to save for later, and this cake actually gets better the next day!
- On the Counter: Store the fully frosted cake under a cake dome or in an airtight container at room temperature for up to 3 days.
- How to Re-mix: Please skip eating it freezing cold from the fridge! Instead, give a single slice a quick 15-second zap in the microwave to bring that perfectly warm, melt-in-your-mouth fudgy texture right back.
- In the Freezer: You can freeze the baked, unfrosted cake layers tightly wrapped in plastic wrap and foil for up to 2 months. Thaw them overnight on the counter before making your fresh frosting.
Frequently Asked Questions
- Can I make this in a 9×13 rectangular pan? Absolutely. Pour all the batter into a greased 9×13 inch baking dish and bake for about 35 to 40 minutes.
- What is the best cocoa powder to use? Dutch-processed cocoa powder is the absolute best choice because it has a smoother, darker, and less acidic flavor profile than natural cocoa powder, giving you that true bakery taste.
- Can I prep this ahead of time? Yes! You can bake the cake layers a day in advance, wrap them tightly in plastic wrap once completely cooled, and leave them at room temperature until you are ready to frost and serve.
Final Thoughts
This best Matilda chocolate cake recipe is proof that making a show-stopping, legendary dessert doesn’t have to be complicated. With a quick batter, a simple fudgy frosting, and a hot oven, you get the ultimate rich, moist slice every single time. Try it today, and I promise it’ll become a permanent favorite at your table.