Crispy Homemade Arepas Recipe: Golden, Cheesy
This crispy homemade arepas recipe is the perfect comforting meal for a cozy breakfast or a hearty weekend lunch. It combines the warm, golden crunch of pan-toasted cornmeal with a rich, melty cheese and creamy avocado filling, creating an incredibly satisfying dish. Made with just a few simple ingredients, it is a delicious, naturally gluten-free, and easy-to-make alternative to store-bought breads or heavy takeout. If you are looking for a quick, crowd-pleasing Latin American classic that takes minimal effort, let’s get right into it.
Why You Will Love This Recipe
If you’ve been stuck in a rut of just serving regular toast or standard sandwiches, you are going to fall in love with this method. These homemade arepas are:
- Texturally perfect: Pan-searing them creates an incredibly crisp, golden crust, while the inside remains soft and fluffy, perfectly holding the creamy filling.
- Highly customizable: You can easily load them up with shredded beef, savory black beans, or a simple slice of fresh queso.
- Made with basic staples: You only need pre-cooked cornmeal (masarepa), warm water, a pinch of salt, and a little cooking oil.
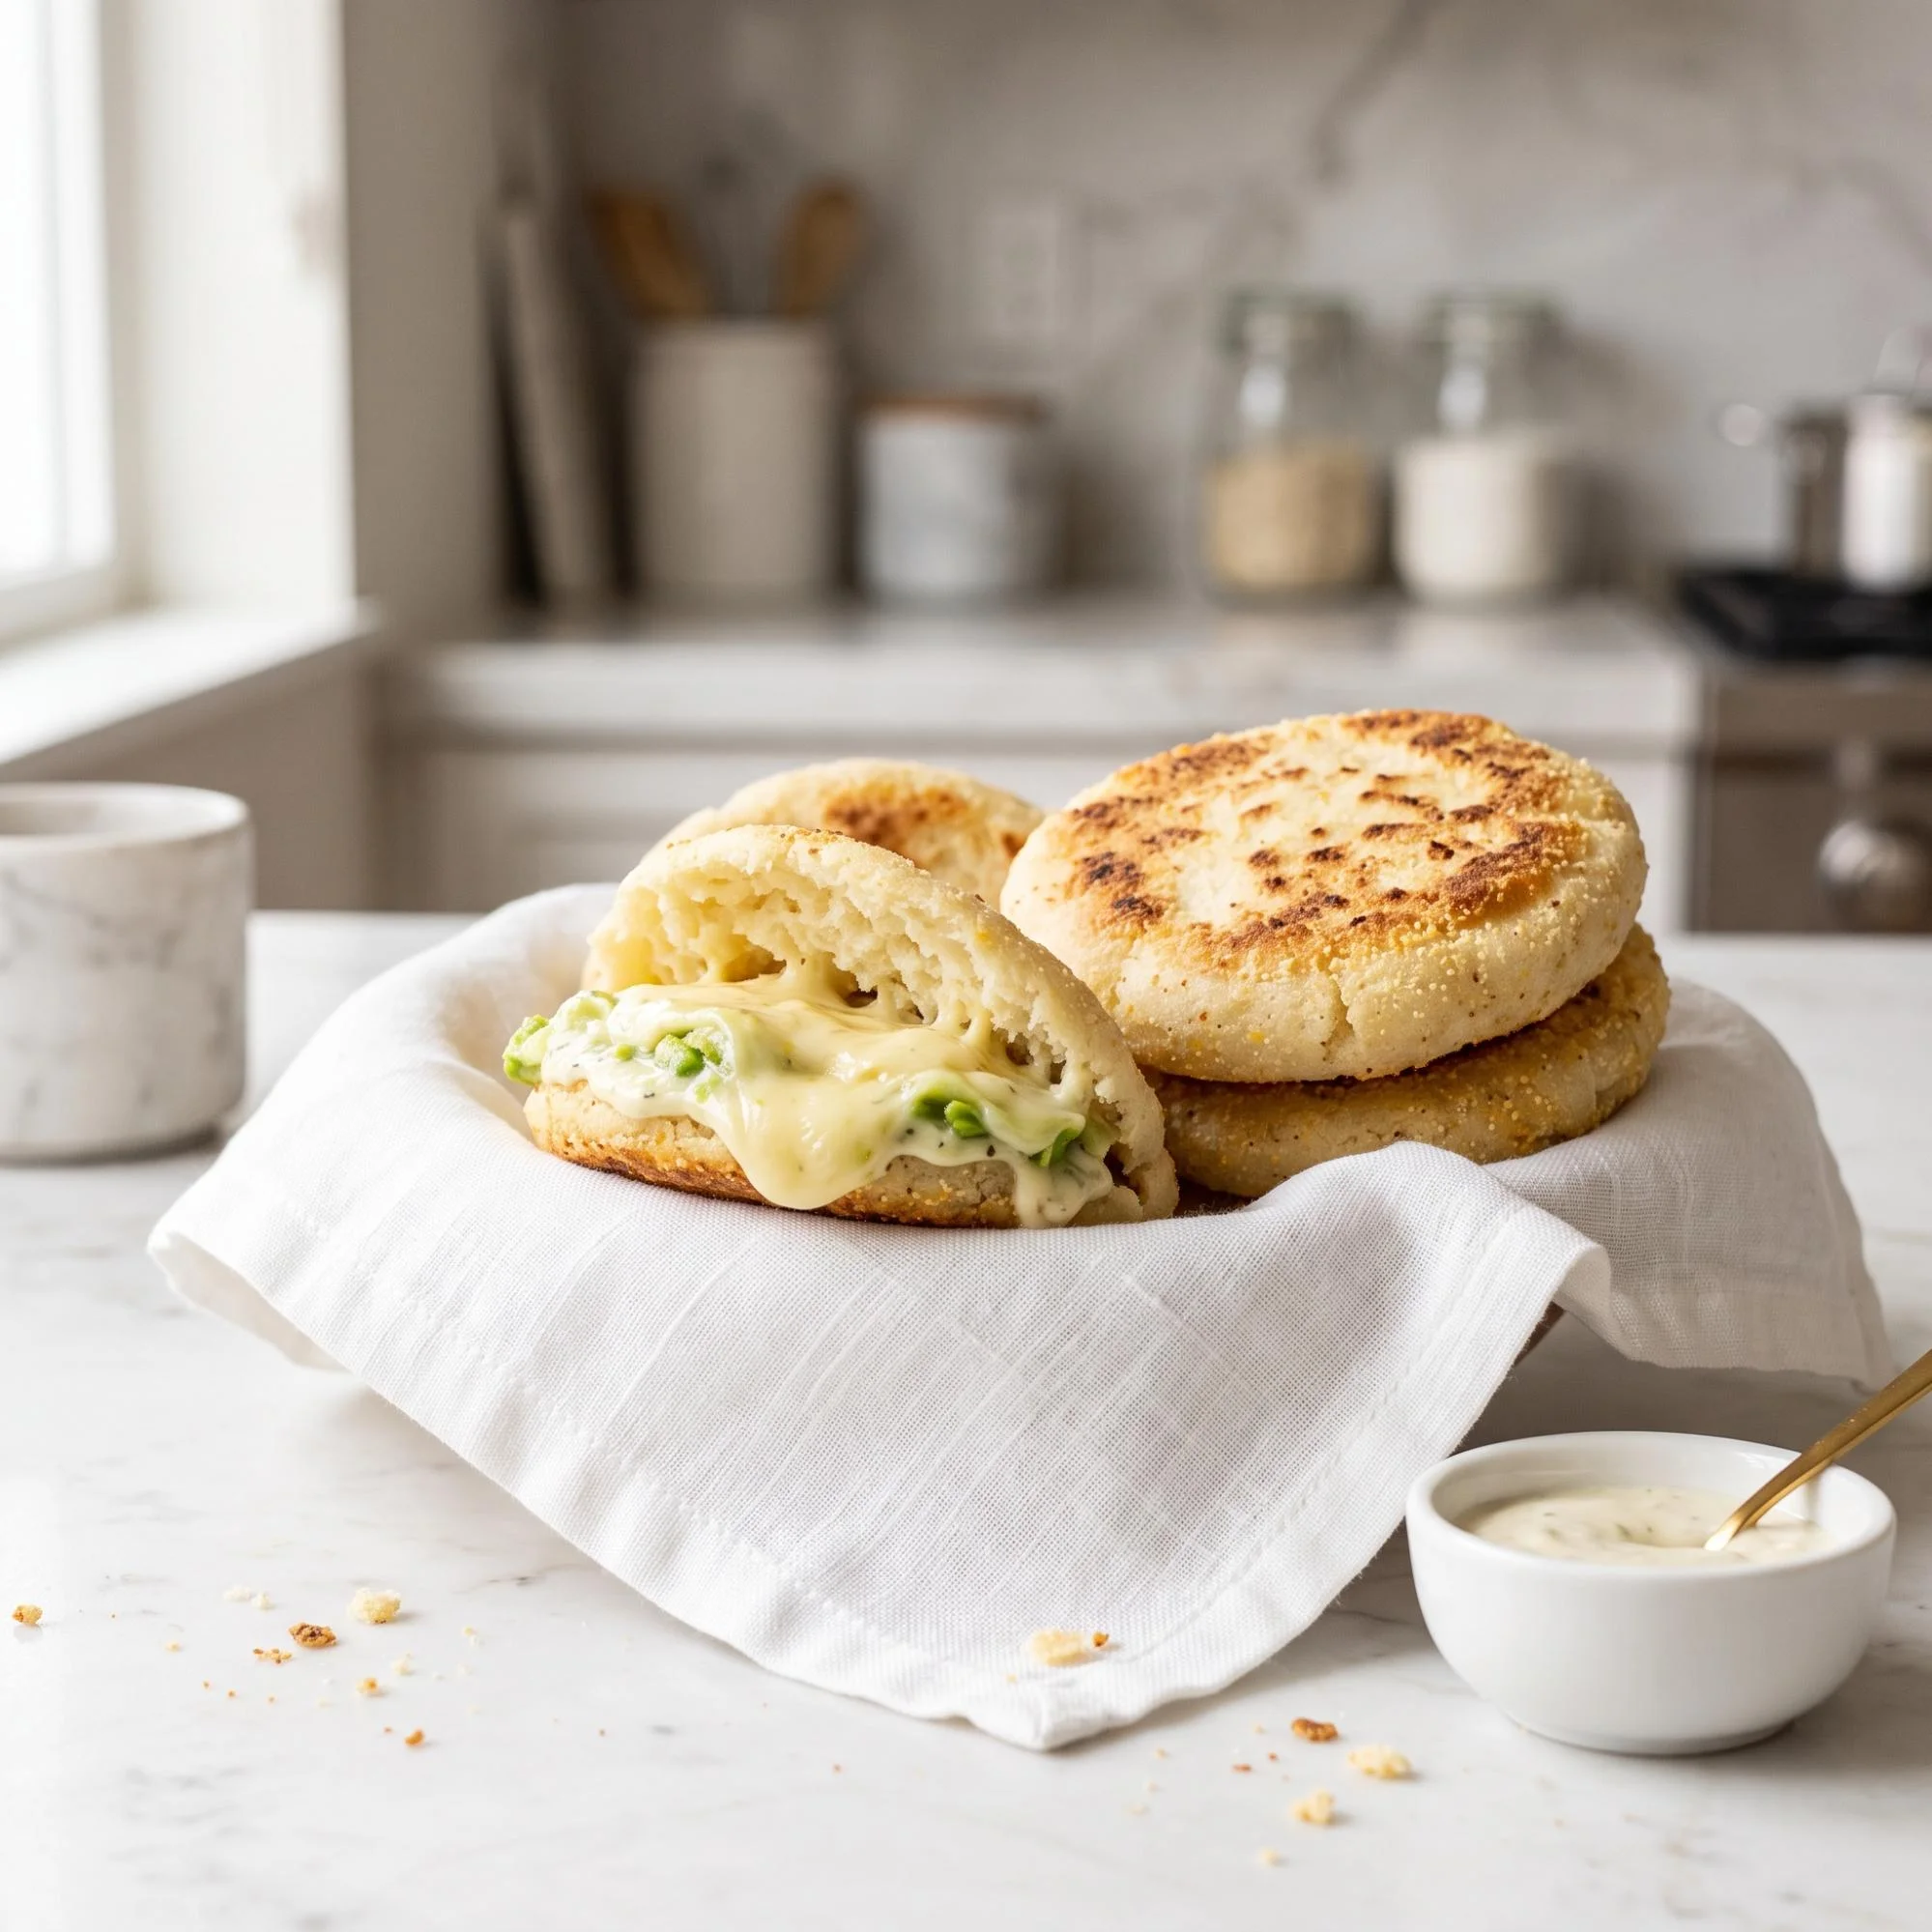
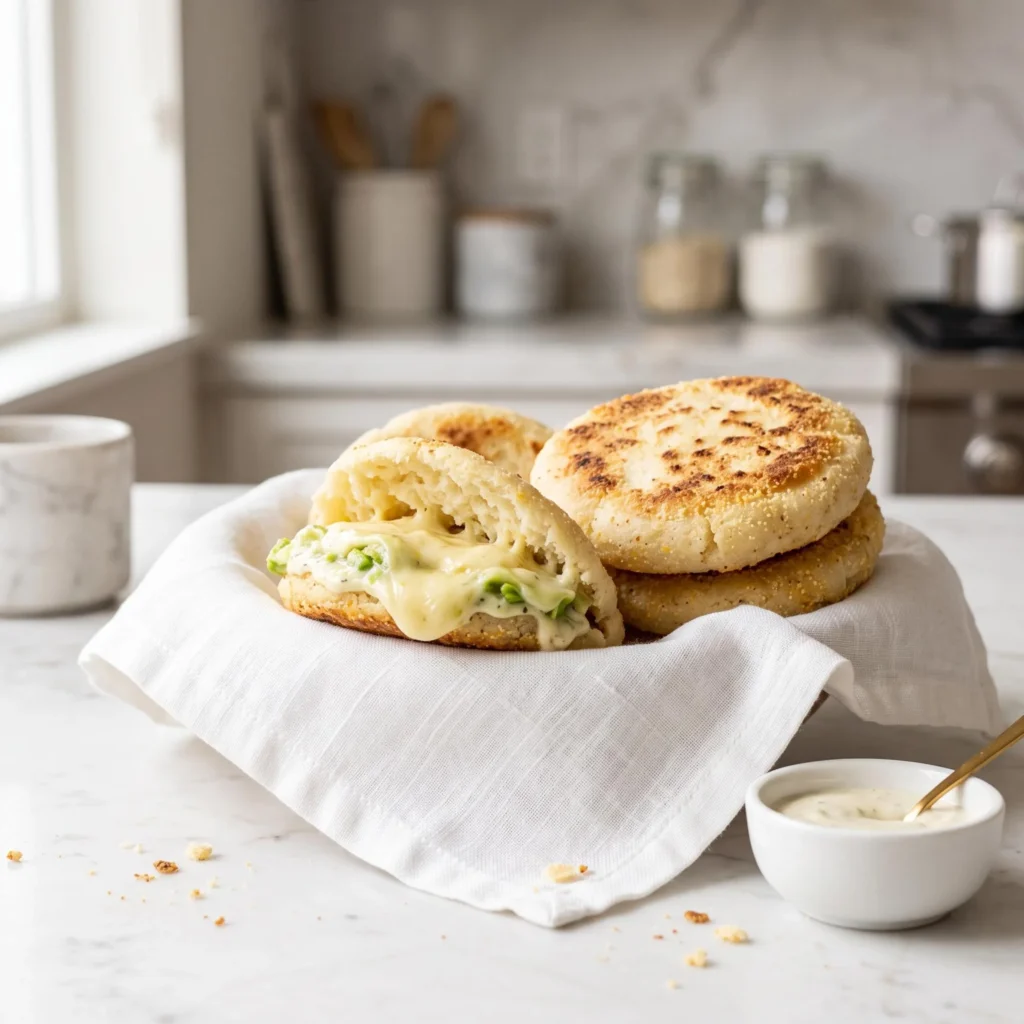
- Visually gorgeous: The beautifully toasted, golden-brown discs overflowing with vibrant green avocado and melted cheese look like they came straight out of a high-end Venezuelan café.
Ingredients You Will Need
The beauty of this recipe lies in its sheer simplicity. To get that perfect golden crunch, you will need:
- 2 cups pre-cooked white or yellow cornmeal (masarepa, such as P.A.N.)
- 2 1/2 cups warm water
- 1 teaspoon fine sea salt
- 1 tablespoon vegetable oil (plus more for pan-searing)
- 1 cup shredded mozzarella or white melting cheese (for filling)
- 1 ripe avocado, mashed with a squeeze of lime (for filling)
Step-by-Step Instructions for Crispy Homemade Arepas
Follow these easy steps. I’ve broken them down into quick, bite-sized pieces so you can achieve maximum flavor without any stress.
- Step 1: Mix the Dough In a large bowl, dissolve the salt into the warm water. Slowly pour in the pre-cooked cornmeal while mixing continuously with your hands to prevent any lumps from forming.
- Step 2: Rest the Masa Let the dough rest for 5 to 10 minutes. This allows the cornmeal to fully hydrate and absorb the water, making it soft, pliable, and easy to shape.
- Step 3: Shape the Arepas Divide the dough into 6 equal portions. Roll each portion into a smooth ball, then gently flatten it between your palms to form a neat disc about 1/2-inch thick.
- Step 4: Sear the Discs Heat a lightly oiled cast-iron skillet or griddle over medium heat. Cook the arepas for 5 to 7 minutes on each side until they develop a crisp, golden-brown crust and sound slightly hollow when tapped.
- Step 5: Fill and Serve Slice the hot arepas open horizontally, leaving the back edge intact like a pocket. Stuff generously with the mashed avocado and shredded cheese. Serve immediately while warm.
Pro Tips for the Ultimate Dish
Small adjustments can take your homemade arepas from good to absolute perfection.
- Use the right flour: You must use pre-cooked cornmeal (masarepa) for this recipe. Traditional cornmeal or masa harina used for tortillas will not yield the right texture or flavor.
- Keep your hands wet: If the dough feels a bit dry or starts to crack while shaping, simply dampen your hands with a little warm water to smooth out the edges perfectly.
- Control the heat: Cook them low and slow. If the heat is too high on your skillet, the outside will burn before the inside has a chance to cook through and become fluffy.
What to Serve with Homemade Arepas
This versatile little bread pairs beautifully with almost any flavorful side.
- As a breakfast main: Serve them alongside scrambled eggs, crispy bacon, and a hot cup of strong coffee for a traditional morning feast.
- With a hearty soup: A warm, plain arepa is absolutely essential for dipping into a rich chicken stew or a savory black bean soup.
- Loaded style: During the last 5 minutes of prep, mix some shredded rotisserie chicken and a dollop of mayo into your mashed avocado to create the famous “Reina Pepiada” filling!
How to Store Homemade Arepas
Have leftovers? It is incredibly easy to save for later.
- In the Fridge: Store the completely cooled, unfilled arepas in an airtight container in the fridge for up to 4 days.
- How to Re-heat: Please skip the microwave if you want to preserve the crunch! Instead, pop them in a toaster or warm them in a 350°F oven for about 10 minutes to bring that perfectly crispy crust right back.
- In the Freezer: You can freeze cooked or uncooked arepa discs by separating them with parchment paper and placing them in a zip-top freezer bag for up to 2 months.
Frequently Asked Questions
- Can I bake these instead of pan-searing? Absolutely. You can sear them in the skillet for just 2 minutes per side to get a crust, then finish them in a 400°F (200°C) oven for 15 minutes for a super fluffy interior.
- Why is my dough cracking? If the edges crack significantly when you press them flat, the dough is slightly too dry. Simply knead in another tablespoon or two of warm water until the masa is perfectly smooth.
- Can I prep this ahead of time? Yes! You can make the dough and shape the discs up to a day in advance. Keep them wrapped tightly in plastic wrap in the fridge until you are ready to cook.
Final Thoughts
This crispy homemade arepas recipe is proof that making a show-stopping bread alternative doesn’t have to be complicated. With a quick mix, a simple pan sear, and your favorite creamy fillings, you get the ultimate golden, satisfying bite every single time. Try it today, and I promise it’ll become a permanent favorite for your Kitchen Mastery Secrets collection.