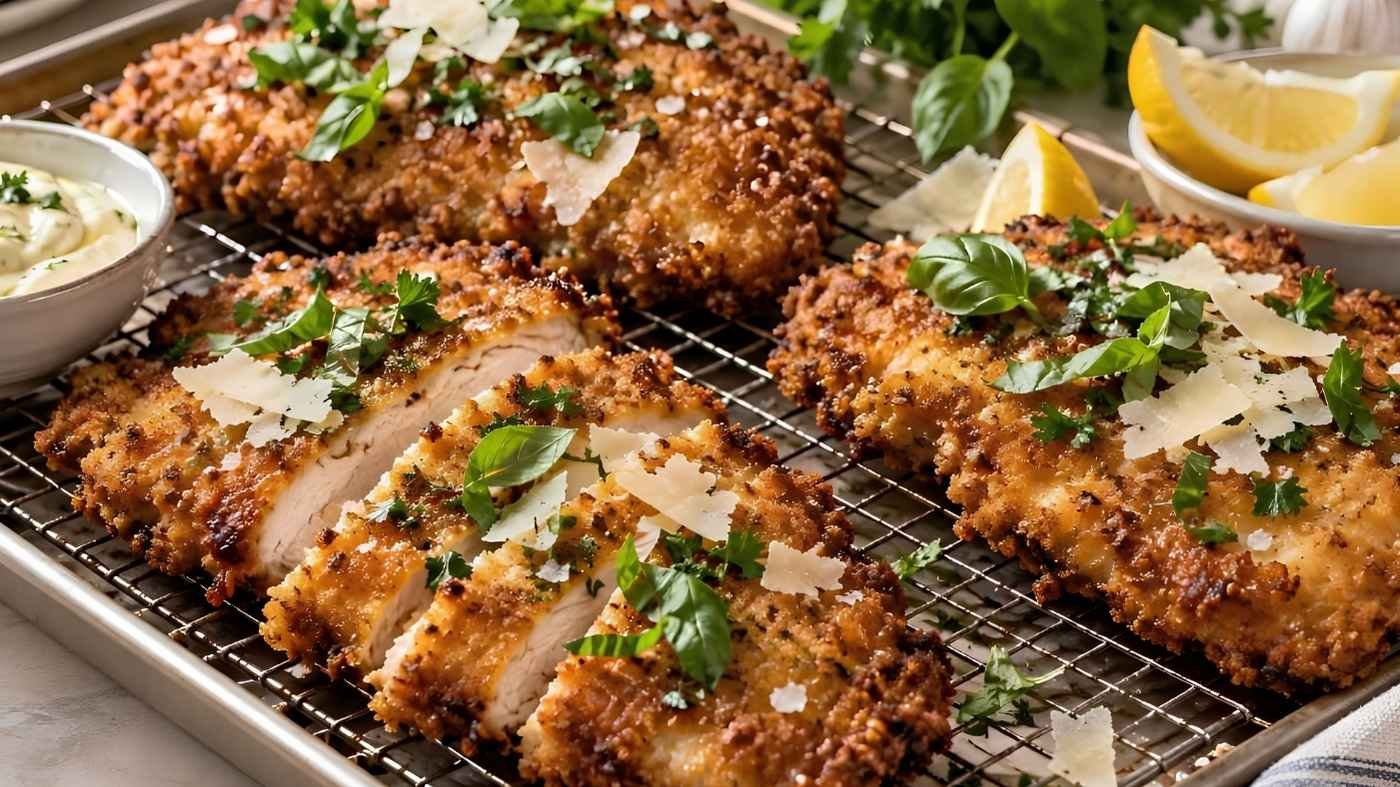
Crispy Parmesan Chicken Recipe: Better Than Any Restaurant Version
Recipe at a Glance
| Prep Time | 20 minutes |
| Rest Time | 15 minutes |
| Cook Time | 16 minutes |
| Total Time | 51 minutes |
| Servings | 4 cutlets |
| Course | Dinner |
| Calories | 520 per cutlet |
Breaded chicken cutlets fail in two predictable ways. Either the coating slides off into the pan and leaves bare chicken behind, or it browns beautifully while the inside is still raw and then dries out by the time it catches up. Both are fixable, and neither is about the recipe so much as the technique.
The coating stays on if you let the breaded cutlets sit for fifteen minutes before they hit the oil. That rest lets the egg soak into the panko and glue the whole thing to the chicken. The inside cooks evenly if you pound the breasts to half an inch, which also means three or four minutes a side is all they need.
The other thing worth knowing is that panko drinks oil. Three tablespoons in a skillet looks like plenty and is not, and the last cutlet in the pan always shows it. A quarter inch of oil is what gets you four cutlets that look the same as each other.
I used to bread the cutlets and put them straight in the pan, and about a third of the coating would come away with the first flip. It looked like the breading had not been pressed on hard enough, so I pressed harder, and it made very little difference.
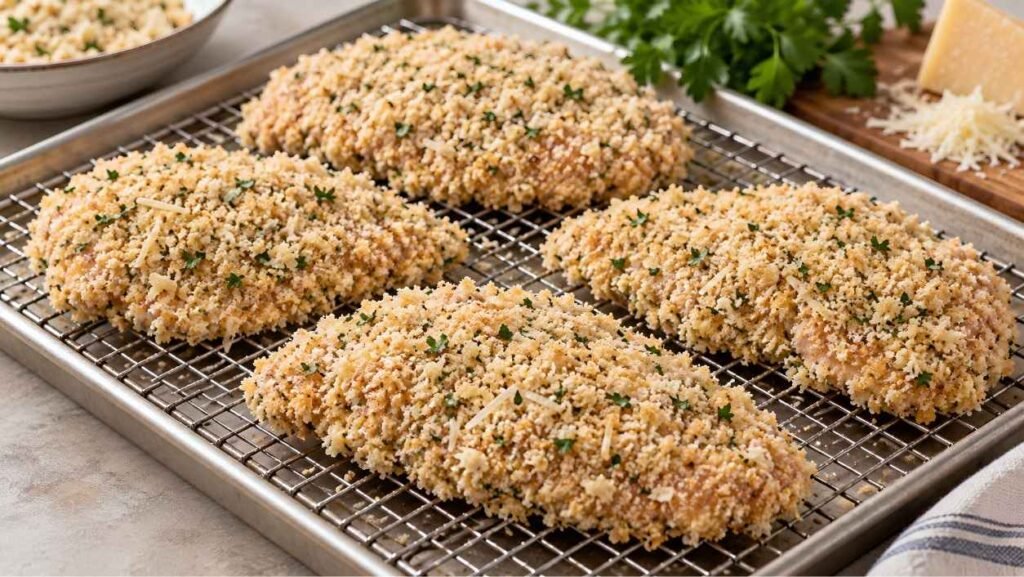
What actually fixed it was leaving them on a rack for fifteen minutes first. The egg underneath the panko sets slightly in that time and the whole crust behaves like one piece instead of a loose layer sitting on top of wet chicken.
Why You Will Love This Recipe
If you’ve been stuck in a rut of plain grilled chicken or bland baked breasts, you are going to fall in love with this method. This parmesan chicken is:
Texturally perfect: The Parmesan breadcrumb crust turns irresistibly golden and crunchy while the chicken inside stays juicy and tender.
Highly customizable: You can easily load it up with fresh herbs, a pinch of red pepper flakes, or a squeeze of lemon for brightness.
Made with basic staples: You only need chicken breasts, Parmesan, breadcrumbs, eggs, and a few seasonings.
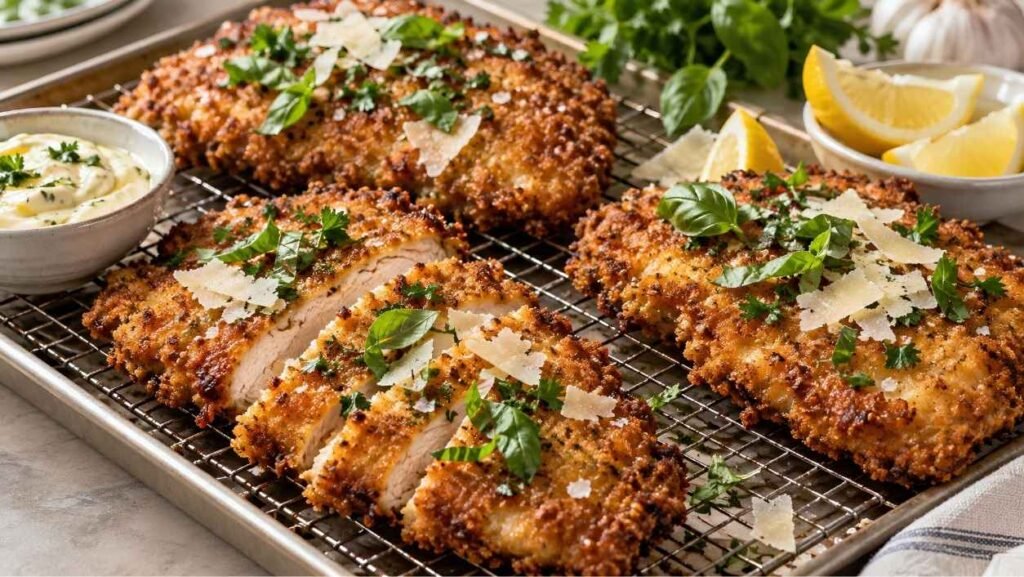
Visually gorgeous: The deep golden crust with flecks of herbs and cheese looks like it came straight out of a cozy Italian trattoria.
Equipment You Will Need
A meat mallet or a heavy pan. The flat side of a mallet, or the bottom of a small skillet, or even a rolling pin. What matters is getting the cutlets to an even half inch, since uneven thickness is why one end comes out dry and the other raw.
Three shallow dishes. Pie plates work, so do wide cereal bowls. Deep bowls make the dredging awkward and you end up with breading on your knuckles rather than on the chicken.
A wire rack. This one earns its place twice. The breaded cutlets rest on it before frying, and the cooked ones drain on it afterwards. Draining on paper towel traps steam underneath and softens the crust you just spent ten minutes building.
A large skillet, 12 inches. Two cutlets at a time need real space between them. Crowding drops the oil temperature and the coating turns greasy instead of crisp.
Ingredients You Will Need
The beauty of this recipe lies in its sheer simplicity. To get that perfect crispy, cheesy crust, you will need:
For the Chicken:
- 2 large boneless, skinless chicken breasts, halved lengthwise
- 1/2 cup all-purpose flour
- 1 tsp kosher salt
- 1/2 tsp black pepper
- 2 large eggs
- 1 tbsp water
- 1 cup panko breadcrumbs
- 1/2 cup finely grated Parmesan
- 1 tsp garlic powder
- 1 tsp dried oregano
- 1/2 tsp paprika
- 1/2 cup neutral oil, such as canola or avocado, for frying
For the Garlic Aioli:
- 1/2 cup mayonnaise
- 1 clove garlic, finely grated
- 1 tbsp lemon juice
- 1/4 tsp salt
To Finish:
- 1/4 cup shaved or grated Parmesan
- 2 tbsp fresh basil leaves, torn
- 1 tbsp fresh parsley, chopped
- Flaky salt
- 1 lemon, cut into wedges
Step-by-Step Instructions for Crispy Parmesan Chicken
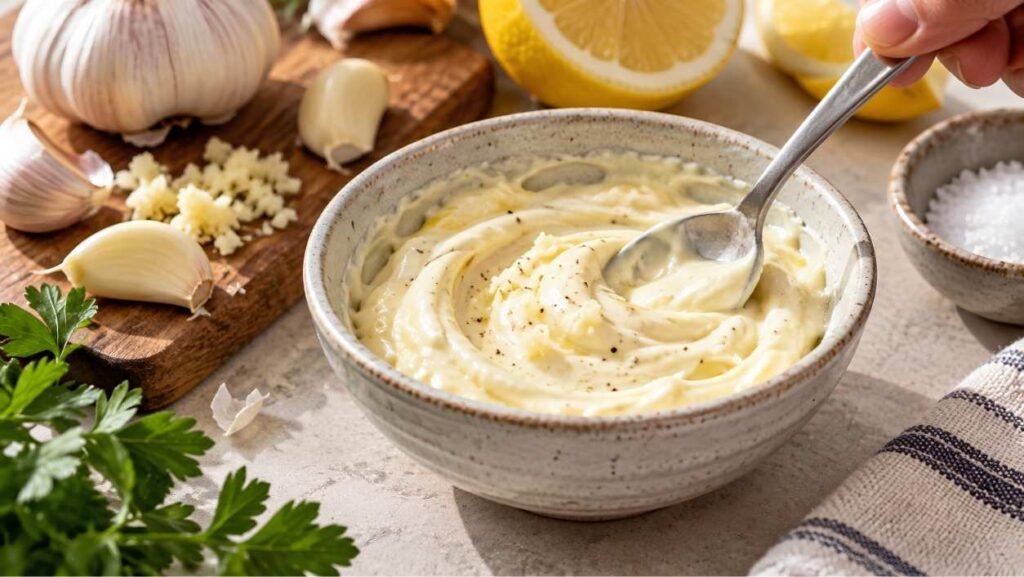
Step 1: Make the Aioli First Stir the mayonnaise, grated garlic, lemon juice, and salt together in a small bowl and put it in the fridge. Doing it now means the garlic has time to mellow into the mayonnaise, and it is one less thing to do while four cutlets are in a hot pan.
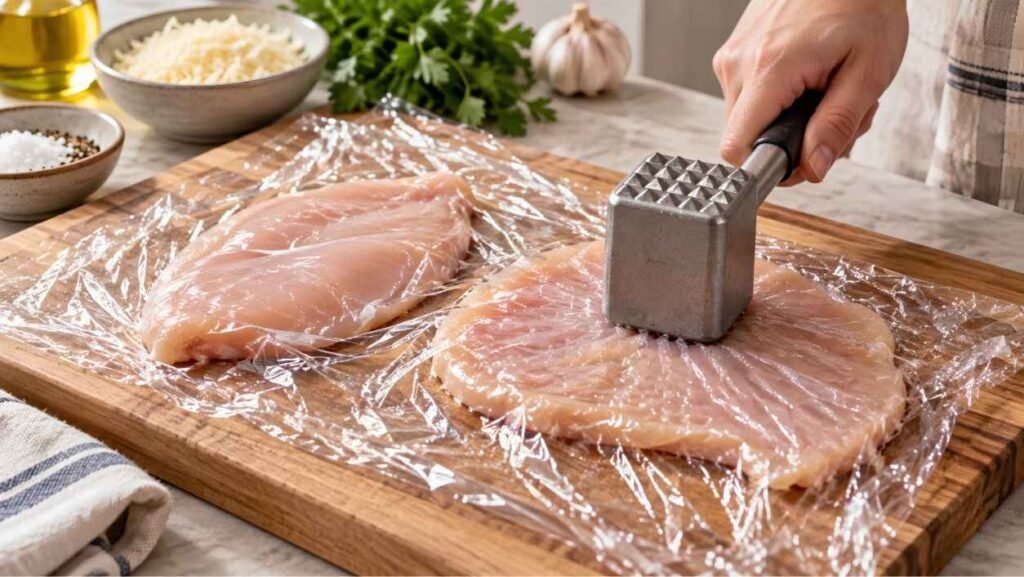
Step 2: Pound the Chicken Lay the halved breasts between two sheets of plastic wrap and pound them to an even half inch. Work from the centre outward and keep the mallet flat rather than striking at an angle, which tears the meat. Even thickness is what lets the inside finish cooking at the same moment the crust turns golden.
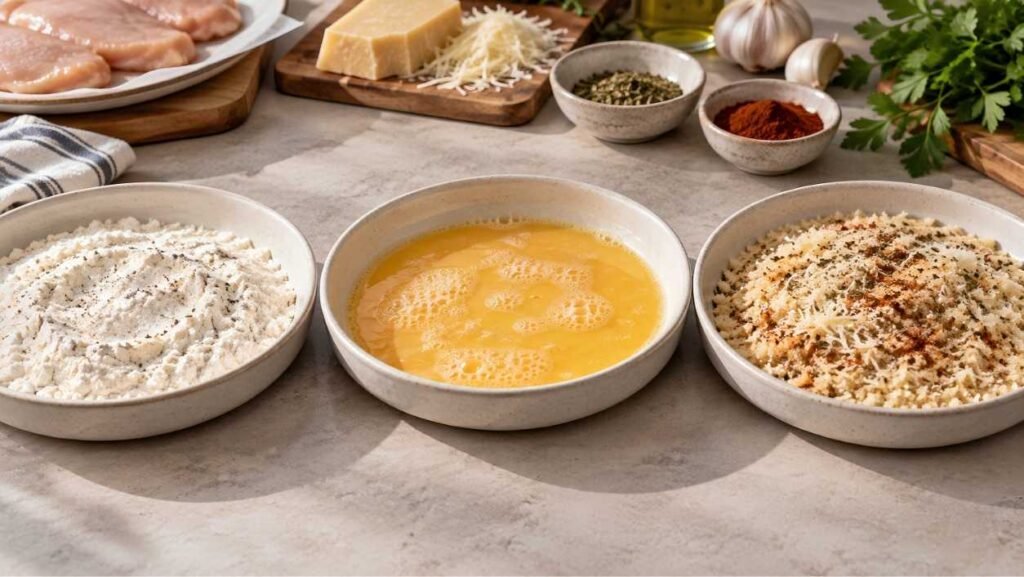
Step 3: Set Up Three Dishes In the first, whisk the flour with the salt and pepper. In the second, beat the eggs with the tablespoon of water. In the third, combine the panko, Parmesan, garlic powder, oregano, and paprika, mixing well so the cheese is spread evenly through the crumbs rather than clustered.
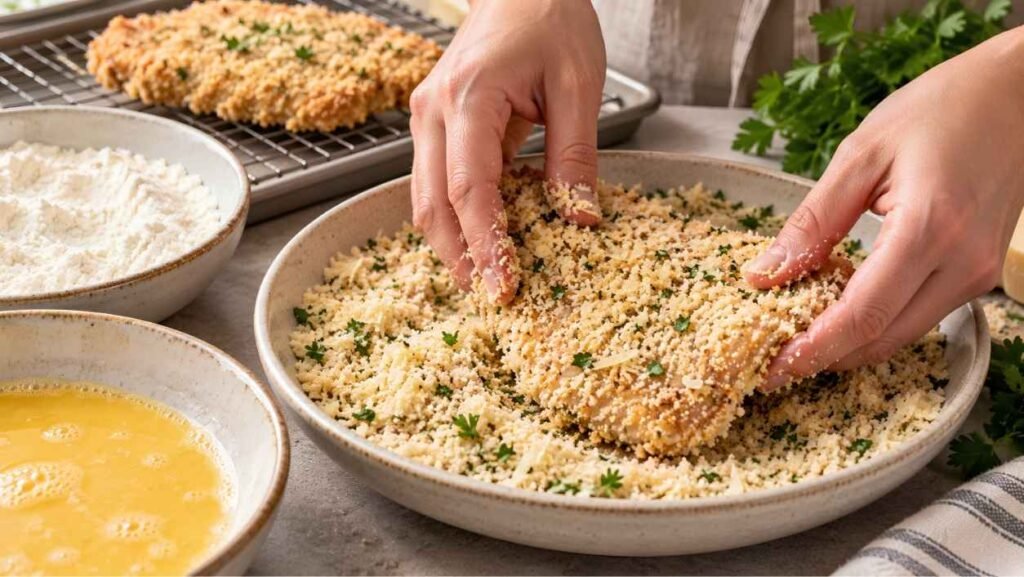
Step 4: Bread the Cutlets Dredge a cutlet in the seasoned flour and shake off everything loose. Dip it into the egg and let the excess drip back into the bowl for a couple of seconds. Lay it in the panko mixture and press the crumbs onto both sides with your palm. Set it on a wire rack and repeat with the rest.
Step 5: Rest the Breaded Cutlets Leave them on the rack for 15 minutes. This is the step that keeps the coating on. The egg underneath the panko sets slightly and binds the crust to the chicken, so it behaves like one piece instead of a loose layer sitting on wet meat. Skipping it is why breading ends up in the pan rather than on the plate.
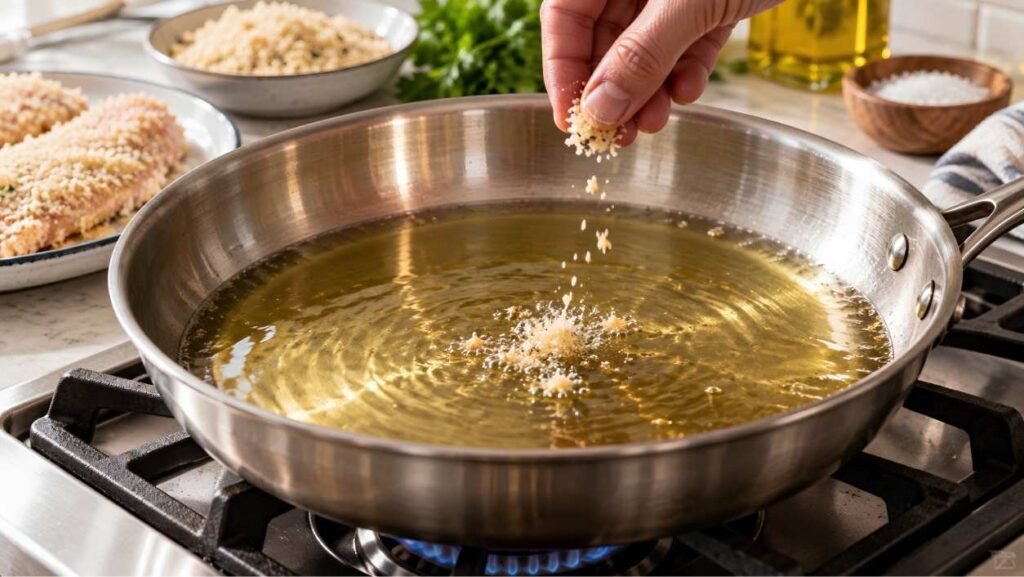
Step 6: Heat the Oil Pour the oil into a 12-inch skillet to a depth of about a quarter inch and heat over medium. It is ready when a pinch of panko dropped in sizzles steadily without browning instantly. If it browns on contact the oil is too hot and the Parmesan in the crust will burn before the chicken cooks.
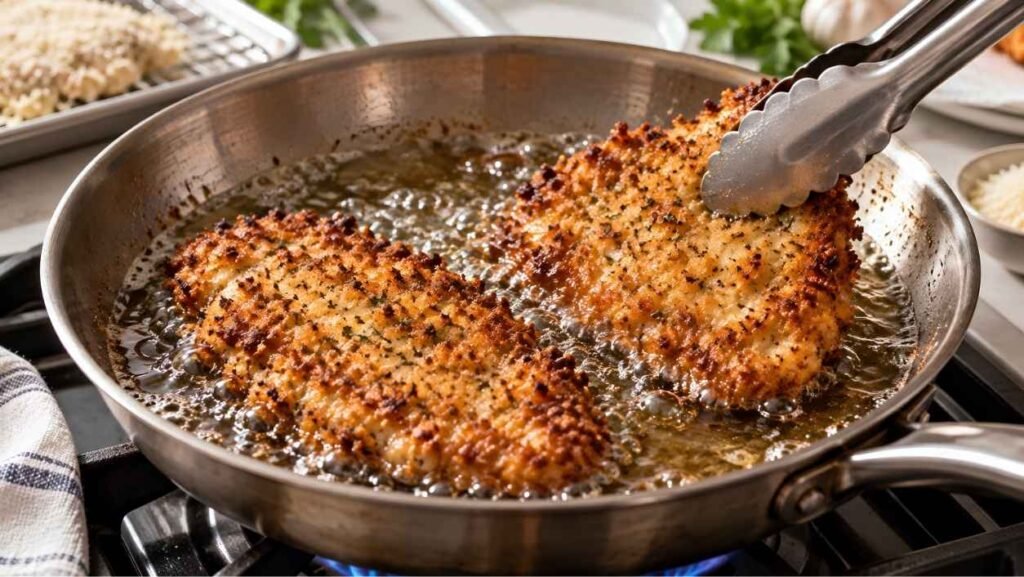
Step 7: Fry in Two Batches Lay two cutlets in the pan with space between them and fry for 3 to 4 minutes, until deep golden. Turn them with tongs rather than a fork, and fry the second side for another 3 to 4 minutes, to an internal temperature of 165°F (74°C). Move them to a clean wire rack. Add a little more oil for the second batch and let it come back to temperature before the next two go in.
Step 8: Rest and Finish Let the cutlets sit for 3 minutes on the rack, not on paper towel, which traps steam underneath and softens the crust. Scatter over the shaved Parmesan, the torn basil, the chopped parsley, and a pinch of flaky salt while they are still hot so everything sticks. Serve with the garlic aioli and lemon wedges.
Pro Tips for the Ultimate Chicken
Use one wet hand and one dry hand. Keep your left hand for the flour and the panko and your right for the egg, or the other way round. Using both hands for everything turns your fingers into breaded cutlets and wastes half the coating.
Test the oil with a pinch of panko. It should sizzle steadily and take a few seconds to colour. Instant browning means the oil is too hot, and the Parmesan in the crust will be dark long before the chicken reaches 165°F.
Top up the oil between batches. Panko absorbs a surprising amount, and the second pair of cutlets will go into noticeably less oil than the first unless you add more. Let it come back to temperature before the chicken goes in.
Grate the Parmesan finely for the coating. Coarse shreds sit in clumps within the panko and those clumps scorch while the rest of the crust is still pale. Save the coarse shavings for the top.
Common Mistakes to Avoid
Frying the cutlets straight after breading. The most common reason coating ends up in the pan. Fifteen minutes on a rack lets the egg set underneath the panko and bind the crust to the chicken. Pressing harder does not substitute for it.
Not using enough oil. Three tablespoons looks like plenty in a skillet and is gone by the second cutlet. A quarter inch, topped up between batches, is what gets you four cutlets that look alike.
Using extra virgin olive oil. It smokes at around 375°F, which is barely above frying temperature, and it turns bitter as it does. Neutral oil handles the heat without contributing any flavour of its own.
Skipping the pounding. A chicken breast is thick at one end and thin at the other. Fried as it comes, the thin end is dry and overcooked by the time the thick end reaches a safe temperature. Half an inch throughout solves both problems at once.
Variations to Try
Chicken Parmesan. Spoon warm marinara over each fried cutlet, top with a slice of low-moisture mozzarella, and put them under the broiler for two minutes until the cheese blisters. Add the sauce only at the end, since a cutlet sitting in sauce loses its crust in minutes.
Air fryer version. Spray the breaded cutlets generously on both sides and air fry at 400°F for 12 to 14 minutes, turning once. The coating needs that oil spray or it stays pale and tastes of raw flour. Crisper than the oven, slightly less rich than the pan.
Baked version. Arrange the breaded cutlets on a wire rack over a baking sheet, drizzle or spray both sides with oil, and bake at 425°F for 18 to 20 minutes. No flipping, since the rack lets air circulate underneath. The oil is not optional here either.
Crispy chicken sandwich. Slice a cutlet to fit a toasted brioche bun, add shredded lettuce, sliced tomato, and a generous spread of the garlic aioli. This is the best use for a leftover cutlet reheated in the air fryer.
What to Serve with Crispy Parmesan Chicken
This versatile main dish pairs beautifully with almost any side.
As a main course: Serve it alongside a simple arugula salad with lemon vinaigrette or a side of buttery mashed potatoes.
Italian style: Top the crispy chicken with warm marinara sauce and melted mozzarella for a quick chicken Parmesan variation, served over spaghetti.
Sandwich style: Slice the chicken and tuck it into a toasted bun with lettuce, tomato, and a swipe of garlic aioli for an easy crispy chicken sandwich.
How to Store Crispy Parmesan Chicken
Fried coatings are never quite the same the next day, but these come back closer than most if you reheat them the right way.
In the fridge. Store the cooled cutlets in an airtight container for up to 3 days. Put a sheet of paper towel underneath them to absorb any condensation, and do not stack them directly on top of each other if you can avoid it.
How to reheat. Air fryer at 375°F for 5 to 6 minutes is the best result. An oven at 375°F takes 8 to 10 minutes and gets close. Skip the microwave entirely, which steams the crust and turns it soft and chewy within thirty seconds.
In the freezer. Freeze the cooked, cooled cutlets in a single layer on a tray first, then transfer them to a freezer bag for up to 2 months. Separating them before they freeze means you can take out one at a time. Reheat straight from frozen at 400°F for 15 to 20 minutes, either in the oven or the air fryer.
Freeze them breaded but uncooked. This gives a better result than freezing them fried. Bread the cutlets, freeze them on a tray until solid, then bag them. Fry from frozen over slightly lower heat for 5 to 6 minutes a side, checking that they reach 165°F.
Frequently Asked Questions
Can I bake this instead of pan-frying? Absolutely. Place the coated chicken on a wire rack over a baking sheet and bake at 400°F for 20 to 25 minutes, flipping halfway, for a lighter version with similar crunch.
What are the best breadcrumbs to use? Panko breadcrumbs are the best choice because their larger, airier flakes create a crispier crust than standard fine breadcrumbs.
Can I prep this ahead of time? Yes! You can bread the chicken and keep it covered in the fridge for up to 4 hours before cooking. When you are ready for dinner, just sear and serve.
Final Thoughts
Everything that goes wrong with breaded cutlets comes down to three things, and none of them are the ingredients. Pound the chicken to an even half inch so it cooks through before the crust burns. Rest the breaded cutlets for fifteen minutes so the coating actually stays attached. Use a quarter inch of neutral oil rather than a few tablespoons of olive oil, and top it up between batches.
Get those right and the rest is straightforward. Four cutlets, seven minutes each, and they come out of the pan looking the same as each other.
If you make it, leave a note in the comments and tell me how it went. If something did not work I would rather hear about it than not.