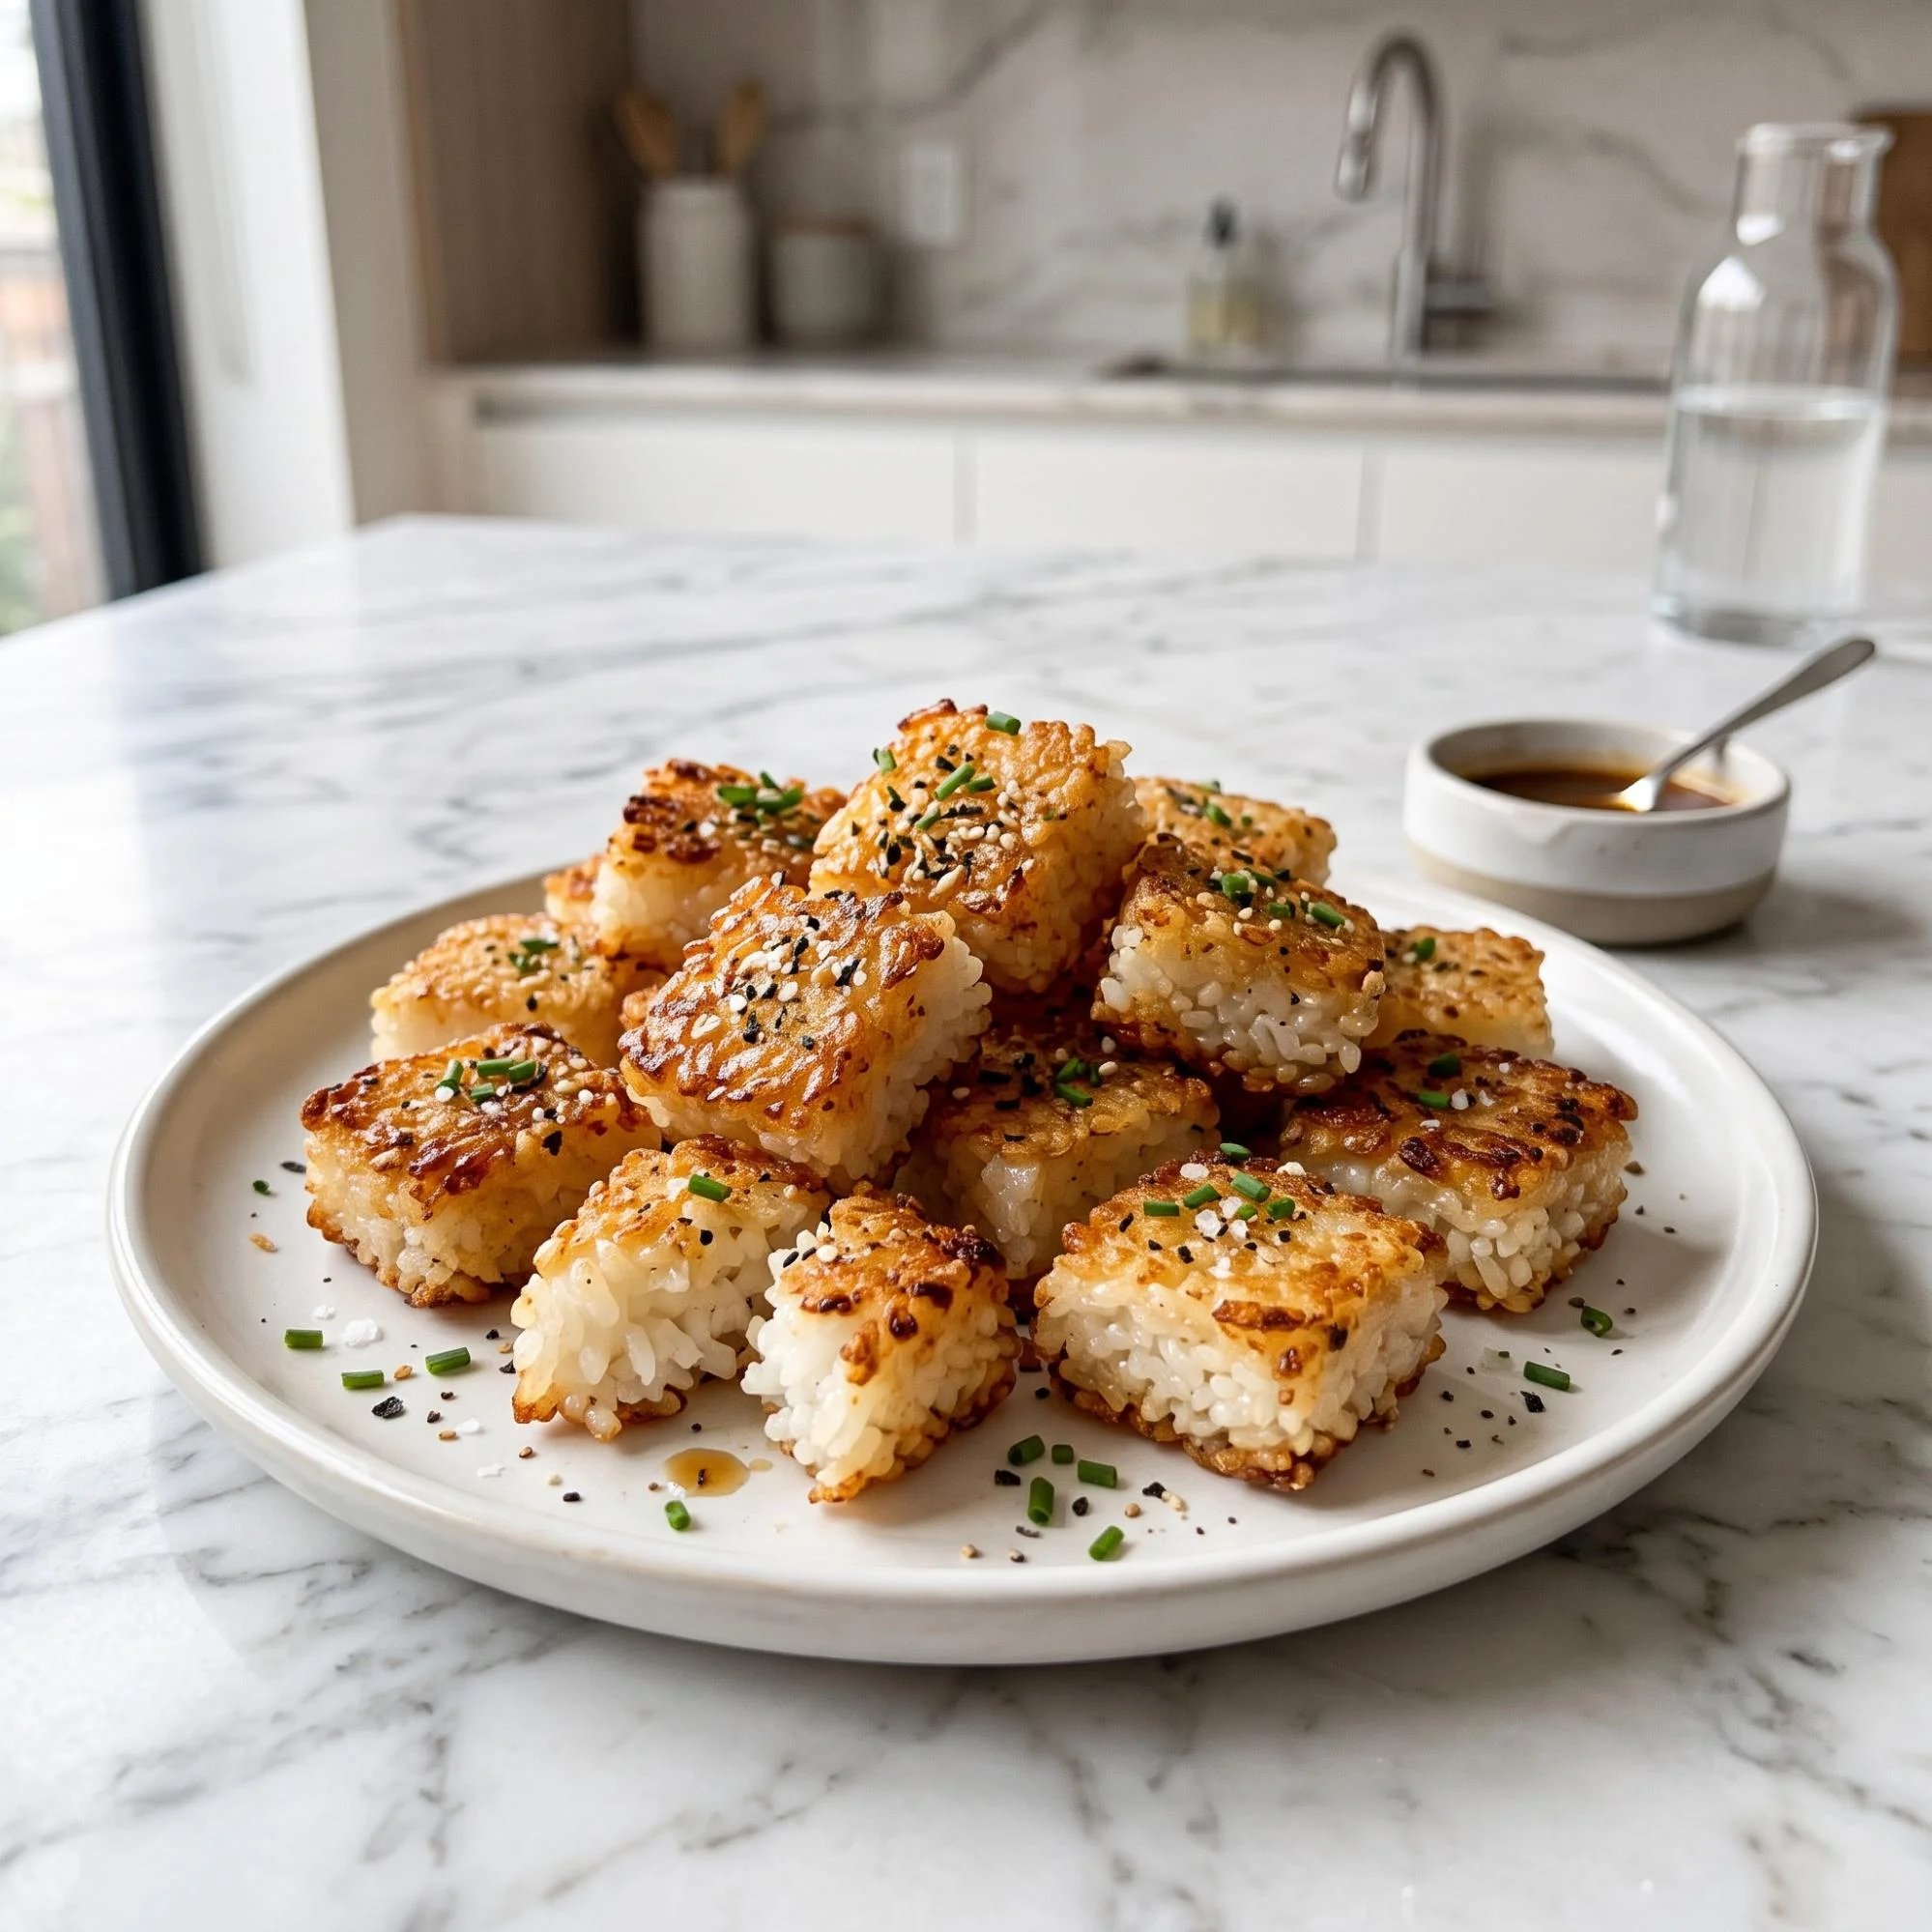
Crispy Rice Recipe: Golden, Crunchy, and Better Than Takeout
This incredible crispy rice recipe is the perfect savory appetizer for a dinner party or a fun weekend snack. It combines the soft, sticky center of perfectly seasoned sushi rice with a deeply golden, crunchy exterior, creating a highly addictive bite. Made with just a few simple pantry ingredients, it is a delicious, natural, and easy-to-make alternative to expensive sushi restaurant appetizers. If you are looking for a quick, crowd-pleasing dish that takes minimal effort to master, let’s get right into it.
Why You Will Love This Recipe
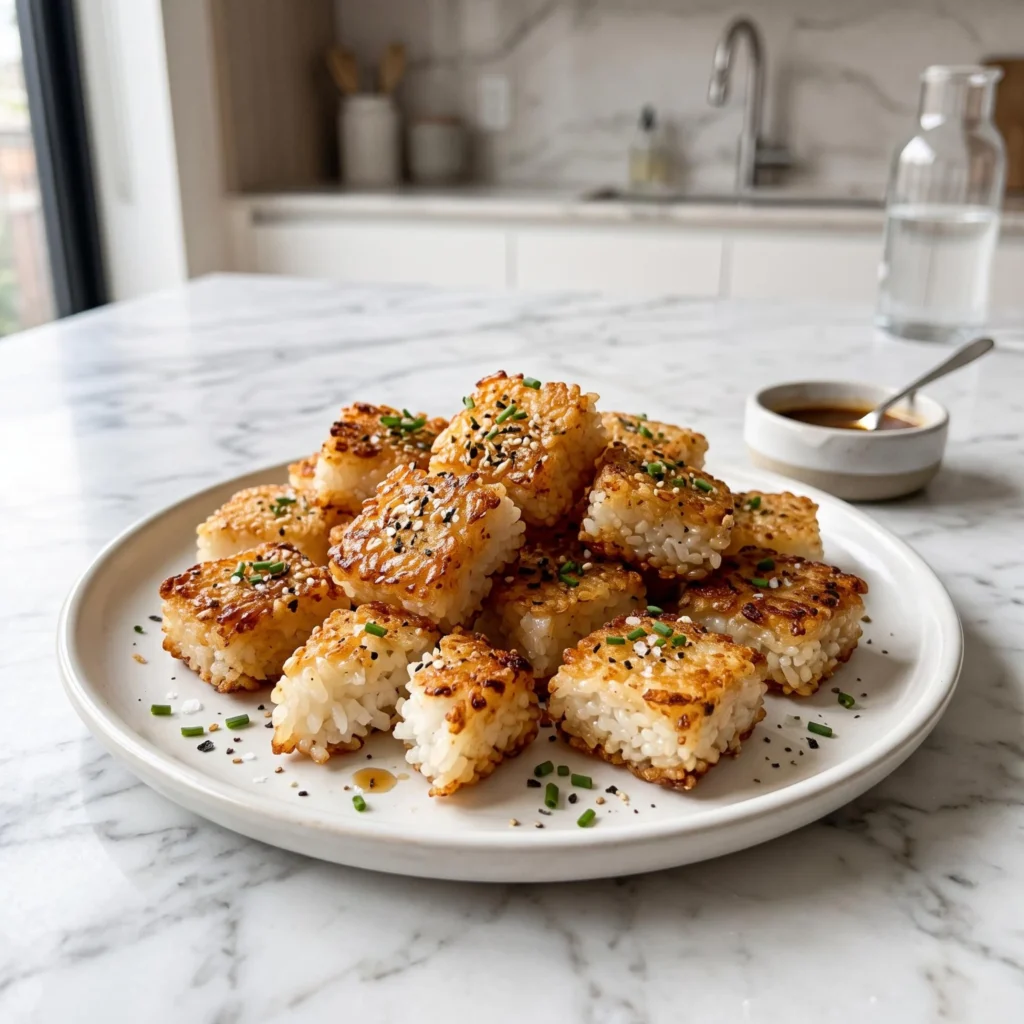
If you’ve been stuck in a rut of just serving plain crackers or heavy chips before dinner, you are going to fall in love with this method. This crispy rice is:
- Texturally perfect: Pan-frying the pressed squares makes the outside incredibly crunchy, while the short-grain rice ensures the inside stays delightfully soft and chewy.
- Highly customizable: You can easily load it up with spicy tuna, mashed avocado, or a drizzle of spicy mayonnaise.
- Made with basic staples: You only need short-grain sushi rice, rice vinegar, a little sugar, and neutral oil for frying.
- Visually gorgeous: The golden-brown squares speckled with black and white sesame seeds and vibrant green chives look like they came straight out of a high-end fusion restaurant.
Ingredients You Will Need
The beauty of this recipe lies in its sheer simplicity. To get that perfect savory crunch, you will need:
- 2 cups cooked sushi rice (short-grain is essential)
- 2 tablespoons rice vinegar
- 1 tablespoon granulated sugar
- 1/2 teaspoon salt
- 1/2 cup neutral oil for frying (like canola, vegetable, or avocado oil)
- Fresh chives, finely chopped (for garnish)
- Black and white sesame seeds (for garnish)
- Soy sauce or ponzu sauce for dipping
Step-by-Step Instructions for Crispy Rice
Follow these easy steps. I’ve broken them down into quick, bite-sized pieces so you can achieve maximum crunch without any stress.
- Step 1: Season the Rice While the cooked sushi rice is still hot, gently fold in the rice vinegar, sugar, and salt. Mix until the sugar is dissolved and the rice is sticky and glossy.
- Step 2: Press and Chill Line an 8×8-inch baking dish with plastic wrap. Transfer the seasoned rice into the dish and press it down firmly into a tight, even layer. Cover and chill in the fridge for at least 2 hours (or overnight).
- Step 3: Cut the Rice Remove the chilled, hardened rice block from the dish. Using a sharp knife dipped in water, cut the rice block into small, bite-sized squares or rectangles.
- Step 4: Fry the Squares Heat the neutral oil in a large skillet over medium-high heat. Carefully place the rice squares into the hot oil. Fry for 2 to 3 minutes per side until deeply golden brown and crispy.
- Step 5: Garnish and Serve Transfer the crispy rice to a paper towel-lined plate to drain excess oil. Sprinkle immediately with sesame seeds, flaky salt, and fresh chives. Serve warm with soy sauce!
Pro Tips for the Ultimate Dish
Small adjustments can take your crispy rice from good to absolute perfection.
- Chill the rice completely: Do not skip the resting time in the fridge! The rice must be completely cold and firm before cutting, otherwise, the squares will fall apart in the hot oil.
- Use wet hands: When pressing the sticky rice into the baking dish, dip your fingers or a spatula in water first. This prevents the rice from sticking to you and ensures a perfectly compact layer.
- Don’t crowd the pan: Fry the rice squares in batches. If you put too many in the pan at once, the oil temperature will drop, and the rice will absorb the oil and become greasy instead of crispy.
What to Serve with Crispy Rice
This versatile little bite pairs beautifully with almost any topping.
- As an appetizer: Top each warm square with a spoonful of spicy salmon or tuna tartare mixed with sriracha and sesame oil.
- As a vegan bite: Serve them loaded with mashed avocado, a slice of jalapeño, and a squeeze of fresh lime juice.
- Loaded style: During the last 5 minutes of prep, set up a dipping station with eel sauce, spicy mayo, and a crisp cucumber salad!
How to Store Crispy Rice
Have leftovers? It is incredibly easy to save for later, though they are best enjoyed fresh.
- In the Fridge: Store the fried crispy rice in an airtight container in the fridge for up to 3 days.
- How to Re-heat: Please skip the microwave, which will make them rubbery! Instead, pop them in an air fryer at 375°F for 3 to 4 minutes, or re-crisp them in a dry skillet over medium heat to bring that perfect crunch right back.
- In the Freezer: You can freeze the unfried, pre-cut rice squares in a freezer-safe bag for up to a month. Thaw them in the fridge overnight before frying.
Frequently Asked Questions
- Can I use regular long-grain or jasmine rice? Unfortunately, no. Long-grain rice does not have enough starch to stick together tightly. You must use short-grain sushi rice to get the correct sticky texture.
- Can I bake these instead of frying? Absolutely. Brush the squares generously with oil and bake at 400°F (200°C) for about 30-40 minutes, flipping halfway. They won’t be quite as crunchy as pan-frying, but still delicious.
- Can I prep this ahead of time? Yes! You can press the rice into the baking dish and keep it covered in the fridge for up to 2 days before you are ready to cut and fry them for your guests.
Final Thoughts
This amazing crispy rice recipe is proof that making a show-stopping appetizer doesn’t have to be complicated. With a quick chill, a fast pan-fry, and some beautiful garnishes, you get the ultimate savory, crunchy bite every single time. Try it today, and I promise it’ll become a permanent favorite for your Kitchen Mastery Secrets collection.