Raspberry Syrup Recipe: Sweet, Fruity, and Better Than Store-Bought
This vibrant raspberry syrup recipe is the perfect sweet addition to your morning breakfasts or favorite cold beverages. It combines the bright, fruity tartness of fresh raspberries with a rich, smooth sweetness, creating a luscious and highly versatile pour. Made with just a few simple ingredients, it is a delicious, natural, and easy-to-make alternative to store-bought syrups packed with high-fructose corn syrup or artificial colors. If you are looking for a quick, crowd-pleasing homemade topping that takes minimal effort, let’s get right into it.
Why You Will Love This Recipe
If you’ve been stuck in a rut of just using plain maple syrup or heavily processed flavorings, you are going to fall in love with this method. This raspberry syrup is:
- Texturally perfect: Simmering it to the right consistency makes it incredibly smooth and pourable, while straining removes all the seeds for a flawless finish.
- Highly customizable: You can easily load it up with a splash of vanilla extract, a sprig of fresh mint during the boil, or a pinch of cinnamon.
- Made with basic staples: You only need fresh or frozen raspberries, water, granulated sugar, and a touch of lemon juice.
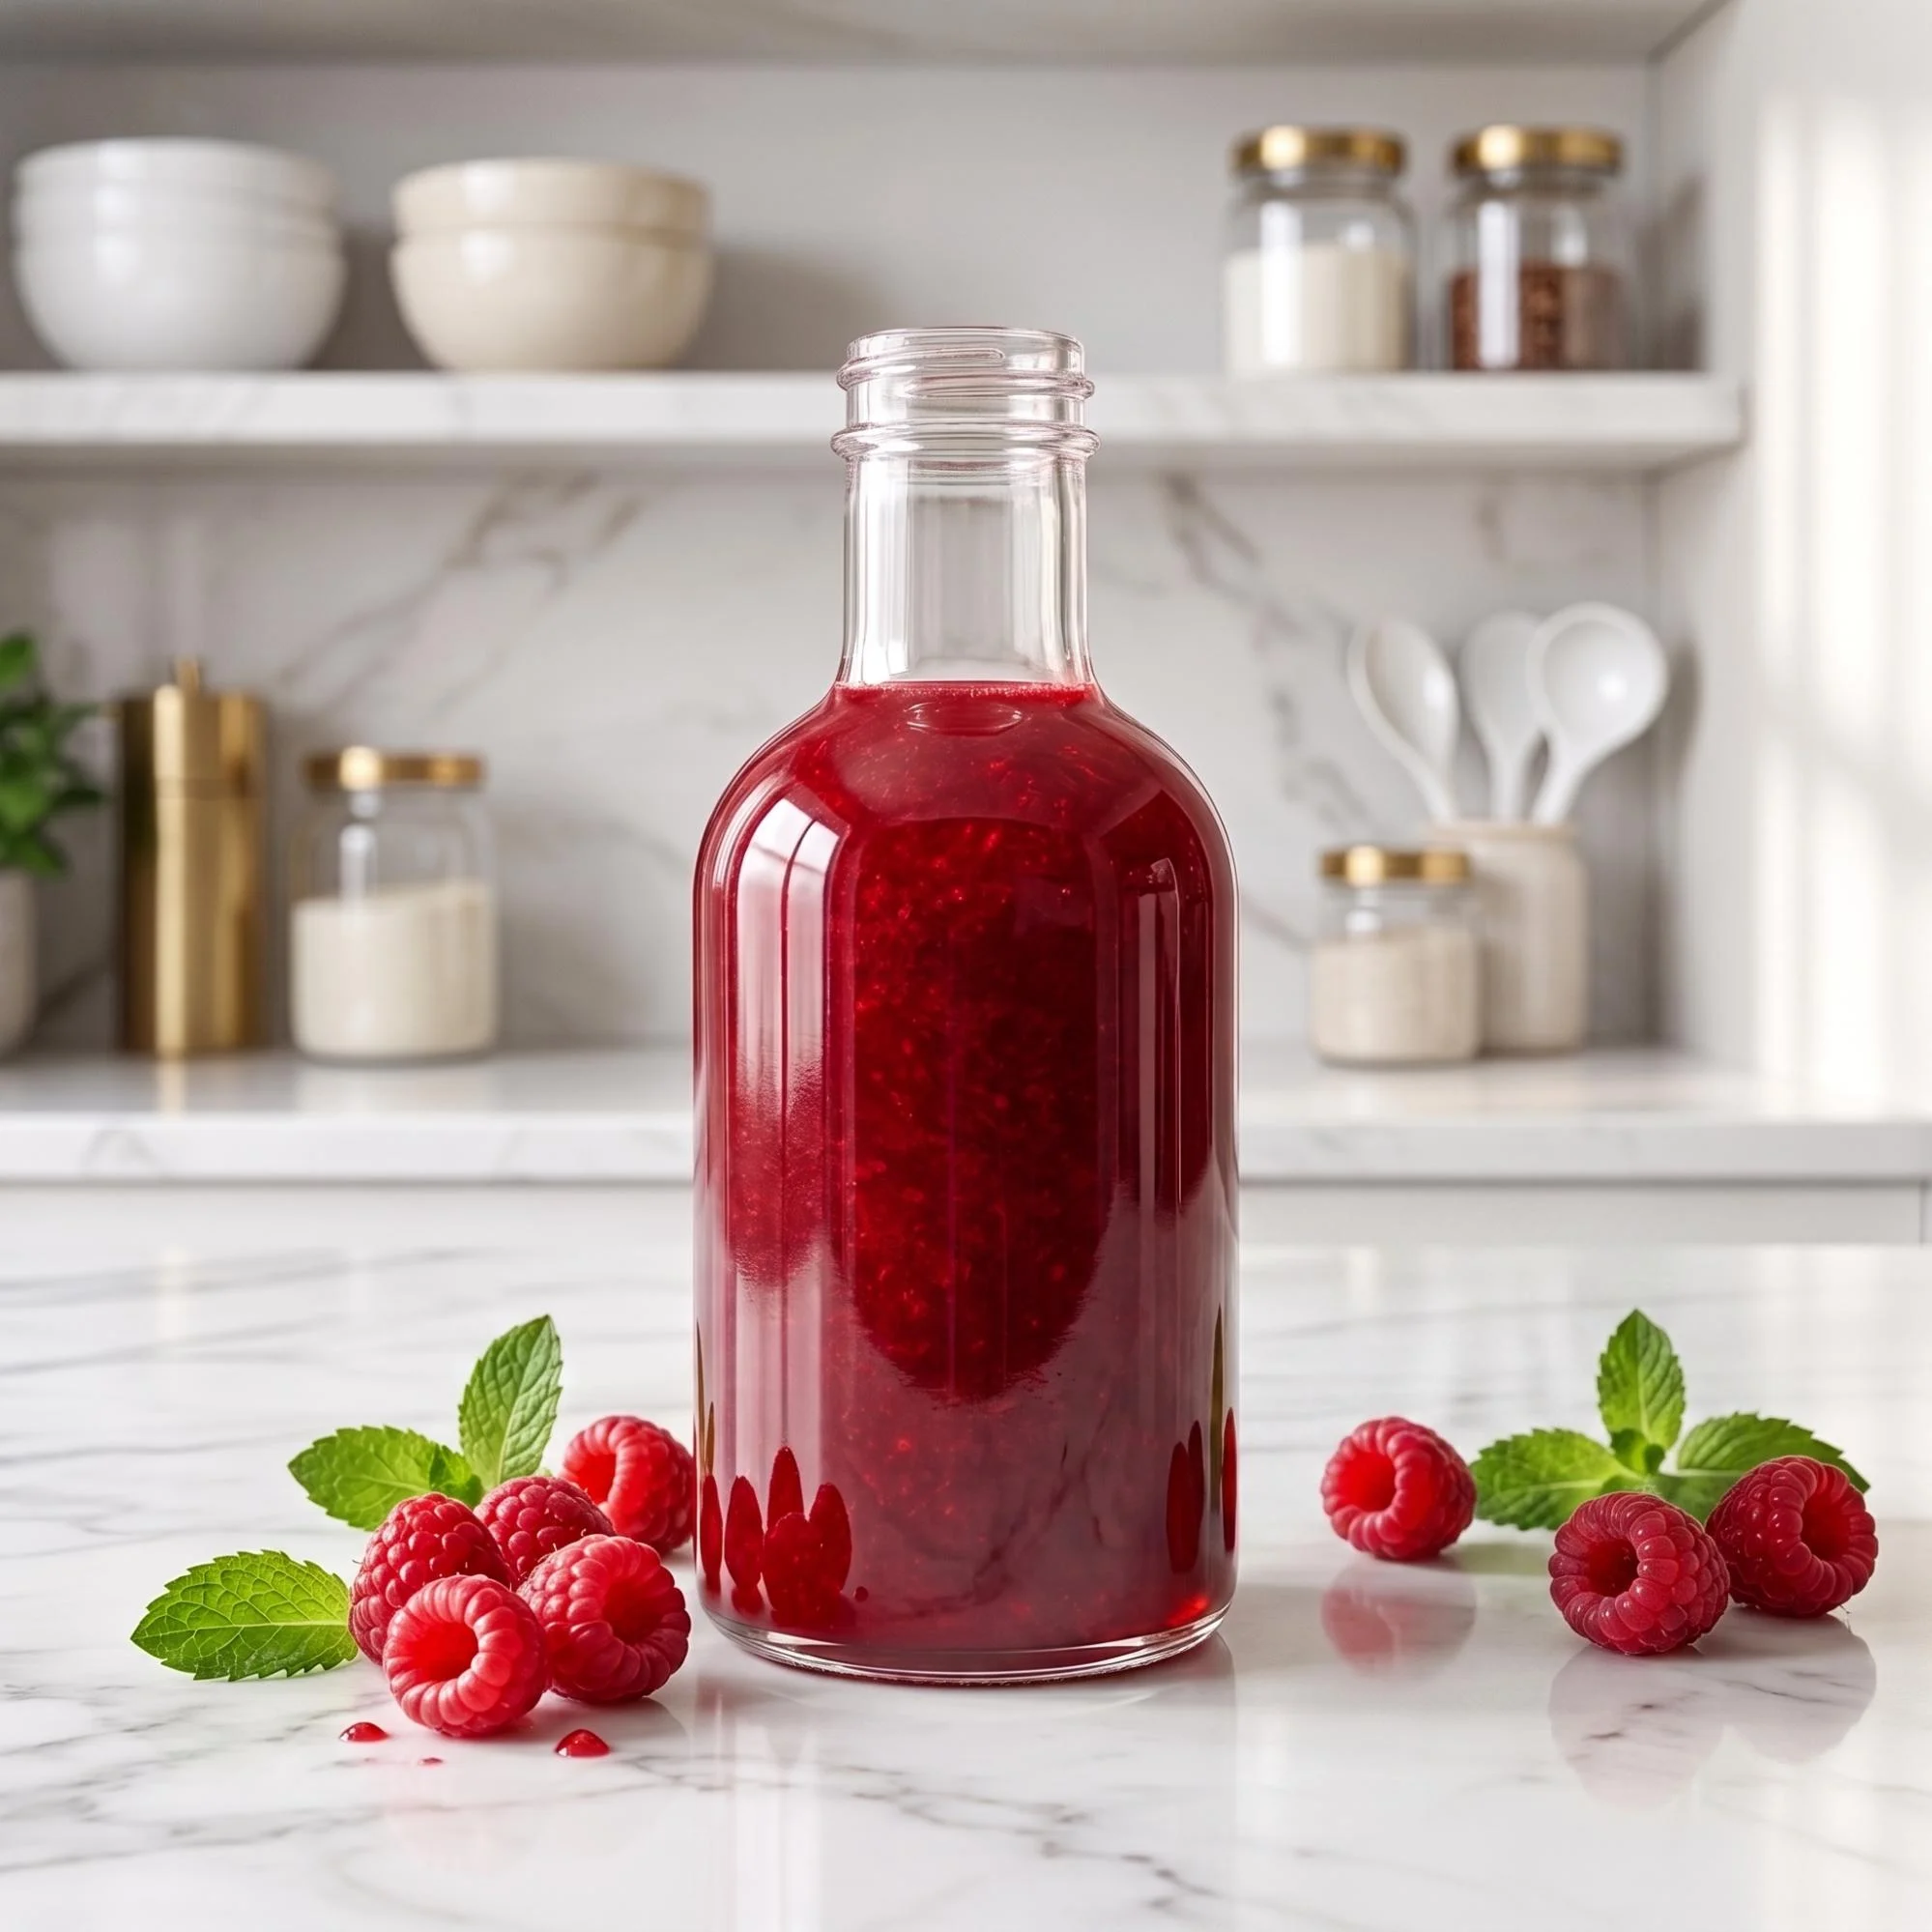
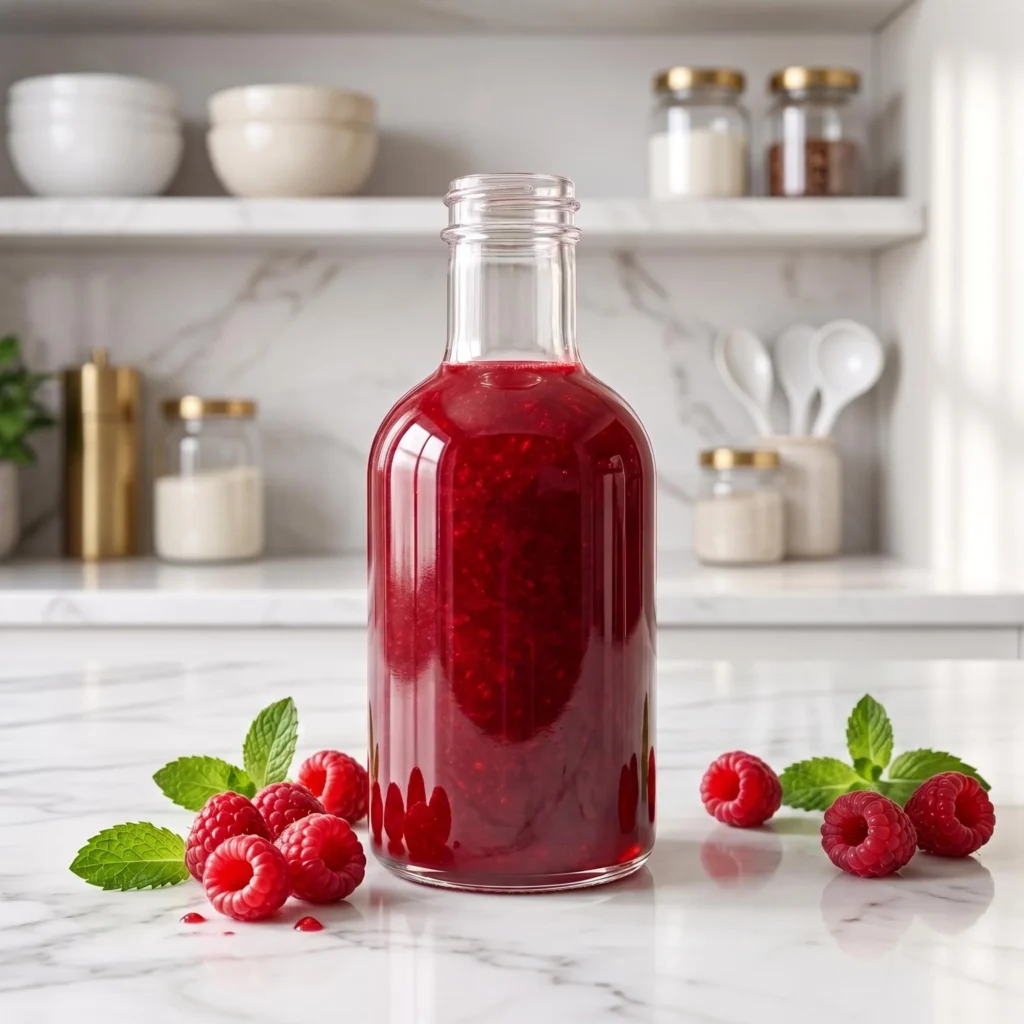
- Visually gorgeous: The brilliant, jewel-toned ruby red color looks like it came straight out of a high-end artisanal bakery.
Ingredients You Will Need
The beauty of this recipe lies in its sheer simplicity. To get that perfect fruity sweetness, you will need:
- 2 cups fresh or frozen raspberries
- 1 cup granulated sugar
- 1 cup cold water
- 1 tablespoon fresh lemon juice
- 1/2 teaspoon pure vanilla extract (optional)
Step-by-Step Instructions for Raspberry Syrup
Follow these easy steps. I’ve broken them down into quick, bite-sized pieces so you can achieve maximum flavor without any stress.
- Step 1: Prep the Ingredients Combine the raspberries, granulated sugar, and cold water in a medium-sized saucepan. Stir gently to combine the sugar with the fruit.
- Step 2: Simmer the Mixture Place the saucepan over medium-high heat and bring the mixture to a gentle boil. Once bubbling, lower the heat to medium-low and let it simmer for 10 to 12 minutes, mashing the berries gently with a wooden spoon to release their juices.
- Step 3: Strain the Syrup Remove the pan from the heat. Place a fine-mesh sieve over a heat-proof bowl or large glass measuring cup. Pour the hot mixture through the sieve.
- Step 4: Extract the Liquid Gently press the raspberry pulp with the back of a spoon to extract as much liquid as possible, but avoid pressing too hard if you want a perfectly clear syrup. Discard the leftover seed pulp.
- Step 5: Cool and Bottle Stir the fresh lemon juice and vanilla extract into the warm liquid. Let the syrup cool completely to room temperature, where it will naturally thicken, before transferring it to a glass bottle or jar.
Pro Tips for the Ultimate Syrup
Small adjustments can take your homemade raspberry syrup from good to absolute perfection.
- Don’t over-press the berries: When straining, gently pushing the fruit yields a beautifully clear, jewel-like syrup. Pushing aggressively forces cloudy fruit solids through the mesh.
- Let it thicken: The syrup will look quite thin when it is hot. Do not keep boiling it! It will thicken considerably into a rich syrup consistency as it cools to room temperature.
- Use the lemon juice: Don’t skip the fresh lemon juice at the end. It preserves the vibrant red color and perfectly balances the sweetness of the sugar.
What to Serve with Raspberry Syrup
This versatile little condiment pairs beautifully with almost any sweet breakfast or dessert.
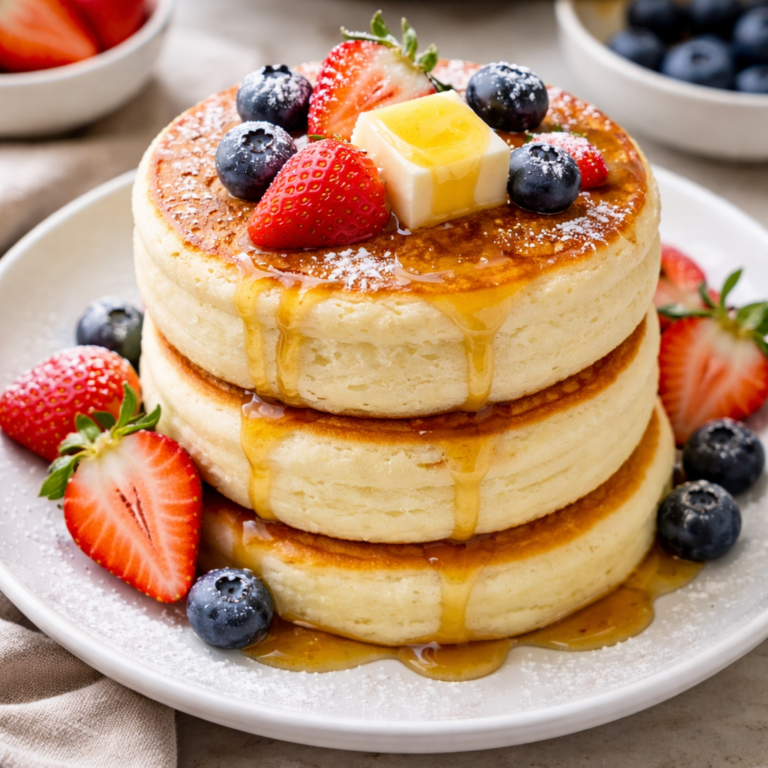
- As a breakfast topping: Serve it poured generously over a towering stack of fluffy pancakes, crisp Belgian waffles, or thick slices of French toast.
- As a beverage mixer: Stir a few tablespoons into sparkling water, iced tea, or homemade lemonade for a refreshing cafe-style drink.
- Loaded style: Drizzle it heavily over a slice of rich New York cheesecake, a bowl of vanilla bean ice cream, or swirl it into your morning yogurt!
How to Store Raspberry Syrup
Have leftovers? It is incredibly easy to save for later.
- In the Fridge: Store the completely cooled syrup in an airtight glass bottle or mason jar in the fridge for up to 3 weeks.
- How to Re-mix: If the sugar crystallizes slightly in the cold fridge, please skip tossing it out! Instead, set the glass jar in a bowl of warm water for a few minutes and give it a quick shake to bring that perfectly smooth texture right back.
- In the Freezer: You can freeze the syrup in a freezer-safe jar (leaving room at the top for expansion) or in ice cube trays for up to 3 months. Thaw in the fridge before using.
Frequently Asked Questions
- Can I use frozen raspberries? Absolutely. Frozen raspberries work perfectly because they break down and release their juices even faster than fresh ones. There is no need to thaw them first.
- Can I use other berries? Yes! This exact same ratio of fruit, sugar, and water works beautifully for strawberries, blueberries, or blackberries.
- Can I prep this ahead of time? Yes! Making this syrup a day or two before a big family breakfast is a great idea because the flavors meld beautifully as it chills in the fridge.
Final Thoughts
This bright raspberry syrup recipe is proof that making a show-stopping homemade topping doesn’t have to be complicated. With a quick stovetop simmer, a simple strain, and a cool fridge, you get the ultimate sweet, fruity drizzle every single time. Try it today, and I promise it’ll become a permanent favorite for your Kitchen Mastery Secrets collection.