Cotton Candy Cake Recipe: Sweet, Colorful, and Better Than Store-Bought
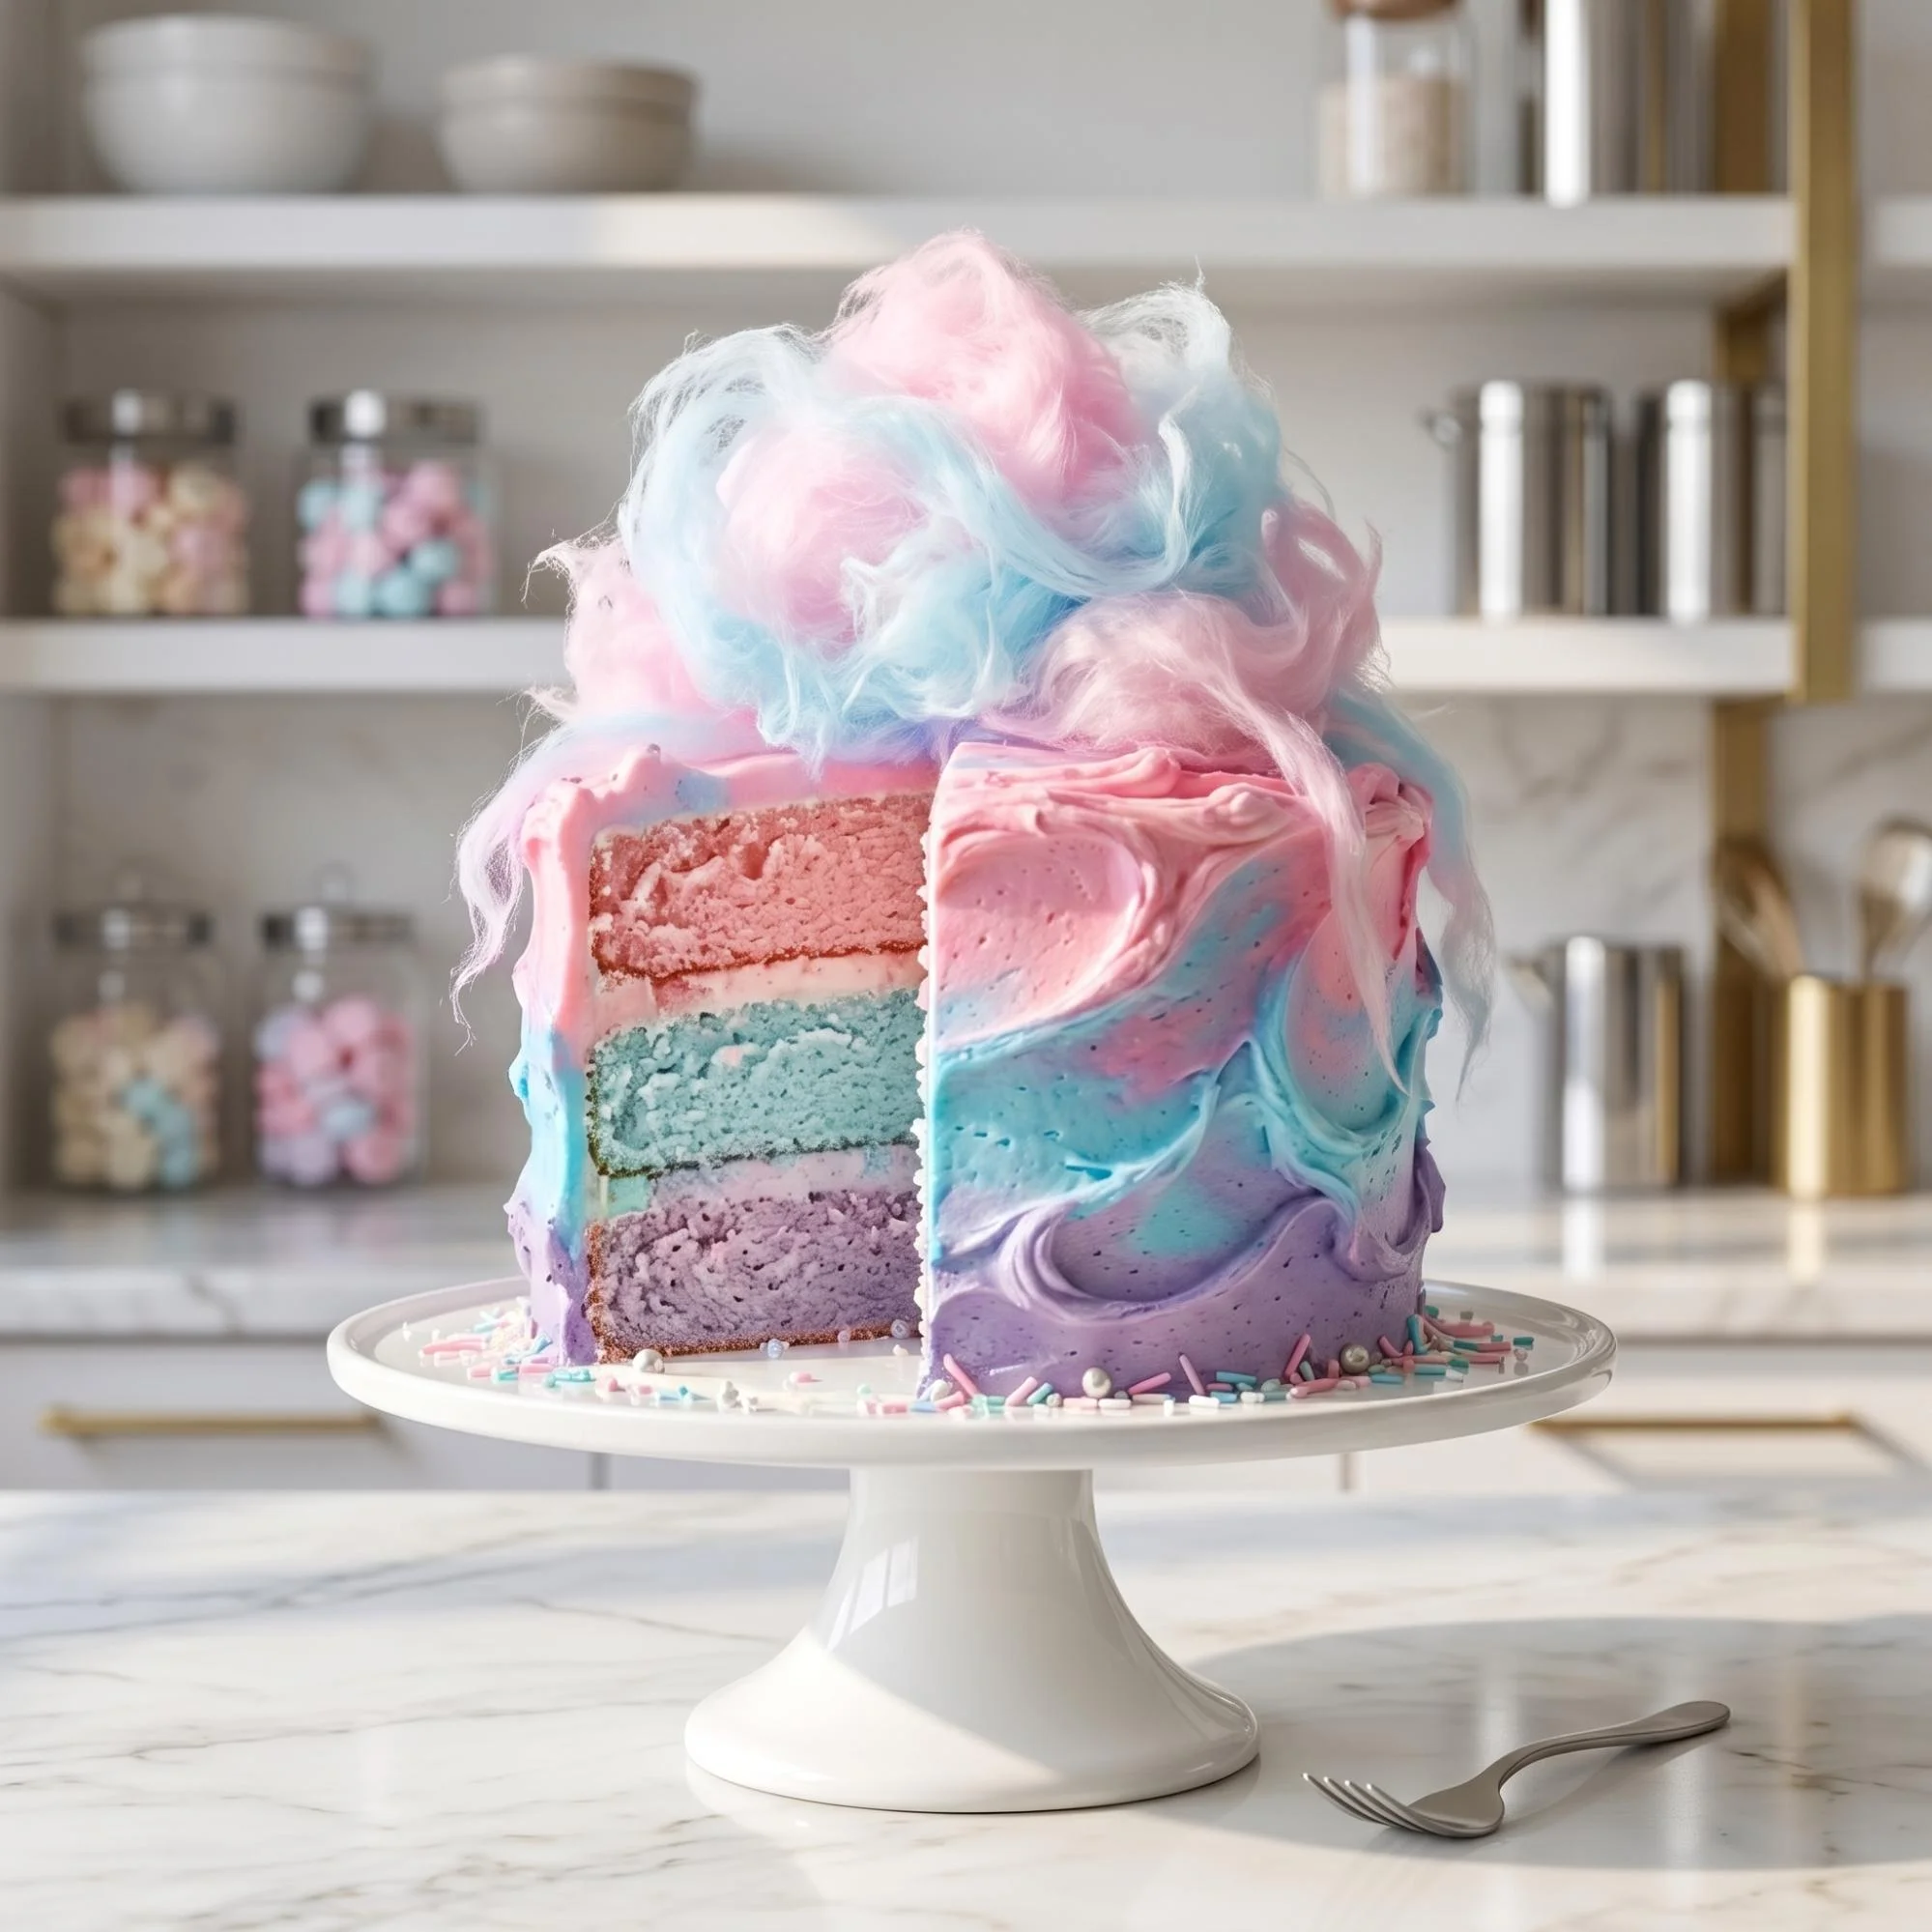
This whimsical cotton candy cake recipe is the perfect show-stopping dessert for a birthday party or a festive weekend celebration. It combines the bright, nostalgic sweetness of classic carnival cotton candy with a soft, melt-in-your-mouth vanilla cake crumb, creating a light and magical treat. Made with just a few simple baking ingredients, it is a delicious, natural, and easy-to-make alternative to expensive bakery cakes or heavy boxed mixes. If you are looking for a quick, crowd-pleasing colorful dessert that takes minimal effort, let’s get right into it.
Why You Will Love This Recipe
If you’ve been stuck in a rut of just serving basic chocolate or vanilla sheet cakes, you are going to fall in love with this method. This cotton candy cake is:
- Texturally perfect: Baking it with cake flour makes it incredibly light and fluffy, while the whipped buttercream provides maximum flavor without being overly dense.
- Highly customizable: You can easily load it up with colorful sprinkles, a splash of strawberry extract, or different pastel food colorings.
- Made with basic staples: You only need basic cake ingredients, a little cotton candy flavoring, food coloring, and a fluffy buttercream frosting.
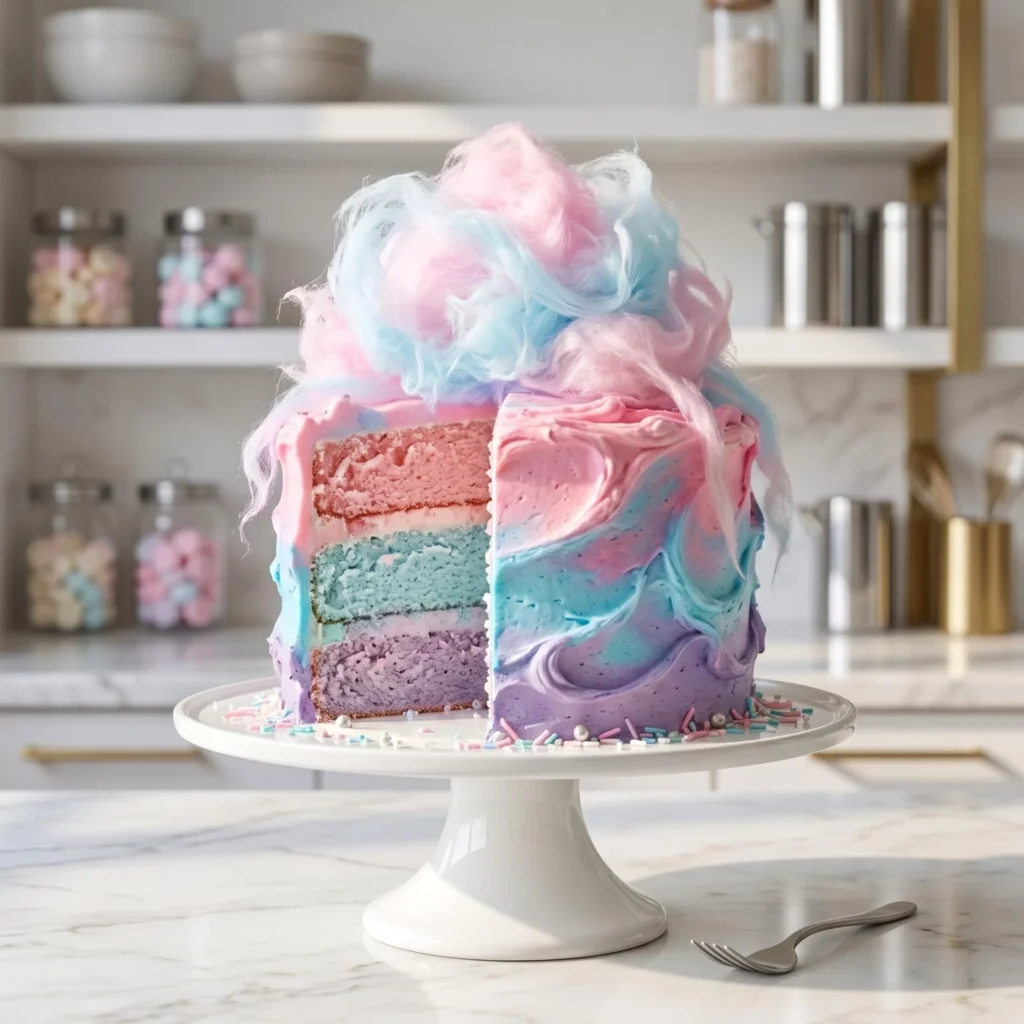
- Visually gorgeous: The vibrant, pastel-swirled layers look like they came straight out of a high-end boutique bakery.
Ingredients You Will Need
The beauty of this recipe lies in its sheer simplicity. To get that perfect nostalgic sweetness, you will need:
- 2 ½ cups cake flour
- 1 ½ cups granulated sugar
- 1 cup whole milk (room temperature)
- ½ cup unsalted butter (softened)
- 4 large egg whites (room temperature)
- 1 teaspoon cotton candy flavor oil or extract
- Pink, blue, and purple gel food coloring
- 1 batch of vanilla buttercream frosting
- Real cotton candy for garnishing
Step-by-Step Instructions for Cotton Candy Cake
Follow these easy steps. I’ve broken them down into quick, bite-sized pieces so you can achieve maximum sweetness without any stress.
- Step 1: Prep the Batter Preheat your oven to 350°F (175°C). In a large bowl, cream the softened butter and sugar until light and fluffy. Slowly mix in the egg whites, milk, and cotton candy flavoring until completely smooth.
- Step 2: Color the Layers Divide the cake batter evenly into three separate bowls. Add a tiny drop of pink gel color to one, blue to the second, and purple to the third. Fold the color in gently until beautifully pastel.
- Step 3: Bake the Cakes Pour each colored batter into its own greased 8-inch round cake pan. Bake for 25 to 30 minutes, or until a toothpick inserted into the center comes out clean. Let them cool completely on a wire rack.
- Step 4: Swirl the Frosting Divide your buttercream into smaller bowls and dye them the same pastel pink, blue, and purple hues. Swirl them together in a piping bag to create a beautiful, multi-colored frosting effect.
- Step 5: Assemble and Decorate Level your cooled cake layers. Stack the purple, blue, and pink cakes, spreading a layer of frosting between each. Frost the outside of the cake with the swirled buttercream. Right before serving, top the entire cake with a huge cloud of real cotton candy!
Pro Tips for the Ultimate Cake
Small adjustments can take your cotton candy cake from good to absolute perfection.
- Use gel food coloring: Liquid food coloring can water down your batter and alter the baking chemistry. Gel colors are highly concentrated, giving you vibrant pastel hues without ruining the texture.
- Don’t overmix the batter: Once you divide the batter to add the colors, fold the dye in as gently as possible. Overmixing will develop the gluten and result in a tough, dense cake.
- Add the topping last minute: Real cotton candy melts very quickly when it comes into contact with the moisture in the buttercream or the air. Always add your cotton candy cloud right as you bring the cake to the table.
What to Serve with Cotton Candy Cake
This versatile dessert pairs beautifully with almost any party setup.
- As a beverage pairing: Serve it alongside sparkling pink lemonade, a cold glass of whole milk, or a bubbly fruit punch.
- With ice cream: A classic scoop of vanilla bean or strawberry ice cream is absolutely essential for balancing the sweet fluffiness of the cake.
- Loaded style: Before cutting, press some funfetti sprinkles or edible sugar pearls into the sides of the buttercream for an extra crunch!
How to Store Cotton Candy Cake
Have leftovers? It is incredibly easy to save for later.
- In the Fridge: Store the completely cooled cake in an airtight cake dome in the fridge for up to 4 days. (Be sure to remove any leftover real cotton candy from the top, or it will melt into a sugary puddle).
- How to Serve Leftovers: Please skip eating it ice cold! Instead, let your sliced piece of cake sit on the counter for about 20 minutes to bring that perfectly soft buttercream texture right back.
- In the Freezer: You can freeze the unfrosted cake layers wrapped tightly in plastic wrap for up to 3 months. Thaw overnight in the fridge before decorating.
Frequently Asked Questions
- Can I make this in a 9×13 rectangular pan? Absolutely. You can drop spoonfuls of the colored batters into a 9×13 pan and gently swirl them with a butter knife for a tie-dye effect. Bake for 30-35 minutes.
- Where do I find cotton candy flavoring? You can find cotton candy flavor oils or extracts in the baking aisle of craft stores, specialty cake decorating shops, or easily order it online.
- Can I prep this ahead of time? Yes! You can bake the cake layers and keep them covered in the fridge for up to 2 days before you assemble. When you are ready for the party, just frost, top with the cotton candy cloud, and serve.
Final Thoughts
This whimsical cotton candy cake recipe is proof that making a show-stopping dessert doesn’t have to be complicated. With a quick colorful batter, a simple buttercream, and a fun spun-sugar topping, you get the ultimate sweet, magical slice every single time. Try it today, and I promise it’ll become a permanent favorite for your celebrations.