Popsicle Cake Pops Recipe
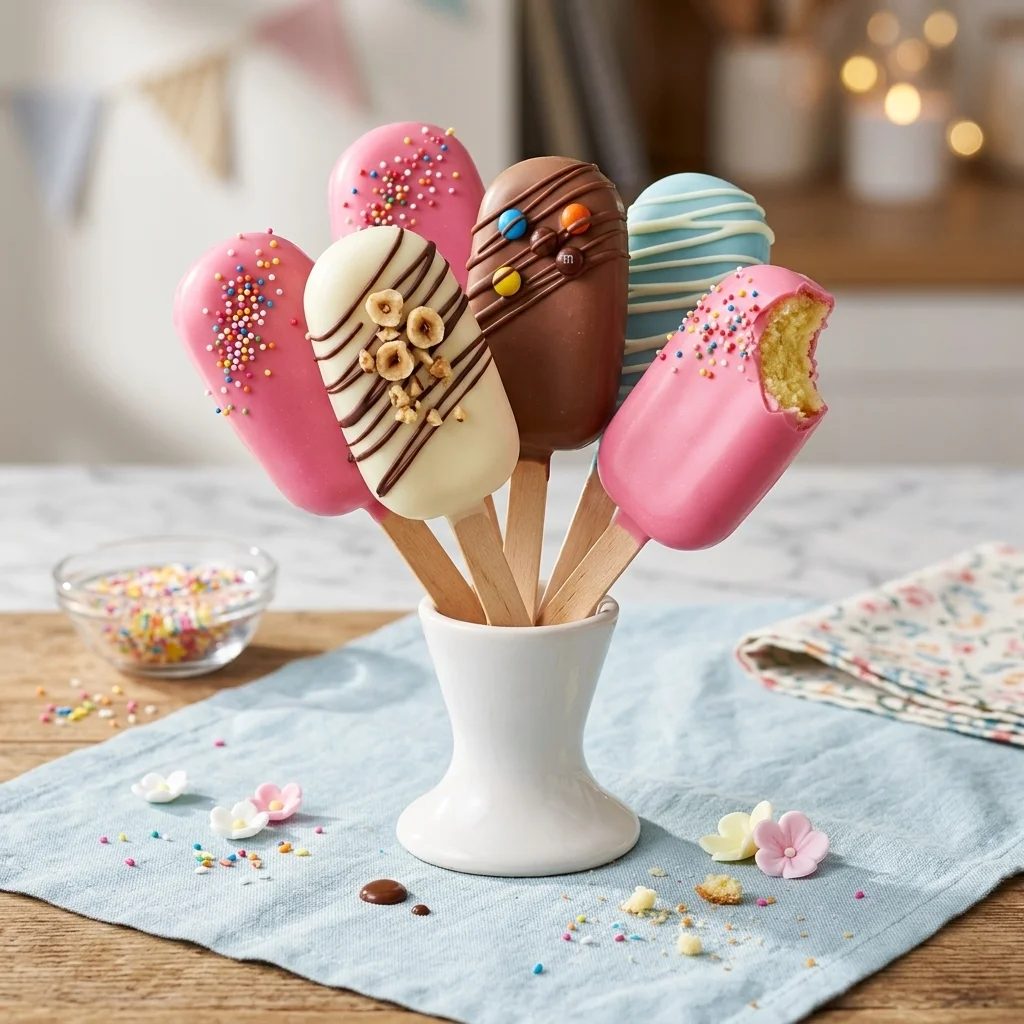
Sweet, colourful, soft inside, and smooth on the outside, this popsicle cake pops recipe is a fun dessert that looks perfect for birthdays, parties, baby showers, summer treats, and dessert tables. These cake pops are shaped like mini popsicles, placed on wooden sticks, dipped in melted chocolate or candy melts, and decorated with sprinkles, drizzles, nuts, or cute toppings.
Unlike regular round cake pops, popsicle cake pops have a larger flat shape, which makes them easier to decorate and more eye-catching. They look like little frozen popsicles, but inside they are made with soft cake crumbs and frosting. Every bite is creamy, sweet, and full of cake flavour.
The best part is that you can make them with any cake flavour you like. Vanilla, chocolate, strawberry, red velvet, lemon, funfetti, or even leftover cake works beautifully. Once you learn the basic method, you can change the colours and decorations for any event or theme.
Why You’ll Love This Popsicle Cake Pops Recipe
Popsicle cake pops are fun, pretty, and beginner friendly. They look fancy, but the process is simple if you follow the steps carefully.
You’ll love this recipe because it is easy to customize, great for parties, and perfect for kids and adults. The popsicle shape gives them a playful look, while the chocolate coating makes them feel like a special bakery style treat.
They are also easy to serve because each pop already has a stick. You can arrange them in a cup, display them on a tray, wrap them in treat bags, or use them as party favors.
Ingredients for Popsicle Cake Pops
You’ll need:
1 baked cake, any flavour
1/3 to 1/2 cup frosting
2 to 3 cups candy melts or chocolate
1 teaspoon coconut oil or shortening, optional
Wooden popsicle sticks
Sprinkles, crushed nuts, mini candies, or cookie crumbs
Extra melted chocolate for drizzle
You can use homemade cake or boxed cake mix. Both work well. The frosting helps bind the cake crumbs together and makes the inside soft and moist.
Best Cake to Use
Soft cake works best for popsicle cake pops. Vanilla cake is great for pastel colours, chocolate cake gives a rich taste, and red velvet cake looks beautiful when bitten.
You can also use funfetti cake for birthday parties or strawberry cake for a pink themed dessert. If using leftover cake, remove any hard edges before crumbling it so the texture stays smooth.
The cake should be completely cool before mixing with frosting. Warm cake can make the mixture too soft and difficult to shape.
Step by Step Popsicle Cake Pops Recipe
Step 1: Bake and Cool the Cake
Bake your cake according to the recipe or box instructions. Once it is fully baked, let it cool completely.
Do not rush this step. If the cake is still warm, it can make the cake pop mixture sticky and too soft.
After cooling, remove any hard edges if needed.
Step 2: Crumble the Cake
Place the cooled cake in a large mixing bowl. Use your hands or a fork to crumble it into fine crumbs.
Try to make the crumbs even and soft. Large pieces can make the popsicle shape uneven.
The cake crumbs should look light, fluffy, and sandy.
Step 3: Add Frosting
Add frosting a little at a time. Start with 1/3 cup and mix it into the cake crumbs.
The mixture should hold together when pressed, but it should not feel too wet. If it is too dry, add a little more frosting. If it is too sticky, add more cake crumbs if you have them.
The right texture is soft, firm, and easy to shape.
Step 4: Shape into Popsicles
Take a portion of the cake mixture and shape it into a small popsicle form. Make it slightly rounded at the top and flat on the sides.
You can shape them by hand, or press the mixture into a silicone popsicle mold for a cleaner look.
Place each shaped cake pop on a parchment lined tray. Keep the size even so they look neat and professional.
Step 5: Chill the Cake Pops
Place the tray in the refrigerator for 30 minutes or in the freezer for 15 minutes.
Chilling helps the cake pops become firm before dipping. Do not freeze them too long because very cold cake pops can cause the chocolate coating to crack.
They should feel firm, but not frozen solid.
Step 6: Add the Popsicle Sticks
Melt a small amount of chocolate or candy melts. Dip the end of each wooden stick into the melted coating, then gently insert it into the bottom of each cake pop.
This helps the stick stay secure and prevents the cake pop from sliding off.
Place them back in the refrigerator for 10 minutes so the chocolate around the stick can set.
Step 7: Melt the Candy Coating
Place candy melts or chocolate in a microwave safe bowl. Heat in short intervals and stir after each one until smooth.
If the coating is too thick, add a small amount of coconut oil or shortening and stir well. This makes the coating smoother and easier to dip.
You can use pink, blue, white, chocolate, pastel, or bright colours depending on your theme.
Step 8: Dip the Popsicle Cake Pops
Hold one cake pop by the stick and dip it into the melted coating. Make sure the entire cake pop is covered.
Lift it out gently and let the extra coating drip back into the bowl. You can lightly tap the stick against the bowl to remove excess chocolate.
Place the dipped cake pop on parchment paper to set, or stand it upright in a foam block if you want both sides to stay smooth.
Step 9: Decorate the Cake Pops
Decorate while the coating is still wet if you are using sprinkles, mini candies, or crushed nuts.
For drizzle decoration, let the first coating set first. Then drizzle another colour of melted chocolate over the top using a spoon or piping bag.
You can keep them simple with one colour or make them colourful with different toppings.
Step 10: Chill and Serve
Place the finished popsicle cake pops in the refrigerator for 15 to 20 minutes until the coating is firm.
Once set, they are ready to serve. Arrange them in a cup, on a tray, or wrap them individually for party favors.
Tips for Perfect Popsicle Cake Pops
Let the cake cool completely before crumbling.
Add frosting slowly so the mixture does not become too soft.
Chill the shaped pops before dipping.
Do not make the pops too heavy, or they may slide off the stick.
Dip the stick in melted chocolate before inserting it.
Use a deep cup for dipping so the coating covers the pop smoothly.
Let extra coating drip off before decorating.
Do not freeze too long before dipping, because the coating may crack.
Decoration Ideas
Popsicle cake pops are perfect for creative decoration. You can make them colourful, elegant, or fun depending on the occasion.
For birthdays, use pink, blue, yellow, or rainbow candy melts with colourful sprinkles. For baby showers, use soft pastel colours with white drizzle. For chocolate lovers, dip them in milk chocolate and add chopped nuts or caramel drizzle.
You can also use crushed cookies, mini chocolate chips, edible pearls, coconut flakes, or small candies. For a clean bakery style look, use one smooth coating colour and add thin drizzle lines on top.
Easy Flavour Variations
You can make popsicle cake pops in many flavours.
For vanilla popsicle cake pops, use vanilla cake and vanilla frosting. For chocolate pops, use chocolate cake with chocolate frosting and chocolate coating.
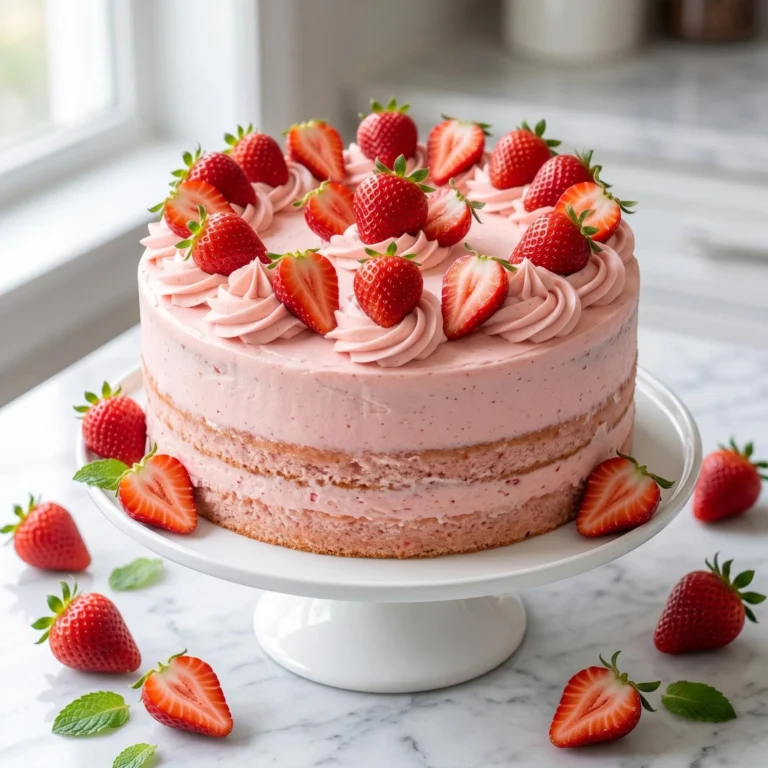
For strawberry cake pops, use strawberry cake with vanilla frosting and pink candy melts. For red velvet pops, use red velvet cake with cream cheese frosting and white chocolate coating.
For funfetti pops, use vanilla cake with sprinkles inside and colourful coating outside.
How to Store Popsicle Cake Pops
Store popsicle cake pops in an airtight container in the refrigerator for up to 5 days.
If stacking them, place parchment paper between layers to protect the coating and decoration.
Before serving, let them sit at room temperature for a few minutes so the inside becomes softer and more enjoyable.
Can You Freeze Popsicle Cake Pops?
Yes, you can freeze them. For best results, freeze the shaped cake pops before dipping.
Place them in a freezer safe container and freeze for up to 2 months. Thaw slightly in the refrigerator before dipping and decorating.
You can also freeze fully decorated pops, but the coating may develop moisture after thawing. For the prettiest look, decorate them fresh.
Frequently Asked Questions
Why are my cake pops falling off the stick?
The mixture may be too soft, the pops may be too heavy, or the stick may not be secured properly. Chill the pops first and dip the stick in melted chocolate before inserting it.
Can I use boxed cake mix?
Yes, boxed cake mix works very well for this recipe. It is simple, quick, and gives a soft cake texture.
Can I make them without a mold?
Yes, you can shape them by hand. A mold gives a cleaner popsicle shape, but hand shaping works perfectly fine.
What coating is best for popsicle cake pops?
Candy melts are easiest because they melt smoothly and set nicely. Chocolate also works, but you may need a little coconut oil or shortening to thin it.
Can I make these ahead of time?
Yes, you can make them 1 to 2 days ahead and store them in the refrigerator. Add delicate decorations close to serving time if needed.
Final Thoughts
This popsicle cake pops recipe is cute, colourful, and perfect for any celebration. With soft cake crumbs, creamy frosting, smooth candy coating, and fun decorations, you can make beautiful treats that look special without being difficult.
They are great for birthdays, baby showers, parties, holidays, gifts, and dessert tables. The popsicle shape makes them playful, easy to hold, and fun to decorate.