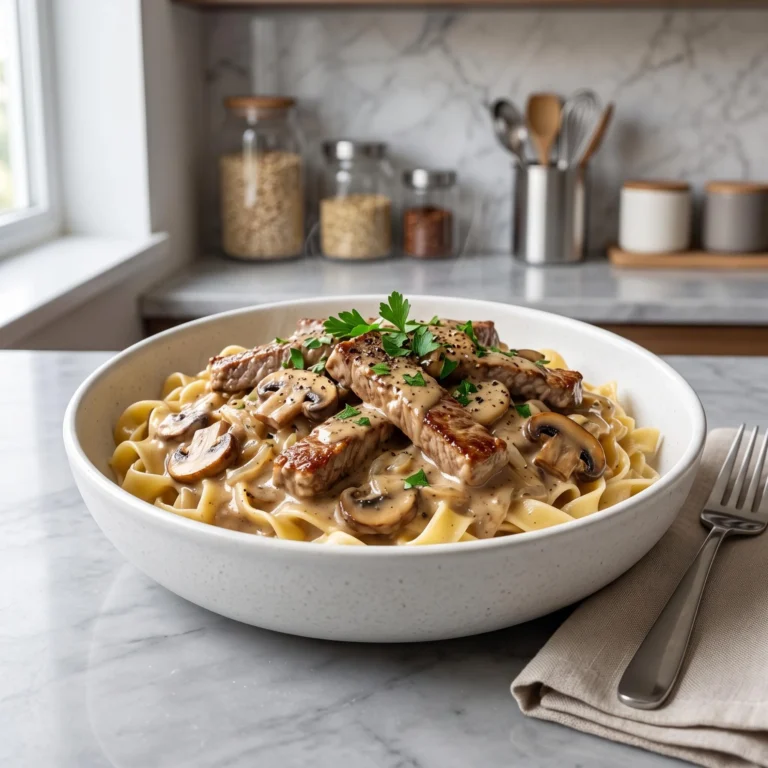

Texas Roadhouse Seasoned Rice Recipe: Better Than the Restaurant
What makes this rice different from plain rice with seasoning stirred through it is that it is a pilaf. The grains get toasted in butter before any liquid goes near them, and that changes two things: the flavour turns nutty rather than neutral, and the toasted surface keeps the grains separate instead of letting them clump.
Two details follow from that and both matter. The rice does not get rinsed, because the surface starch is part of what toasts and browns. And it needs slightly less liquid than boiled rice does, since toasted grains absorb less.
Most copycat versions of this dish call for two cups of broth to one cup of rice, which is the boiled-rice ratio, and it is why so many of them come out softer than the restaurant version.
| Prep Time | 5 minutes |
| Cook Time | 25 minutes |
| Rest Time | 5 minutes |
| Total Time | 35 minutes |
Why You Will Love This Recipe
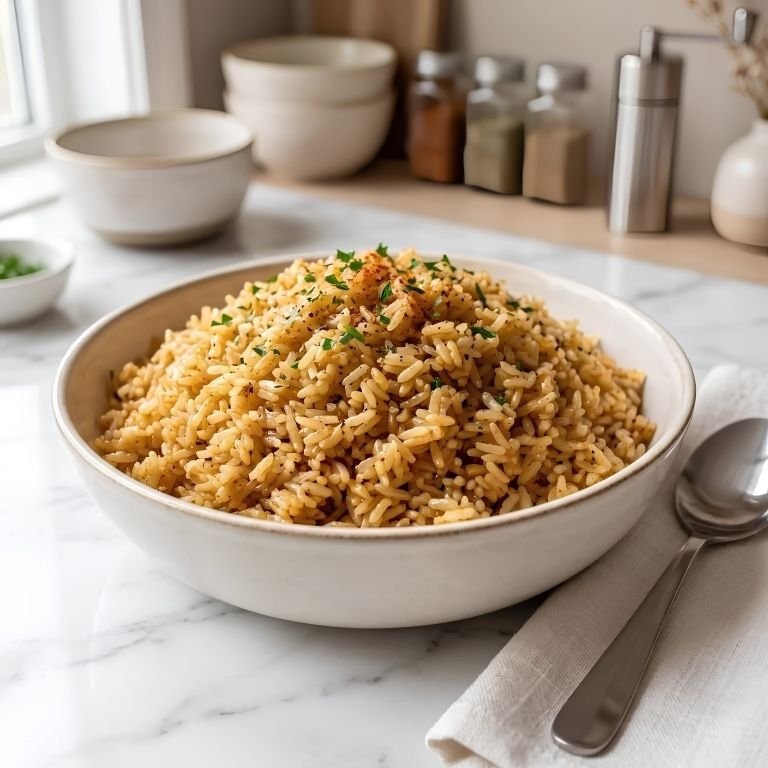
If you’ve been stuck ordering the same restaurant side dish every time you eat out, you are going to fall in love with this method. This seasoned rice recipe is:
Texturally perfect: Fluffy, tender rice grains are infused with savory seasoning and just enough butter for a rich, satisfying bite.
Highly customizable: You can easily adjust the seasoning blend, add extra herbs, or swap in brown rice for a heartier option.
Made with basic staples: You only need rice, butter, onion, and a few pantry seasonings to bring this dish together.
Restaurant-quality at home: The rich, savory flavor tastes just like the beloved steakhouse side, but comes together in well under 30 minutes.
Equipment You Will Need
A heavy saucepan with a tight-fitting lid. The lid matters more than the pan. Rice cooks in trapped steam, and a loose lid lets that steam escape, which is why rice sometimes comes out with a dry top and a wet bottom.
If your lid rattles or sits loose, lay a sheet of foil over the pan before putting it on. A heavy base also stops the bottom layer from scorching during the eighteen minutes it sits over low heat.
A 2- to 3-quart size. One cup of rice triples in volume. A pan much larger than this spreads the liquid too thin, and it evaporates before the rice absorbs it.
A fork, not a spoon. For fluffing at the end. A spoon presses the grains together; a fork lifts and separates them, which is the whole point after going to the trouble of toasting.
Ingredients You Will Need
The beauty of this recipe lies in its sheer simplicity. To get that perfect savory, buttery flavor, you will need:
For the Rice:
1 cup long-grain white rice, not rinsed
1 3/4 cups low-sodium chicken broth
3 tbsp butter, divided
1/2 small onion, finely diced
1 tsp garlic powder
1 tsp smoked paprika
1/2 tsp onion powder
1/2 tsp kosher salt
1/4 tsp black pepper
1 tsp Worcestershire sauce (optional, for colour and depth)
To Finish:
2 tbsp fresh parsley, finely chopped
1/4 tsp smoked paprika, for dusting
Step-by-Step Instructions for Seasoned Rice
Step 1: Soften the Onion. Melt 2 tablespoons of the butter in a heavy saucepan over medium heat. Add the finely diced onion and cook for 3 to 4 minutes, until softened and just beginning to turn golden at the edges.

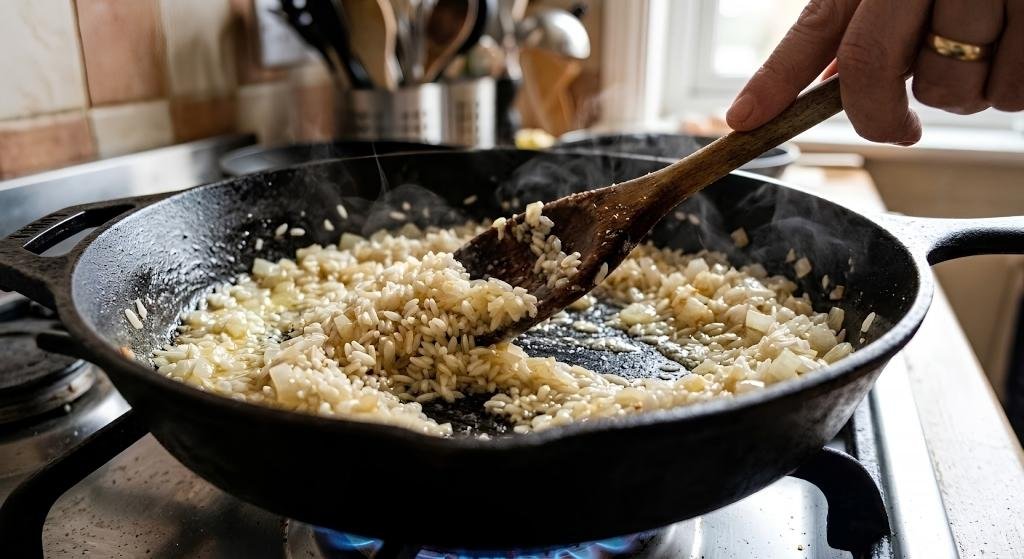
Step 2: Toast the Rice. Add the rice straight from the bag, unrinsed, and stir to coat every grain in the butter. Toast for 2 to 3 minutes, stirring often, until the grains turn slightly opaque and smell nutty.
Do not rinse the rice first: wet grains steam in the butter rather than toast, and the surface starch you would wash away is exactly what browns and creates the flavour.
Step 3: Add the Liquid and Seasonings. Pour in the broth and add the garlic powder, smoked paprika, onion powder, salt, pepper, and Worcestershire if using. Stir once, scraping the bottom, and bring it to a boil over high heat.

Step 4: Cover and Simmer Without Lifting the Lid. As soon as it boils, turn the heat to the lowest setting and cover with a tight-fitting lid. Cook for 15 to 18 minutes and do not lift the lid at any point.
Rice cooks in trapped steam, and every time the lid comes off, that steam escapes, which is the most common reason rice ends up dry on top and wet underneath. If your lid fits loosely, lay a sheet of foil over the pan before putting it on.

Step 5: Rest, Fluff, and Finish. Take the pan off the heat and leave it covered, still untouched, for 5 minutes. This finishes the cooking evenly and lets the grains firm up.
Then lift the lid, add the remaining tablespoon of butter, and fluff with a fork rather than stirring with a spoon, lifting from the bottom to separate the grains. Scatter over the parsley and a light dusting of smoked paprika, and serve.
Pro Tips for the Ultimate Seasoned Rice
Small adjustments can take your seasoned rice from good to absolute perfection.
Do not rinse the rice. This is correct for plain steamed rice and wrong here. The surface starch is what toasts and browns, and wet grains steam in the butter instead of colouring.
Use less liquid than you think. One and three-quarters cups, not two. Toasted grains absorb less than raw ones, and that quarter cup is the difference between separate grains and soft ones.
Keep the lid on for the full eighteen minutes. Checking on rice is the most common way to ruin it. Every lift releases the steam that is doing the cooking, and you cannot put it back.
Foil under a loose lid. If yours rattles when you shake the pan, lay a sheet of foil over the saucepan before the lid goes on. It costs nothing, and it solves uneven rice permanently.
Save a tablespoon of butter for the end. Butter stirred into finished rice tastes of butter. Butter that has simmered for eighteen minutes tastes of very little. This is the difference between home rice and restaurant rice more than any seasoning is.
Common Mistakes to Avoid
Rinsing the rice. An ingrained habit from cooking plain rice, and here it works against you. Wet grains cannot toast, and the starch you rinse away is what browns in the butter, straight from the bag.
Lifting the lid to check. The single most common way to ruin rice. The steam trapped under the lid is what cooks it, and each time you look, some of it leaves. Set a timer and trust it.
Using two cups of liquid. That is the ratio for boiled rice. Toasted grains absorb less, and a quarter cup too much is enough to turn fluffy into soft.
Skipping the toast because it seems optional. It takes two minutes, and it is the difference between seasoned rice and rice with seasoning in it. Nutty flavour and separate grains both come from it.
Stirring during cooking. Stirring releases starch and makes rice creamy, which is what you want in risotto and not here. Once the lid goes on, leave it entirely alone.
Variations to Try
With mushrooms. Eight ounces of sliced cremini, cooked in the butter after the onion and before the rice, until the pan is dry again. They release a good deal of water, and adding them wet throws off the liquid ratio.
With peas. Half a cup of frozen peas stirred in during the five-minute rest, not during cooking. The residual heat is enough to thaw them, and they keep their colour, whereas eighteen minutes of simmering turns them grey.
Cheesy version. Half a cup of grated sharp cheddar or Parmesan folded in with the final butter, off the heat. Stirring cheese into rice over heat makes it stringy.
Spanish-style. Swap the smoked paprika for a teaspoon of regular paprika plus half a teaspoon of cumin, and use half broth and half tomato passata for the liquid. A different dish, but the method is identical.
What to Serve with Seasoned Rice
This savory side dish pairs beautifully with a variety of main courses.
As a steakhouse pairing: Serve alongside grilled steak, ribs, or roasted chicken for a classic steakhouse-style meal.
As a weeknight side: Pair with baked fish or pork chops for an easy, flavorful dinner side.
Loaded style: Stir in sautéed mushrooms, peas, or shredded cheese for a heartier version.
How to Store Seasoned Rice

Rice reheats better than most side dishes, with one thing worth knowing about storing it.
In the Fridge: Store in an airtight container for up to 4 days.
In the Freezer: Freeze in a freezer-safe container for up to 2 months, thawing overnight in the fridge before reheating.
How to Reheat: Warm gently in the microwave with a splash of water or broth to restore moisture, stirring halfway through.
Frequently Asked Questions
Can I use brown rice instead of white rice? Yes, though brown rice requires a longer cooking time and additional liquid, so adjust accordingly.
Can I make this rice vegetarian? Yes, simply substitute vegetable broth for chicken broth for a vegetarian-friendly version.
Can I make this rice ahead of time? Absolutely. This rice reheats well, making it a great option for meal prep alongside your favorite proteins.
Final Thoughts
What separates this from rice with seasoning stirred into it is the toasting, and two habits get in the way of it. Do not rinse the rice, because the surface starch is exactly what browns in the butter. And use a quarter cup less liquid than you would for boiled rice, because toasted grains absorb less.
After that, there is only one rule, and it is the one everybody breaks. Leave the lid alone for the full eighteen minutes. The steam under it is doing the cooking, and checking on it is how rice ends up wet at the bottom and hard on top.