Banana Pepper Canning Recipe Easy
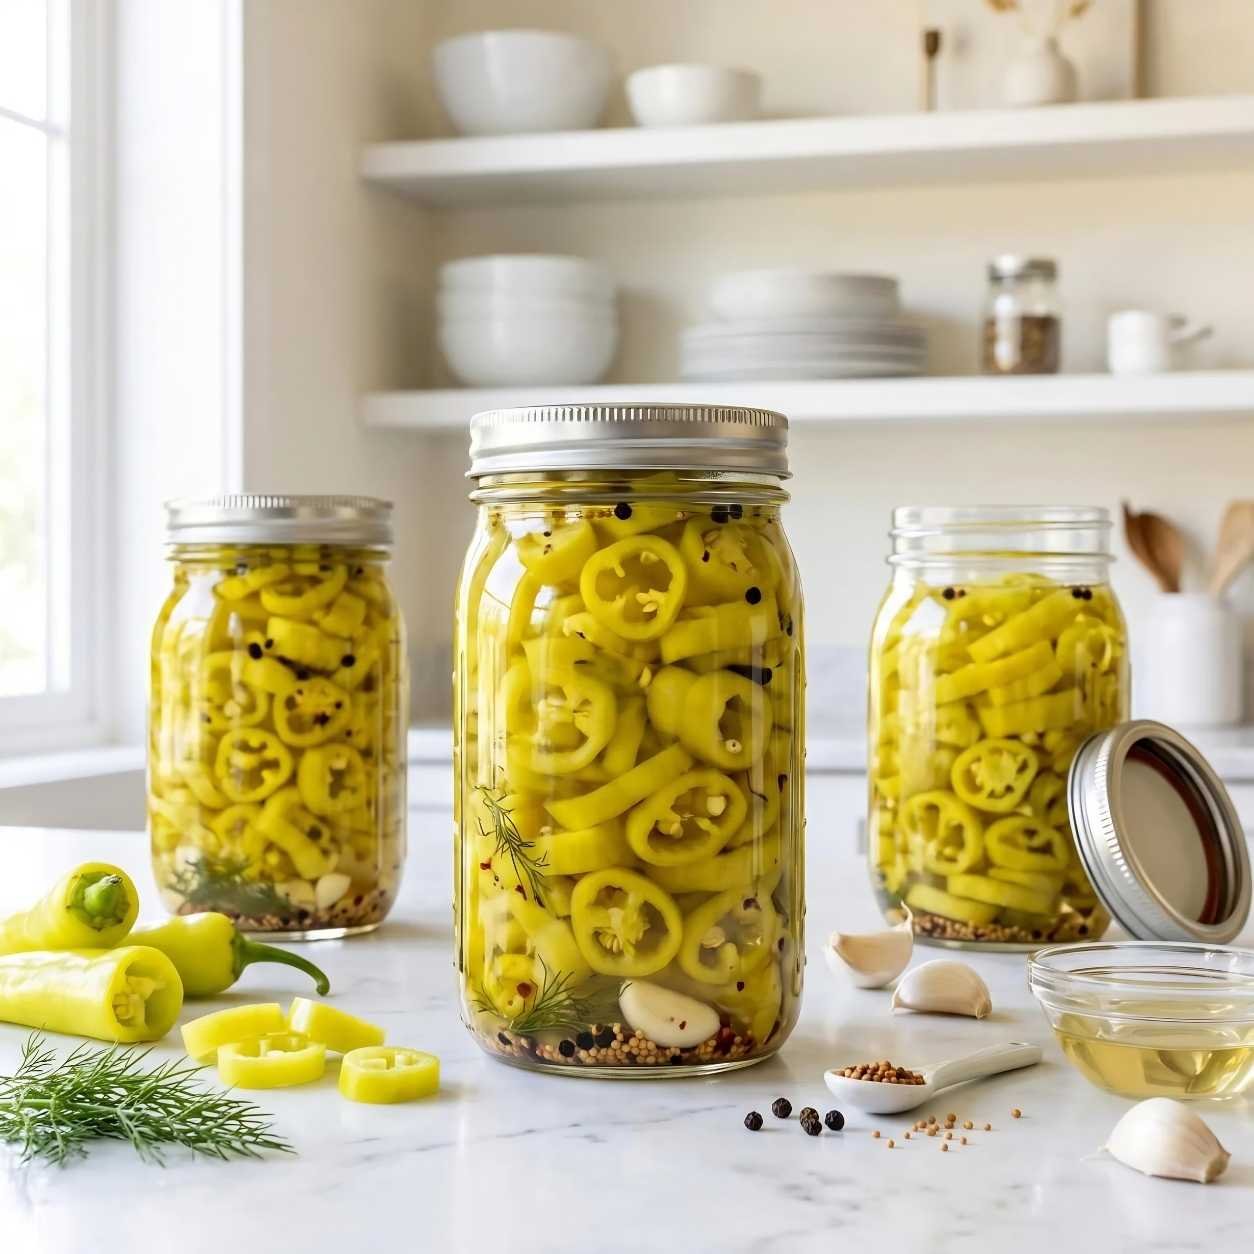
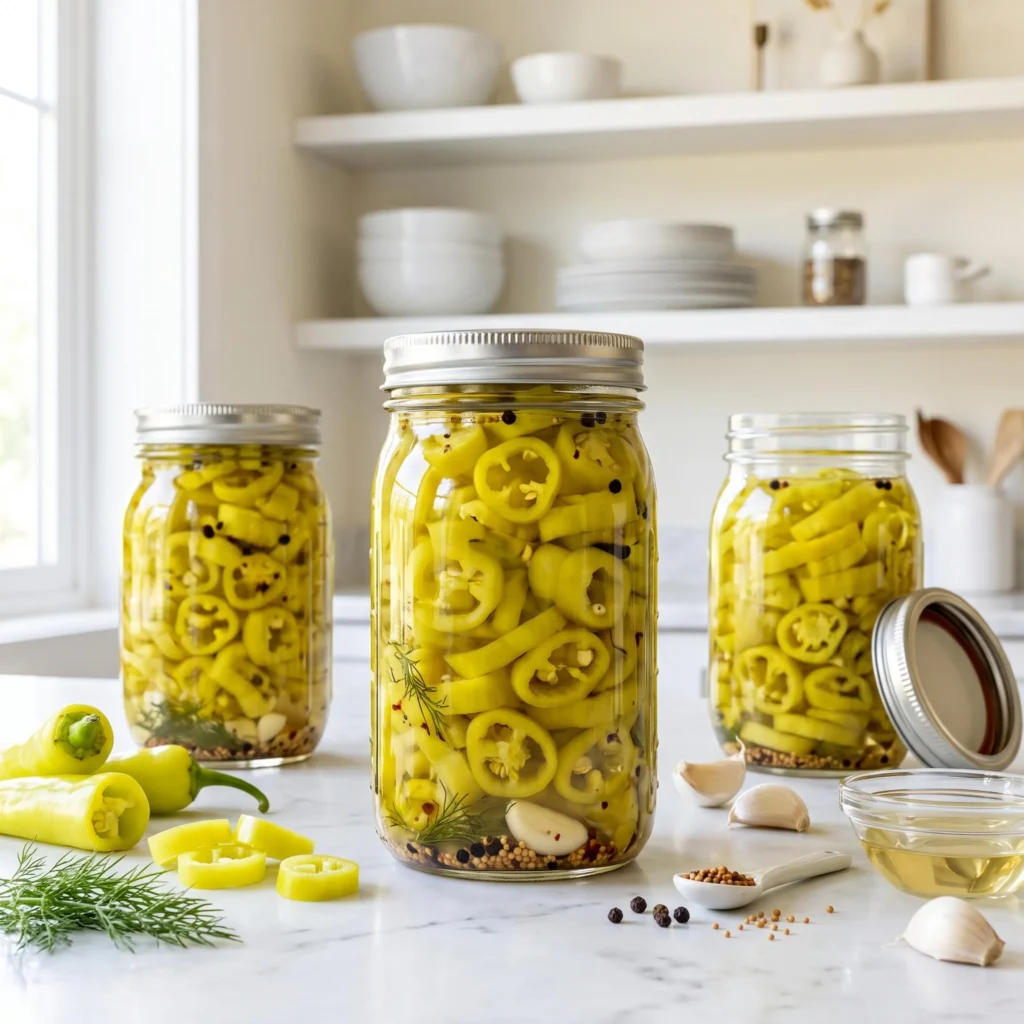
This banana pepper canning recipe easy method is the perfect tangy treat to preserve your garden harvest for the entire year. It combines the bright, mild heat of fresh peppers with a crisp, savory brine, creating a vibrant and satisfying bite.
Made with just a few simple pantry ingredients, it is a delicious, natural, and easy-to-make alternative to store-bought jars that are often packed with artificial preservatives.
If you are looking for a quick, crowd-pleasing condiment that takes minimal effort, let’s get right into it.
Why You Will Love This Recipe
If you’ve been stuck in a rut of just buying standard pickles from the supermarket, you are going to fall in love with this method. This canned pepper recipe is:
- Texturally perfect: Pouring boiling hot brine over fresh rings keeps them incredibly crisp, while the vinegar provides maximum flavor without turning the vegetables mushy.
- Highly customizable: You can easily load it up with fresh dill sprigs, whole mustard seeds, or a slice of jalapeño for a spicy kick.
- Made with basic staples: You only need fresh banana peppers, white vinegar, filtered water, salt, and a little sugar.
- Visually gorgeous: The vibrant, bright-yellow rings look like they came straight out of a high-end artisanal deli.
These are two different recipes, not one recipe with two options. The brine ratio changes depending on where the jar ends up.
Processing: none
Ready in: 2 to 3 days
Storage: refrigerator only
Keeps: about 2 weeks
Processing: 10 min water bath
Ready in: 2 weeks for best flavor
Storage: cool dark pantry
Keeps: about 1 year
Ingredients You Will Need
The beauty of this recipe lies in its sheer simplicity. To get that perfect tangy crunch, you will need:
- 2½ to 3 pounds fresh banana peppers, washed and sliced into ¼-inch rings
- 5 cups white or cider vinegar (must be 5% acidity)
- 1¼ cups water
- 5 teaspoons canning salt
- 1 tablespoon granulated sugar (optional, for flavor)
- 4 cloves fresh garlic, peeled, one per jar
- Optional: 1 teaspoon mustard seed and ½ teaspoon celery seed per pint jar
- Optional: ⅛ teaspoon Pickle Crisp granules per jar
Step-by-Step Instructions for Canned Banana Peppers
Follow these easy steps. I’ve broken them down into quick, bite-sized pieces so you can achieve maximum flavor without any kitchen stress.
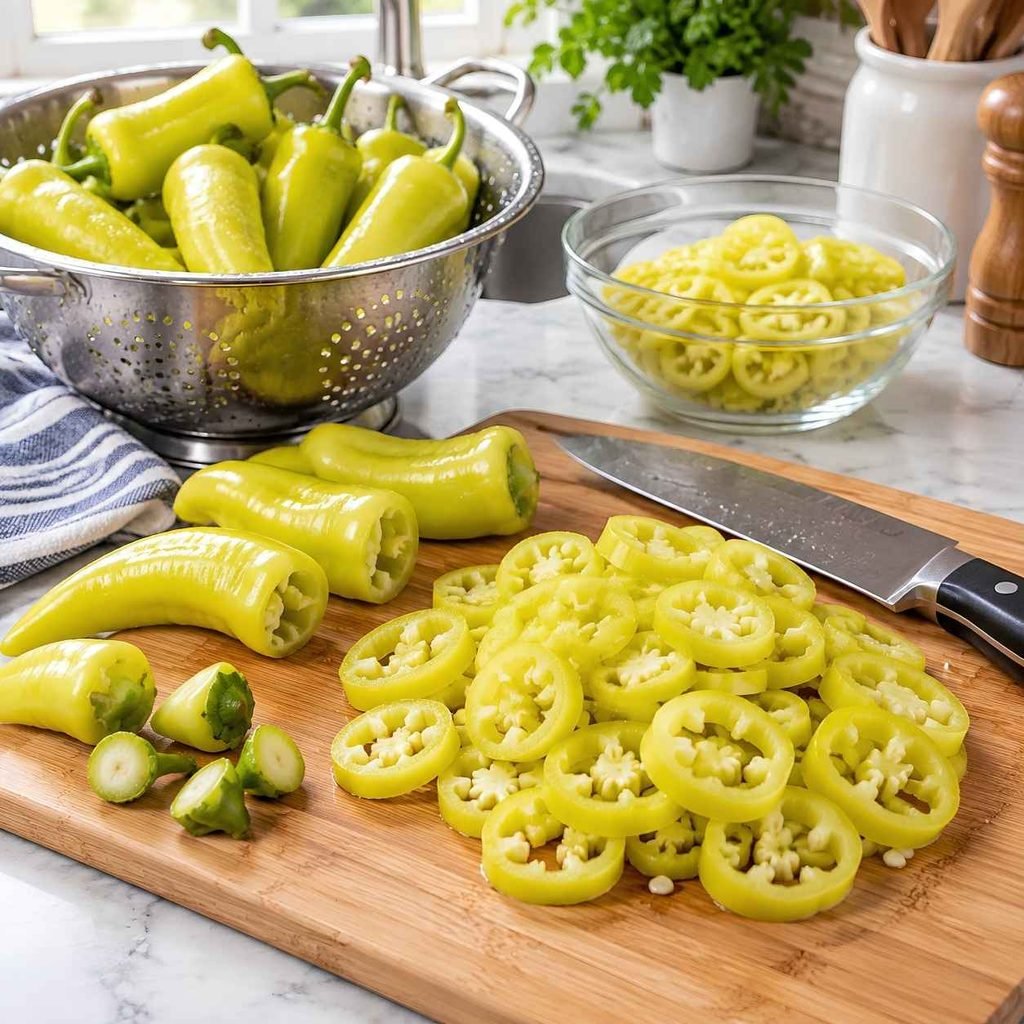
Step 1: Prep the Peppers
Wash the banana peppers under cold running water. Trim off the stem ends and slice into even ¼-inch rings.
Uniform rings pickle evenly, so take the extra minute here. Leave the seeds in for more heat, or remove them for a milder jar. Either way is safe.
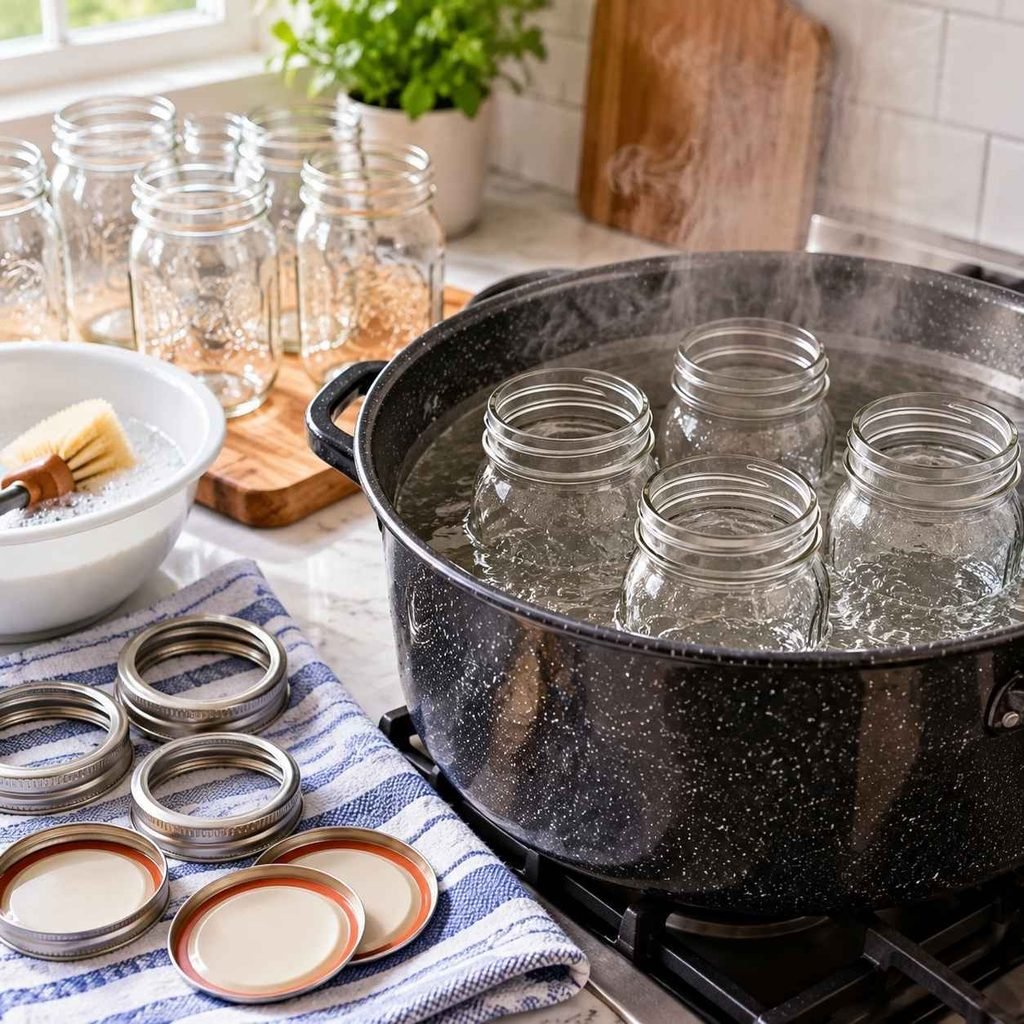
Step 2: Prepare the Jars
Wash pint jars, lids, and rings in hot soapy water and rinse well. Keep the jars hot until you fill them, either in simmering water or a low oven. Hot jars prevent cracking when the boiling brine goes in.
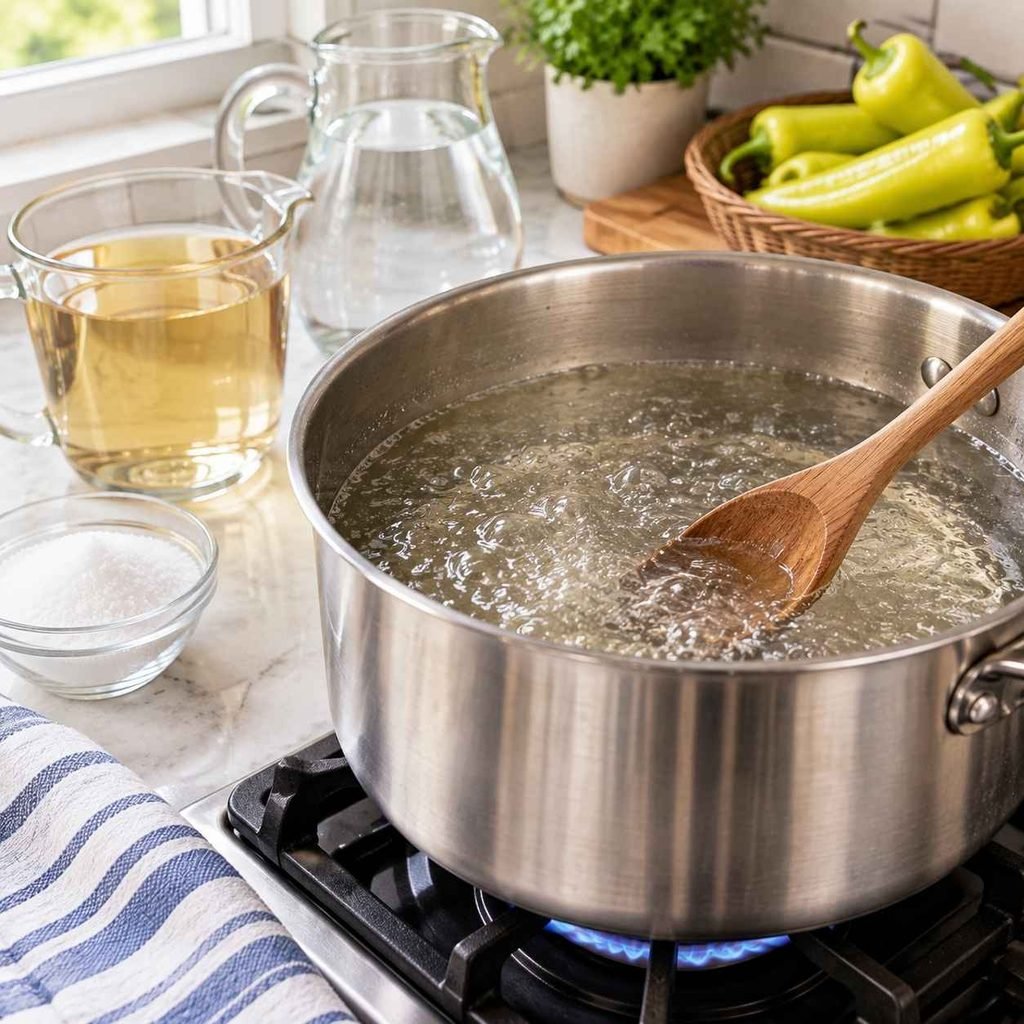
Step 3: Make the Brine
Combine the vinegar, water, and canning salt in a stainless steel or enamel pot. Bring to a rolling boil, stirring until the salt dissolves completely.
Do not reduce the vinegar or add extra water. This ratio is what makes the jars safe for pantry storage.
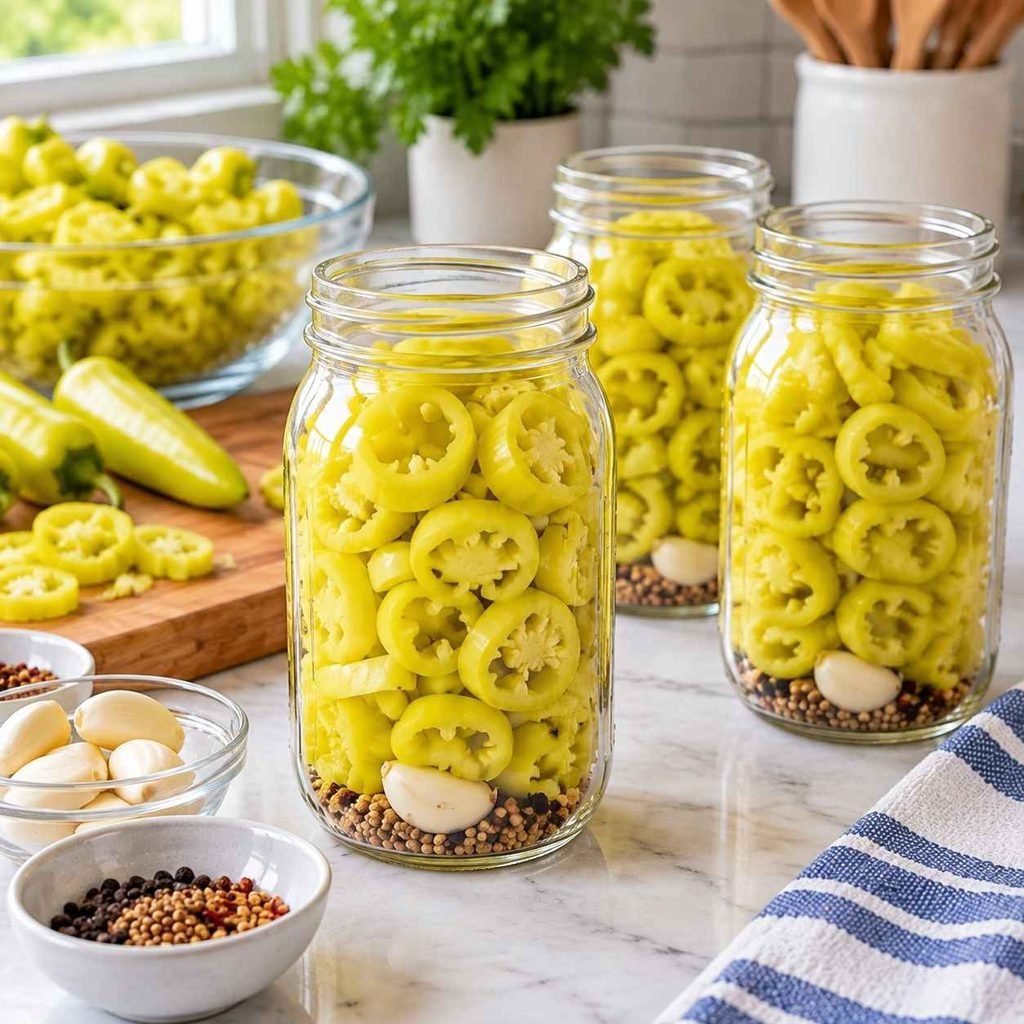
Step 4: Pack the Jars
Place one garlic clove and any optional spices in the bottom of each hot jar. Pack the pepper rings in tightly, leaving ½ inch of headspace at the top.
Step 5: Add the Brine and Remove Air
Ladle the boiling brine over the peppers, keeping that ½ inch of headspace. Pepper rings are hollow and trap a lot of air, so run a plastic debubbler or a chopstick around the inside of the jar to release the pockets. Add more brine if the level drops.
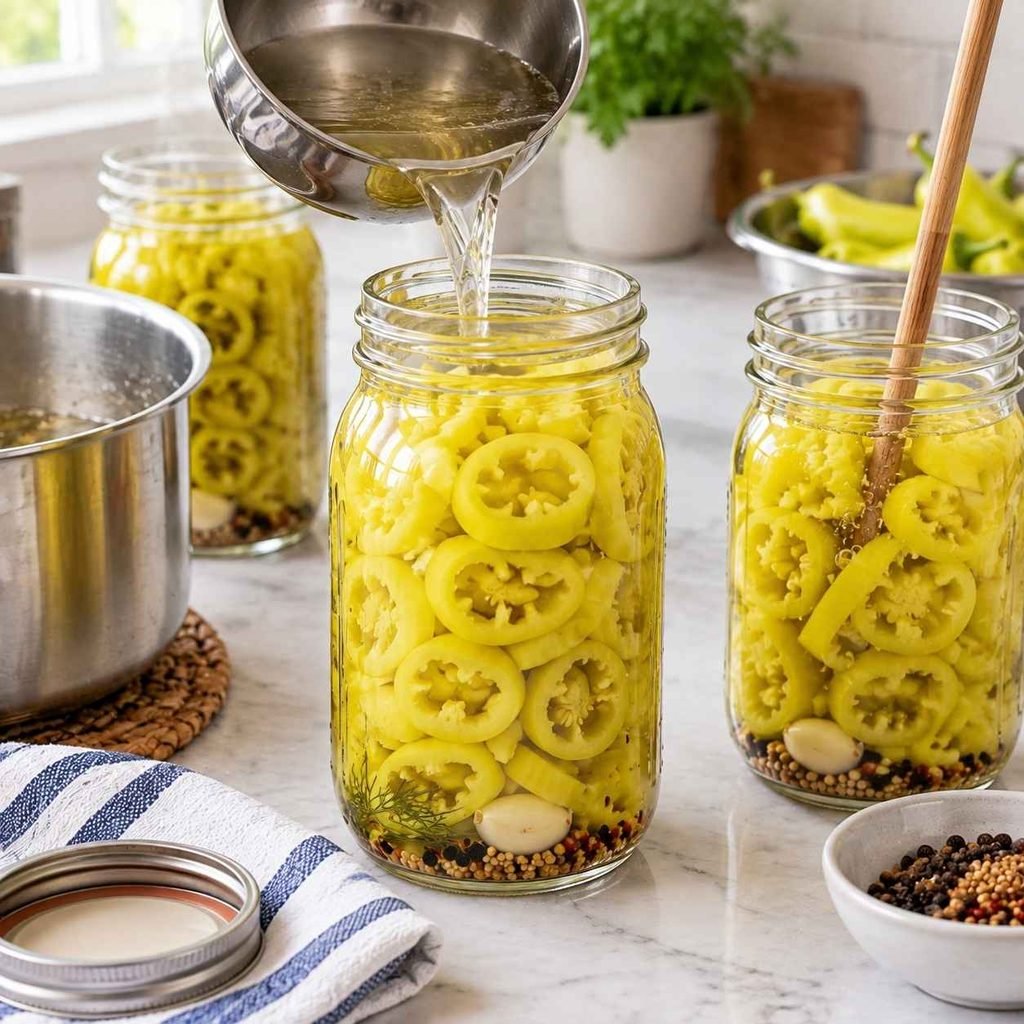
Step 6: Seal the Jars
Wipe each jar rim with a clean cloth dipped in vinegar. Any residue on the rim will stop the jar from sealing.Place the lid on and screw the ring down to fingertip tight only.
Do not tighten it hard. Air has to escape during processing, and an over-tightened lid traps it, which causes failed seals and buckled lids.
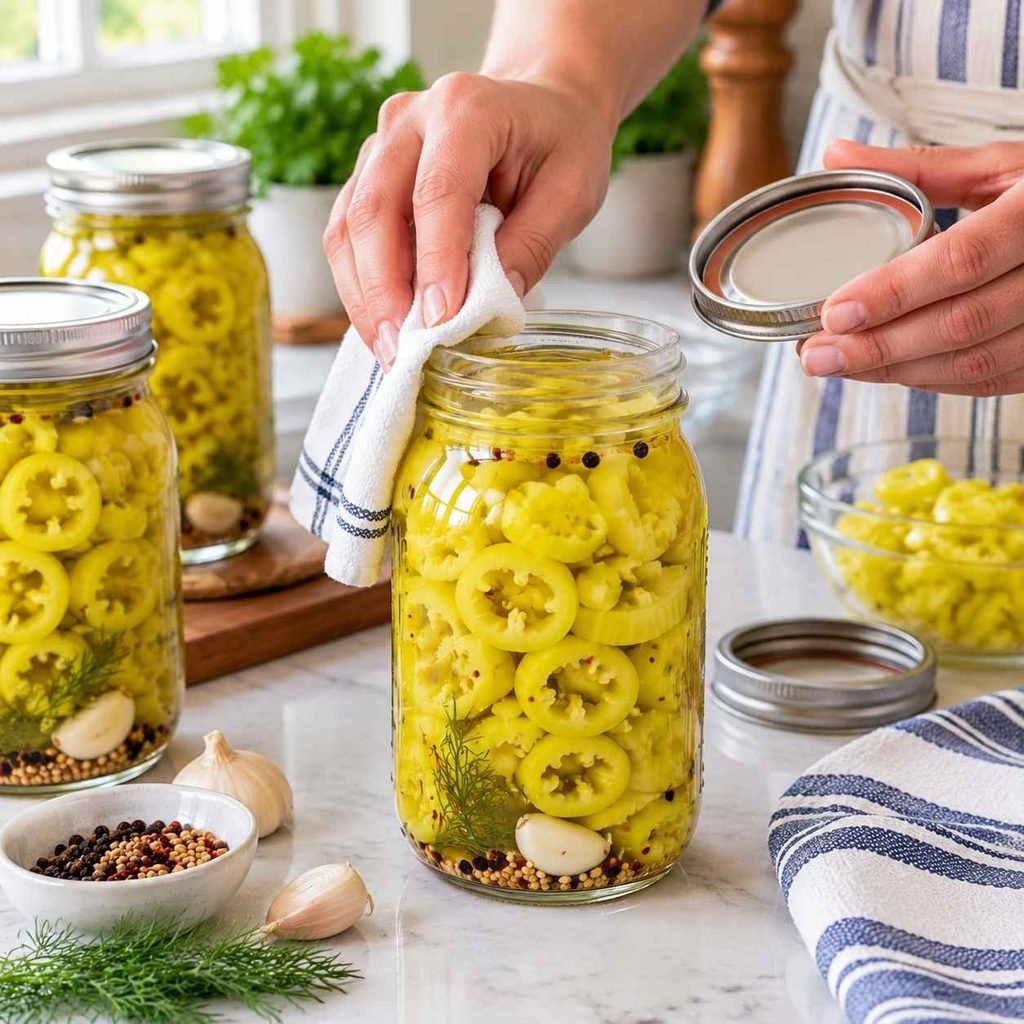
Step 7: Process in a Water Bath
Lower the jars into a water bath canner and make sure they are covered by at least an inch of water. Bring to a full rolling boil, then start your timer.
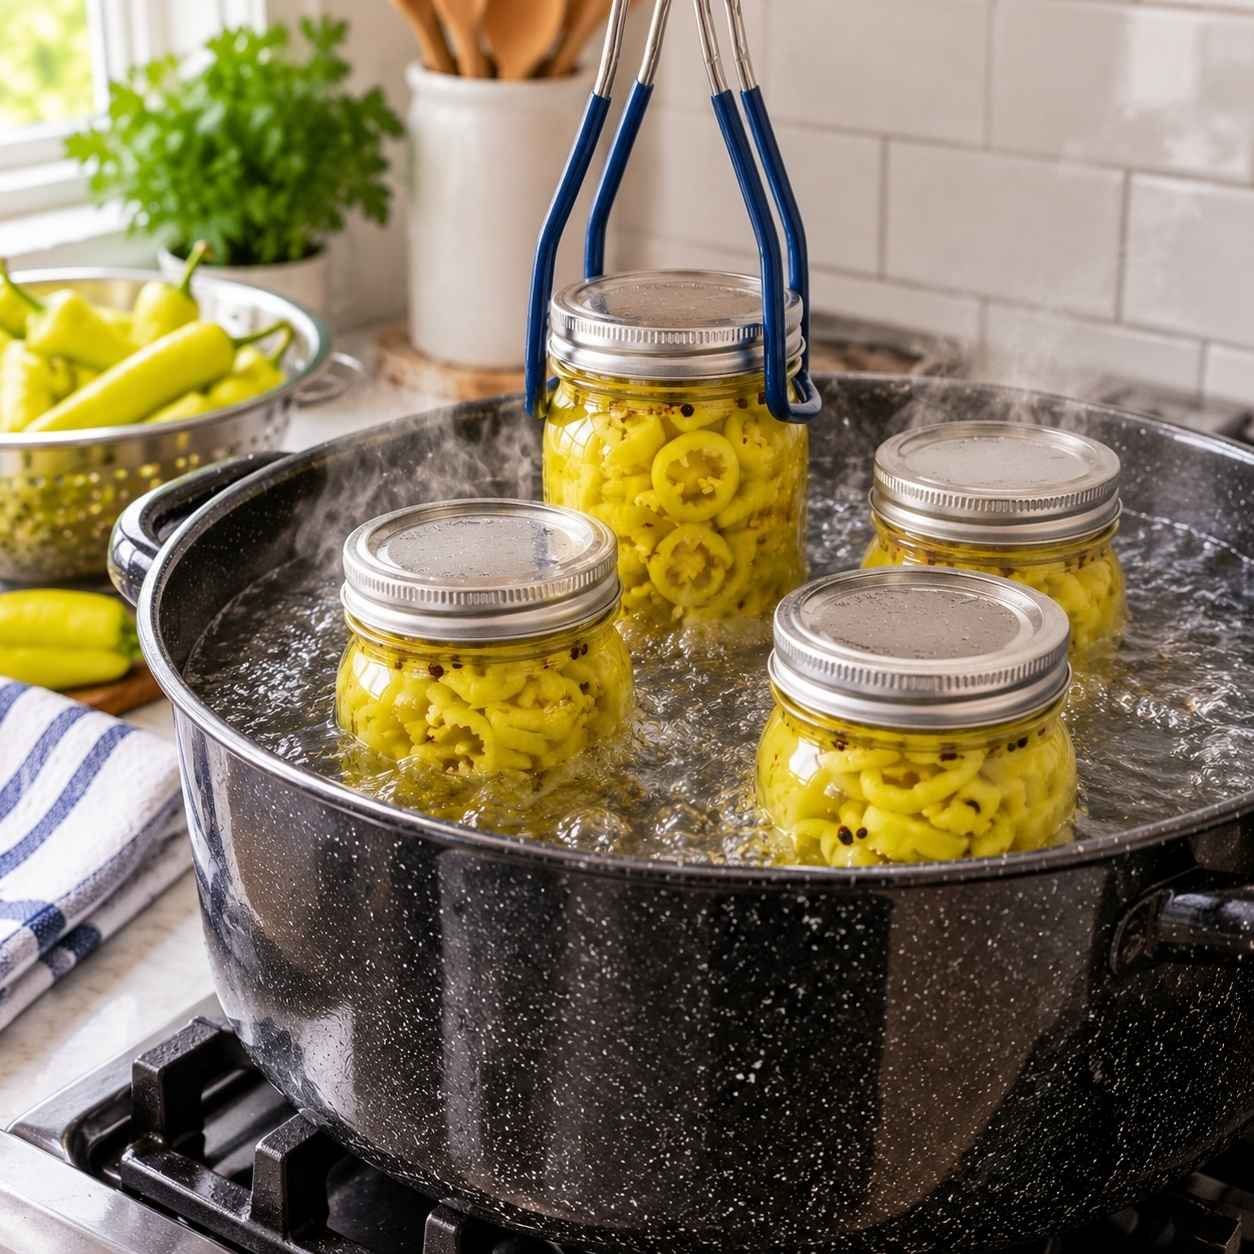
Water boils at a lower temperature the higher you go, so jars need longer in a cooler boil. Find your elevation and use that time.
Never reduce the processing time. If you fall between two brackets, round up to the longer time. Not sure of your elevation? Search your city name plus the word elevation.
Process pints for 10 minutes at sea level. Add time for your elevation using the chart below. Never reduce the time.
Step 8: Cool and Check the Seal
Turn off the heat, wait 5 minutes, then lift the jars out and set them upright on a towel. Leave them undisturbed for 24 hours.
After 24 hours, press the center of each lid. A sealed lid does not flex or pop. Any jar that did not seal goes in the refrigerator and gets eaten first.
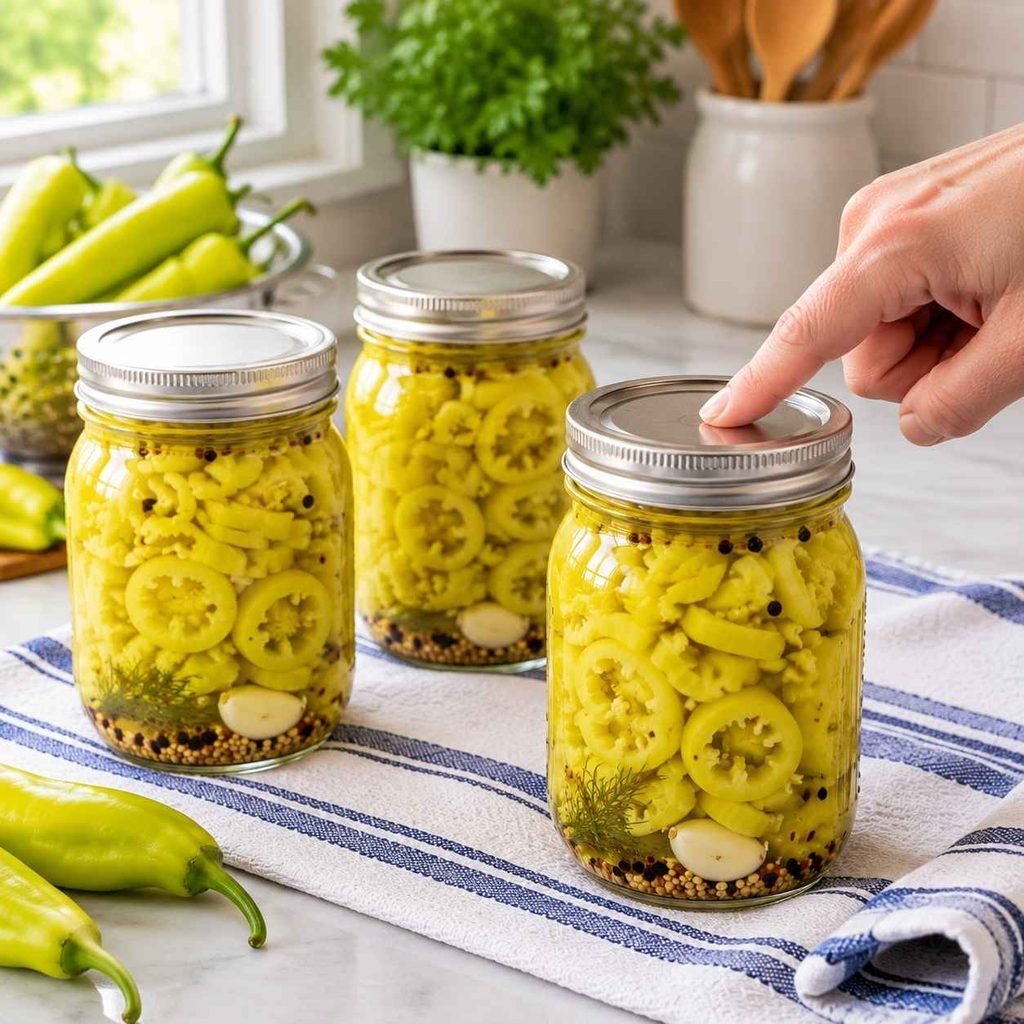
How to Check Your Seals
This step decides whether a jar goes in the pantry or the fridge, so it is worth doing properly.
Wait the full 24 hours. Leave the jars upright, undisturbed, on a towel on the counter. Do not press the lids, do not move them, do not tighten the rings. You will hear them pop as they seal, which is a good sound.
Then test each one. Press the center of the lid with a finger. A sealed lid is firm and does not flex or click. If it pops down and back up, it did not seal.
Remove the rings before storing. This sounds counterintuitive, but a ring can hold a failed lid in place and hide a broken seal. Without the ring, a bad seal reveals itself. Wipe the jars, label them with the date, and store the rings separately.
What to do with a failed jar. Put it in the refrigerator and eat it within two weeks, exactly like a refrigerator pickle. You can also reprocess it within 24 hours using a brand new lid.
Before you open any jar months later, check that the lid is still sealed and look at the brine. If the lid is bulging, the brine is cloudy or foamy, or anything smells off when you open it, throw the whole jar out without tasting it.
Canning Safety Tips
Proper canning techniques are important when preserving vegetables for long-term storage.
Always Use the Correct Vinegar Ratio
Do not reduce the vinegar amount or increase the water. The acidity level is important for creating a safe canned product.
Use Clean, Properly Prepared Jars
Wash jars thoroughly and keep them hot before filling. Sudden temperature changes can cause jars to crack.
Leave Proper Headspace
Always leave about ½ inch of space at the top of the jar. Too little or too much headspace can affect sealing.
Check Every Seal
After processing, allow jars to cool undisturbed for 24 hours. Check that each lid is firm and does not flex when pressed.
Store Failed Seals Correctly
Any jar that does not seal should be refrigerated and used first instead of stored in the pantry.
What to Serve with Canned Banana Peppers
This versatile little condiment pairs beautifully with almost any savory main course.
- As a sandwich topping: Serve it generously layered on hot Italian subs, pulled pork sandwiches, or classic deli wraps.
- On homemade pizzas: Scatter the tangy rings over a classic pepperoni pizza right before baking for a massive flavor upgrade.
- Loaded style: Toss a handful into a fresh Greek salad or fold them into a creamy macaroni salad for a bright, acidic bite!
How to Store Canned Banana Peppers
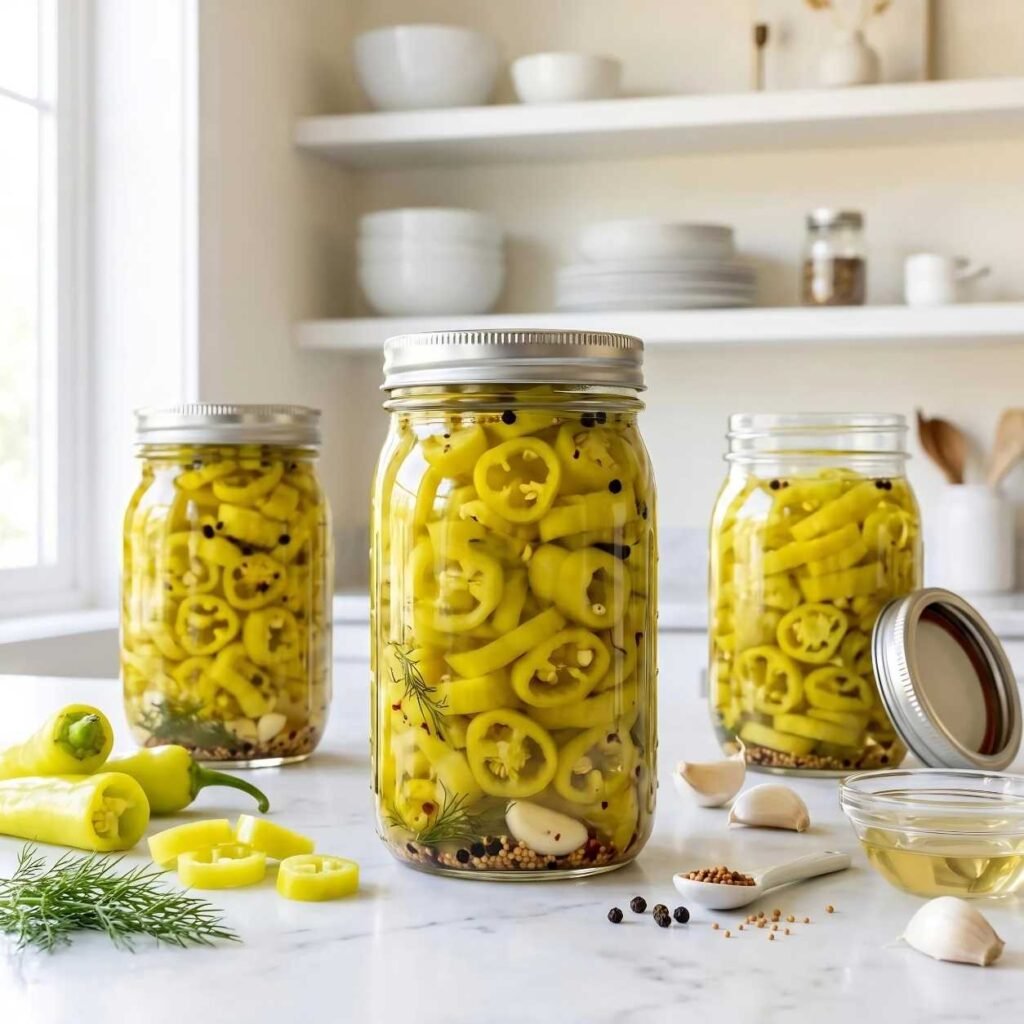
Have extra jars? It is incredibly easy to save them for later so you can enjoy summer flavors all winter long.
- In the Pantry: Store the properly sealed jars in a cool, dark cabinet or pantry shelf for up to one year.
- In the Fridge: Once a seal is broken and the jar is opened, keep it tightly covered in the refrigerator and enjoy the contents within two months.
Frequently Asked Questions
Why can I not just reduce the vinegar to make it less sharp?
The vinegar is doing a safety job, not a flavor job. It is what keeps the pH low enough to prevent bacteria from growing in a low-acid vegetable.
If the jars are too sharp for you, add sugar to the brine or make the refrigerator version instead. Do not change the vinegar and water proportions on a batch headed for the pantry.
Can I use a quart jar instead of pints?
Pints are the tested size for this recipe. Quarts were not part of the tested batch, so there is no official processing time for them. Stick with pints if you want to follow a tested recipe exactly.
Do I need to sterilize the jars first?
For a 10-minute processing time, jars should be sterilized. Boil them for 10 minutes before filling. For processing times of 10 minutes or more at higher altitudes, clean hot jars are sufficient since the processing itself sterilizes them.
Can I reuse the lids from last year?
Rings yes, flat lids no. The sealing compound on a flat lid compresses once and will not form a reliable seal a second time.
How long until they taste right?
Give them two weeks before opening the first jar. The vinegar and spices need that time to work into the peppers. They will keep improving for about a month after that.
Final Thoughts
This banana pepper canning recipe easy method is proof that making a show-stopping pantry staple doesn’t have to be complicated.
With a quick slice, a simple boiling brine, and clean jars, you get the ultimate sweet and tangy bite every single time. Try it today, and I promise it’ll become a permanent favorite in your kitchen.