
Easy Banana Pepper Canning Recipe
Banana peppers are one of the easier things to start canning with. They are firm enough to hold their shape, they slice into rings in a few minutes, and a pickling brine is a fixed formula rather than something you build by taste. There is nothing to reduce, nothing to judge by eye, and the whole batch is done in under an hour.
Shop-bought jars are not the enemy here. Most of them contain the same four things this recipe does: peppers, vinegar, water, and salt. What you get from doing it yourself is the thickness of the slices, the amount of garlic, the level of heat, and a row of jars that cost a fraction of what the equivalent shelf space at the supermarket does.
The part that is not flexible is the brine. Peppers are low in acid on their own, and the vinegar is what makes a sealed jar safe to keep in a cupboard. Flavourings you can change as you like. The vinegar, water, and salt stay as written.
| Prep Time | 25 minutes |
| Cook Time | 10 minutes |
| Processing Time | 10 minutes |
| Total Time | 45 minutes |
Why You Will Love This Recipe
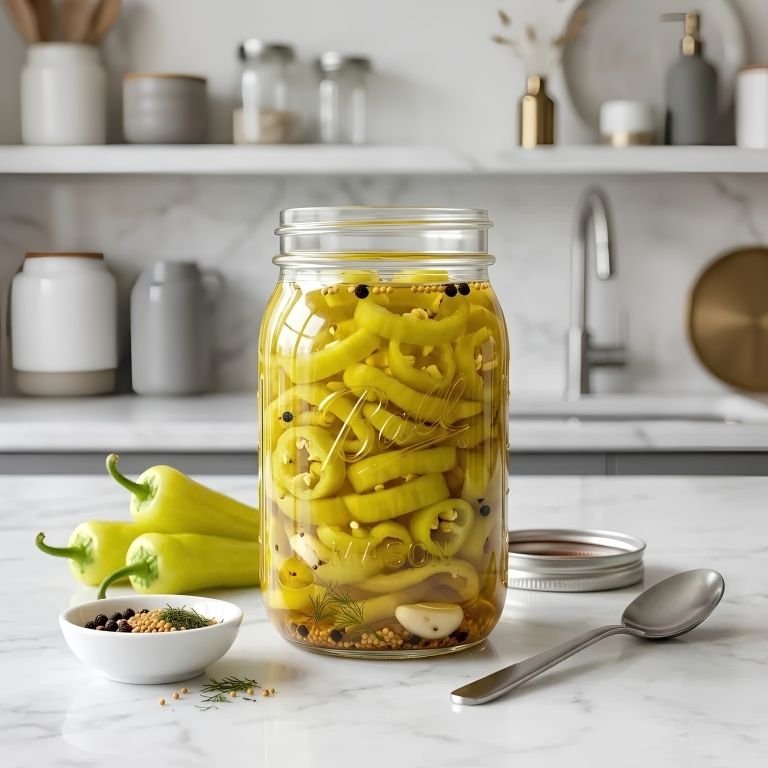
If you’ve been stuck in a rut of just buying standard pickles from the supermarket, you are going to fall in love with this method. This canned pepper recipe is:
- Texturally perfect: Pouring boiling hot brine over fresh rings keeps them incredibly crisp, while the vinegar provides maximum flavor without turning the vegetables mushy.
- Highly customizable: You can easily load it up with fresh dill sprigs, whole mustard seeds, or a slice of jalapeño for a spicy kick.
- Made with basic staples: You only need fresh banana peppers, white vinegar, filtered water, salt, and a little sugar.
- Visually gorgeous: The vibrant, bright-yellow rings look like they came straight out of a high-end artisanal deli.
Equipment You Will Need
A water bath canner, or a large stockpot with a rack. Deep enough that an inch or two of water covers the jar lids, with room left to boil.
The rack matters: jars sitting directly on the base of a pot can crack from the direct heat, and the rack lets water circulate underneath.
Pint jars, new lids, and rings. This makes about four pints. The flat lids have to be new every time, because the sealing compound works once. Jars and rings are reusable as long as the rims are free of chips. Run a finger around each rim before you fill it.
A jar lifter. Not tongs. A jar lifter grips the neck of a hot jar properly where tongs slip, and a jar dropped into boiling water is a serious burn.
A wide-mouth canning funnel. Pepper rings go in far more easily through a funnel, and it keeps brine off the rims. Anything on the rim prevents a seal.
Ingredients You Will Need
The beauty of this recipe lies in its sheer simplicity. To get that perfect tangy crunch, you will need:
For the Jars:
4 cups banana peppers, washed, blossom ends trimmed, sliced into 1/4-inch rings
4 cloves garlic, peeled, one per jar
1 tsp black peppercorns, divided
1 tsp yellow mustard seeds, divided
4 small sprigs fresh dill
1/8 tsp Pickle Crisp per jar (optional, for crunch)
For the Brine:
2 cups white vinegar, 5% acidity
2 cups filtered water
2 tbsp pickling or canning salt
1 tbsp granulated sugar
Step-by-Step Instructions for Canned Banana Peppers
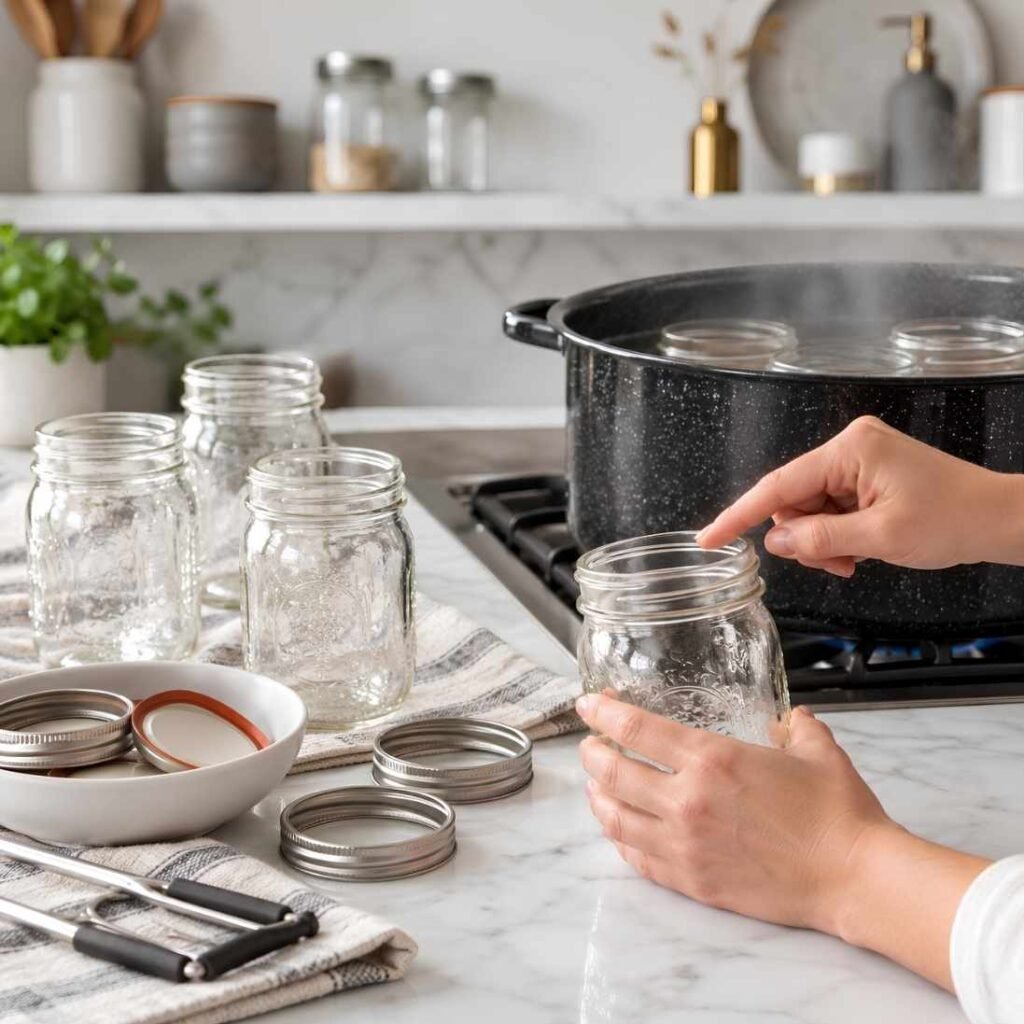
Step 1: Prepare the Canner and Jars. Fill the water bath canner about half full and set it over low heat, since it takes a long time to reach a boil. Wash the jars, lids, and rings in hot, soapy water and keep the jars warm, either in the oven on its lowest setting or in hot water. Boiling brine poured into a cold jar can crack it. Run a finger around each rim and set aside any jar with a chip, because a damaged rim will not seal.
Step 2: Prepare the Peppers. Wash the peppers under cold water. Trim off the stem end, then slice a sixteenth of an inch off the blossom end at the opposite tip and discard it. That tip carries an enzyme that softens pickles over time, and removing it is the main thing that keeps these crisp. Slice the peppers into even 1/4-inch rings, wearing gloves if there is any chance they are hot.

Step 3: Make the Brine. Combine the vinegar, water, pickling salt, and sugar in a saucepan. Bring to a rolling boil, stirring until the salt and sugar have fully dissolved. Keep it at a boil while you pack the jars, since the brine needs to go in hot.

Step 4: Pack the Jars. Into each warm jar, put one garlic clove, a quarter teaspoon of peppercorns, a quarter teaspoon of mustard seeds, a sprig of dill, and an eighth of a teaspoon of Pickle Crisp if using.
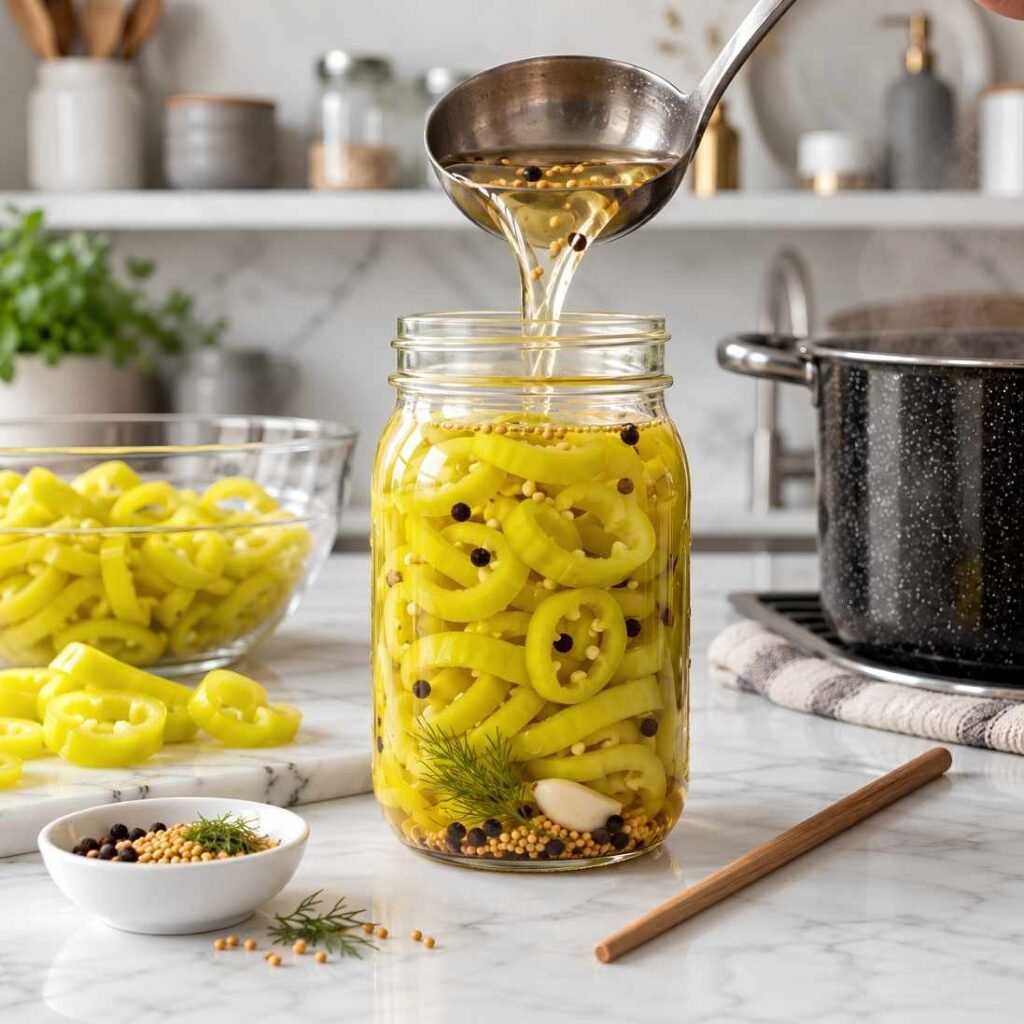
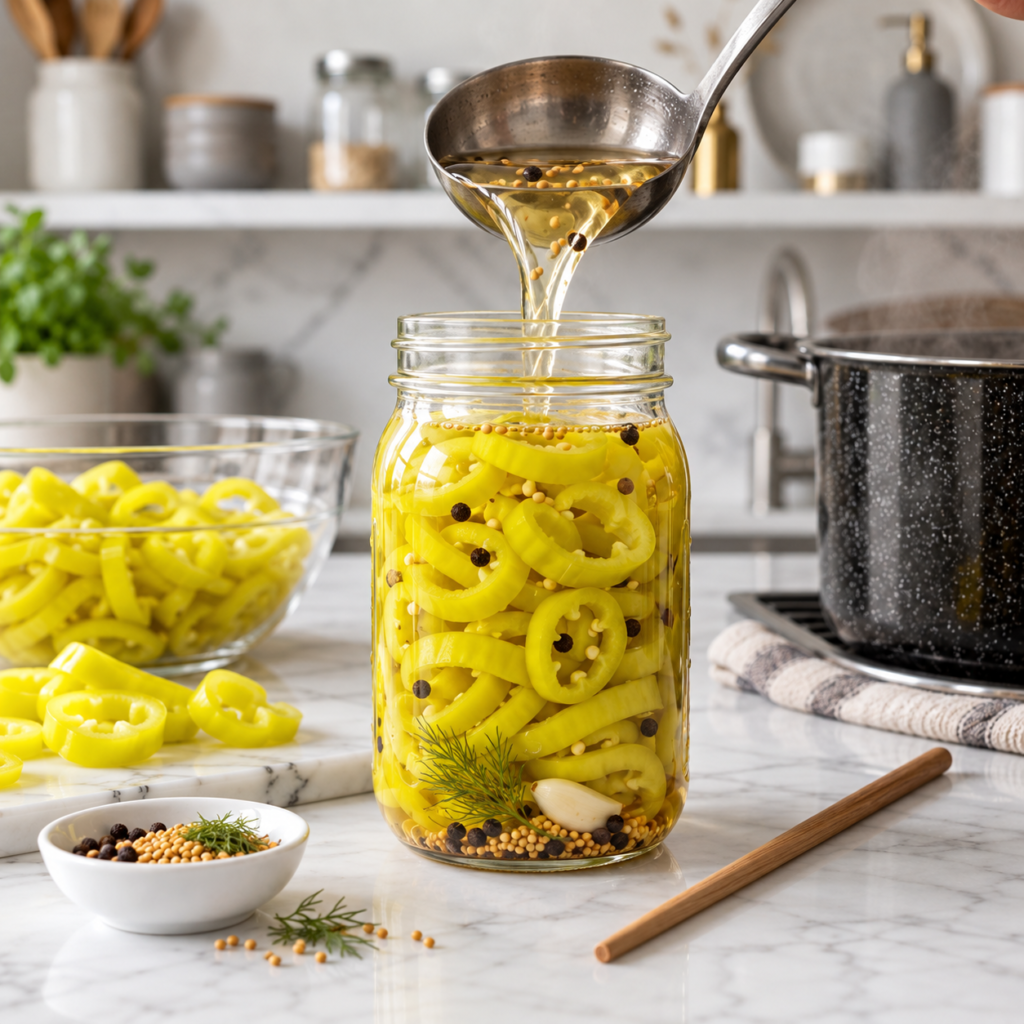
Pack the pepper rings in firmly, leaving 1/2 inch of headspace. Ladle the boiling brine over them, keeping that half inch. Run a plastic bubble remover or chopstick around the inside to release trapped air, then check the headspace again and top up if needed.
Step 5: Seal and Process. Wipe each rim with a clean, damp cloth, because anything left there will stop the lid from sealing. Centre a new flat lid on each jar and screw the ring on fingertip tight, meaning only as firm as your fingertips can turn it without using your palm.
It will feel too loose, and that is correct: air has to escape during processing for the vacuum to form as it cools. Lower the jars into the canner with a jar lifter, making sure the water covers them by at least an inch. Bring it back to a full rolling boil, and only then start the timer. Process for 10 minutes, adjusting for altitude using the table below.
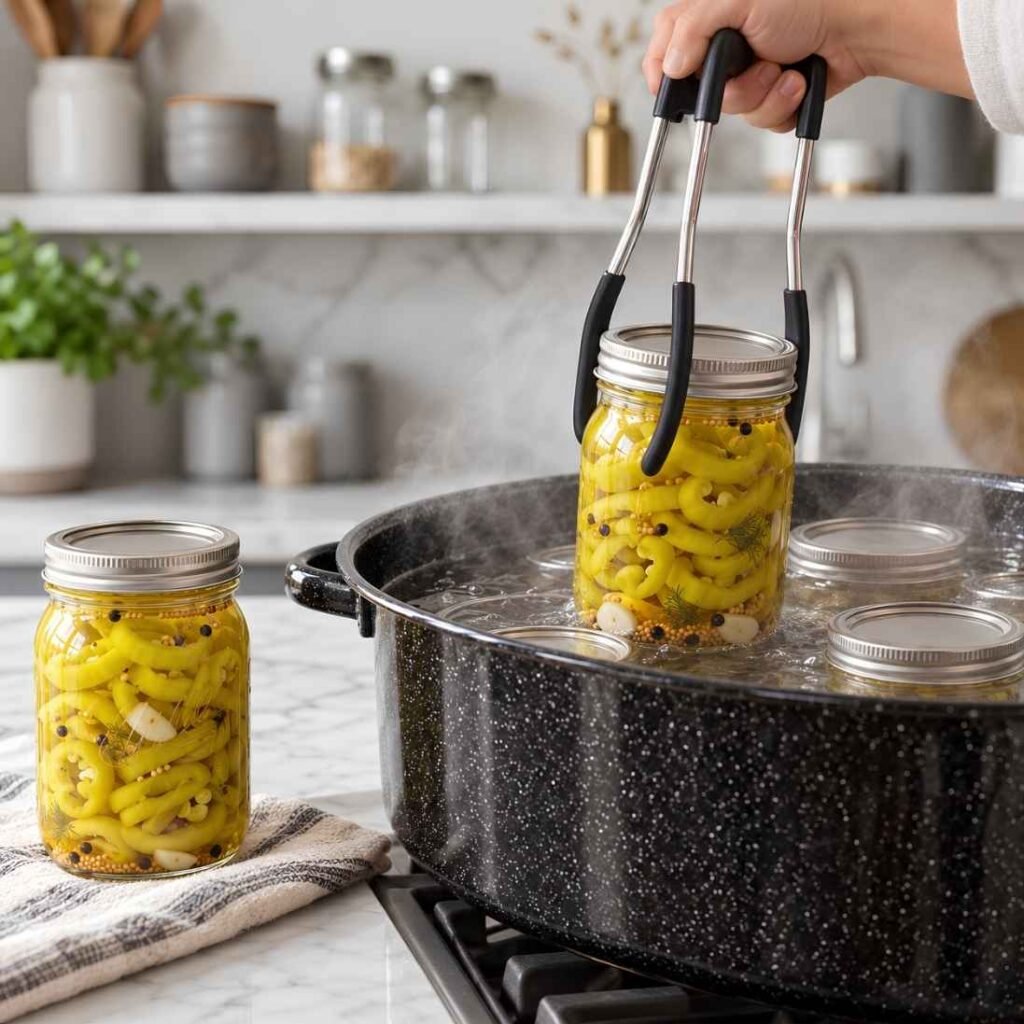
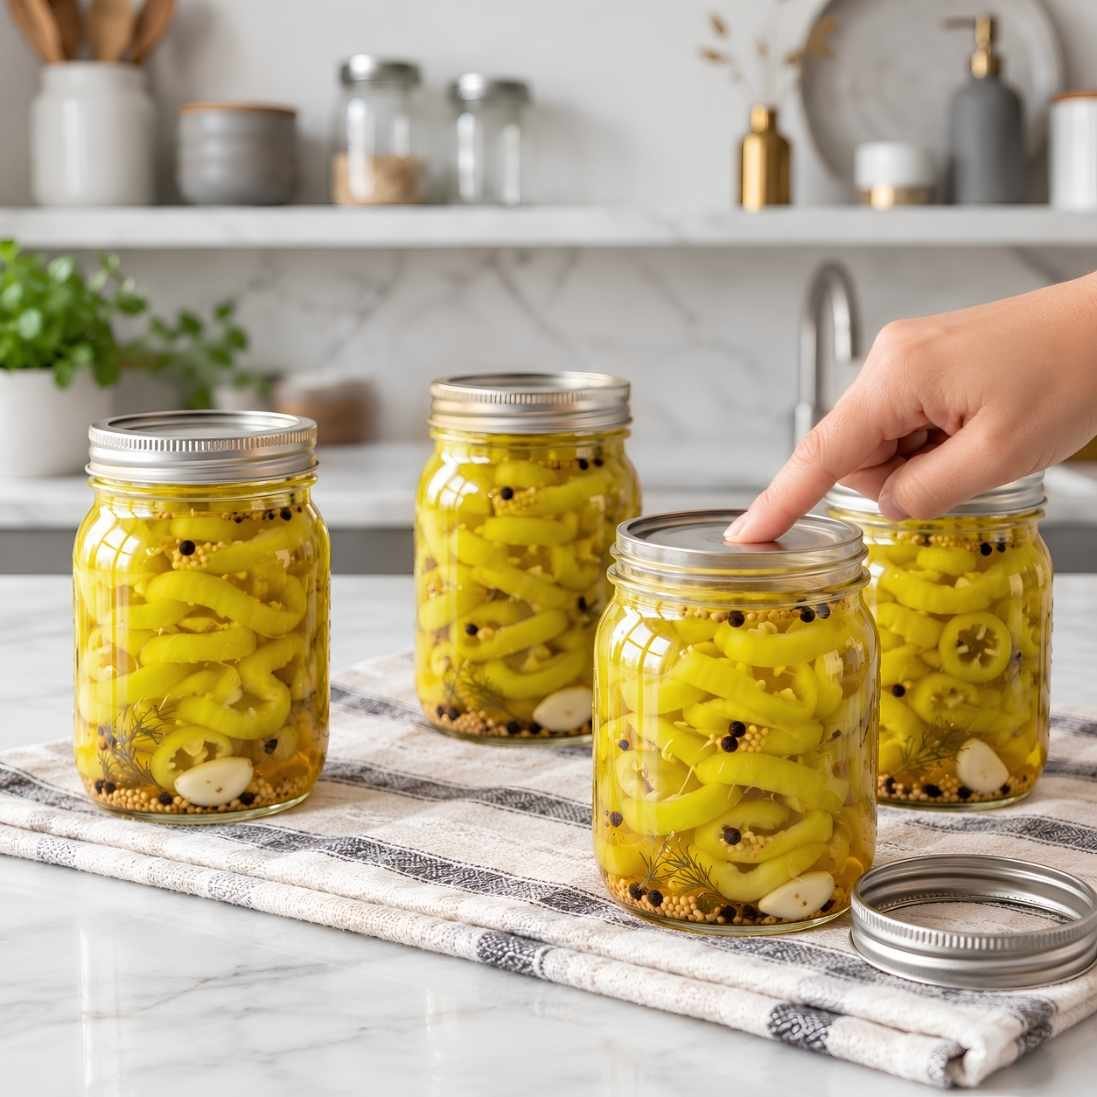
Step 6: Cool and Check the Seals. Turn off the heat, remove the canner lid, and let the jars sit for 5 minutes before lifting them out. Set them on a towel with space around each one and leave them undisturbed for 12 to 24 hours. Do not press the lids and do not tighten the rings.
After 24 hours, remove the ring and press the centre of each lid: a sealed lid is curved downward and does not move. Any jar whose lid flexes did not seal, and that one goes in the fridge to be eaten within a month. Label the sealed jars and store them without the rings, so a lid that fails later comes away rather than being held in place.
Pro Tips for the Ultimate Crunch
Small adjustments can take your homemade preserves from good to absolute perfection.
Pick crisp peppers: Look for firm, unblemished vegetables with a bright color. A fresher pepper means you will get a much better, satisfying crunch in the final jar.
Trim the blossom ends. The tip opposite the stem holds an enzyme that softens pickles over the weeks they sit. A sixteenth of an inch off each one is the difference between crisp jars in January and disappointing ones.
Chill the peppers before slicing. An hour in the fridge, or twenty minutes in a bowl of ice water. Cold peppers slice more cleanly and hold their texture better once the boiling brine hits them.
Pack them firmly but do not force them. Rings squeezed in hard bruise, and bruised pepper goes soft first. Pack to the point of resistance and stop.
Start the timer only at a full rolling boil. Lowering cold jars into the canner drops the water temperature. Waiting for it to come back before the clock starts is the difference between ten minutes of processing and about six.
Common Mistakes to Avoid
Tightening the rings down hard. Fingertip tight only. Air has to escape during processing for the vacuum to form as the jar cools, and a ring screwed down firmly traps it. The result is a buckled lid, a failed seal, or a jar that appears sealed and is not.
Changing the brine ratio. More peppers, less vinegar, extra water. Each of these raises the pH of the jar, and the acidity is the only thing making a sealed jar safe to keep in a cupboard. Spices are free to change; the brine is not.
Leaving the blossom ends on. The enzyme in that tip softens pickles over months of storage. It is the most common reason home-canned peppers go limp, and it is entirely preventable in about two minutes.
Reusing flat lids. The sealing compound works once. A used lid can appear to seal and then fail weeks later on the shelf, which is the worst possible outcome because nothing about it looks wrong.
Skipping the rim wipe. A smear of brine you can barely see will stop the lid from sealing. Every jar, every time, with a clean, damp cloth.
The Refrigerator Version
If you have peppers to use up but no canner, no jars, or no interest in the process, this is the same pickle without any of the constraints.
Slice the peppers as directed and pack them into any clean jar with the garlic and spices. Bring the brine to a boil, pour it over, let the jar cool on the counter, then refrigerate. They are good after three days and better after a week.
Because nothing is being preserved at room temperature, none of the canning rules apply. Use whatever ratio of vinegar to water you prefer, add more sugar if you want them sweeter, throw in whatever spices you like. You can even reuse the brine for a second batch of peppers once the first is gone.
They keep for about two months in the fridge. This is also the answer for any jar that fails to seal after processing: refrigerate it and eat it first rather than putting it in the pantry.
What to Serve with Canned Banana Peppers
This versatile little condiment pairs beautifully with almost any savory main course.
- As a sandwich topping: Serve it generously layered on hot Italian subs, pulled pork sandwiches, or classic deli wraps.
- On homemade pizzas: Scatter the tangy rings over a classic pepperoni pizza right before baking for a massive flavor upgrade.
- Loaded style: Toss a handful into a fresh Greek salad or fold them into a creamy macaroni salad for a bright, acidic bite!
How to Store Canned Banana Peppers
Sealed jars are shelf-stable, with a few things worth checking before and during storage.
In the pantry. Store sealed jars without the rings in a cool, dark place. Twelve to eighteen months is the window for best quality, and they remain safe beyond that as long as the seal holds. Heat and light both fade the colour, so a cupboard beats a shelf near the stove or a window.
Check before you open. The lid should still be curved downward. Look at the brine: cloudiness that was not there before, bubbling, or anything pushing up against the lid means the jar goes in the bin without tasting it. When you open it, the lid should release with a distinct pop. If it opens easily with no resistance, the seal has failed.
Once opened. Refrigerate and use within two months. The vinegar keeps them good for a while, but an open jar is no longer preserved.
Give them three weeks first. They are edible after a few days, and they are not finished. The brine works through the rings over about three weeks, and the difference is worth waiting for.
Frequently Asked Questions
- Can I make this without a water bath? Absolutely. If you skip the boiling water bath, these simply become refrigerator pickles. Just let the filled jars cool on the counter, put them straight into the fridge, and start eating them after a few days.
- What are the best vinegars to use? Standard white vinegar or apple cider vinegar are the absolute best choices because they possess the proper acidity levels required for safe preservation.
- Can I leave the seeds in? Yes! You can completely leave the seeds intact if you prefer a slightly spicier bite. Removing them just yields a much milder flavor.
Final Thoughts
Pickling is the one kind of cooking where the recipe is a formula rather than a suggestion. The spices are yours to play with. The vinegar, water, and salt are not, because the acidity of the brine is the only thing keeping a sealed jar safe on a shelf.
Two habits cover most of what goes wrong. Fingertip tight on the lids, so air can escape and a proper vacuum forms as the jars cool. And a seal check the next day, because a jar that did not seal belongs in the fridge rather than the cupboard.
The third thing is not about safety at all. Trim the blossom end off each pepper. It takes two minutes across four jars, and it is the difference between opening something crisp in February and something disappointing.